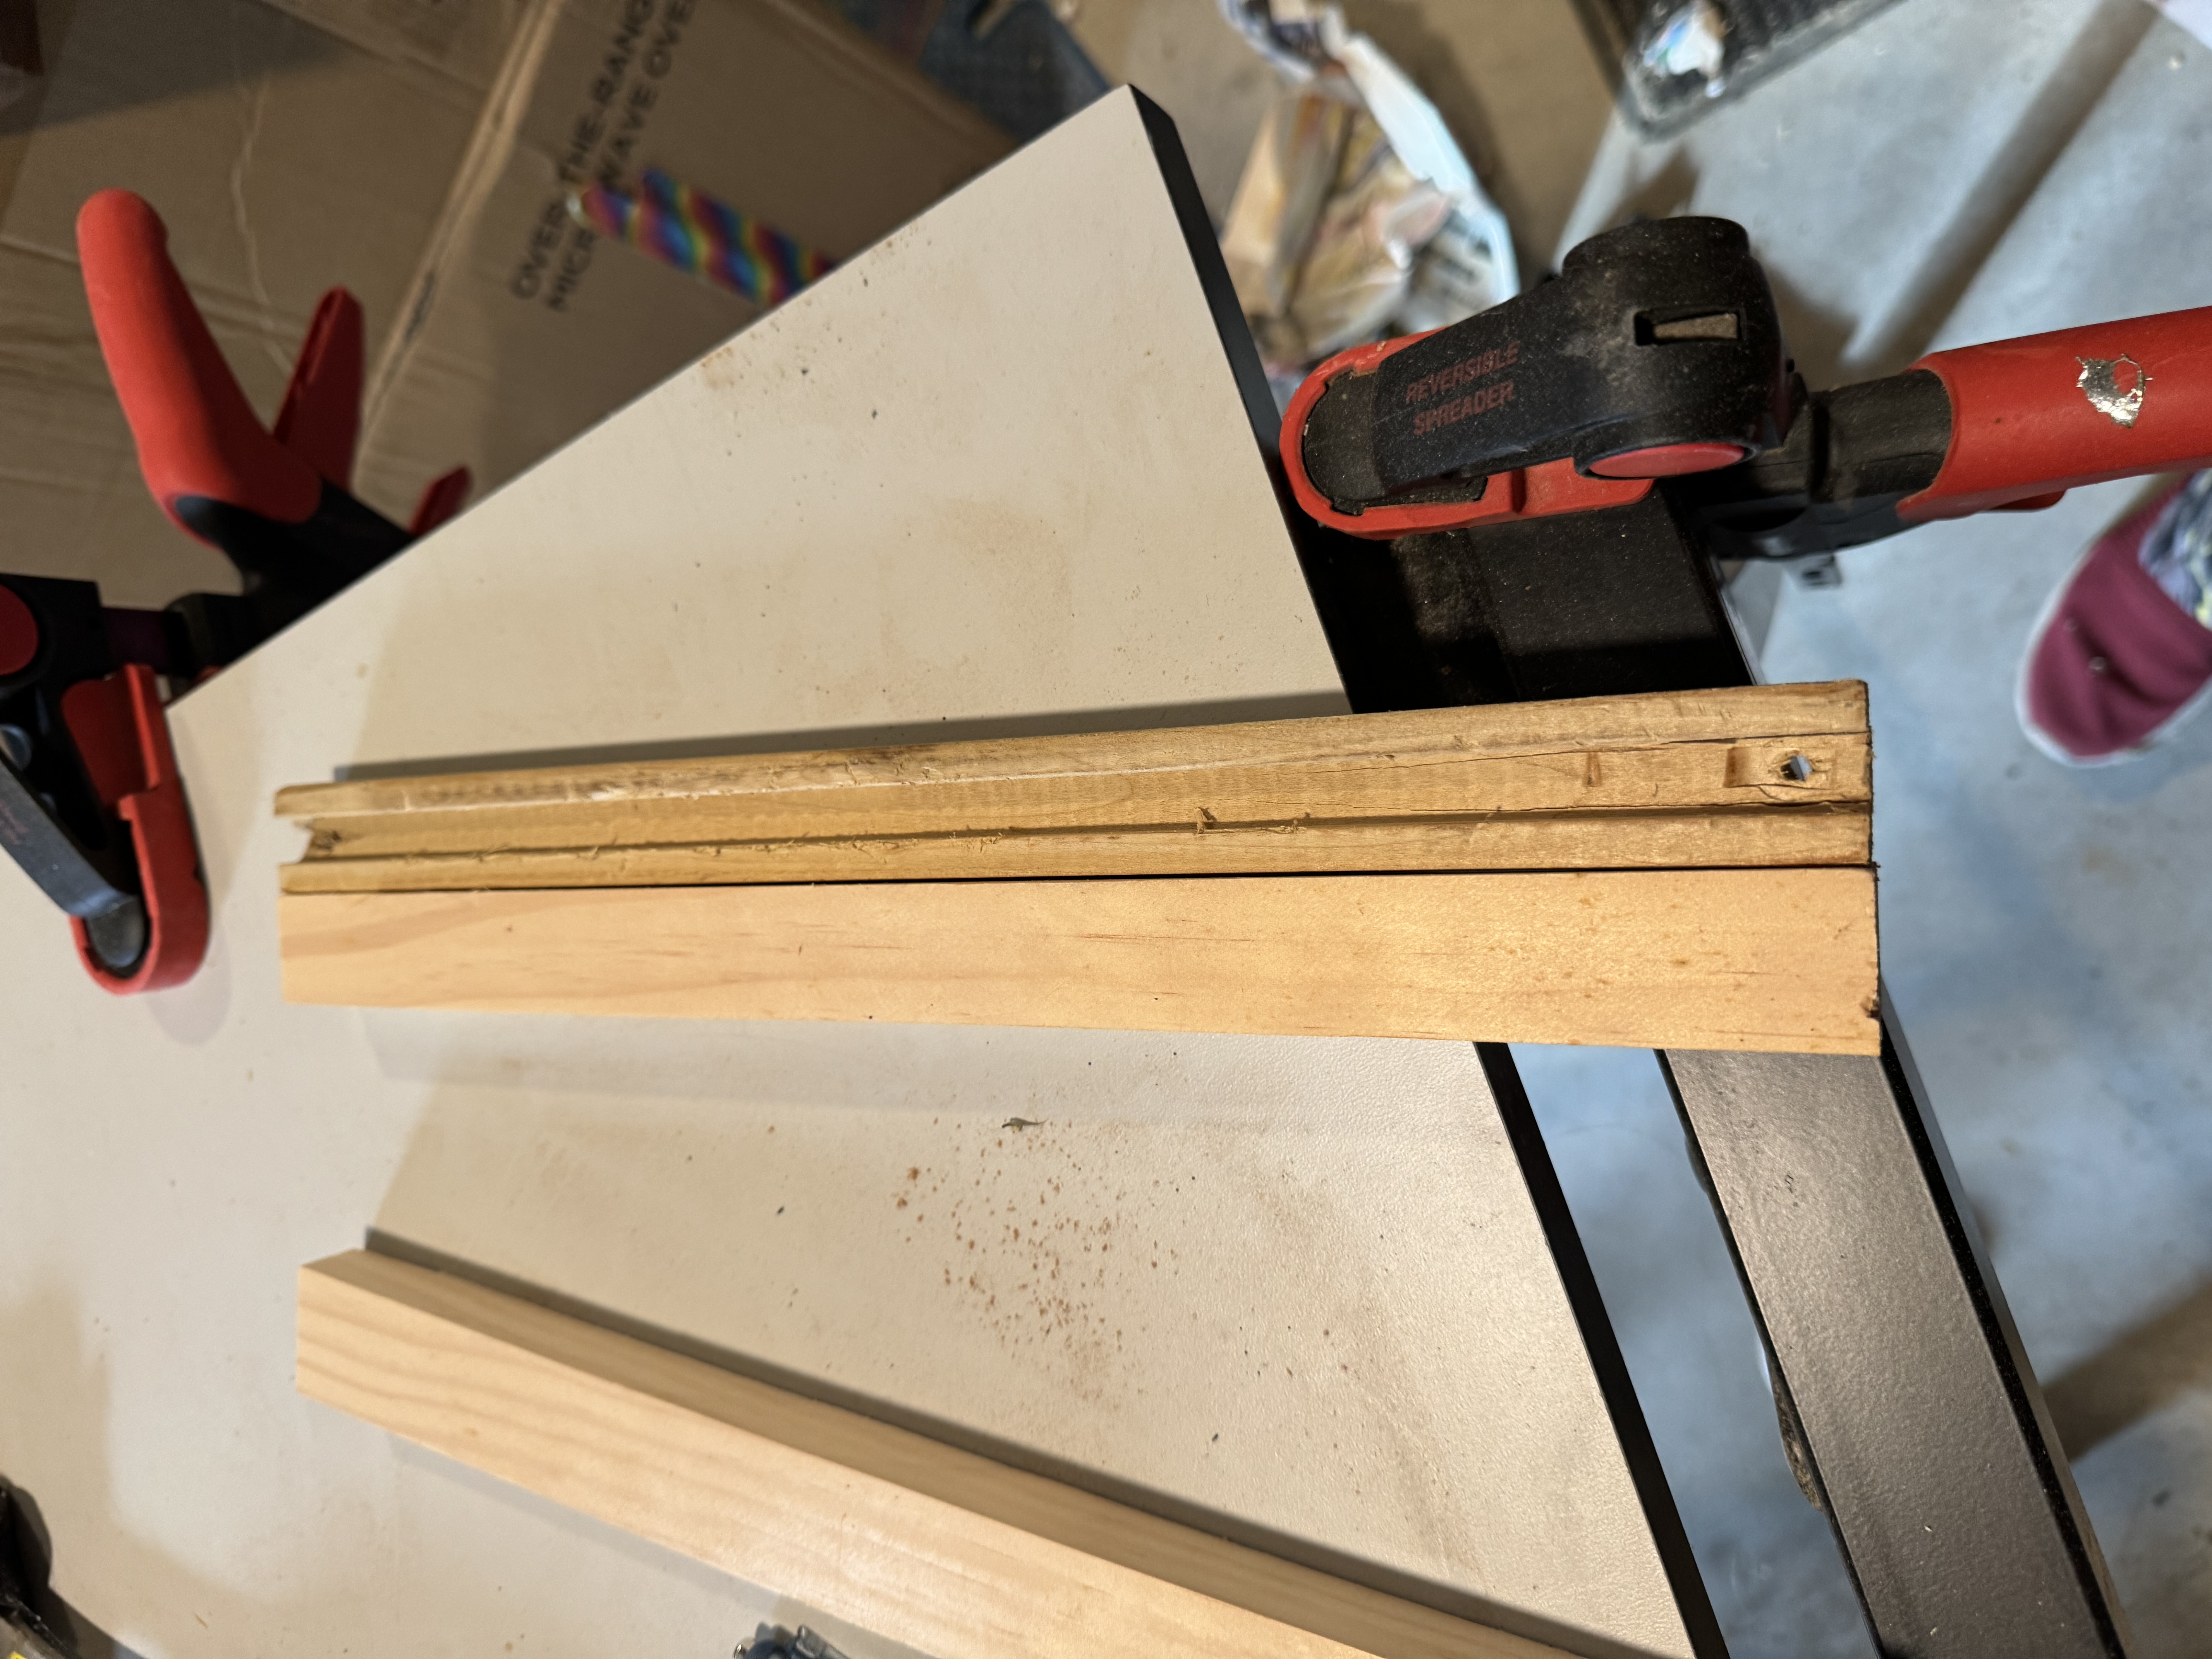
 Then we needed to add grooves so the drawer could hold on to the slide. This took two tries to get right. My first try cut away too much wood.
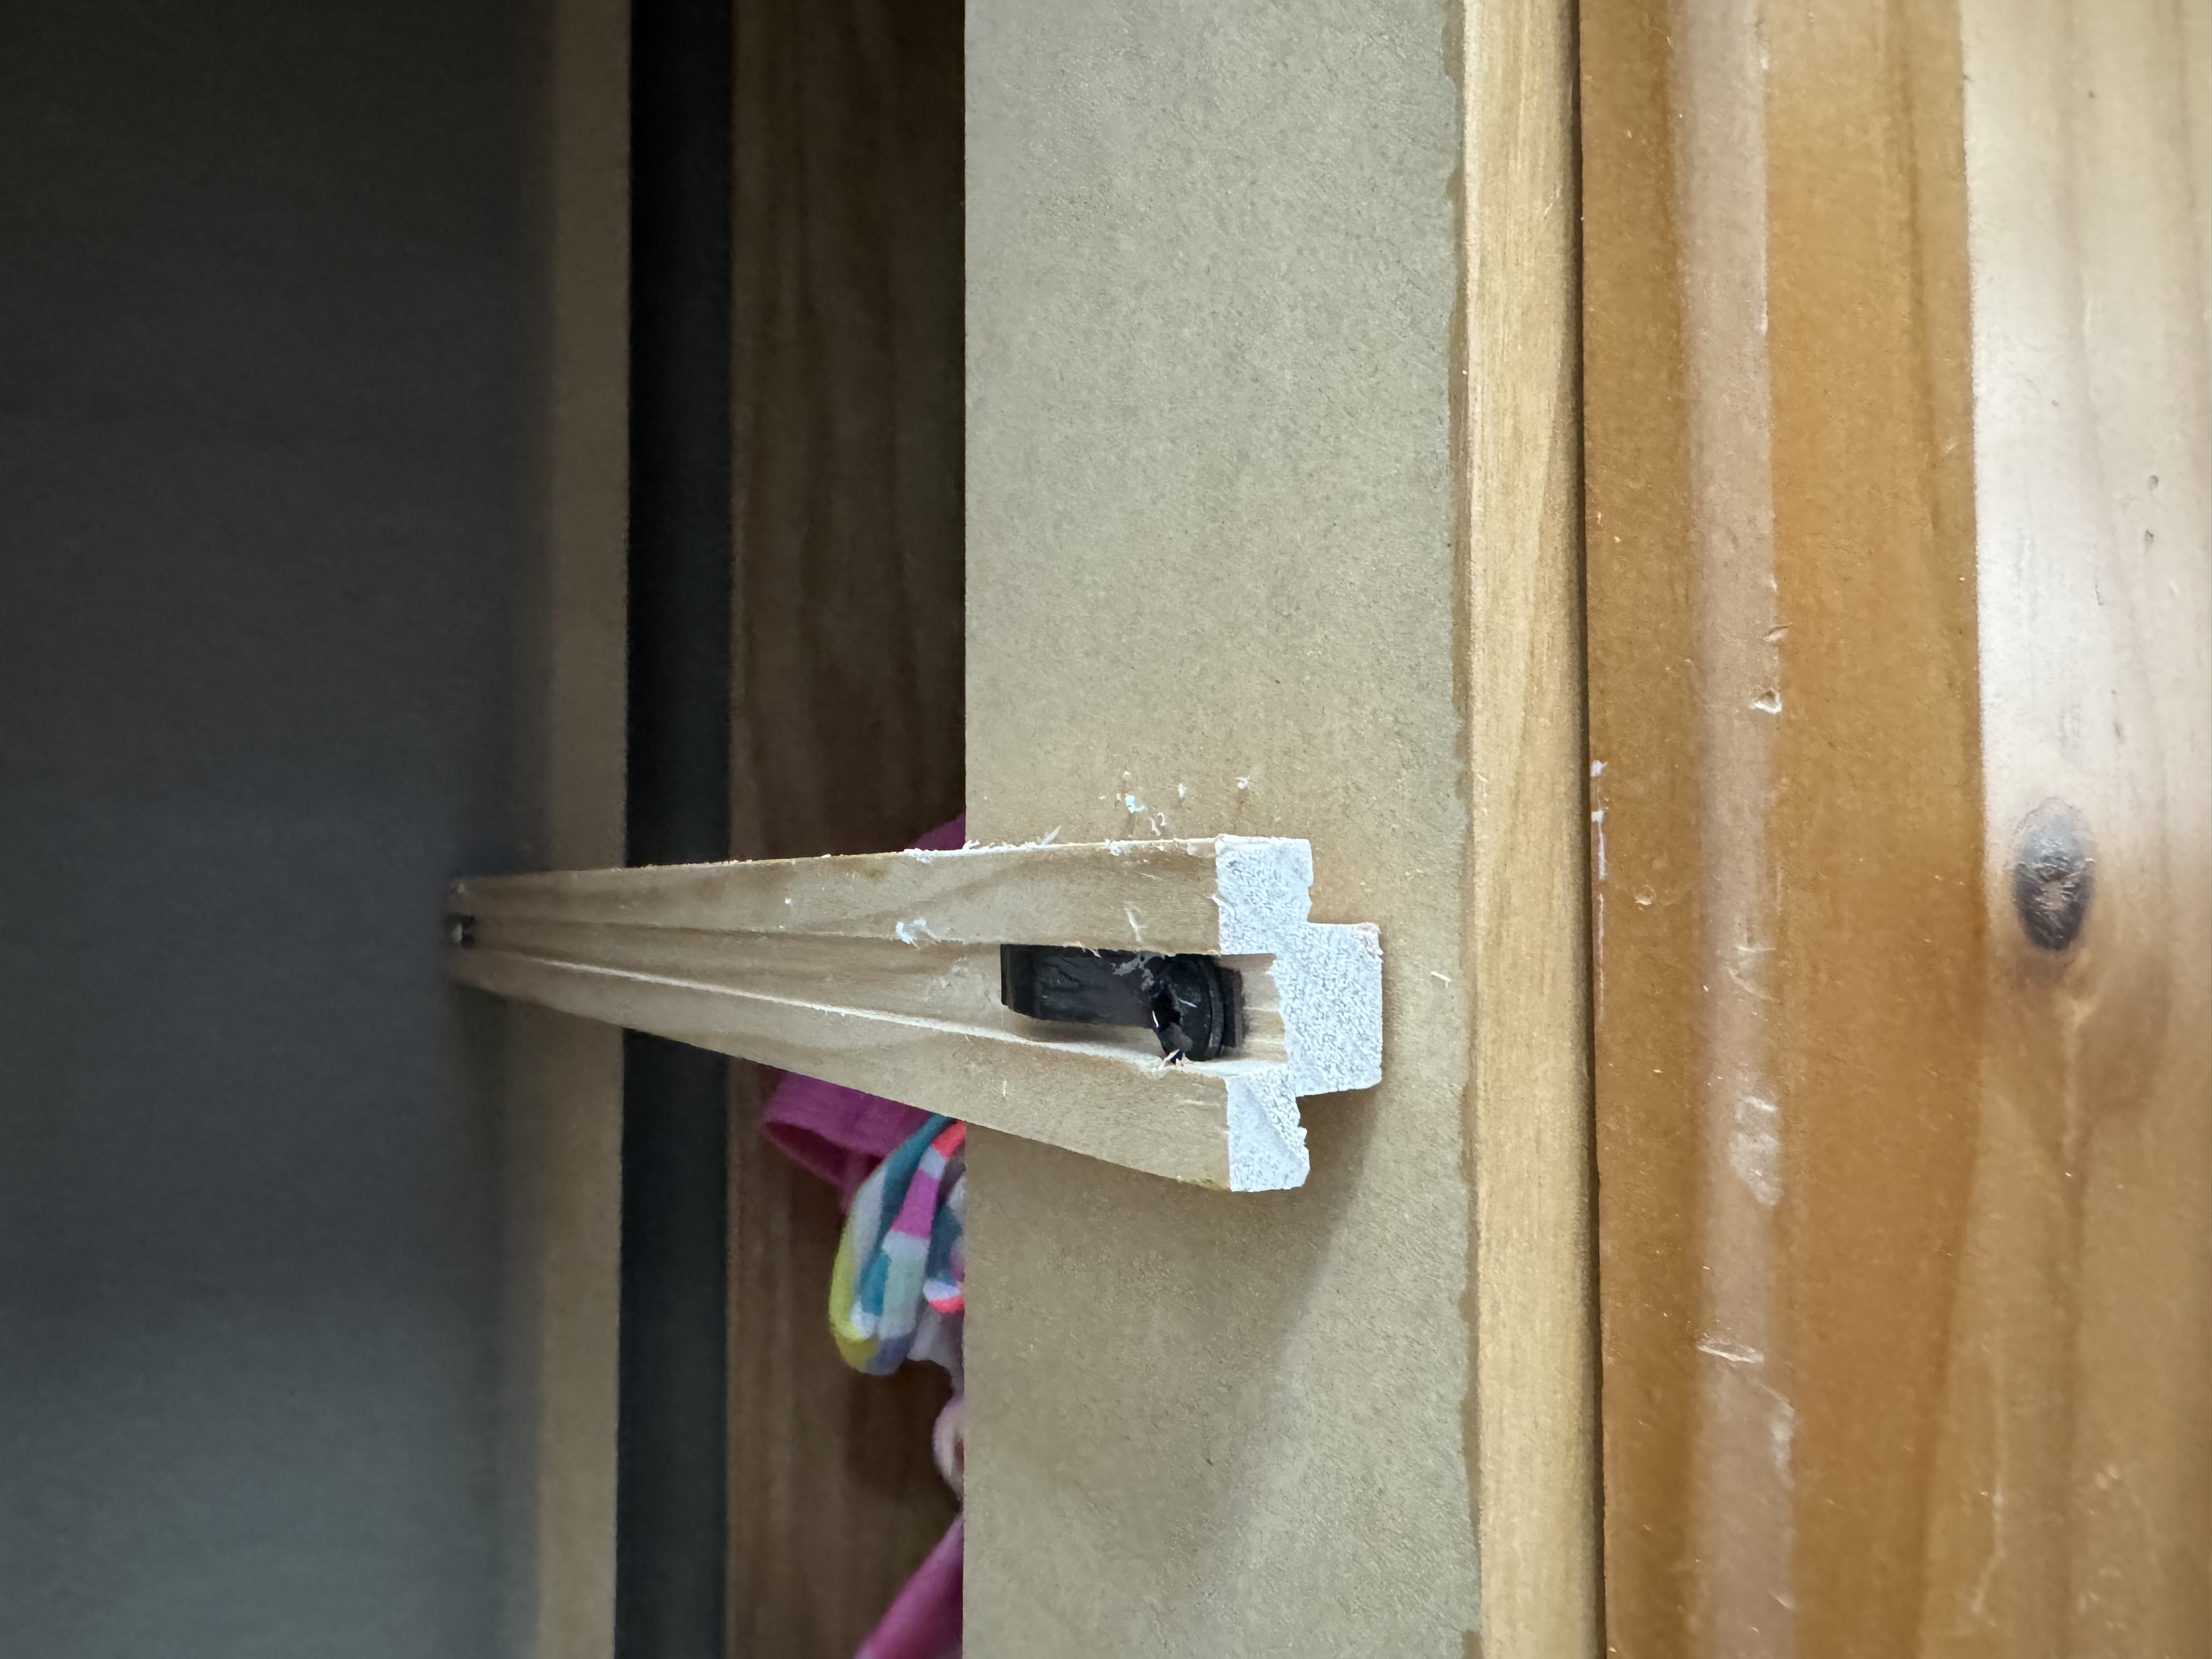 We put some bar soap on the new wood to make the drawers slide easier. It made a noticeable difference.
The drawers are now aligned properly and move smoothly. Thanks random neighbor!
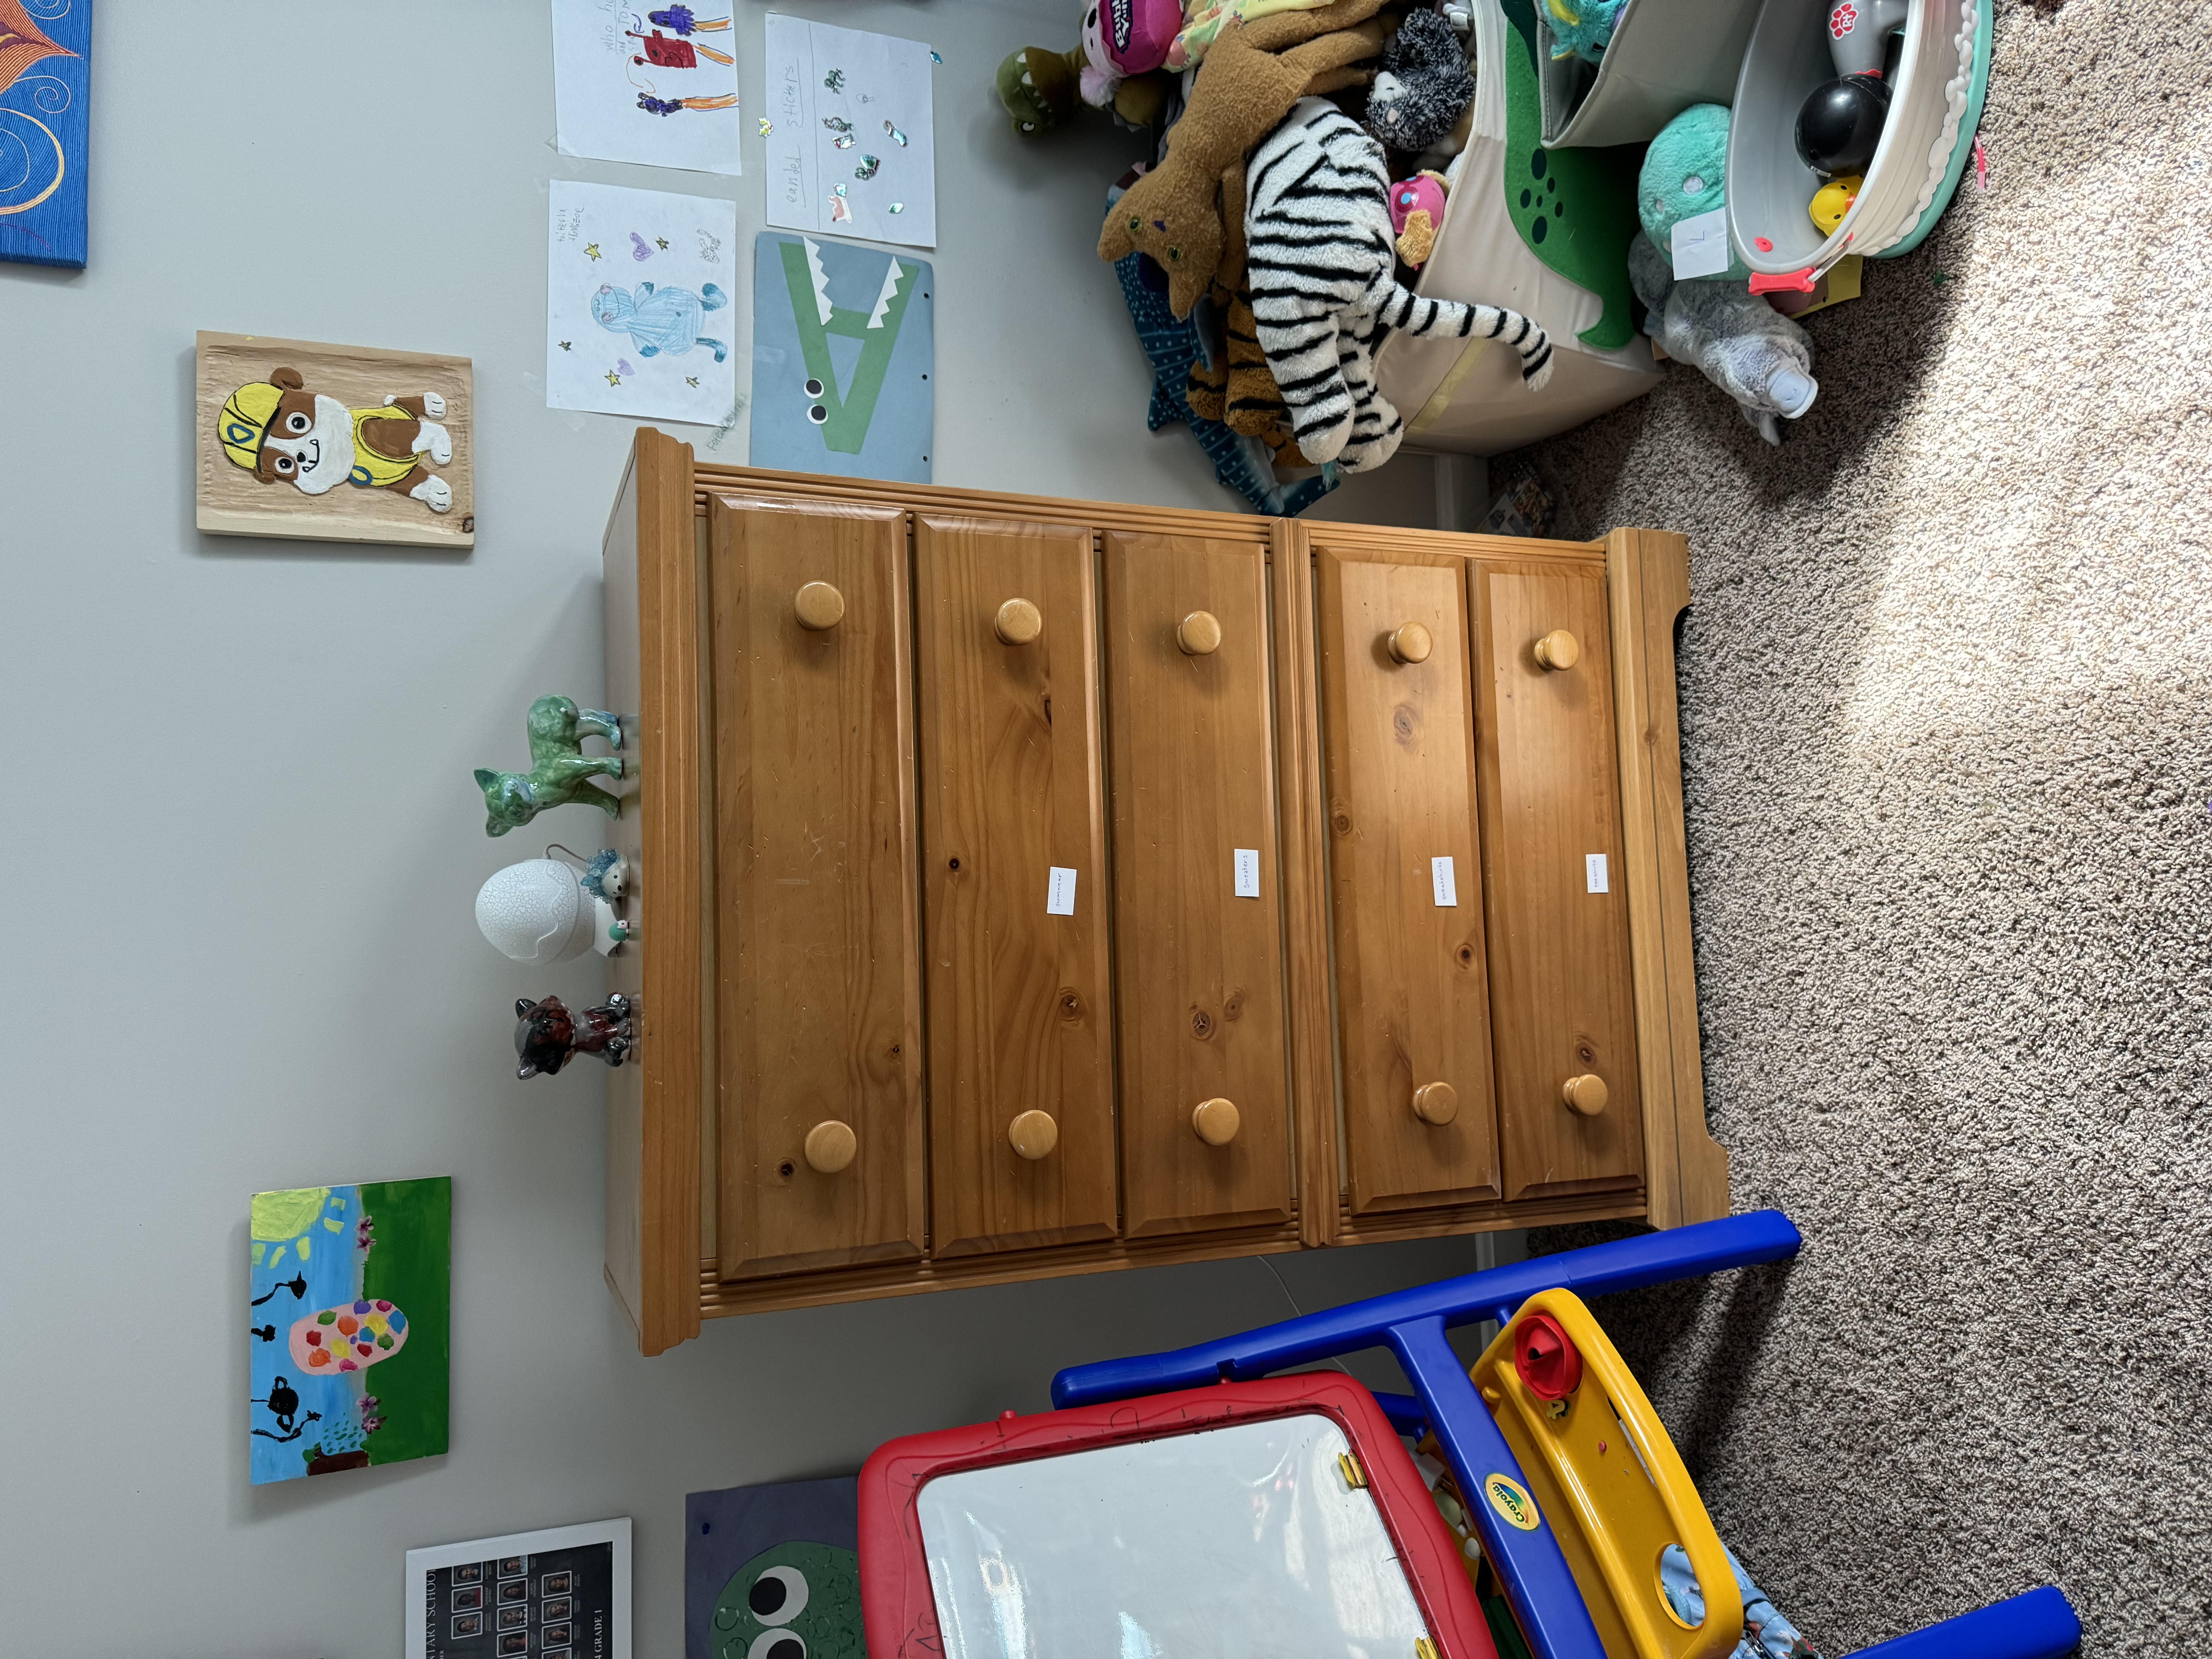
We like to keep our shower towels in our bathroom because the linen closet is down the hallway. Between our towels & the kids’ towels, one vanity cabinet is completely packed when everything is clean. I decided an alternative solution was necessary.

Read on for more pictures & how it turned out..
Several years ago, we decorated our second daughter’s room with an animal theme. We bought high quality decals just like the last room we decorated. Except this time, we painted hills and sky. It came out pretty amazing.
First came the sky. We started by drawing on the wall with a piece of chalk. It took a few tries to get the right contours that would turn into hills.

Read on for more pictures..
Several years ago, we found vinyl decals online that were a very high quality. We decoratored our daughter’s room in a ocean theme.
First came the paint. We chose a deep red and ocean blue.

Read on for more fun pictures!
I’ve been dreaming of a fancy garden that has a door and enough room to walk around inside a fence. I enjoy growing some of our own food, and our kids do too.
When we moved into our new house, it came with three garden beds along the stream. The wood was very rotted, but the soil was very healthy with lots of earth worms. We lived with three gardens (one being a compost dump) for a couple years. We have gone through a few garden designs over the years. We were determined for this one to be one that lasted a while.
Our requirements:
Before I knew it, my wife had convinced me to build a luxurious garden we both wanted.
The previous year’s gardens:

These are the garden beds after I removed the rotted wood:

How did it look after rebuilding it? Read on to find out...
Living off the side of the mountain means you sometimes get pretty unpredictable weather. A few times a year we get a strong wind storm that would take down a dead tree or two. While they were always far enough away from the house to cause damage, I was concerned a branch would fall on a kid.
We paid a professional arborist to come in, evaluate the trees & take down the ones that were dangerous and invasive. Luckily, the invasive ones were only three Sumac trees. The other 19 were dead Ash trees. And as pretty as Ash trees are, we weren’t going to take the chance of someone getting crushed.
Enter woodworking opportunity galore!


Read on for the story & more pictures..
We found this old cast-iron table buried under some over-grown flowers. Parts of it had started to rust, but it was just worn out.


This project cost about $10.
-Primer
-Spray paint
-Clear gloss spray paint
Read on for our process...
We needed a second cat litter box on the main floor of our house because one of our cats just wouldn’t venture to the basement when his primary cat box didn’t meet his standards of excellence. The best location for the cat box was in our foyer, and happened to also be where my wife wanted to put a bench for putting on shoes. Bench + litter box == hidden cat box.
This project went much more smoothly than previous times I built boxes. I must be learning something. Read on for more pictures & how it went together.

Do you live on a semi-busy road? Do your kids sometimes forget how close they are to the road? You’re not alone.

Read on for what we did..
I bought a cyclone from Home Depot about 6 months ago to collect saw dust & other debris before it gets to the shop vac filter — filters are expensive. The cyclone itself was very effective, but moving the shop vac & bucket with cyclone was really cumbersome because they weren’t attached. Some internet sleuthing turned up a design similar to what you see below. I put my own spin on it.
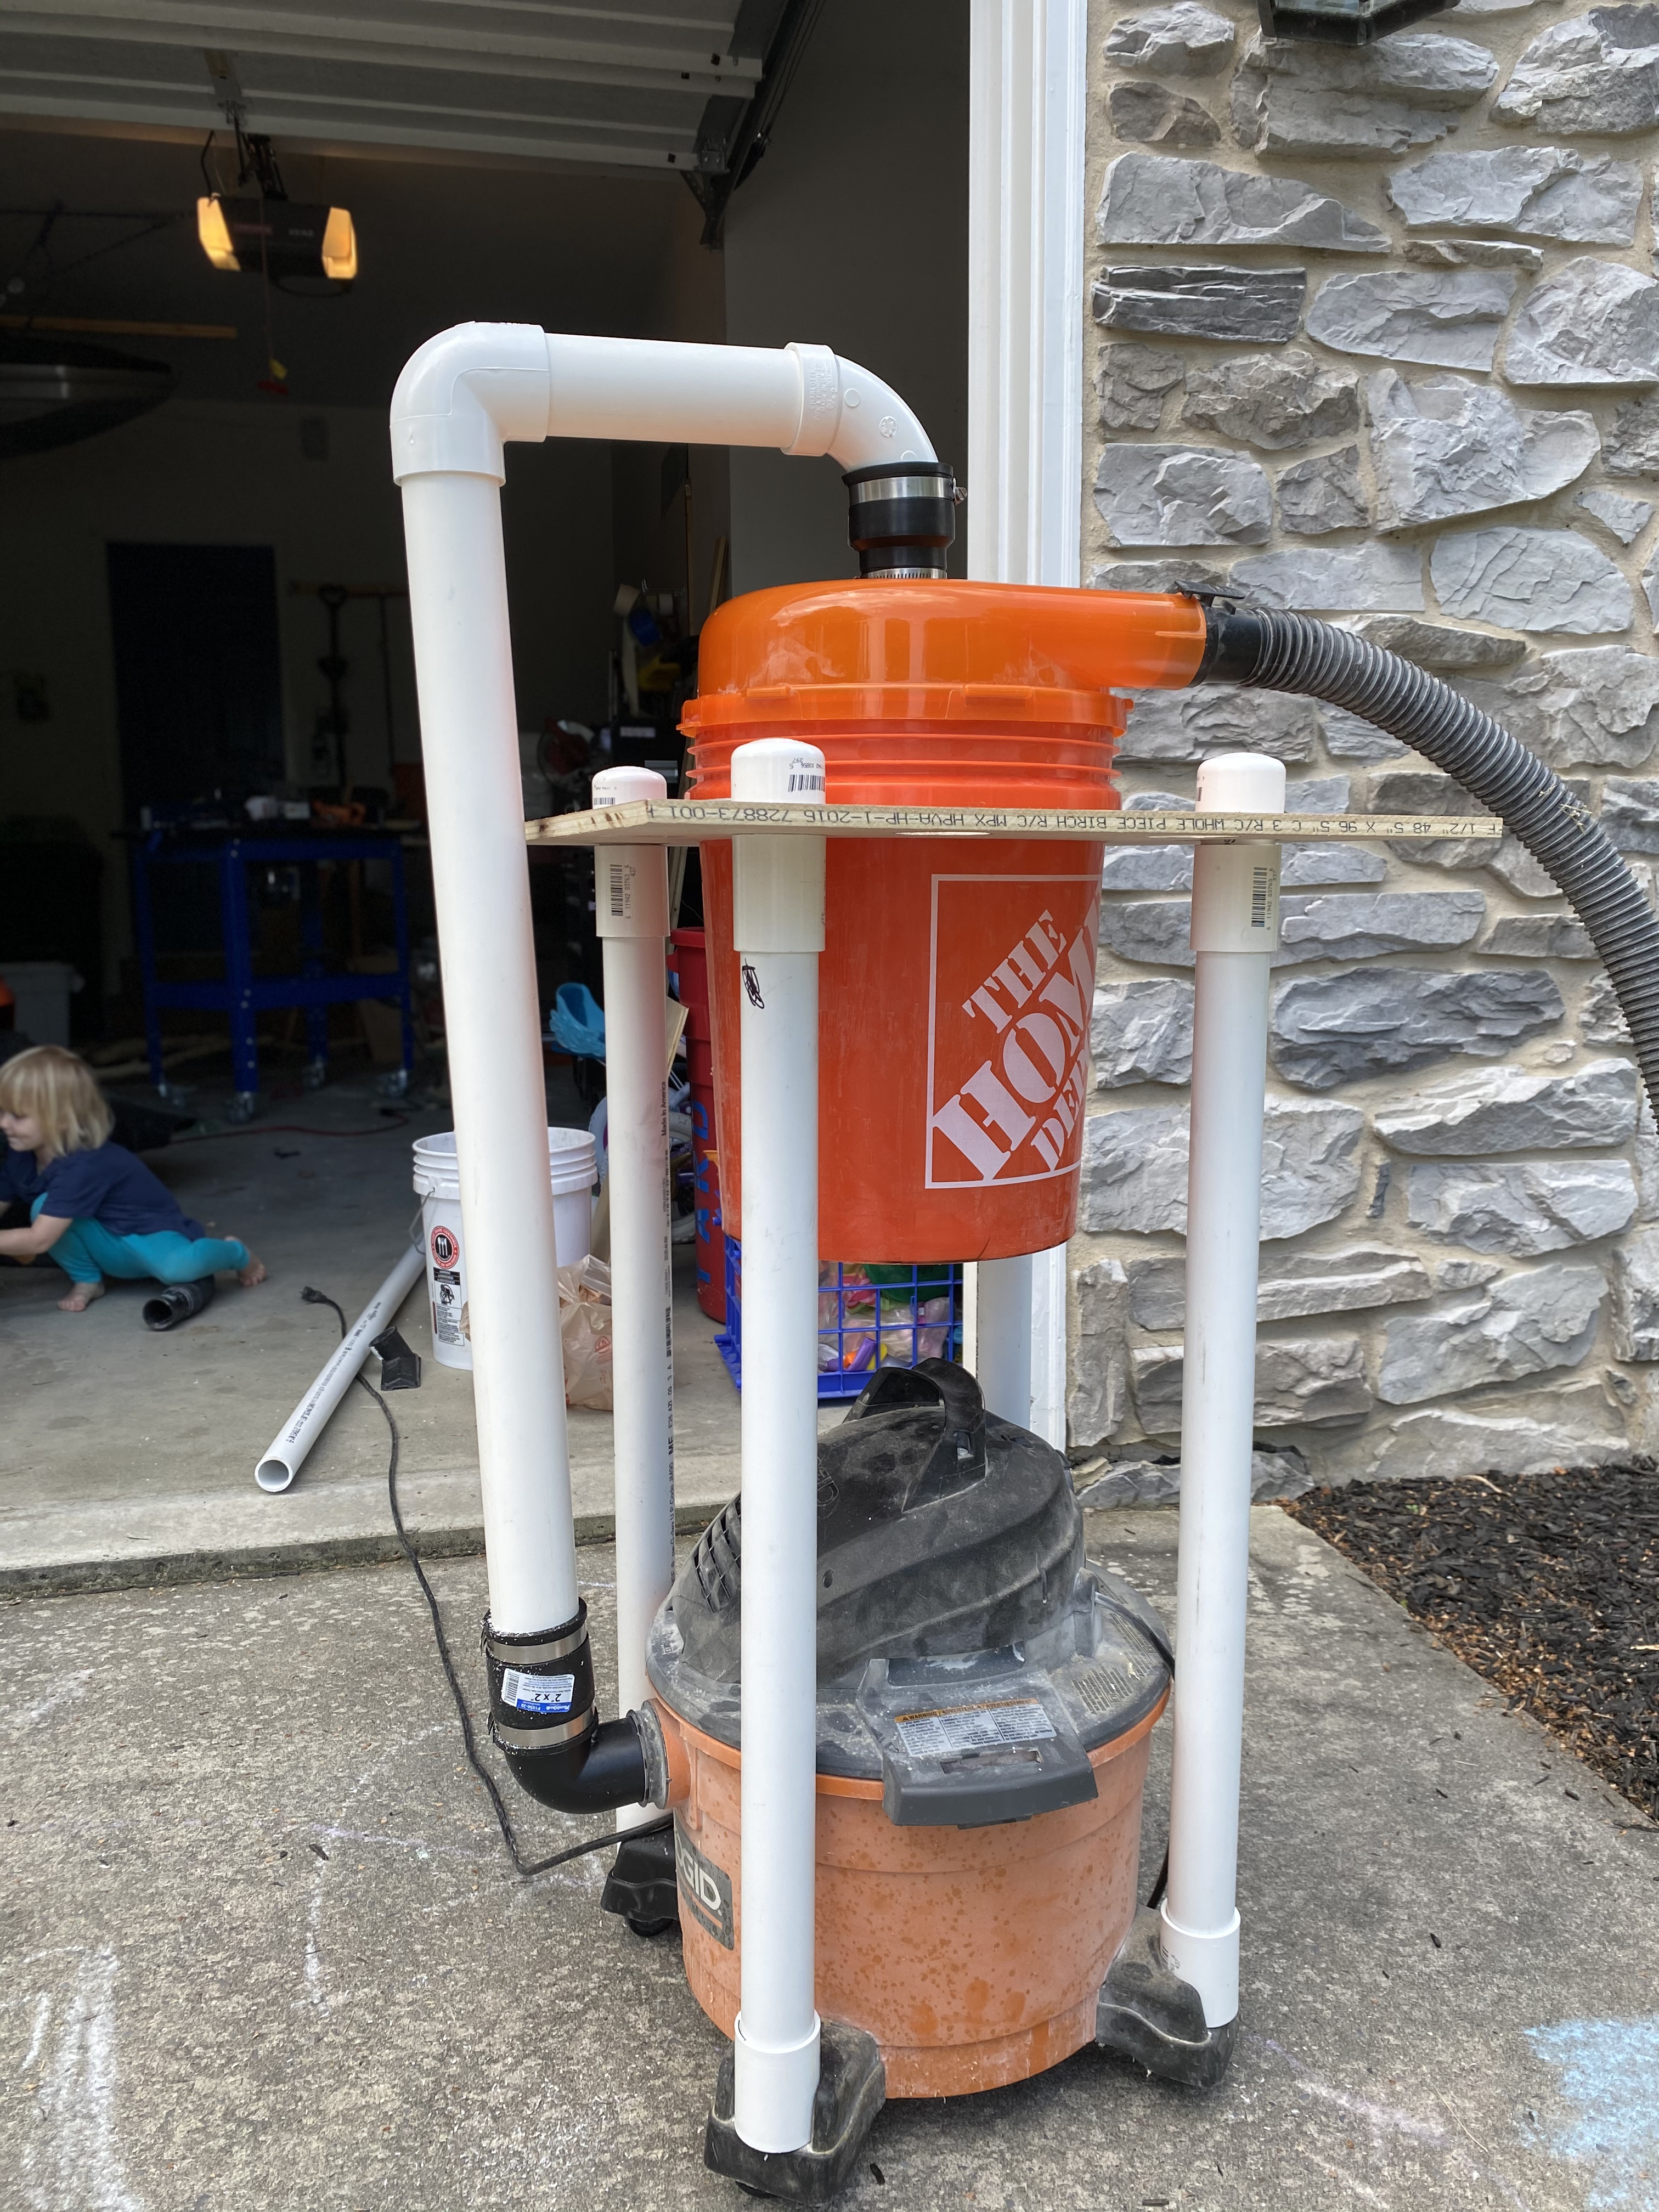
Read on for parts list, cost & instructions
Several years ago, we bought a cargo carrier for the top of the car. It makes holiday trips much easier. The downside is it takes up a lot of room in the garage the rest of the year. I got tired of it being in the way while I was working in the garage. So I created a pulley system to hoist it off the floor.
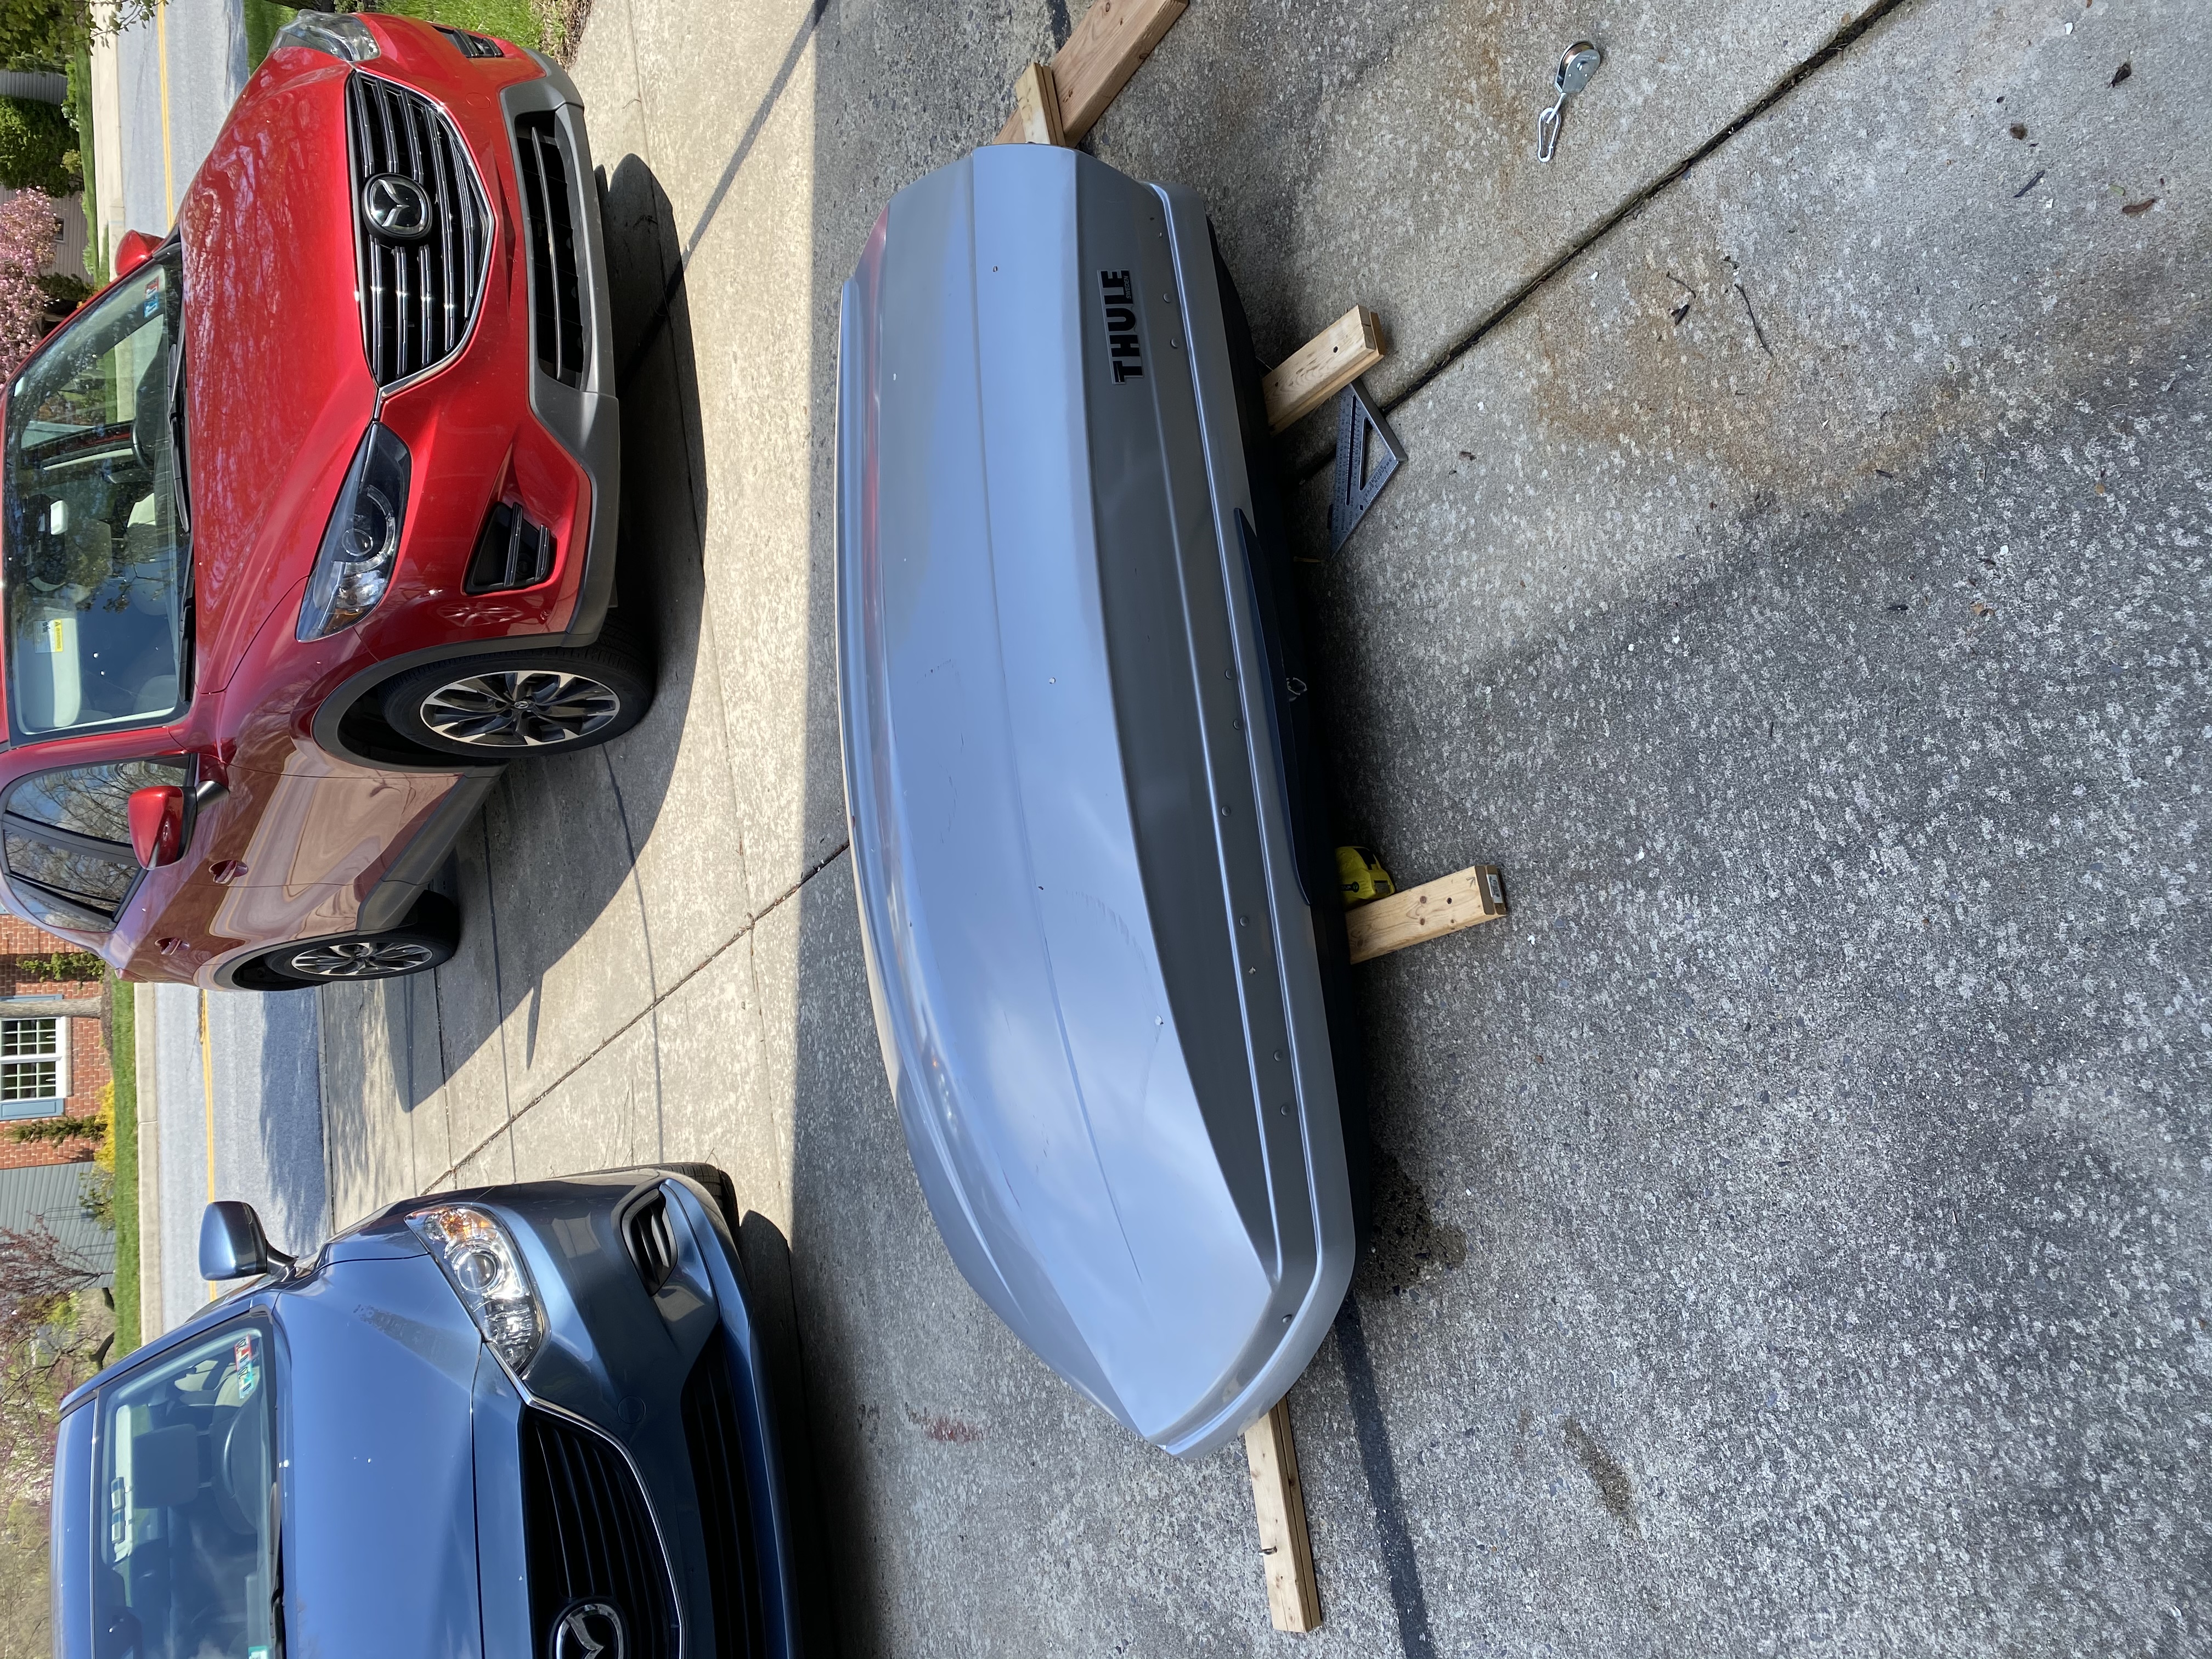
Read on for more pictures & what I did..
My first real home improvement project was the condo bathroom in the first place I ever owned. I had barely any tools other than the basic hammer, screw drivers, etc. It started simple (or what I thought was simple). I just wanted to build a new vanity with a couple drawers. I was not equipped with tools or experience to be able to do it properly, but it was a great learning experience. The project snowballed into an 8 month process of renovating the entire bathroom. Thankfully we had a neighbor upstairs that let us use her shower for several of those months.
This project is from around 2010.
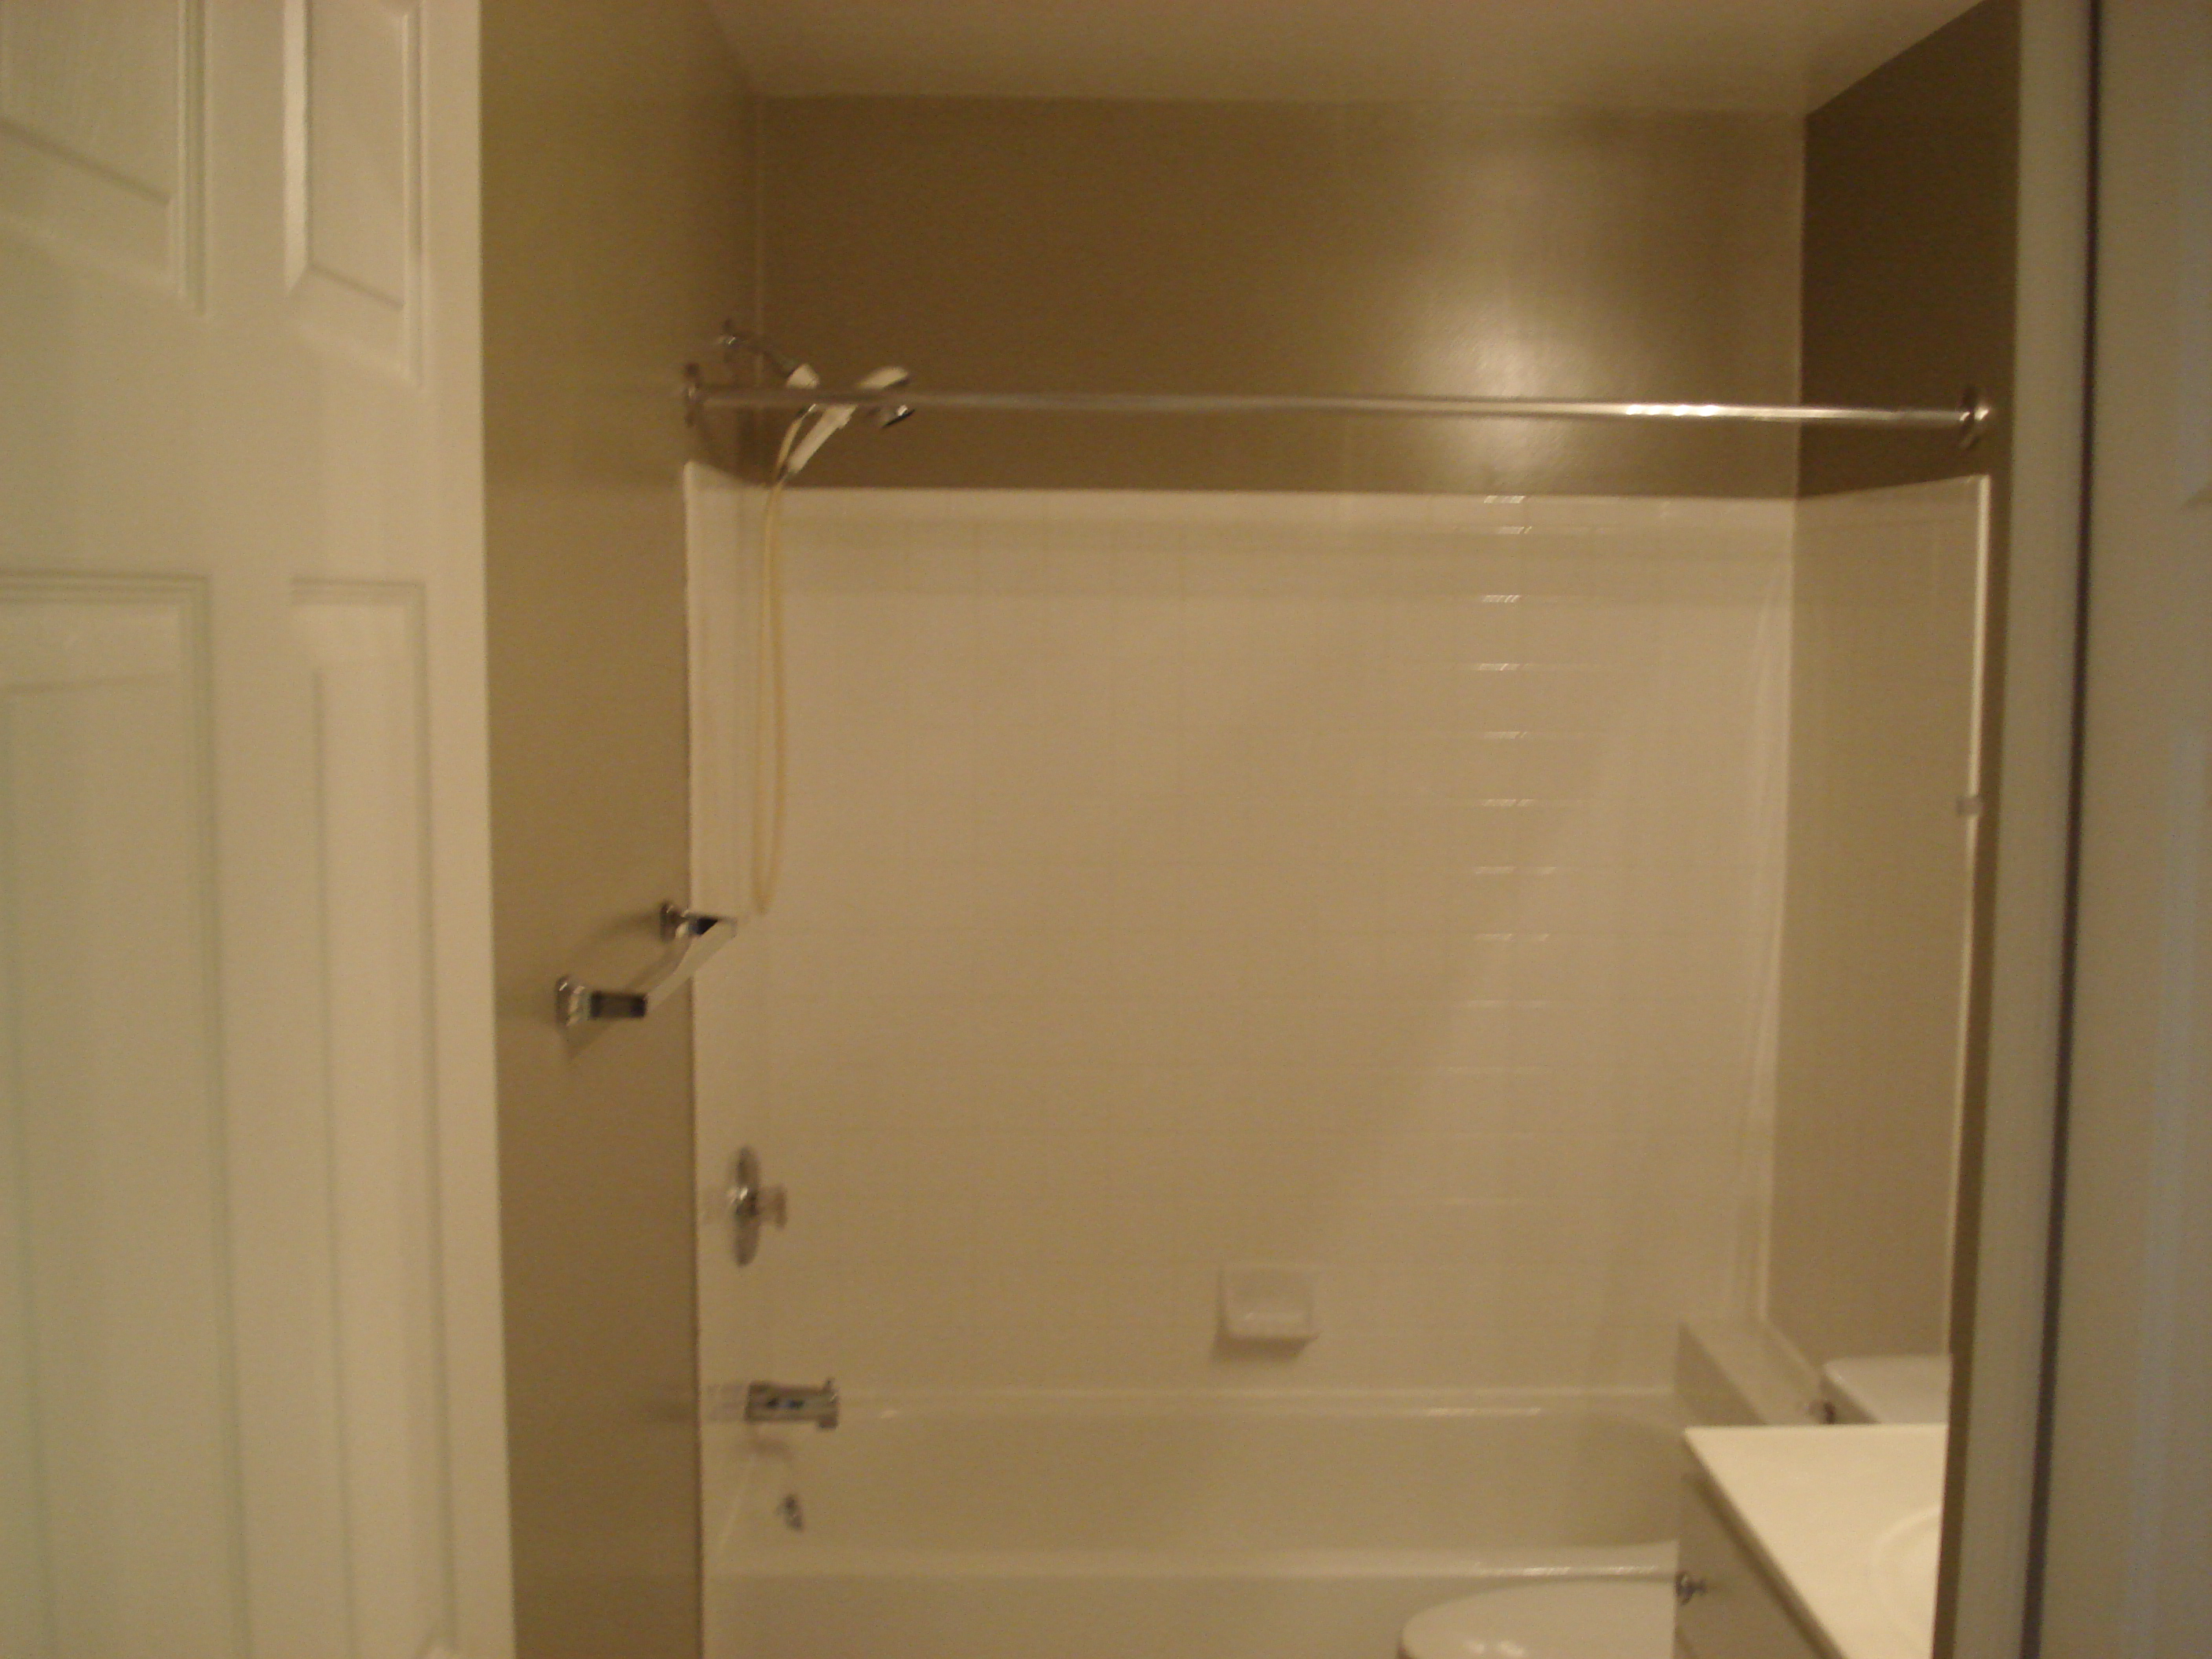
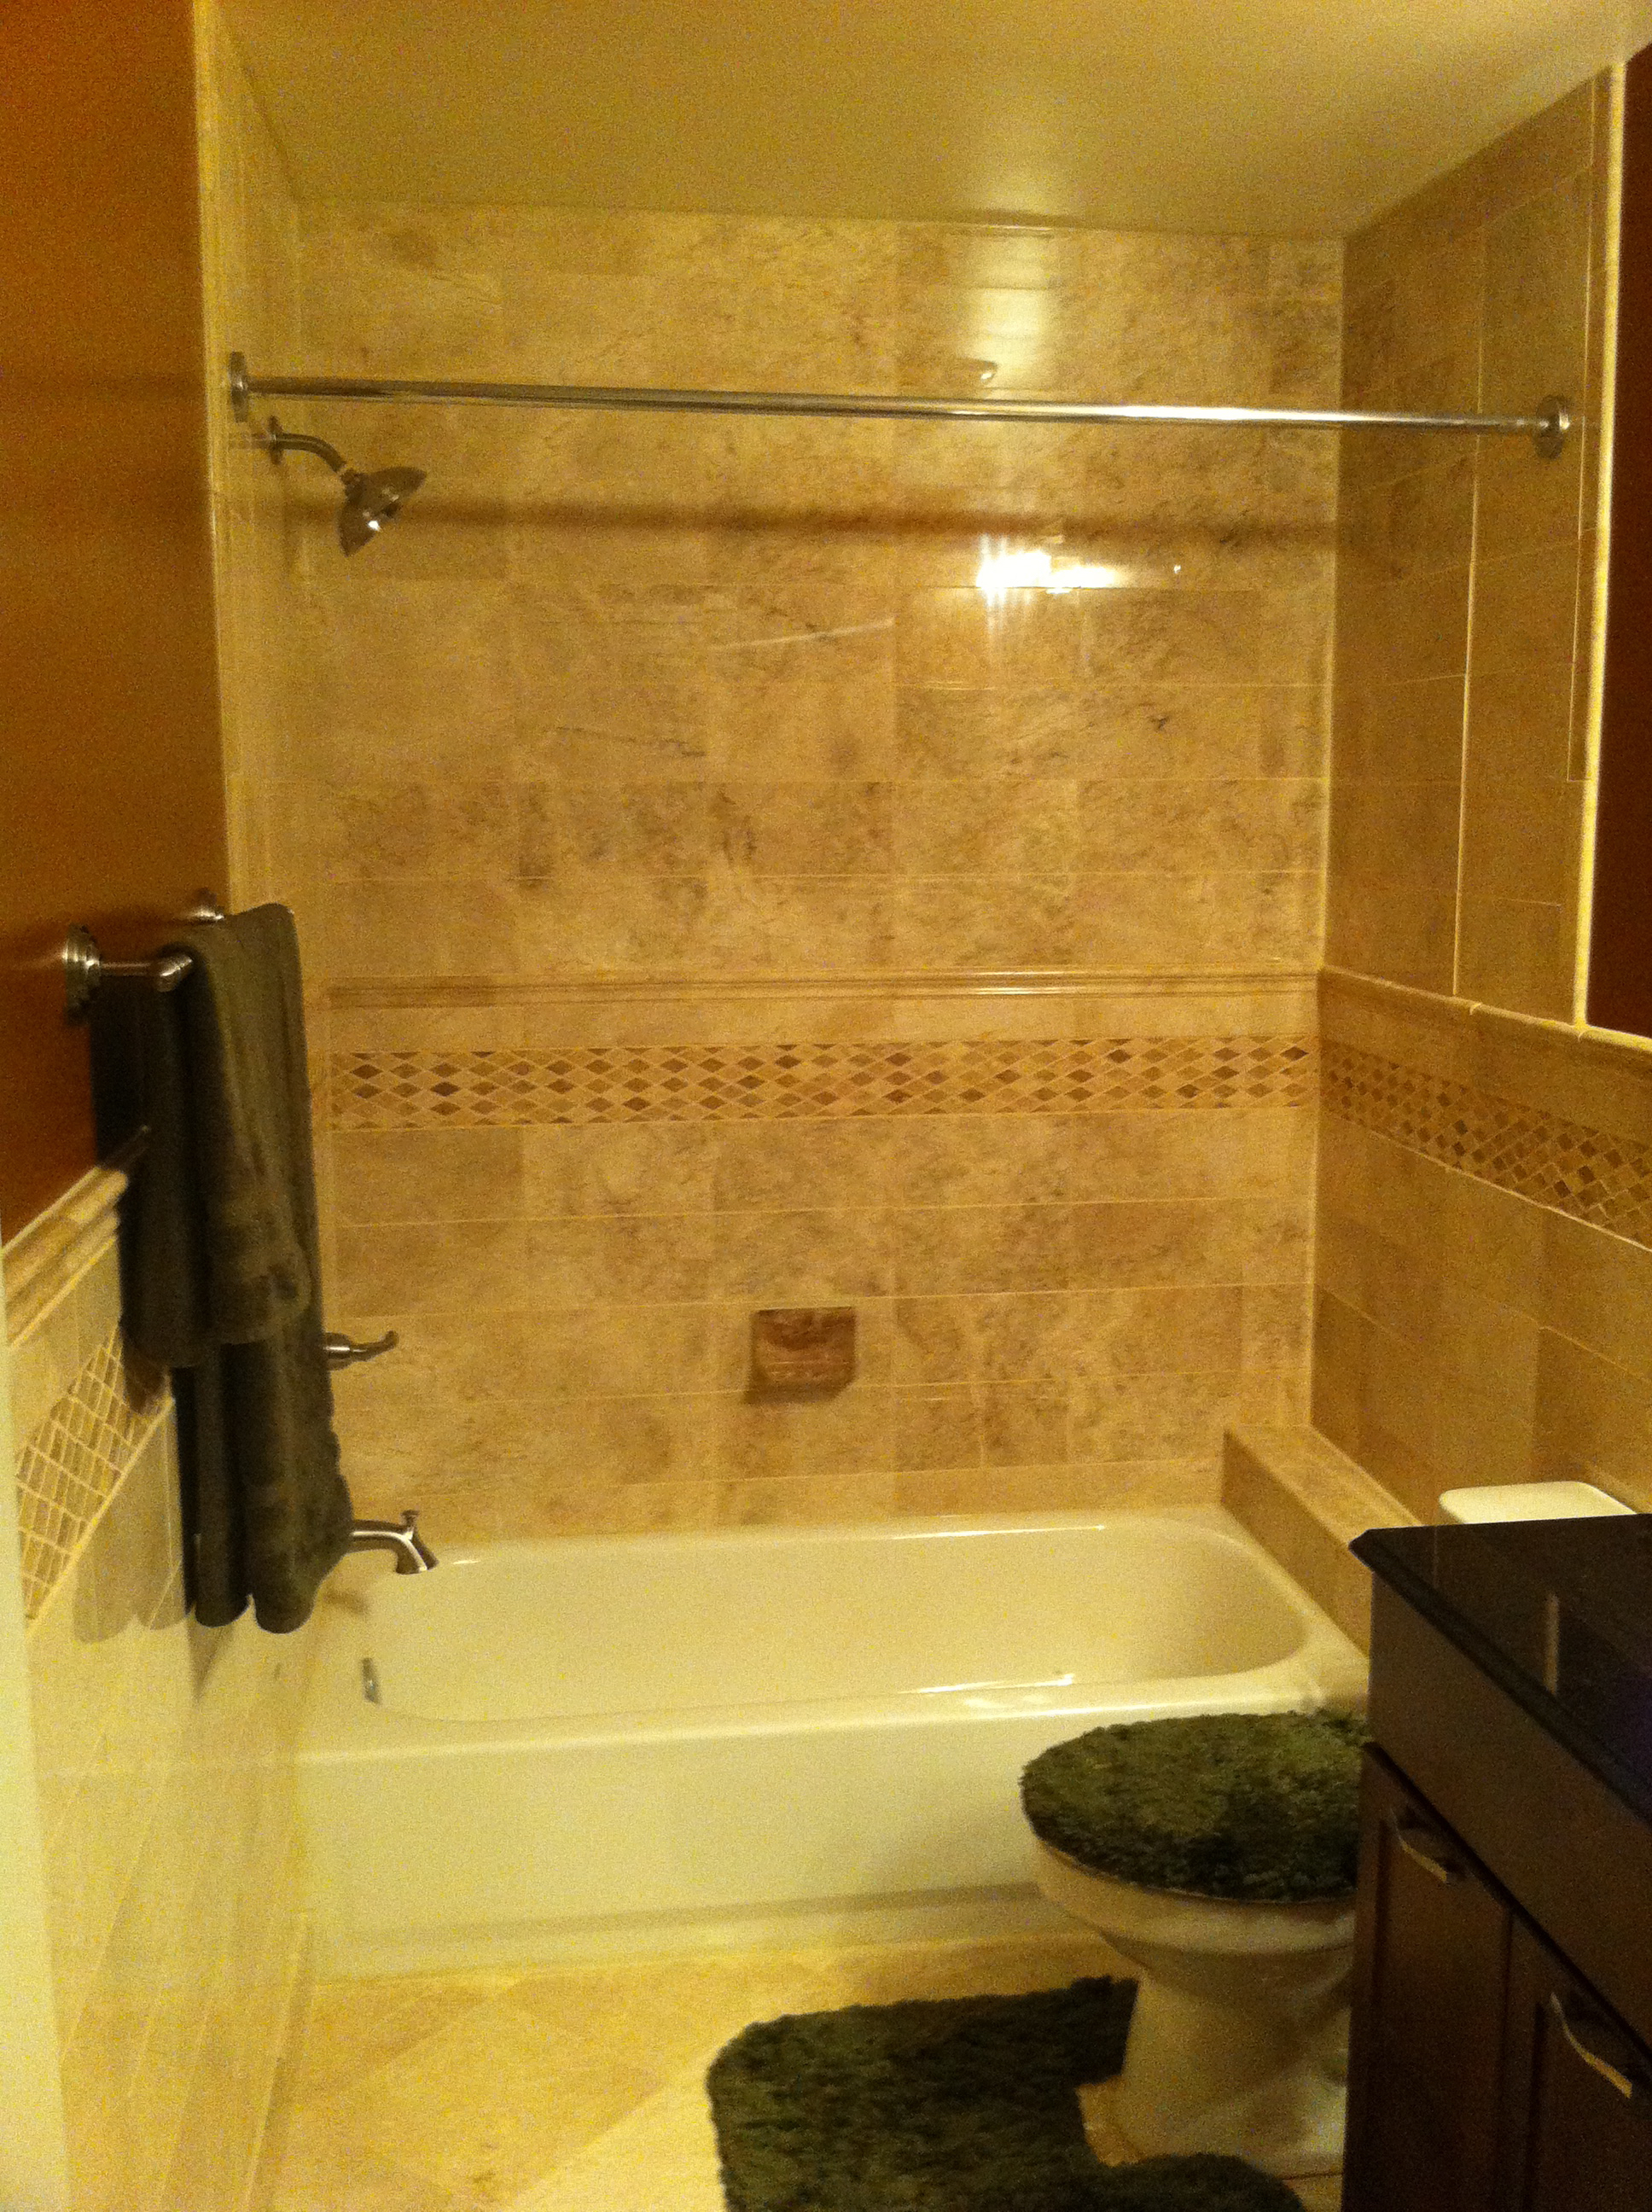
Read on for more pictures & disasters...
A few days before Black Friday several years ago, I turned to my wife (who loves tea) & asked if she would like a fridgerator that dispenses hot water. Her eyes got big and said "yes!" I got a great deal on a GE Cafe fridge that had a freezer on the bottom and a cavernous fridge area (especially compared to our existing fridge at the time).
This kicked off a year and a half long project of renovating our 1973 kitchen. As you can imagine, there are numerous parts to this project. One of those parts was a homemade kitchen cabinet for storing trash cans & small appliances.
Here's a picture of what the kitchen looked like after it was completely done:
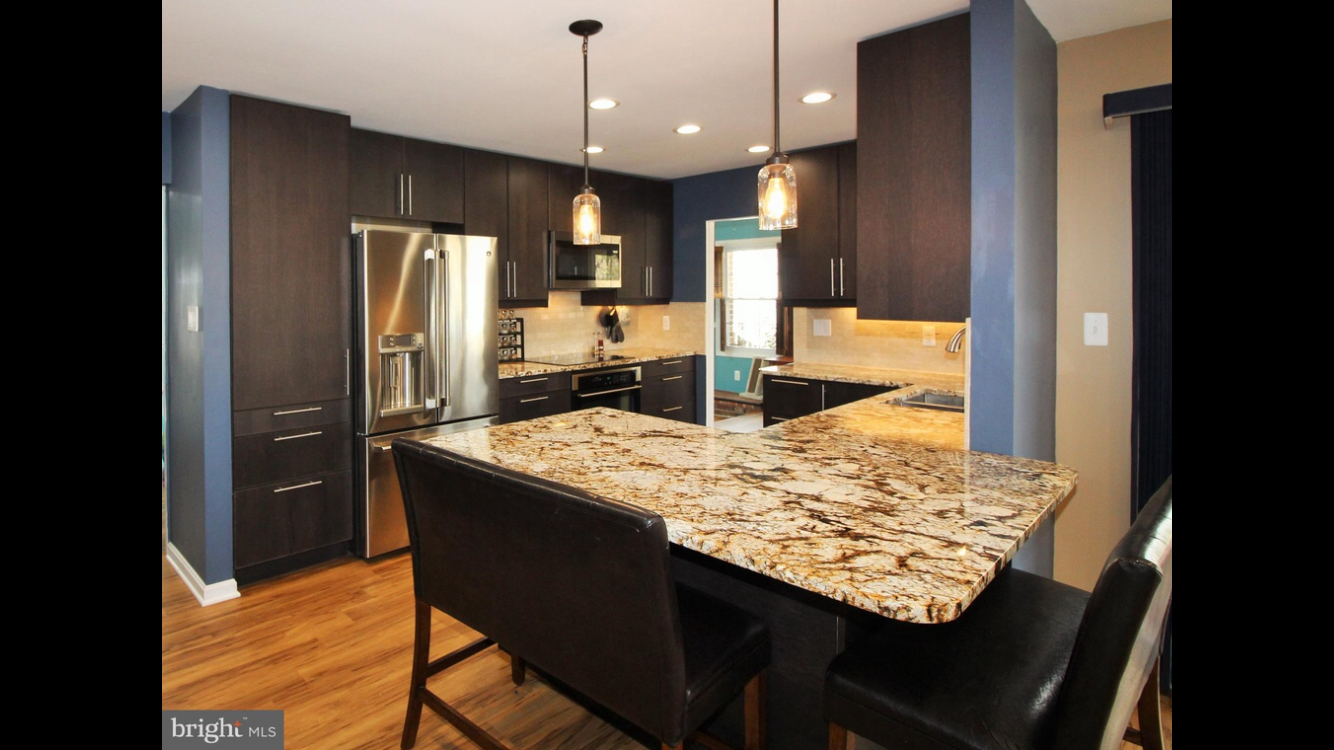
Read on for before & after pictures along with details on things that we didn't expect..
When we renovated our kitchen, we built a homemade cabinet.
Our requirements were:
We bought the trash cans & had the small appliances, so we knew all the dimensions. 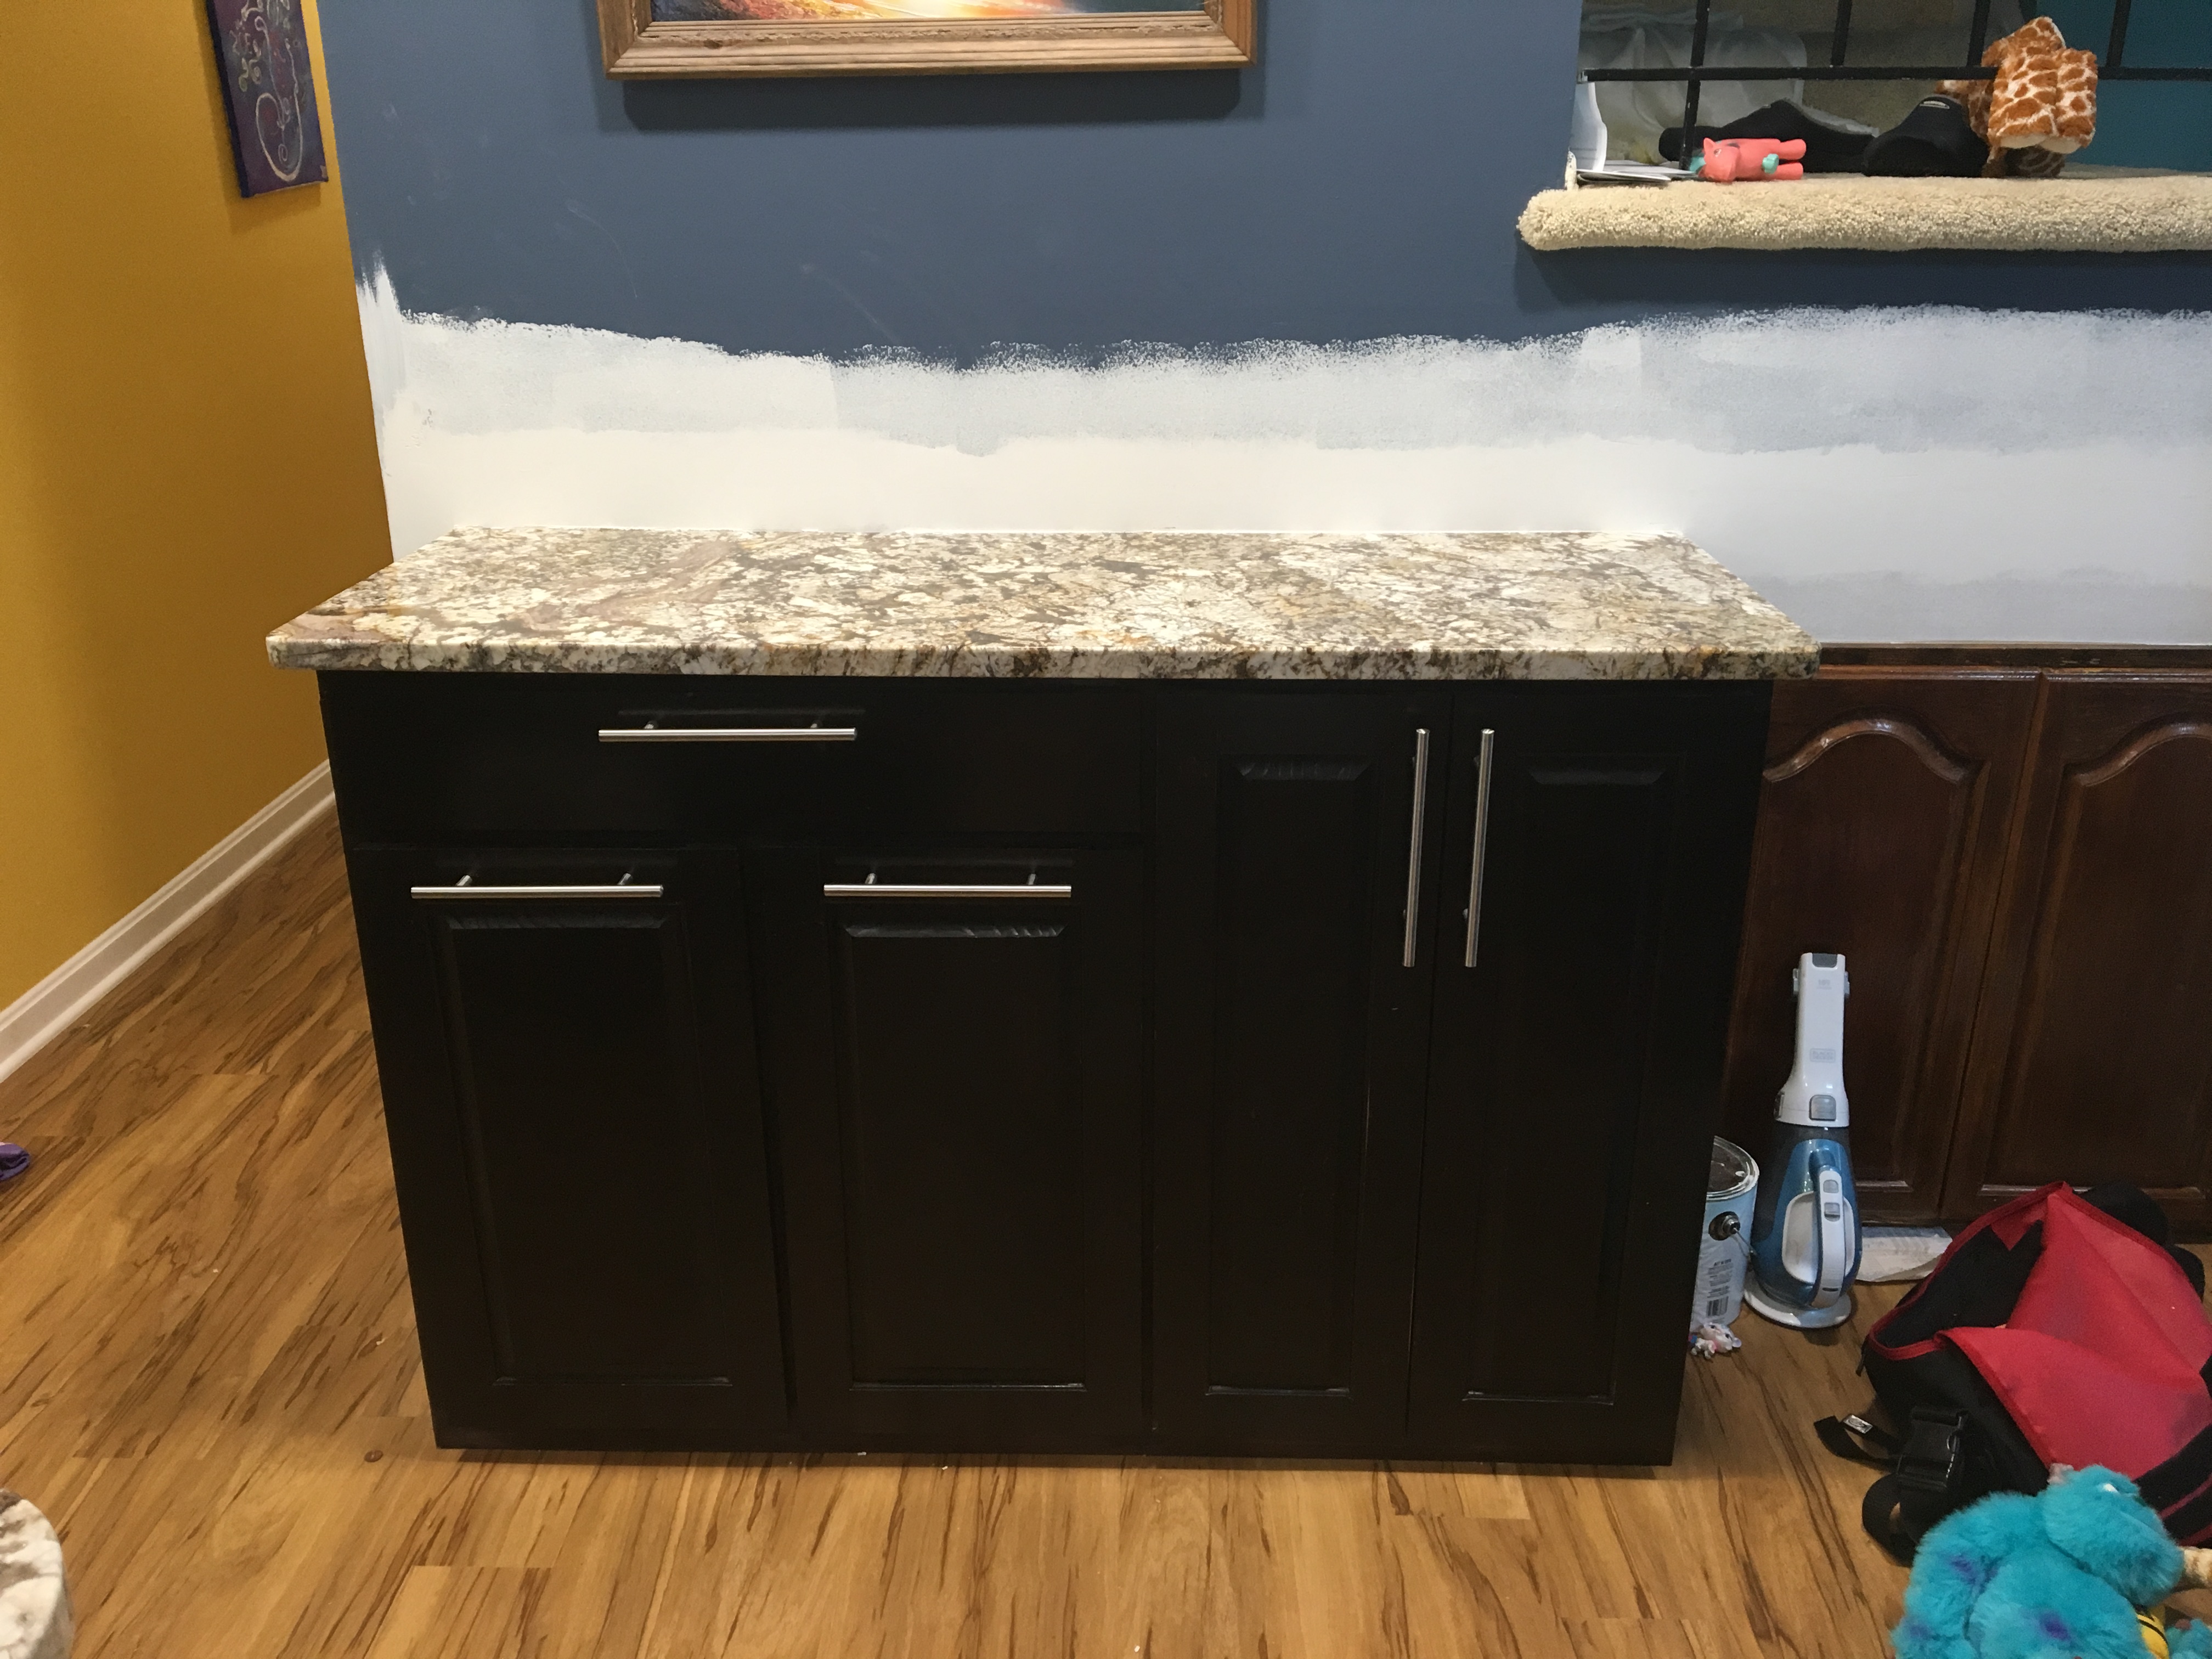
Read on for the plans & more photos...
What does a home owner do when they find a water leak in the foundation of a bathroom that hasn't been updated since 1973? You renovate!
This is after the renovation was complete:

Read on for the back-story along with more before & after pictures...
This project isn't exactly an end table, but that's the closest thing it resembles in my mind. Maybe an open cabinet?
Sometimes there are spaces in a house that aren't really useful. Our kitchen has one such space. Like most families, we have an assortment of small appliances. Countertop clutter is my archnemesis, and I refuse to let it be taken over by small appliances. Especially when there's a space in the kitchen that isn't being utilized effectively. There's a saying about necessity being the mother of innovation. We needed a place to put small appliances that wasn't the counter or the floor. So I built this table/cabinet.
The materials:
Total cost: $60

Read on for more pictures & details...
When we bought our new house, we were looking for a nice big back yard where our kids could play. We lucked out and managed to find one that's not only big, but surrounded by other houses.
I wanted to build our own play set for them to play on, but the cost of quality cedar from home improvement stores was far more than I wanted to pay for the size play set we wanted. The kids had certain ideas of what they wanted:
My wife also wanted:
We ended up with a play set that had everything except the first requirement -- a tire swing. Oh the irony.

Read on for how we solved the missing component...
A garage work bench doesn't have to be complicated. Drawers are nice, but all I needed was a surface that was elevated off the floor. I built my bench to be 36" tall (about the same height as kitchen countertops). The design here is simple enough that I can add on to it later, as needed. The most important part was to get a functional, elevated surface.

Read more for more details & pictures...
There's not much to a garage pegboard, but there are some things to plan ahead.
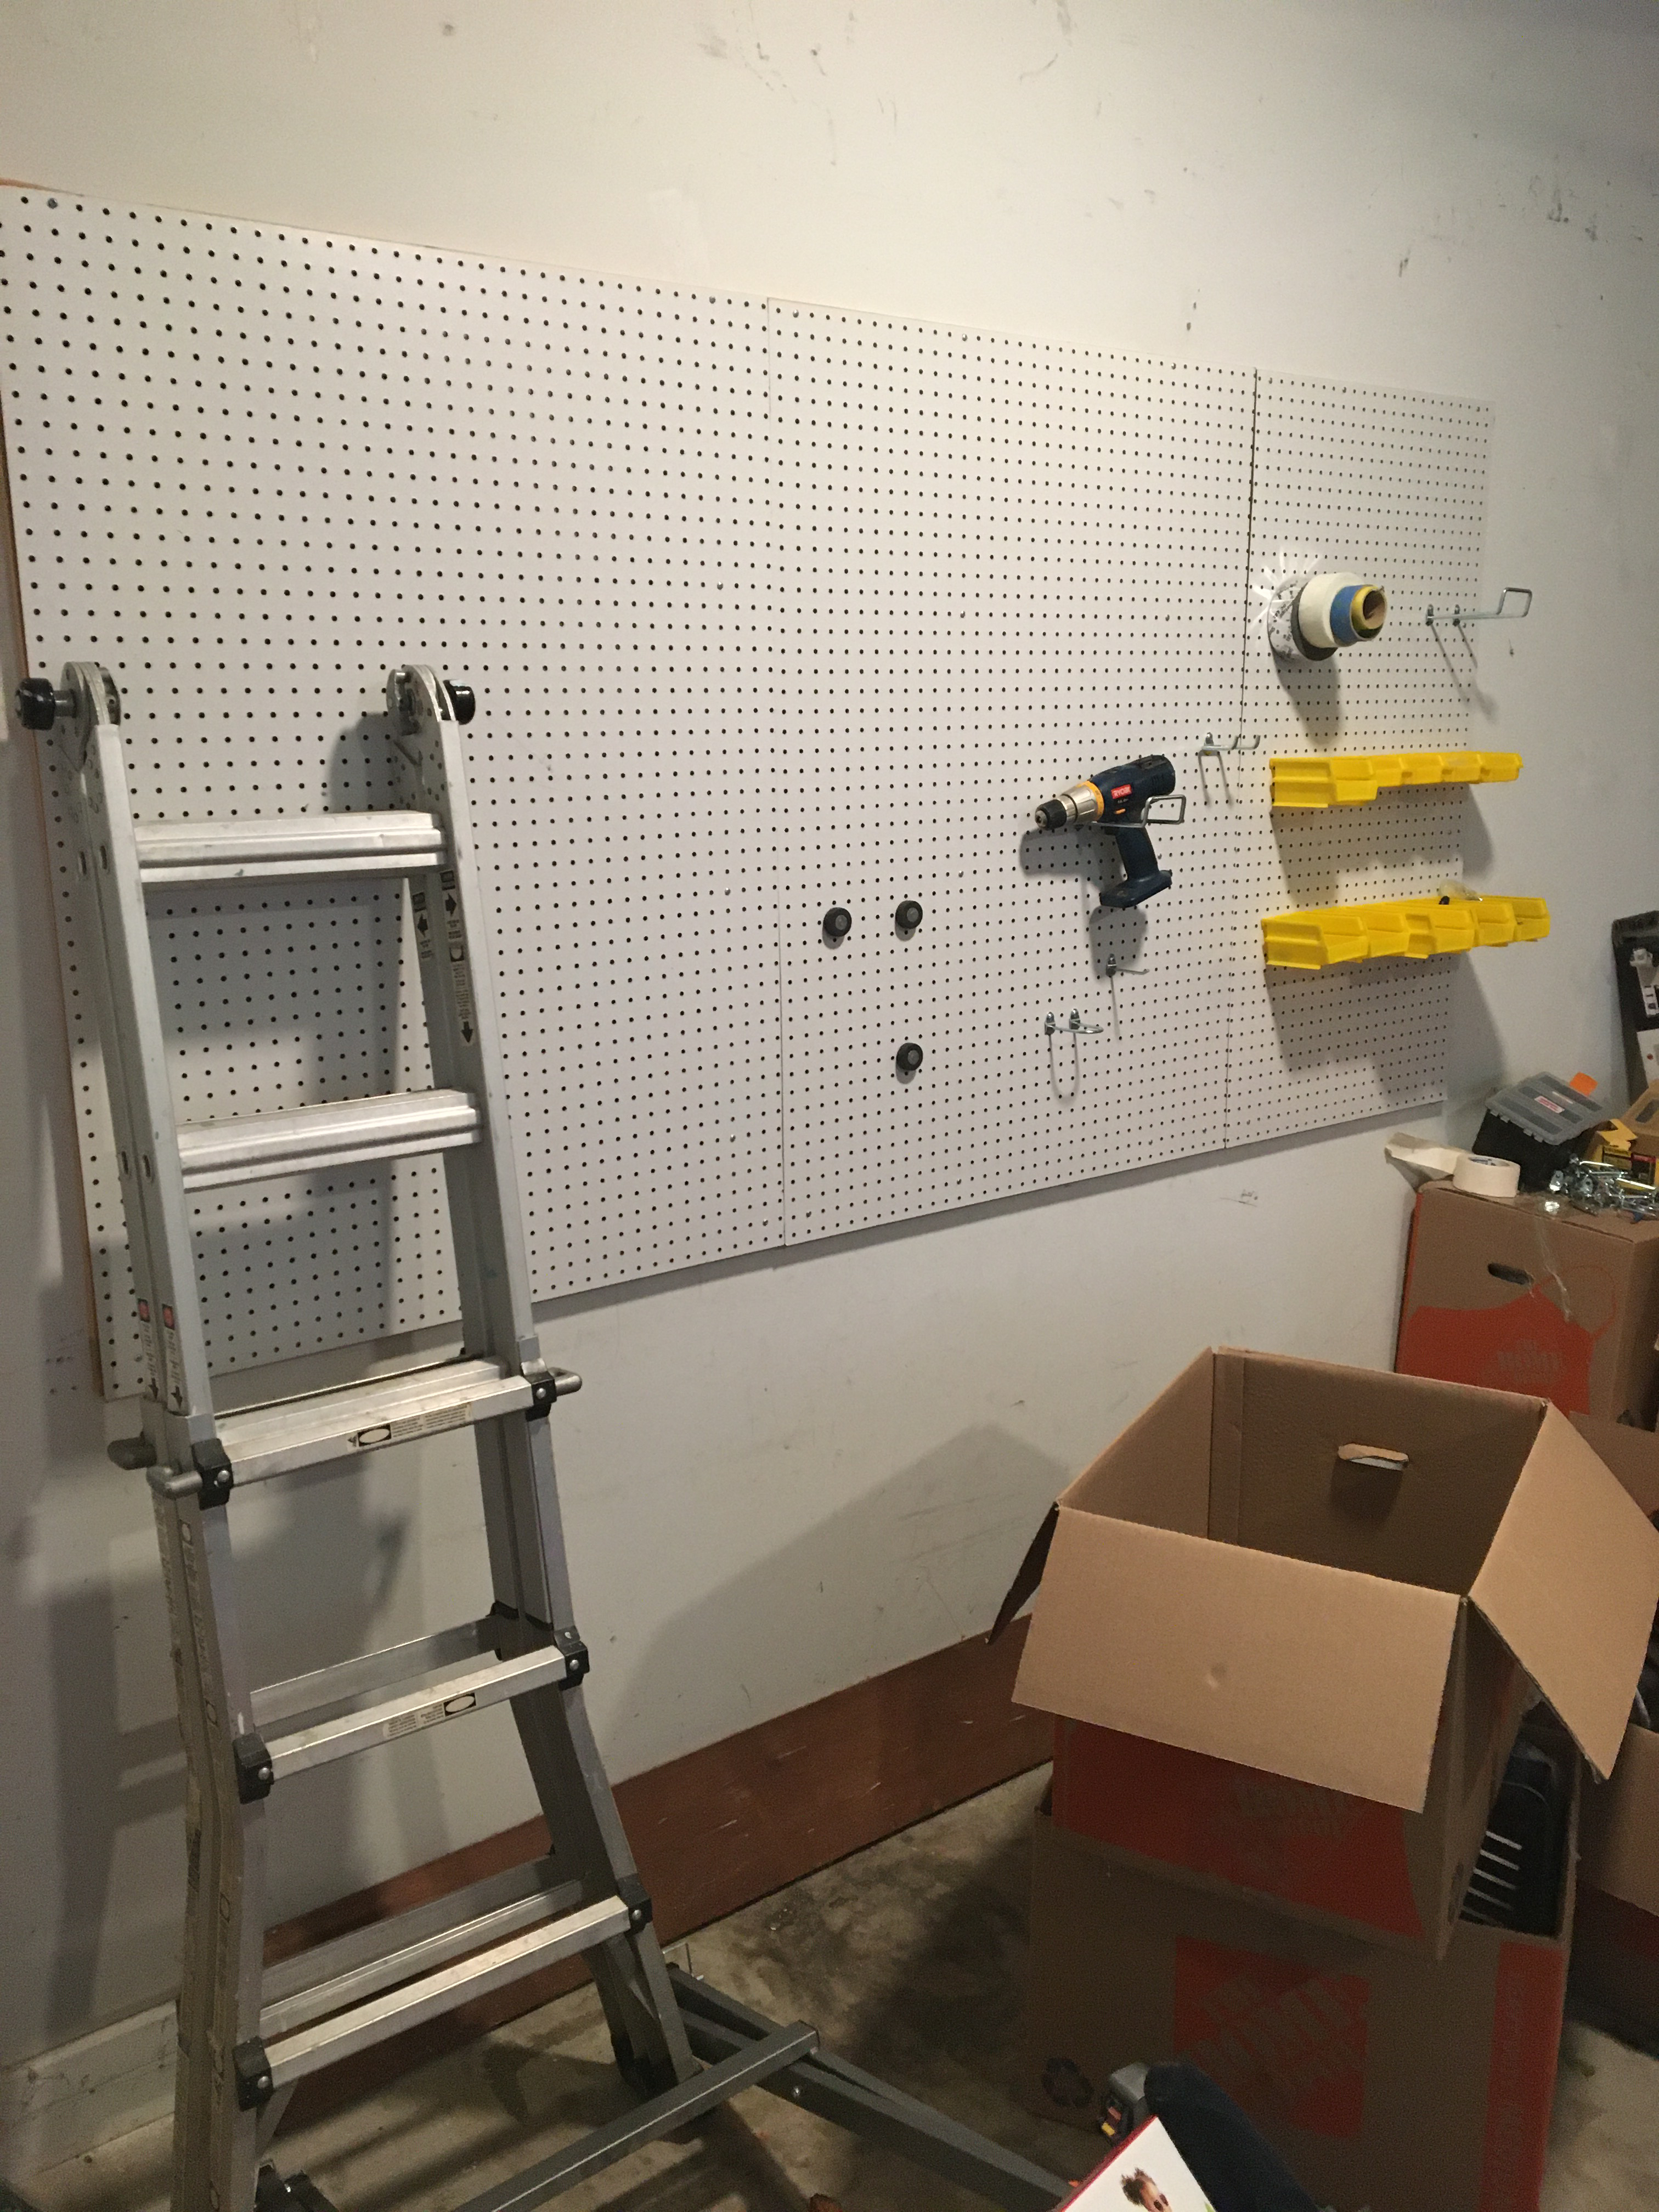
Read on for more..
If there’s one thing that’s hard to find these days, it’s affordable furniture that lasts. That‘s even more true for kids’ furniture. My daughter needed a shelf with cubbies to keep clothes & toys. I wasn’t about to pay $75 for MDF boards that would fall apart in two years. So I designed one myself made out of pine. I paid $45 for the wood, and about $5 for the screws.

Read more about how I built it below:
Our new house has a screened in porch area that is great for sitting outdoors but getting away from bugs. This necessitated new furniture to make the space even more enjoyable. We were debating also making the cushions, but we found these blue ones for 50% off at a store called At Home. Overall, the cushions were about $150, the wood was about $300 and the screws were about $50. Considering retail couches sometimes go for over $1,000, I think we ended up ahead.

Read more to see how I built it