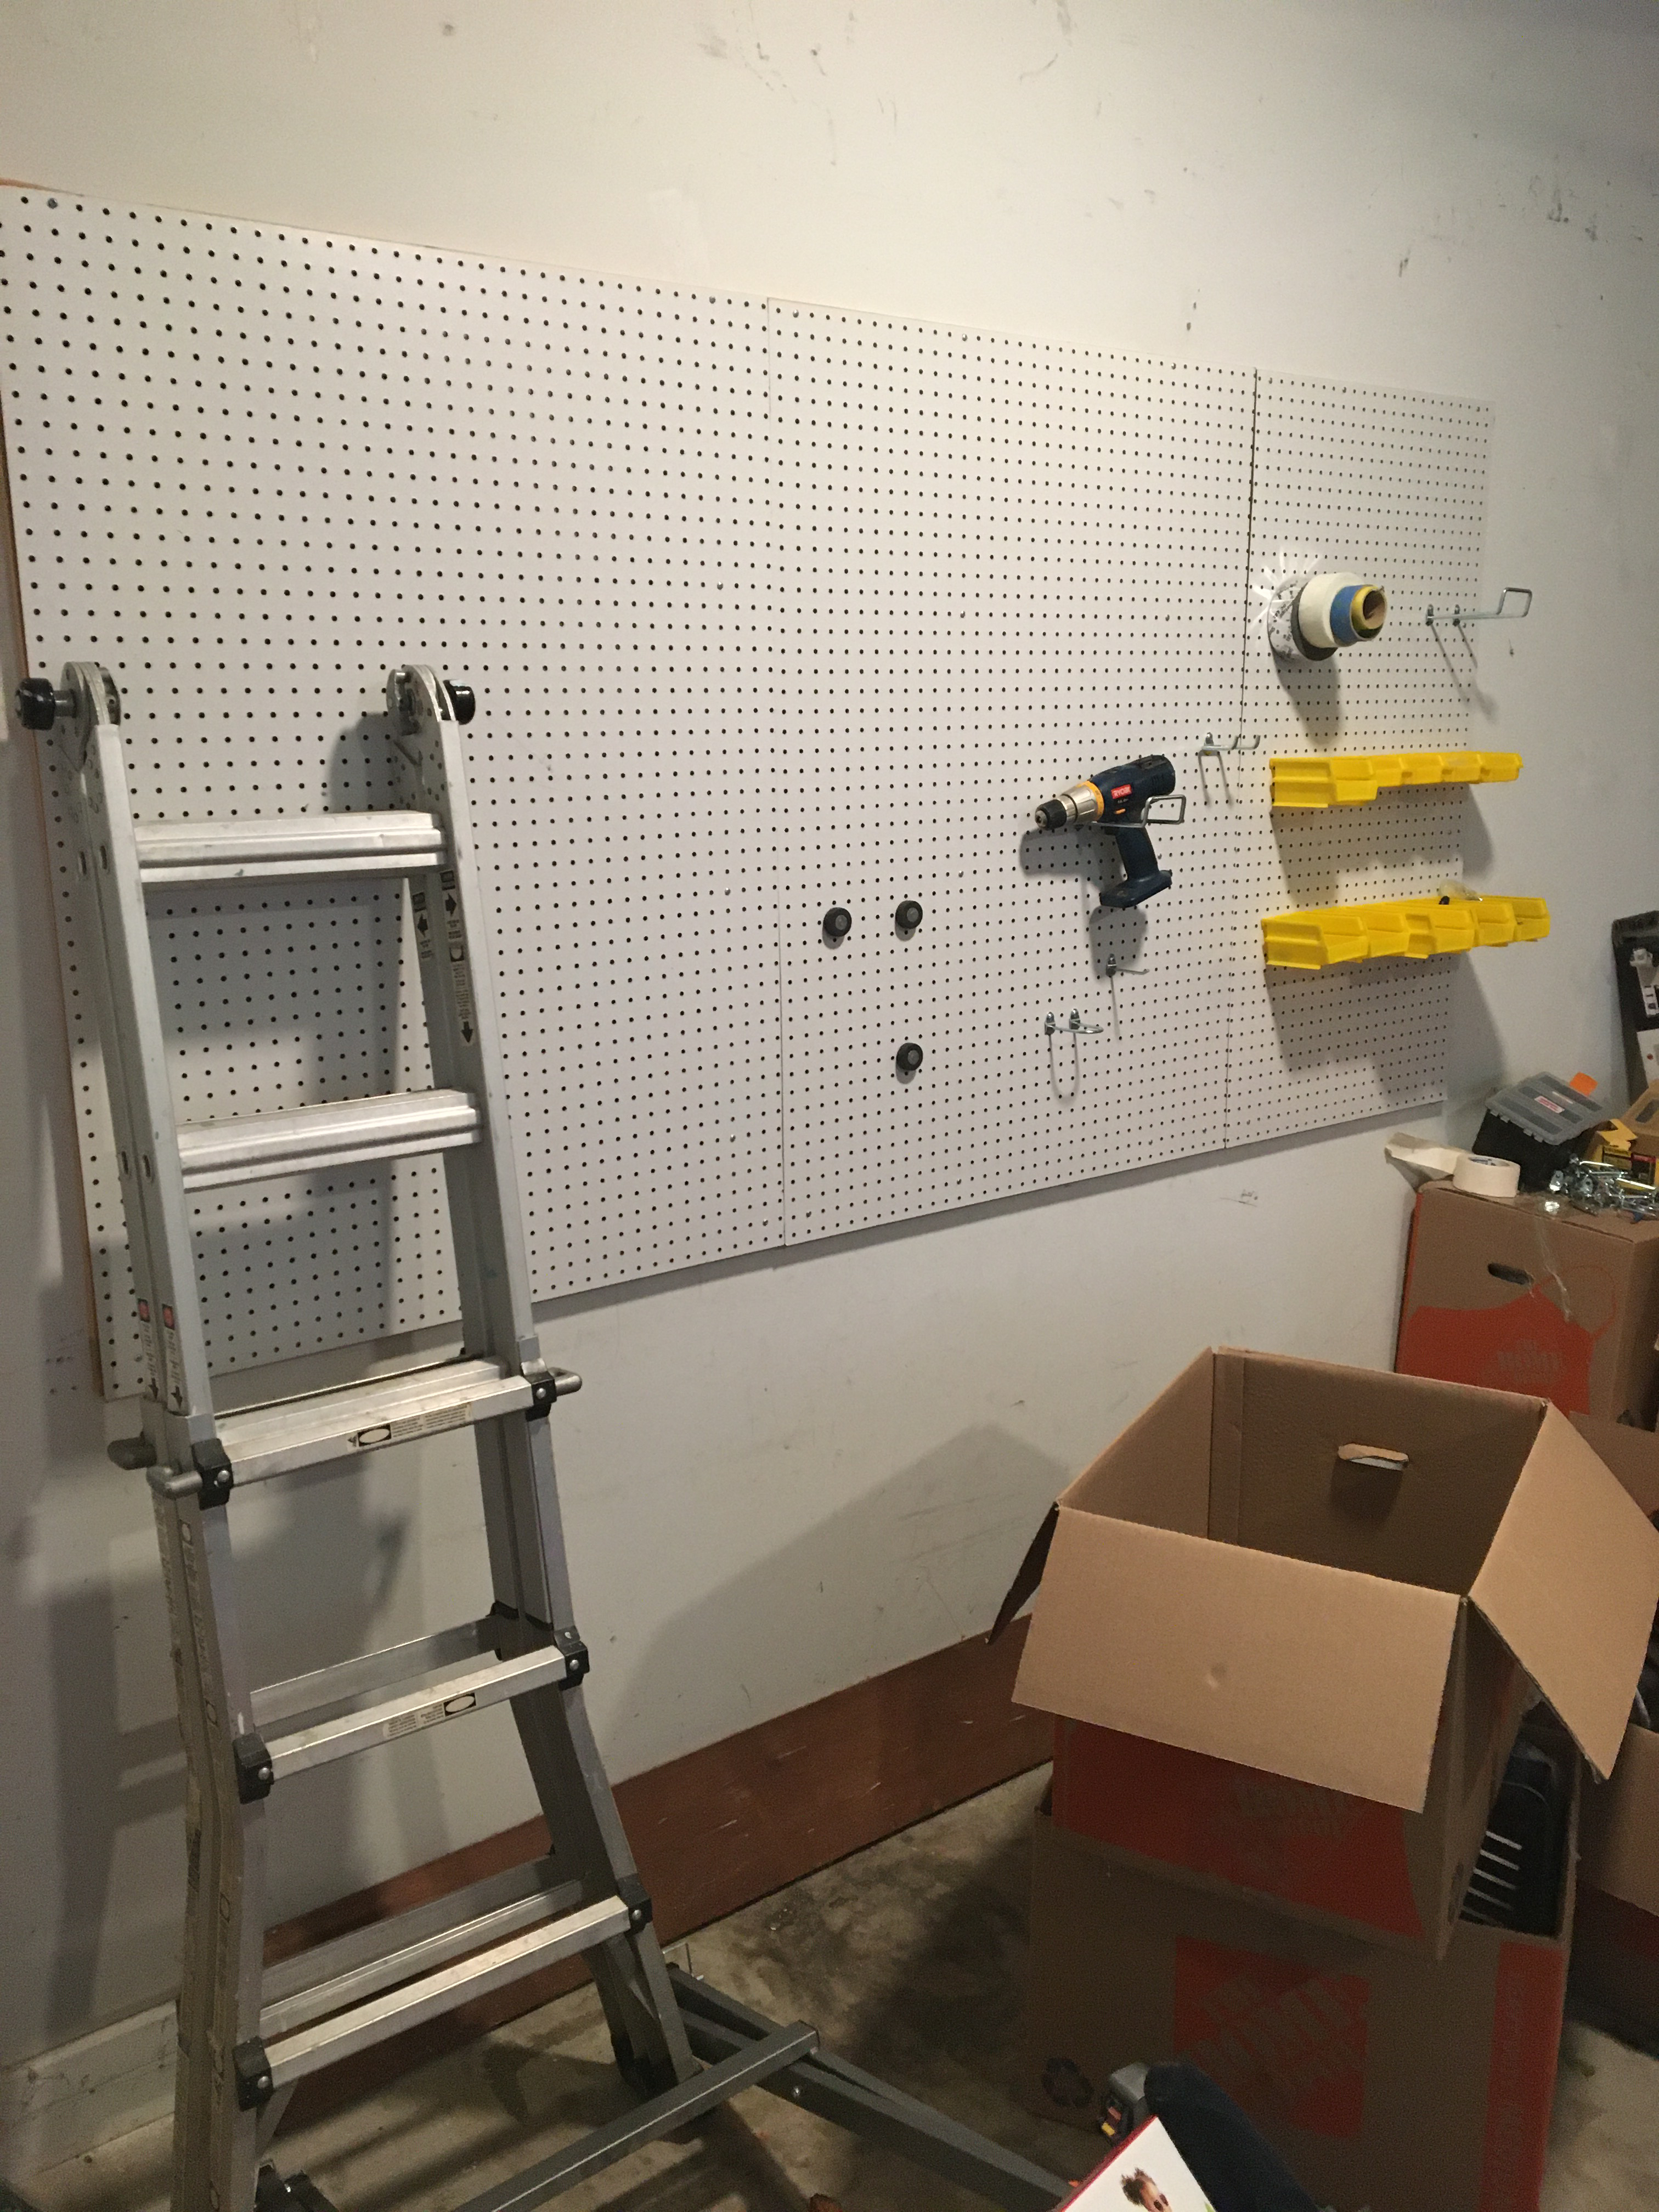
There's not much to a garage pegboard, but there are some things to plan ahead.

Read on for more..
Materials:
- 1”x2” wood for frame (if you have drywall already)
- Pegboard
- Wood screws (2.5”)
- 1” Pan head wood screws for attaching the pegboard to wood
- Marker/pen
- Saw
If you have drywall already installed like my garage, you'll need to install some pieces of wood to make the pegboard stand off the wall slightly. This gives enough space for the pegs to go behind the pegboard.
I used 1"x2" strips of wood. You want the wood to be as narrow as possible to maximize the number of holes you can use in the pegboard. Since the pegboard will sit directly against the wood, any holes directly in front of the wood won't be useable.
To pick out your wood, look for flat, unwarped pieces. You can look at the them like you’re looking into a microscope where the edge of the board is close to your eye. You can also lay the wood on the floor to see if it’s bent, twisted or warped.
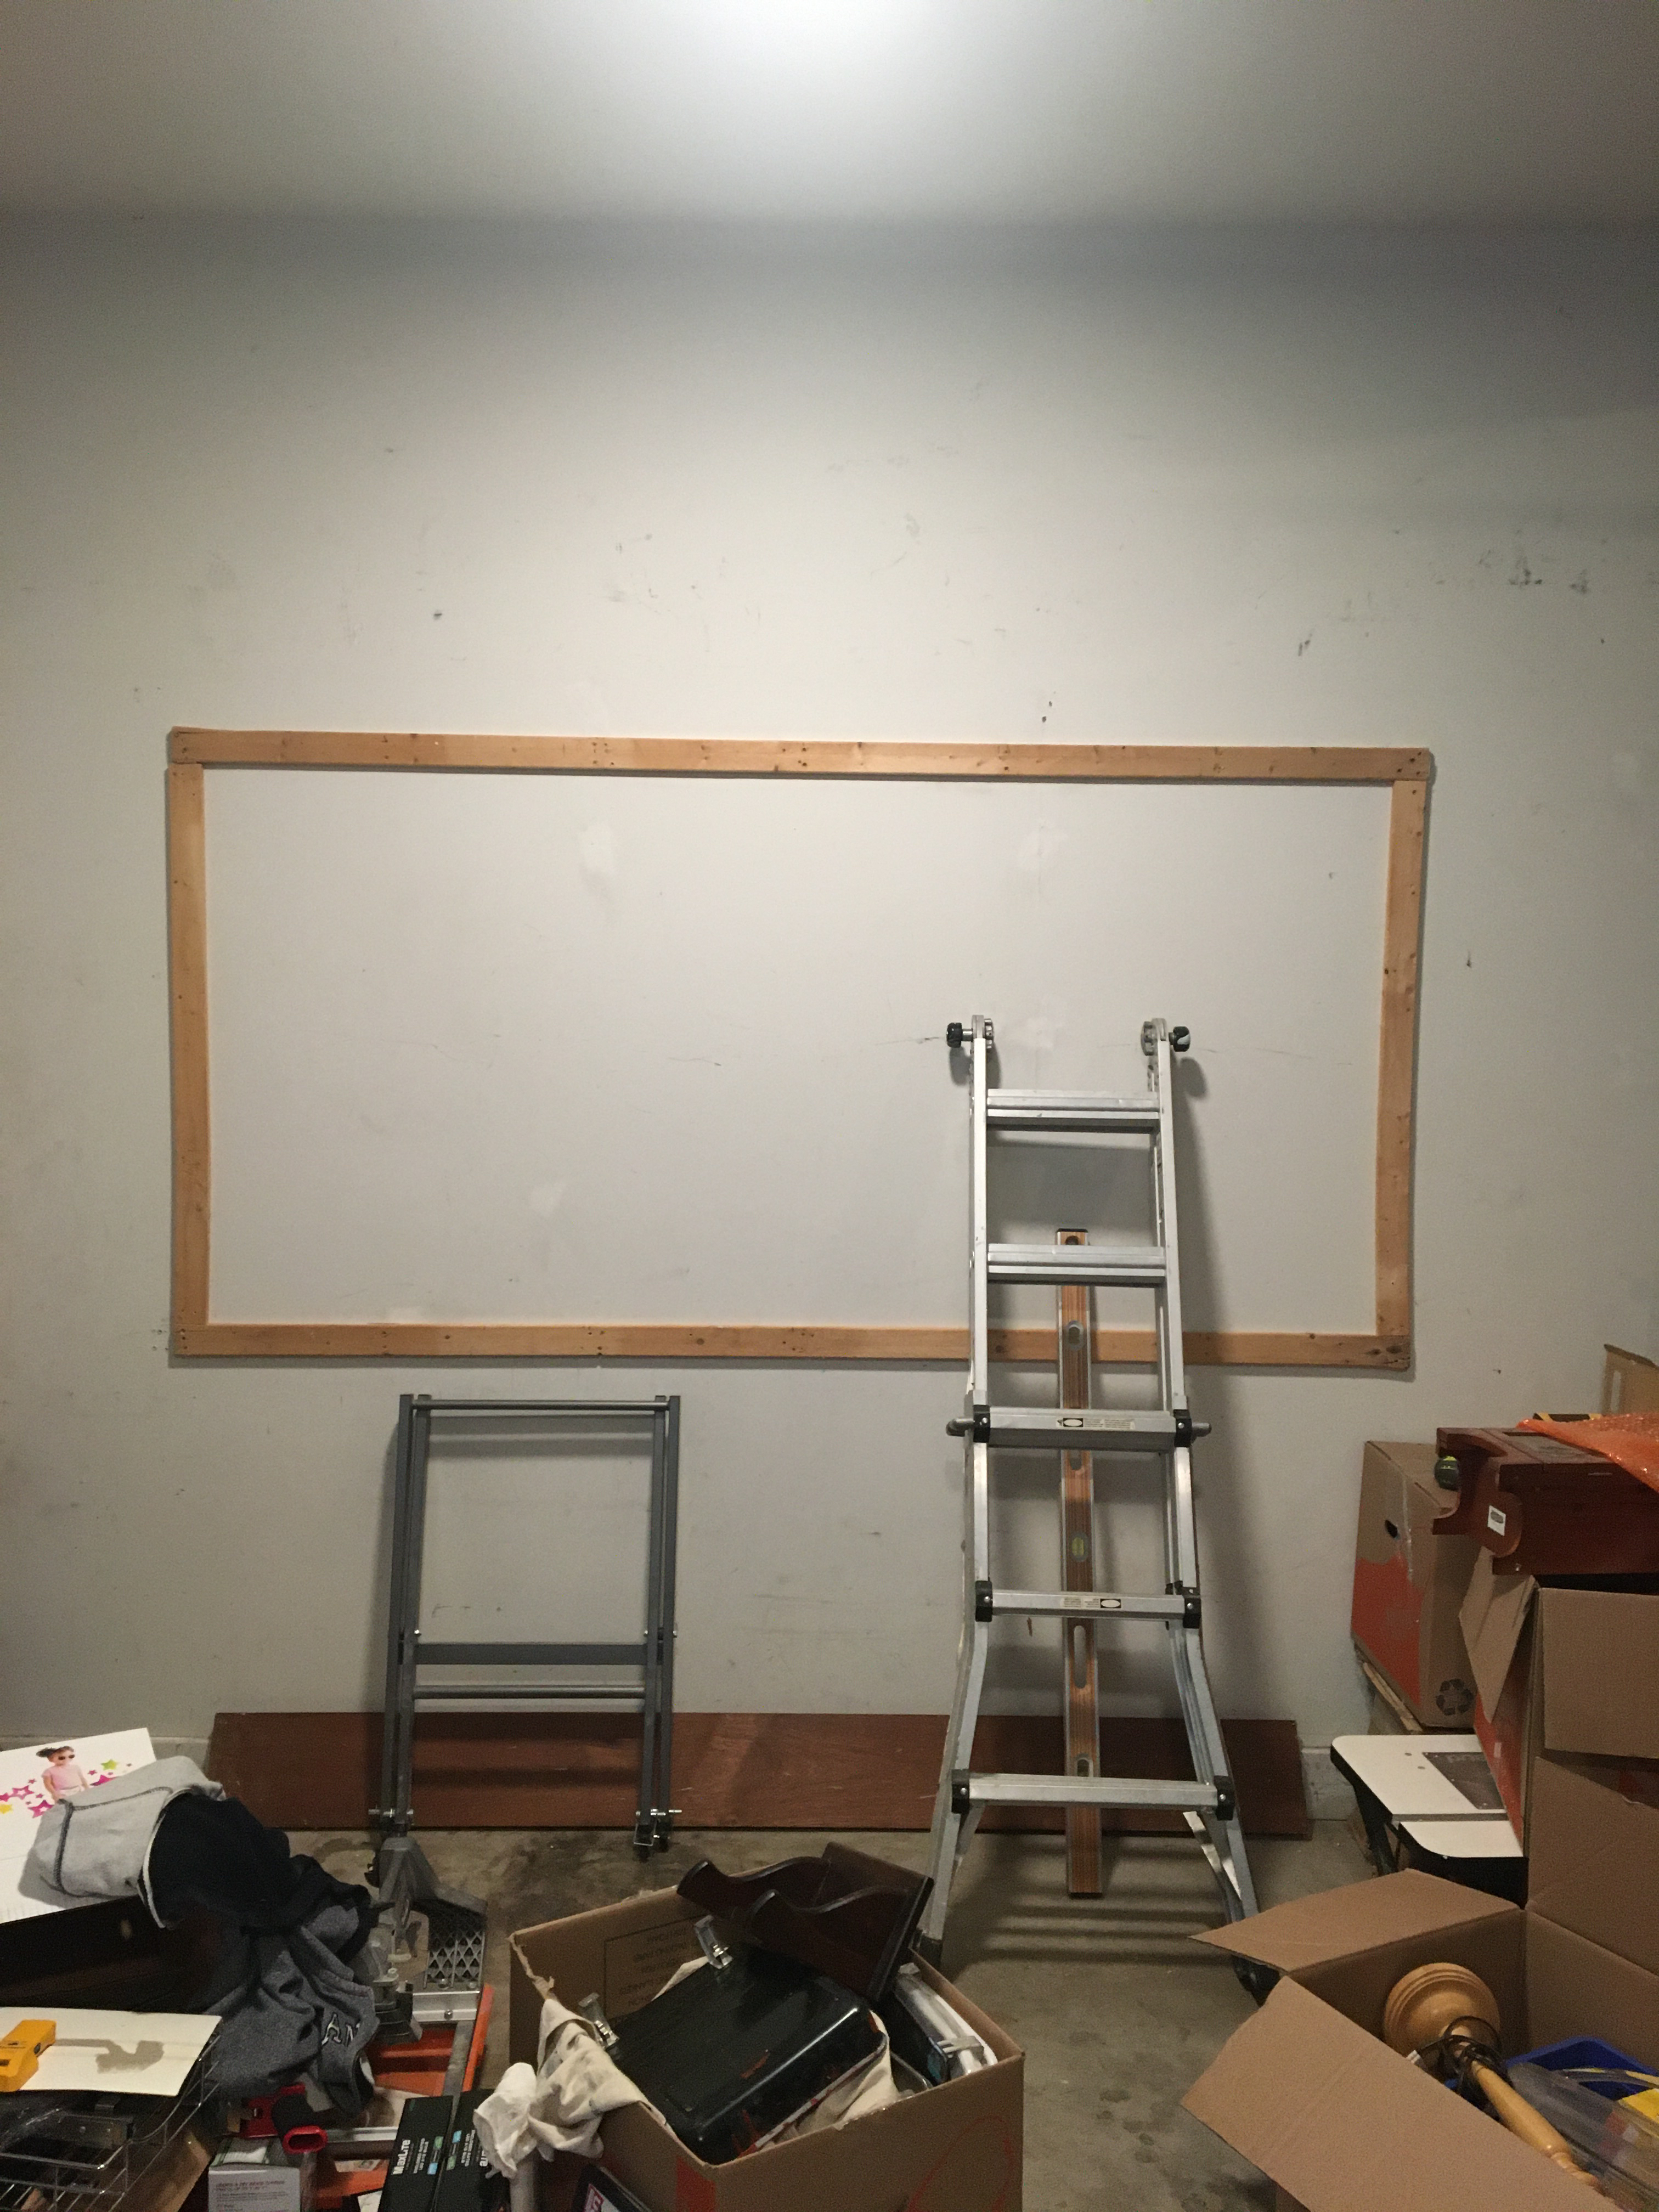
Figure out where your studs are. Use a stud finder, knock on the walls listening for hollow sounds or use a nail to determine when the stud starts. Determine how far off the ground you want the pegboard to start. I made mine start 36" off the ground because my bench stands 36" tall. The board starts where the bench stops.
Measure your board to find out how tall it is. Determine how wide it is. Then cut the wood so you have wood going around the entire perimeter of the board like a frame. Align the vertical pieces of the frame so they are screwed into the studs. I used 2.5” deck screws.
Find a drill bit that is slightly narrower than your screws. Pre-drill holes to avoid the wood from splitting. Manufacturers keep improving screws so it’s less common that wood splits, but it’s disappointing when your project splits. So take the extra time.
Screw the horizontal pieces of the frame into the studs too. Use a 4 foot level to make sure both horizontal & vertical pieces are level. It’s satisfying when you take the extra time to double check.

Note: if you needed to cut your pegboard to get it home (like I did), you are going to want a piece of wood at the end/beginning of each piece so it’s supported. If you don’t do this, the edge of the board will be flimsy. I didn’t plan ahead for this.
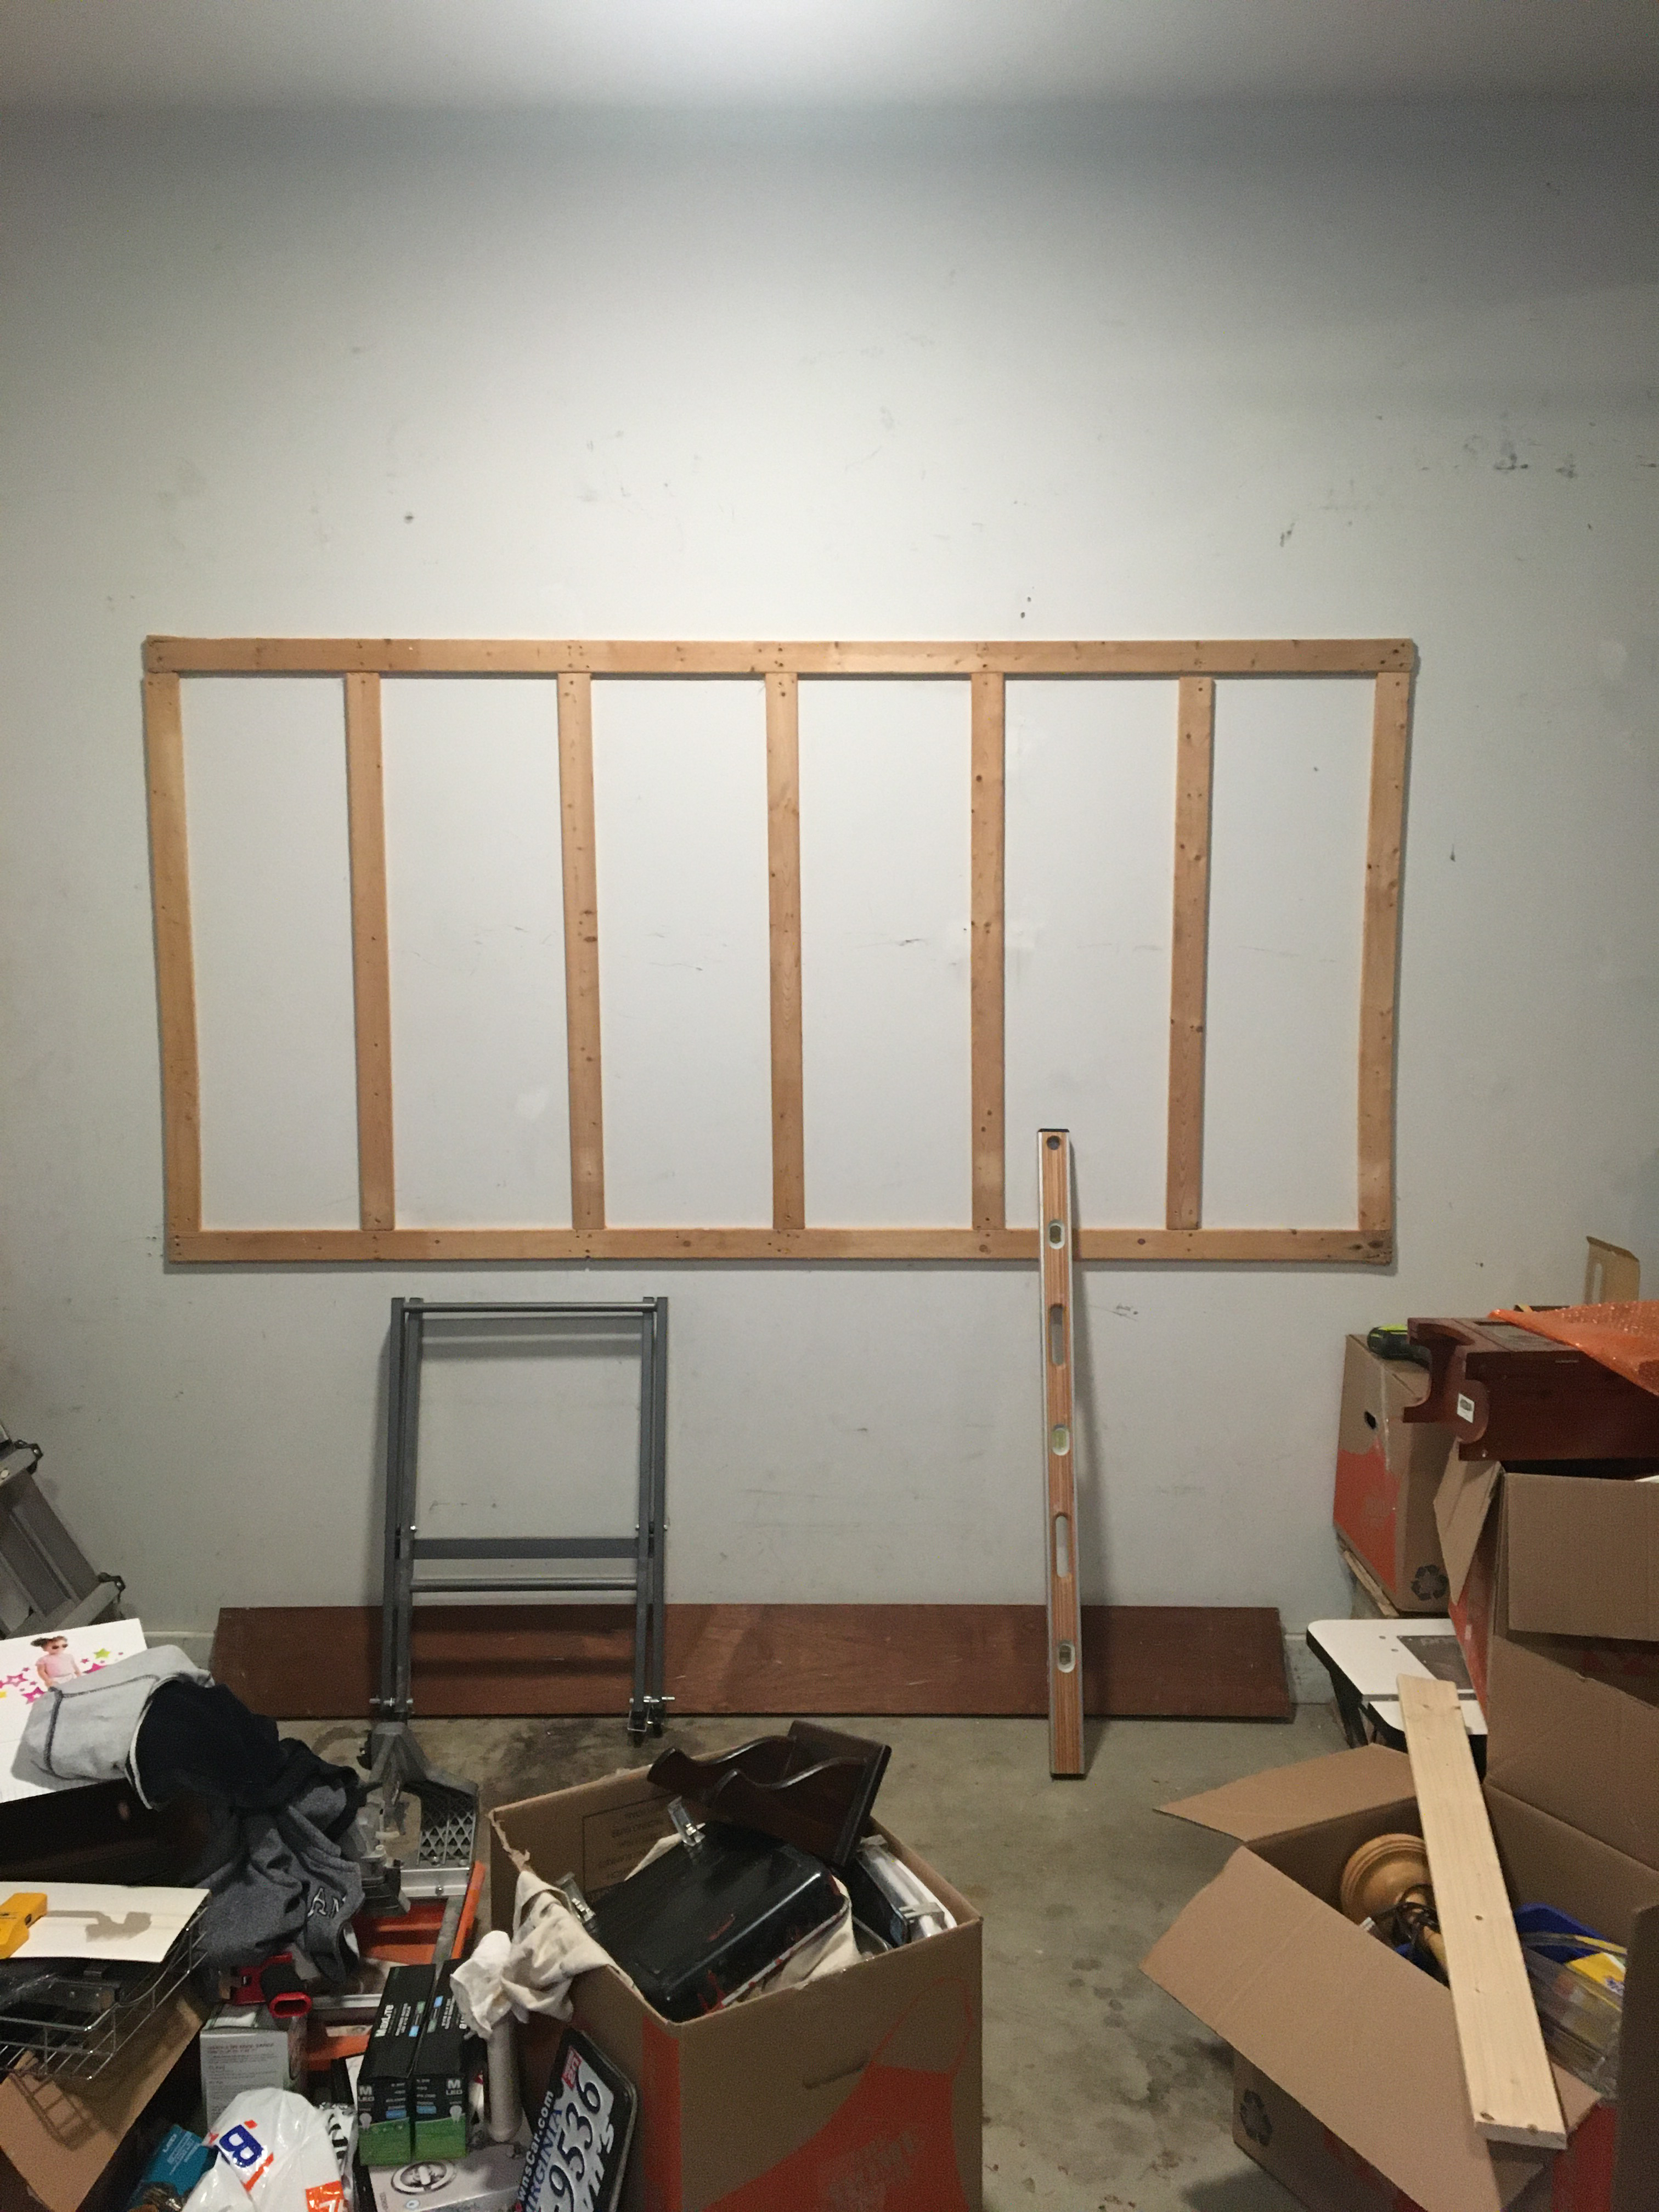
Next, cut pieces of wood to fit vertically in your frame. You’ll need a piece to attach to each stud. Studs are usually placed 16” apart. When you find the middle of your first stud, you should be able to use a tape measure to find the middle of the rest of them. These vertical pieces provide support for the board in the middle. Screw in the wood with a 2.5” screw at the top, bottom & middle. Add some extra screws if you feel it’s necessary.

A friend or partner may be helpful when attaching the pegboard to the wood.
First, find a drill bit that is slightly narrower than your pan head screws. Hold up the board so you can mark where the bottom screws will go. If you’re doing it solo, you can find a piece of wood to prop up the board temporarily.
Screw in the bottom screws first (one near each corner). This will hold up the board long enough for you to screw in the top screws. Then take your marker/pen and mark which holes you are going to use to secure the board to the wood. This will help you remember where to put the screws. Pre-drill the holes to avoid splitting. Then screw in your board!
Putting up a pegboard isn’t rocket science, but hopefully this has helped you plan your project. Happy organizing!
Note about pegs:
There are lots of manufacturers out there. I purchased pegs that have a hook on one side and a screw just beneath it. This keeps the peg from falling out when taking down a tool. They are a little more expensive, but worth the price considering I don’t waste time putting pegs up over & over again.
