Our daughter asked for a loft bed. We looked high and low but couldn’t find any that met all of our requirements. We’ve been building our furniture building skills, so we gave it a go.
We wanted:
- Solid wood (not pressed board)
- A specific height so her cubbies would fit underneath.
- A design where we could add to it if needed. (e.g. quick escape slide in case she needed to go potty in the middle of the night).
- Not spend an arm and a leg. We spent about $400 making it ourselves.
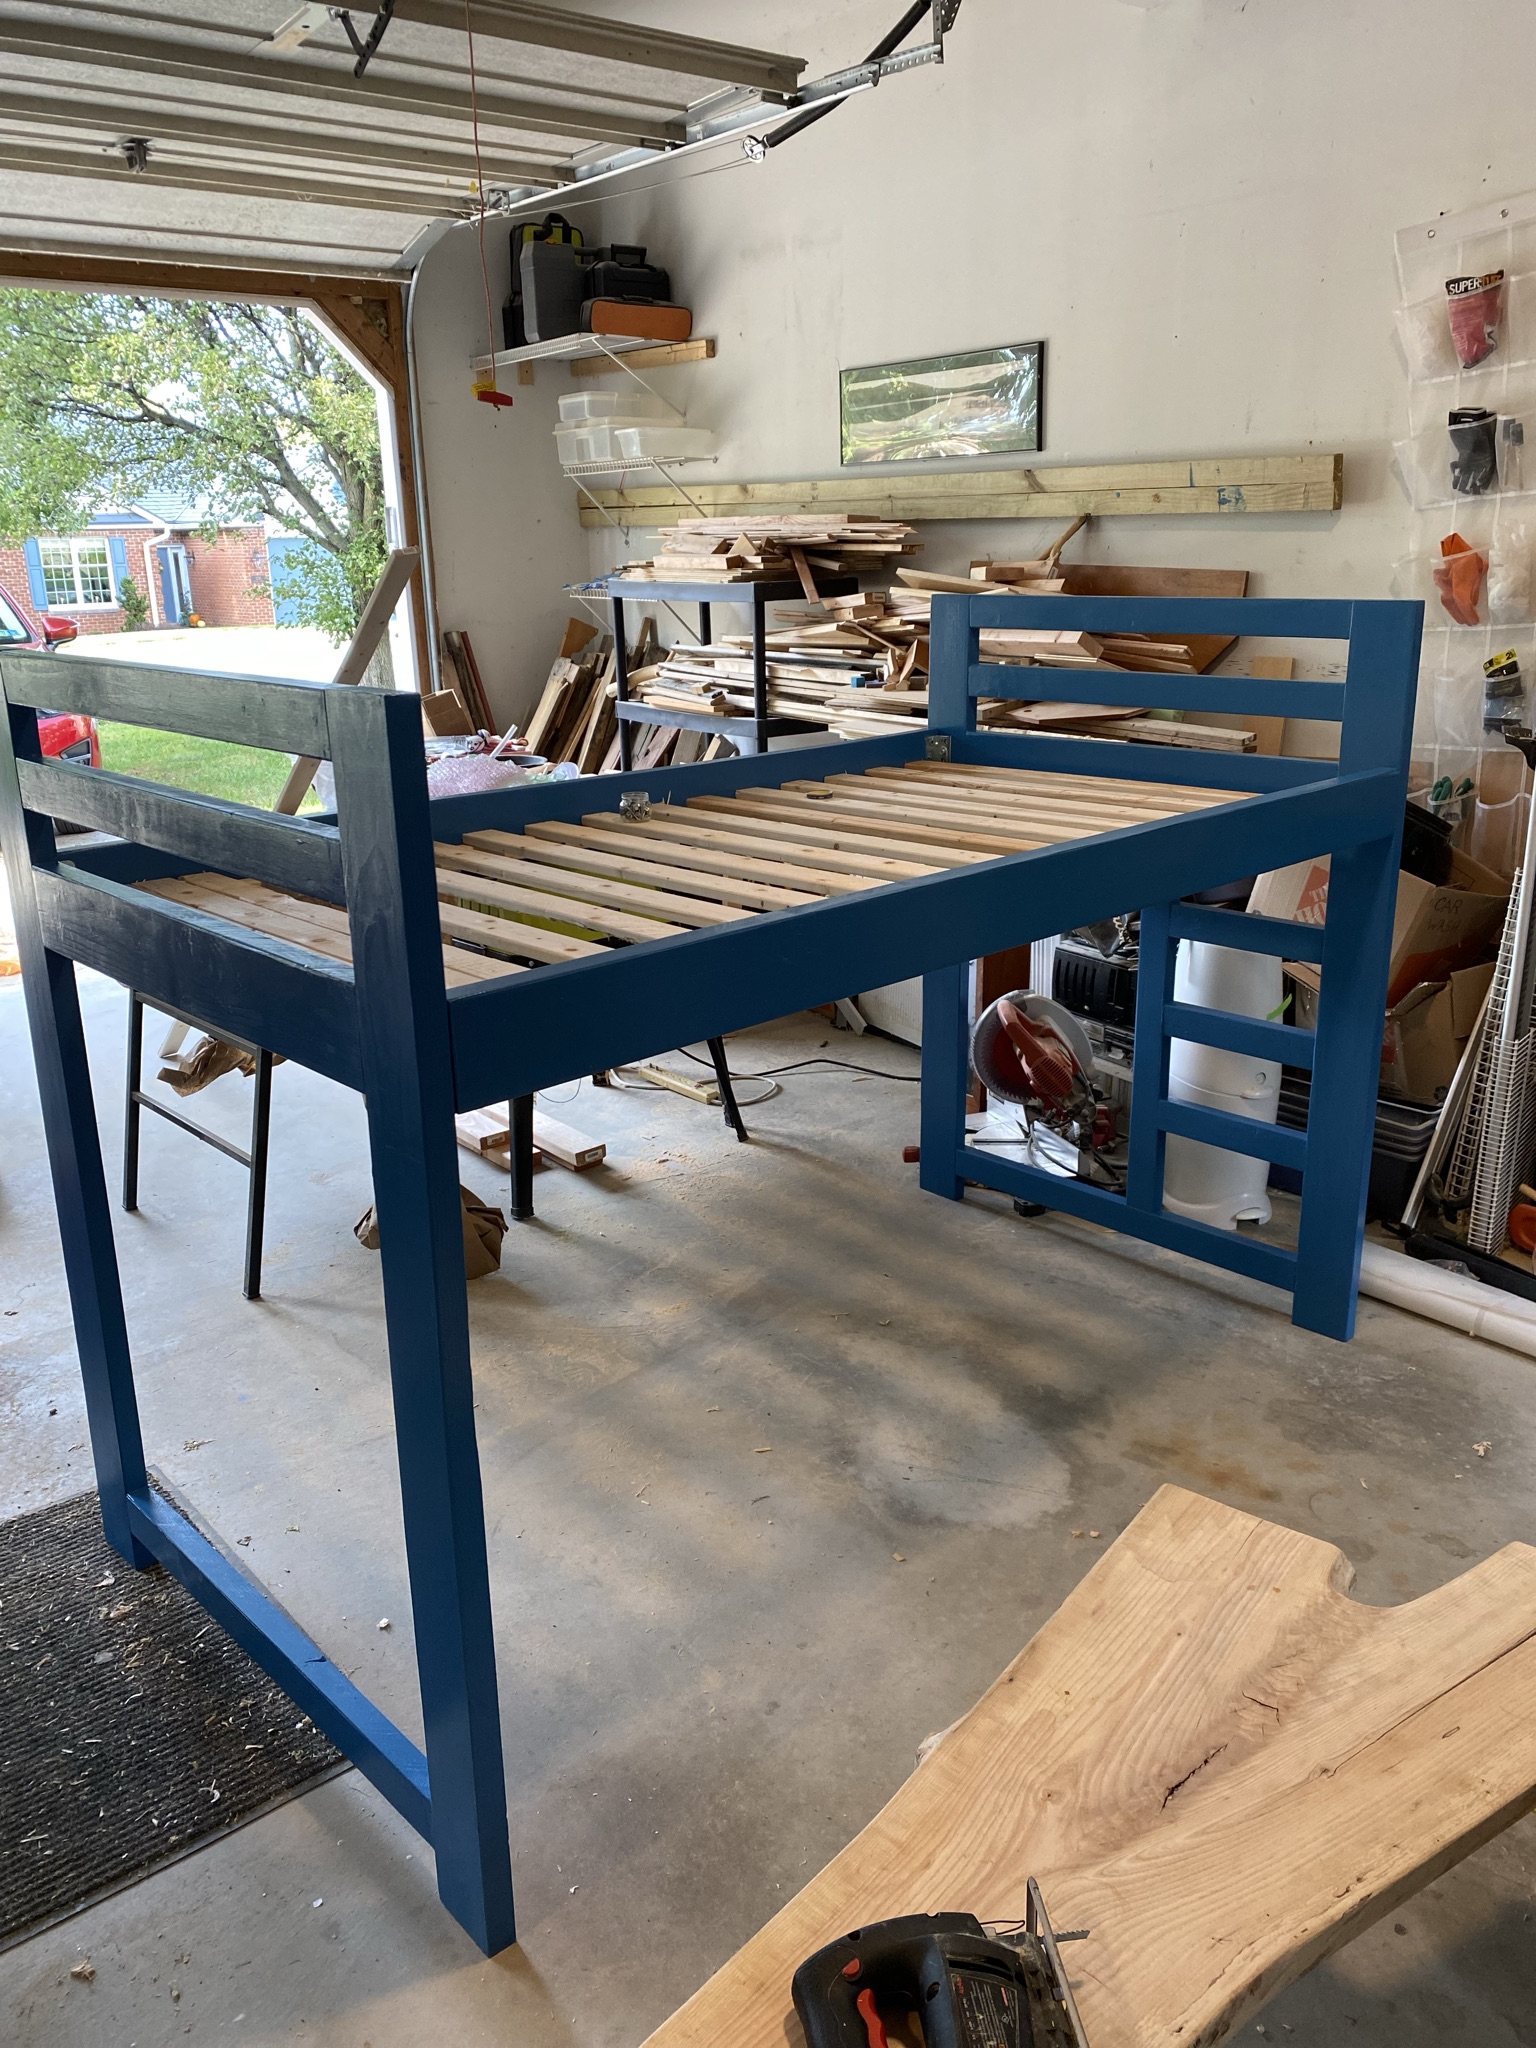
Here’s the finished product:
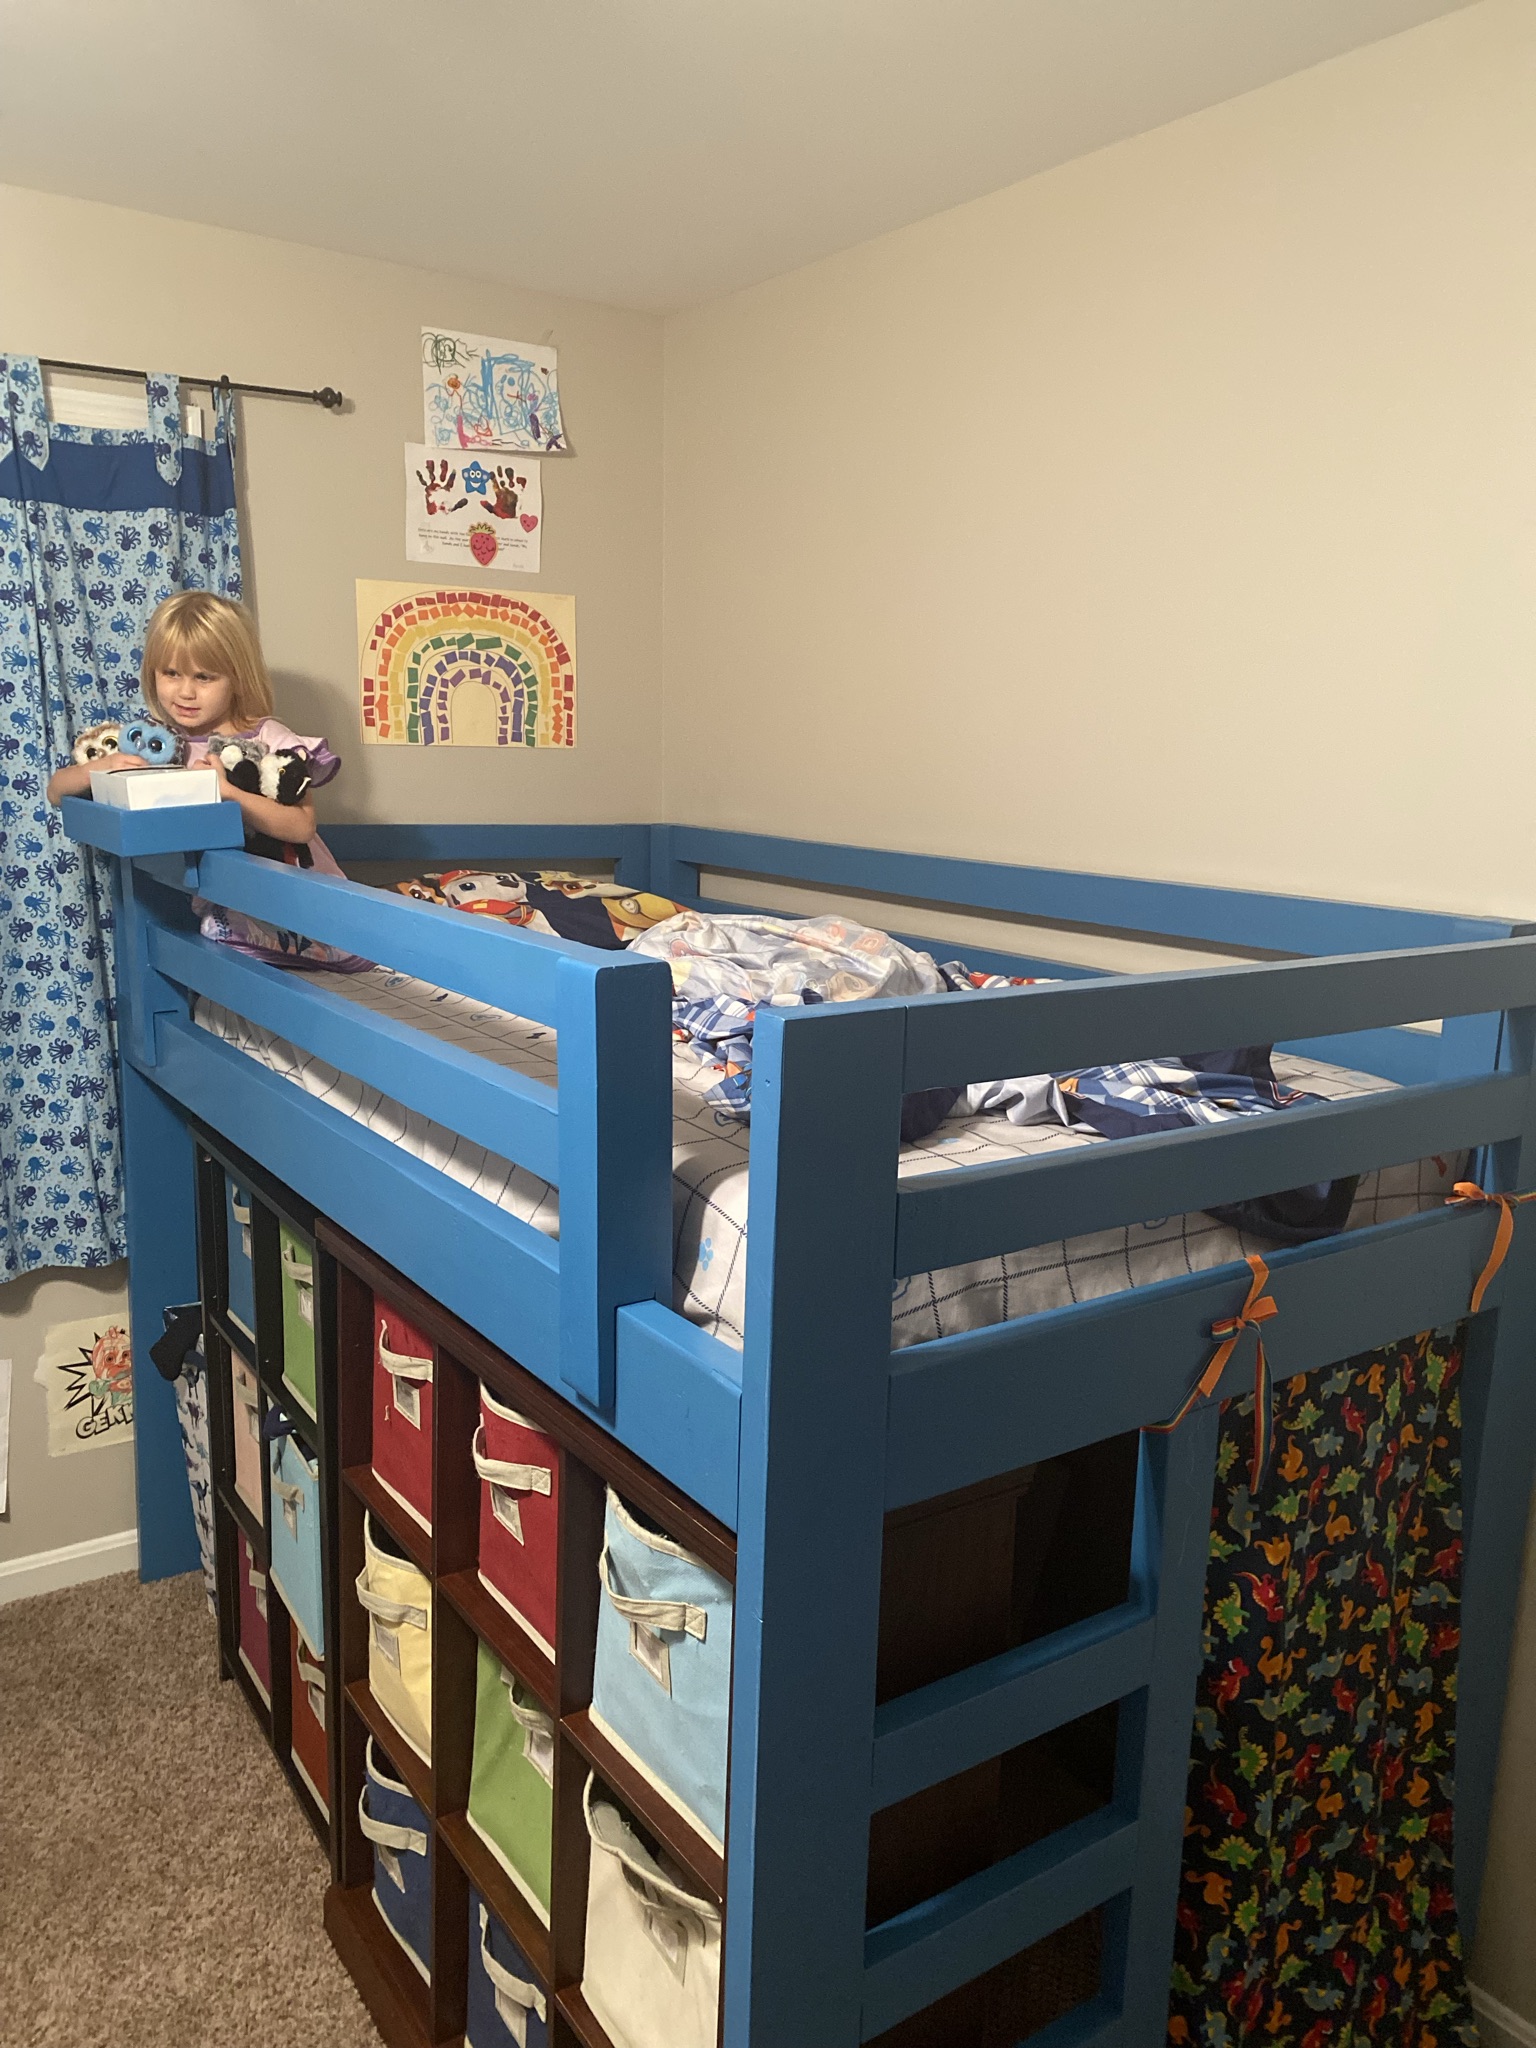
Read on to see how it went..
Our Design
We went through about three designs. The first one had a ladder the full width of the footboard. We cut that in half to allow for a play area underneath.
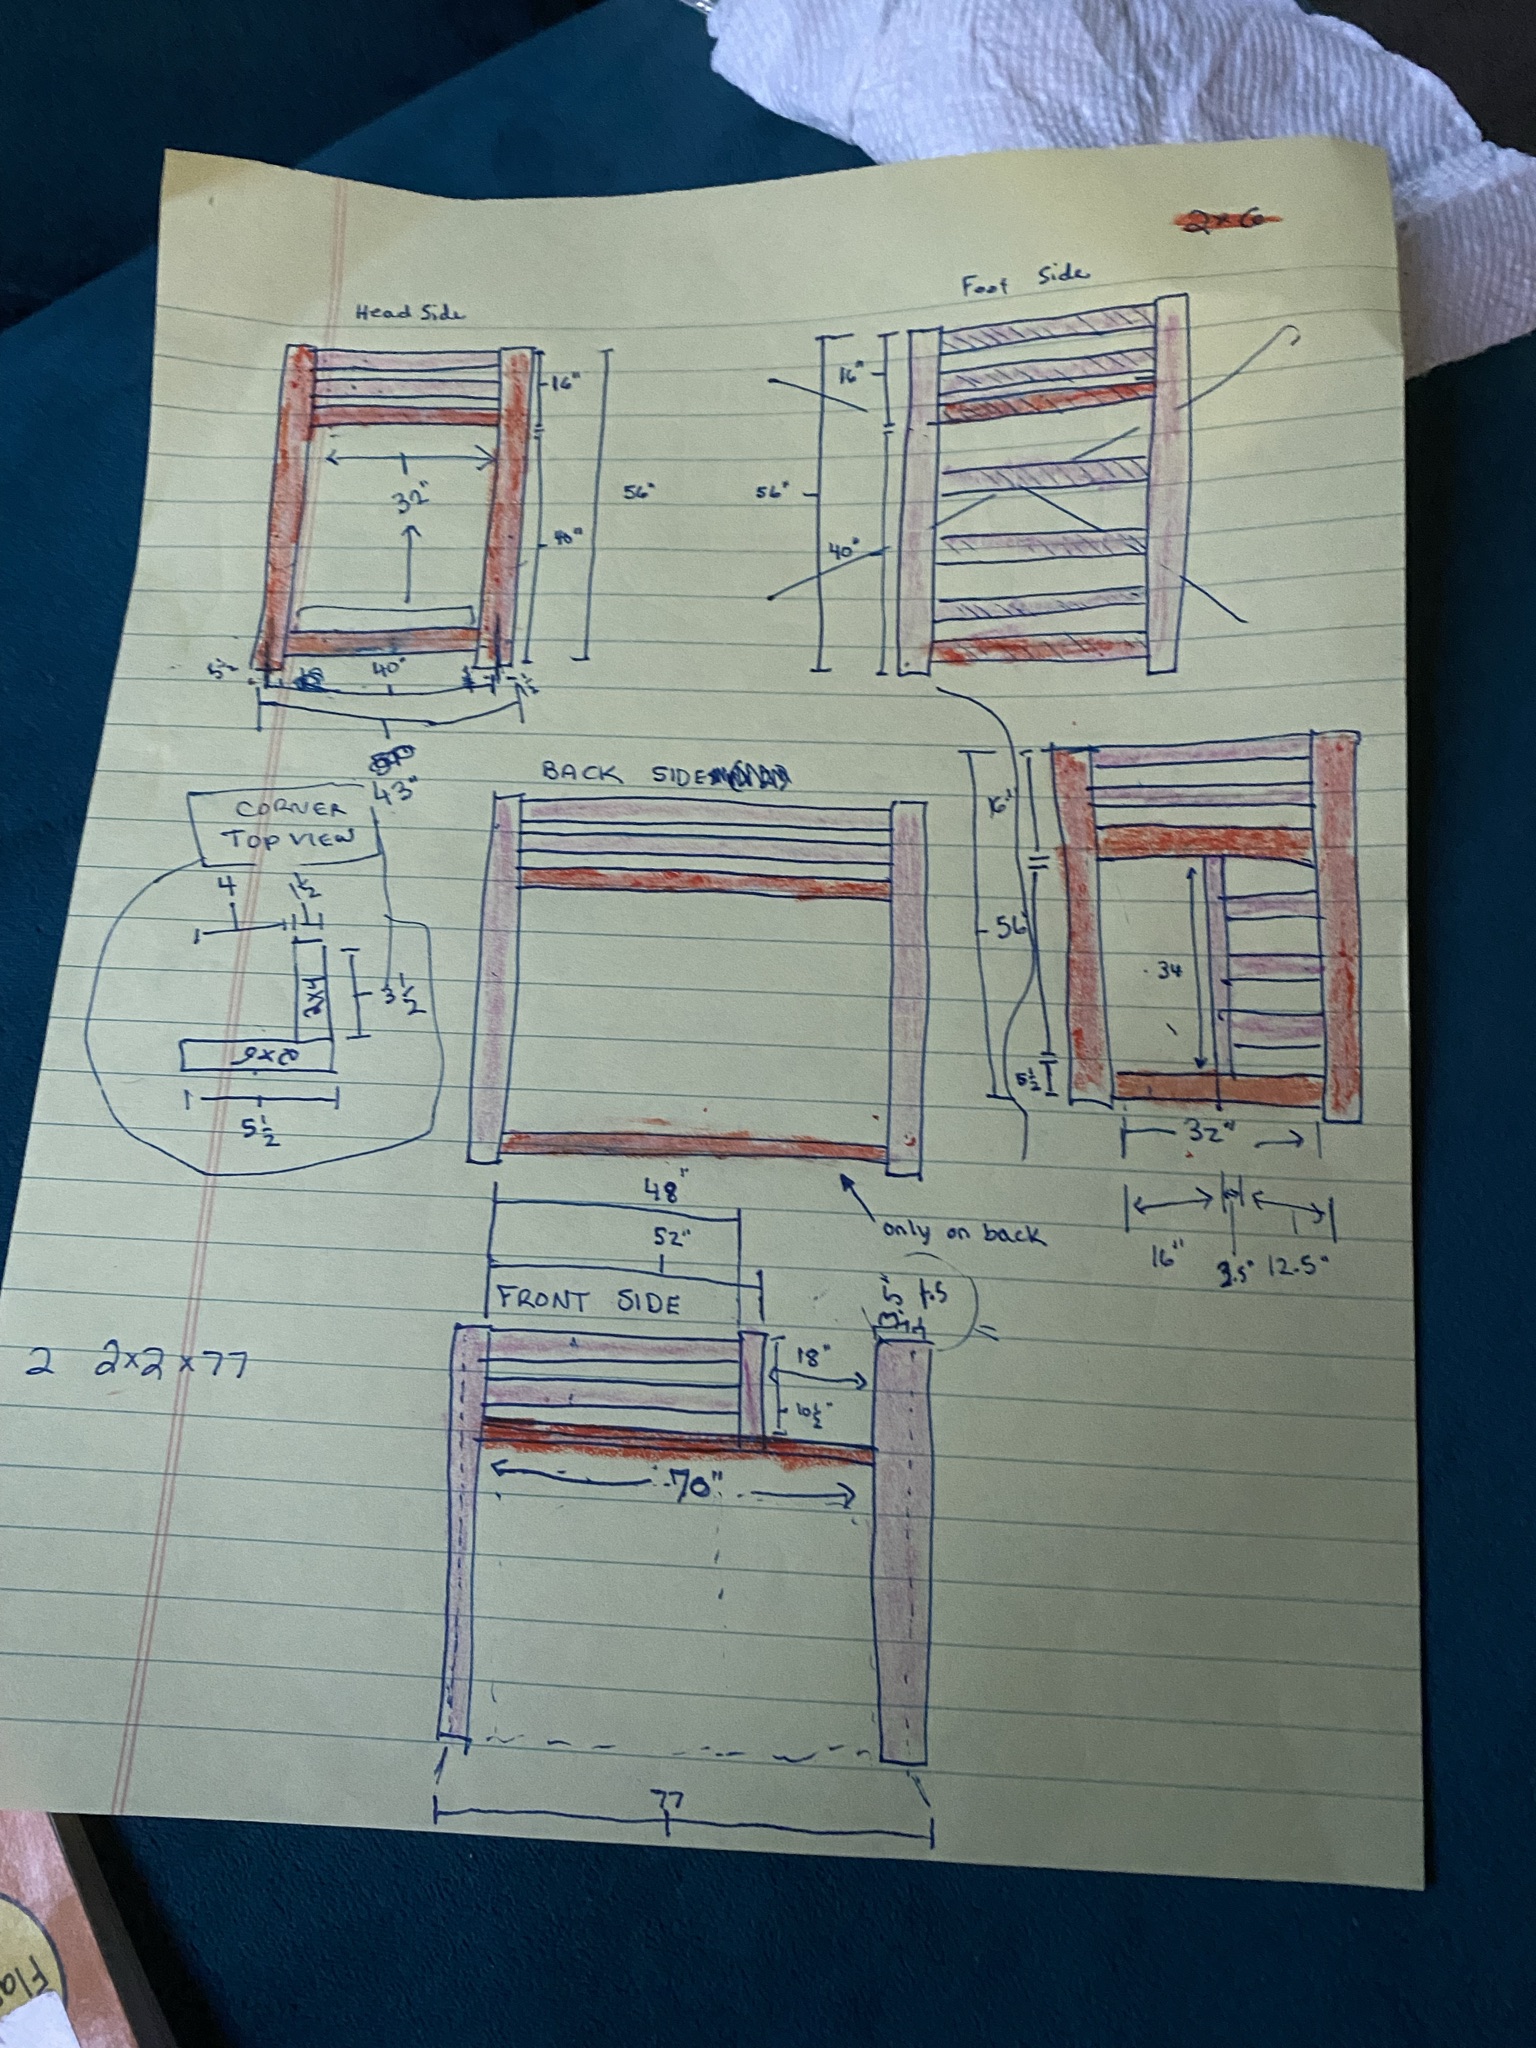
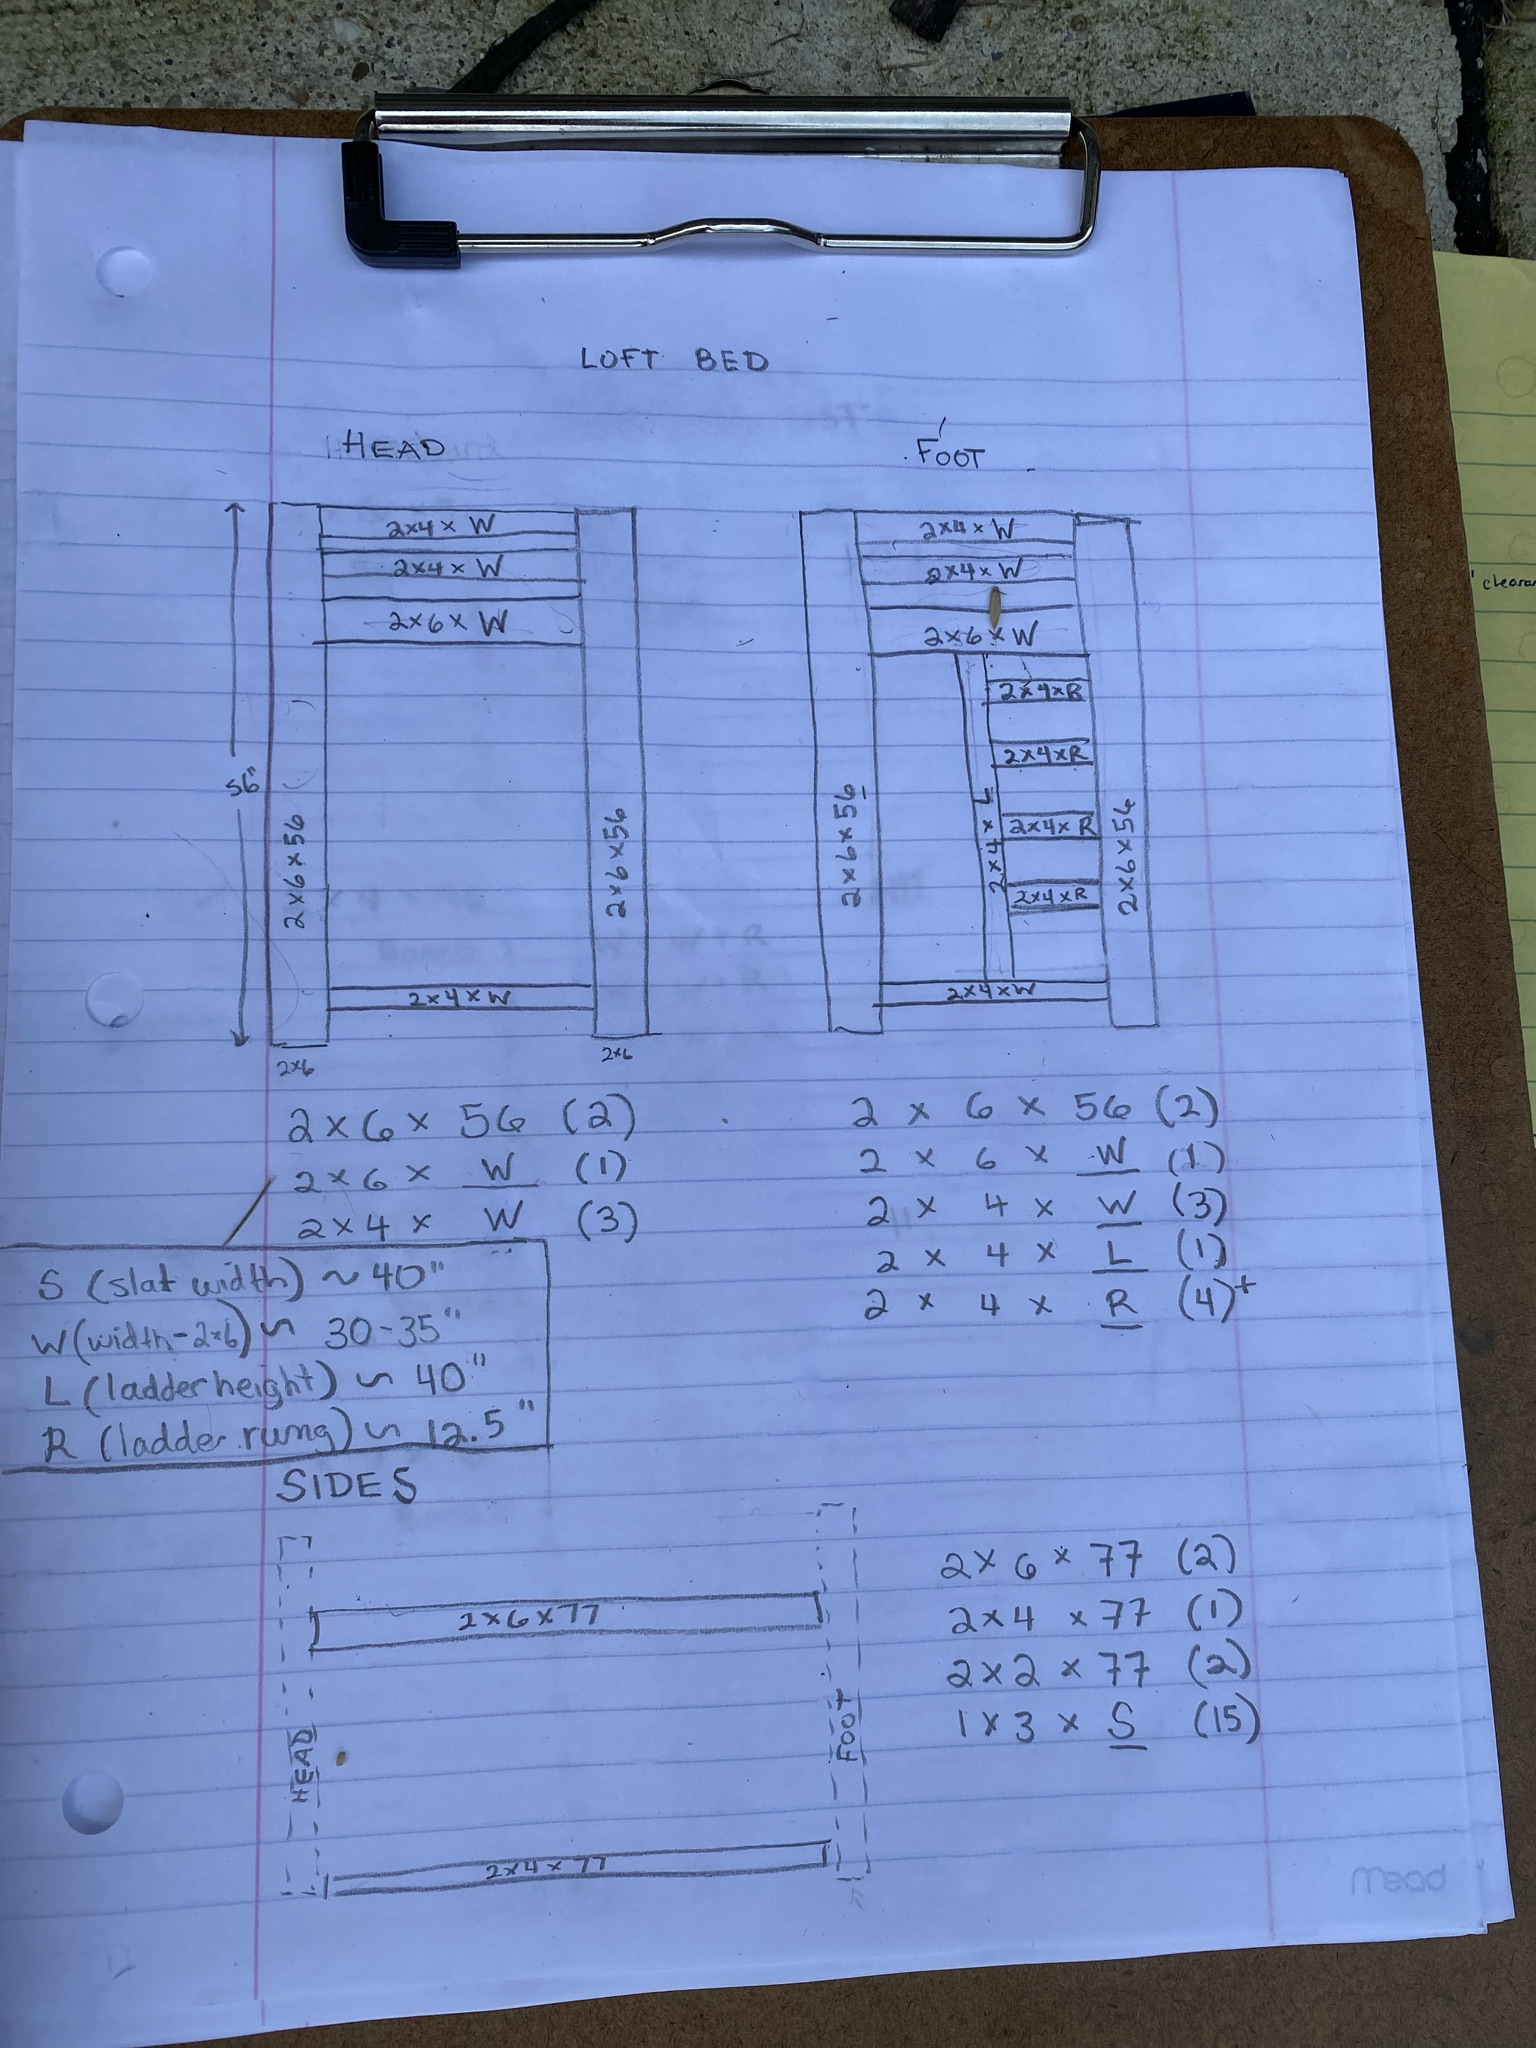
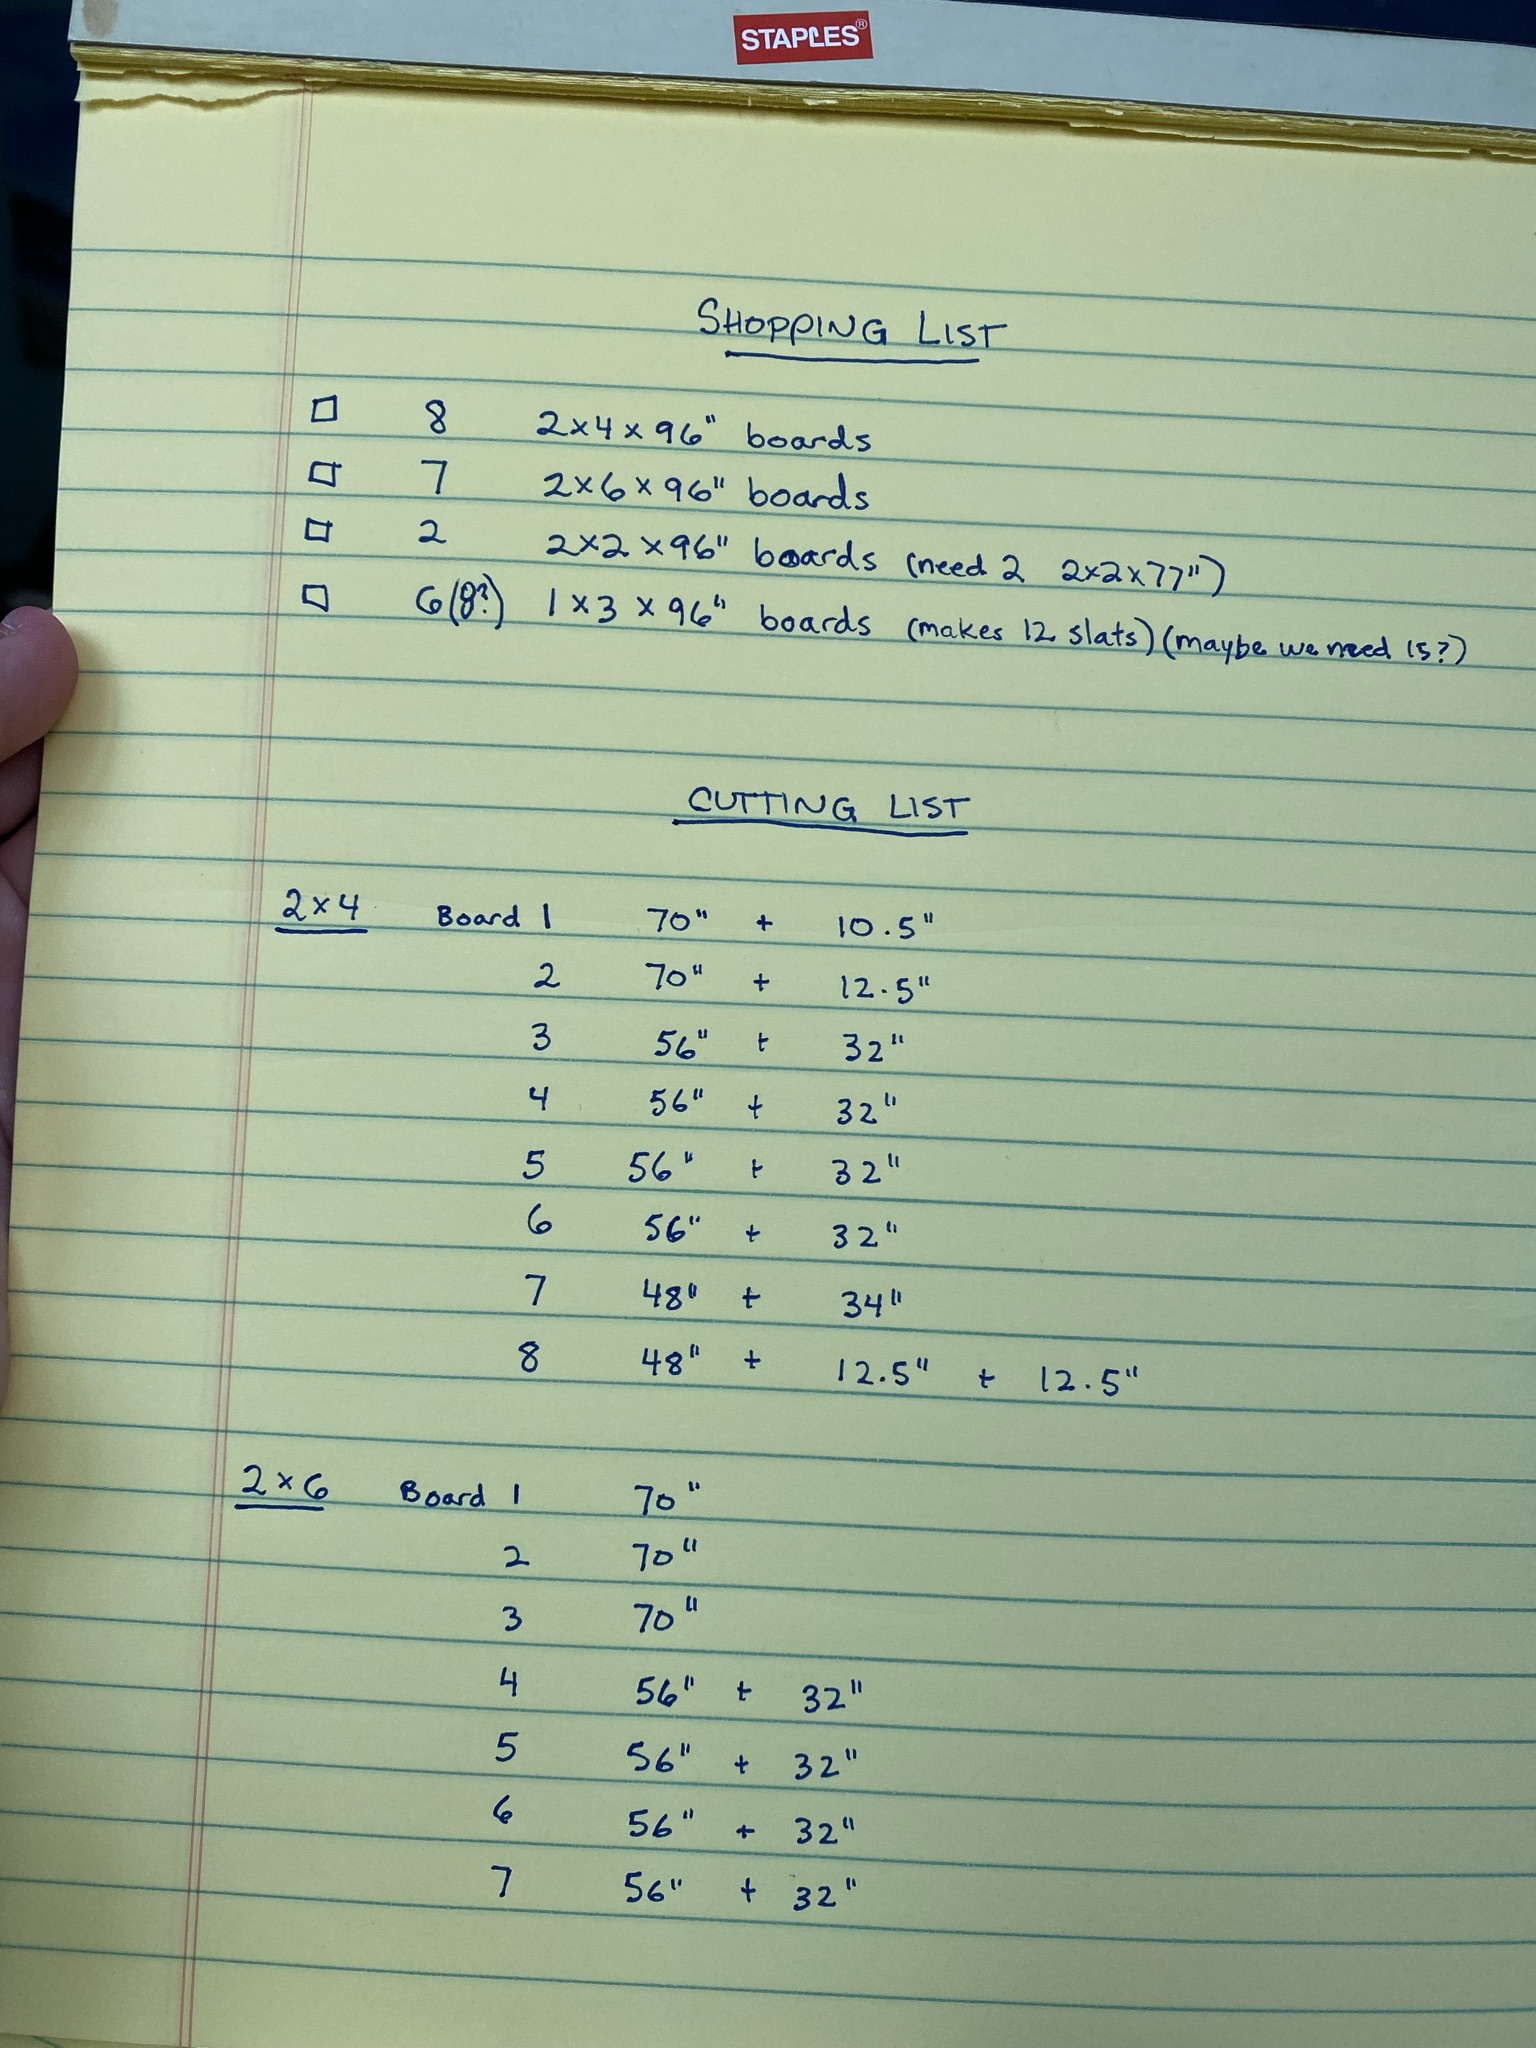
We played with a few different measurements & consolidating lumber pieces to save money. We ended up with this:
Headboard & Footboard
We started by fitting the headboard to visualize different spacing. We decided we liked the look of the safety railing being slightly narrower than 2”x4”. We spaced them so the horizontal rails would be spaced equally apart. 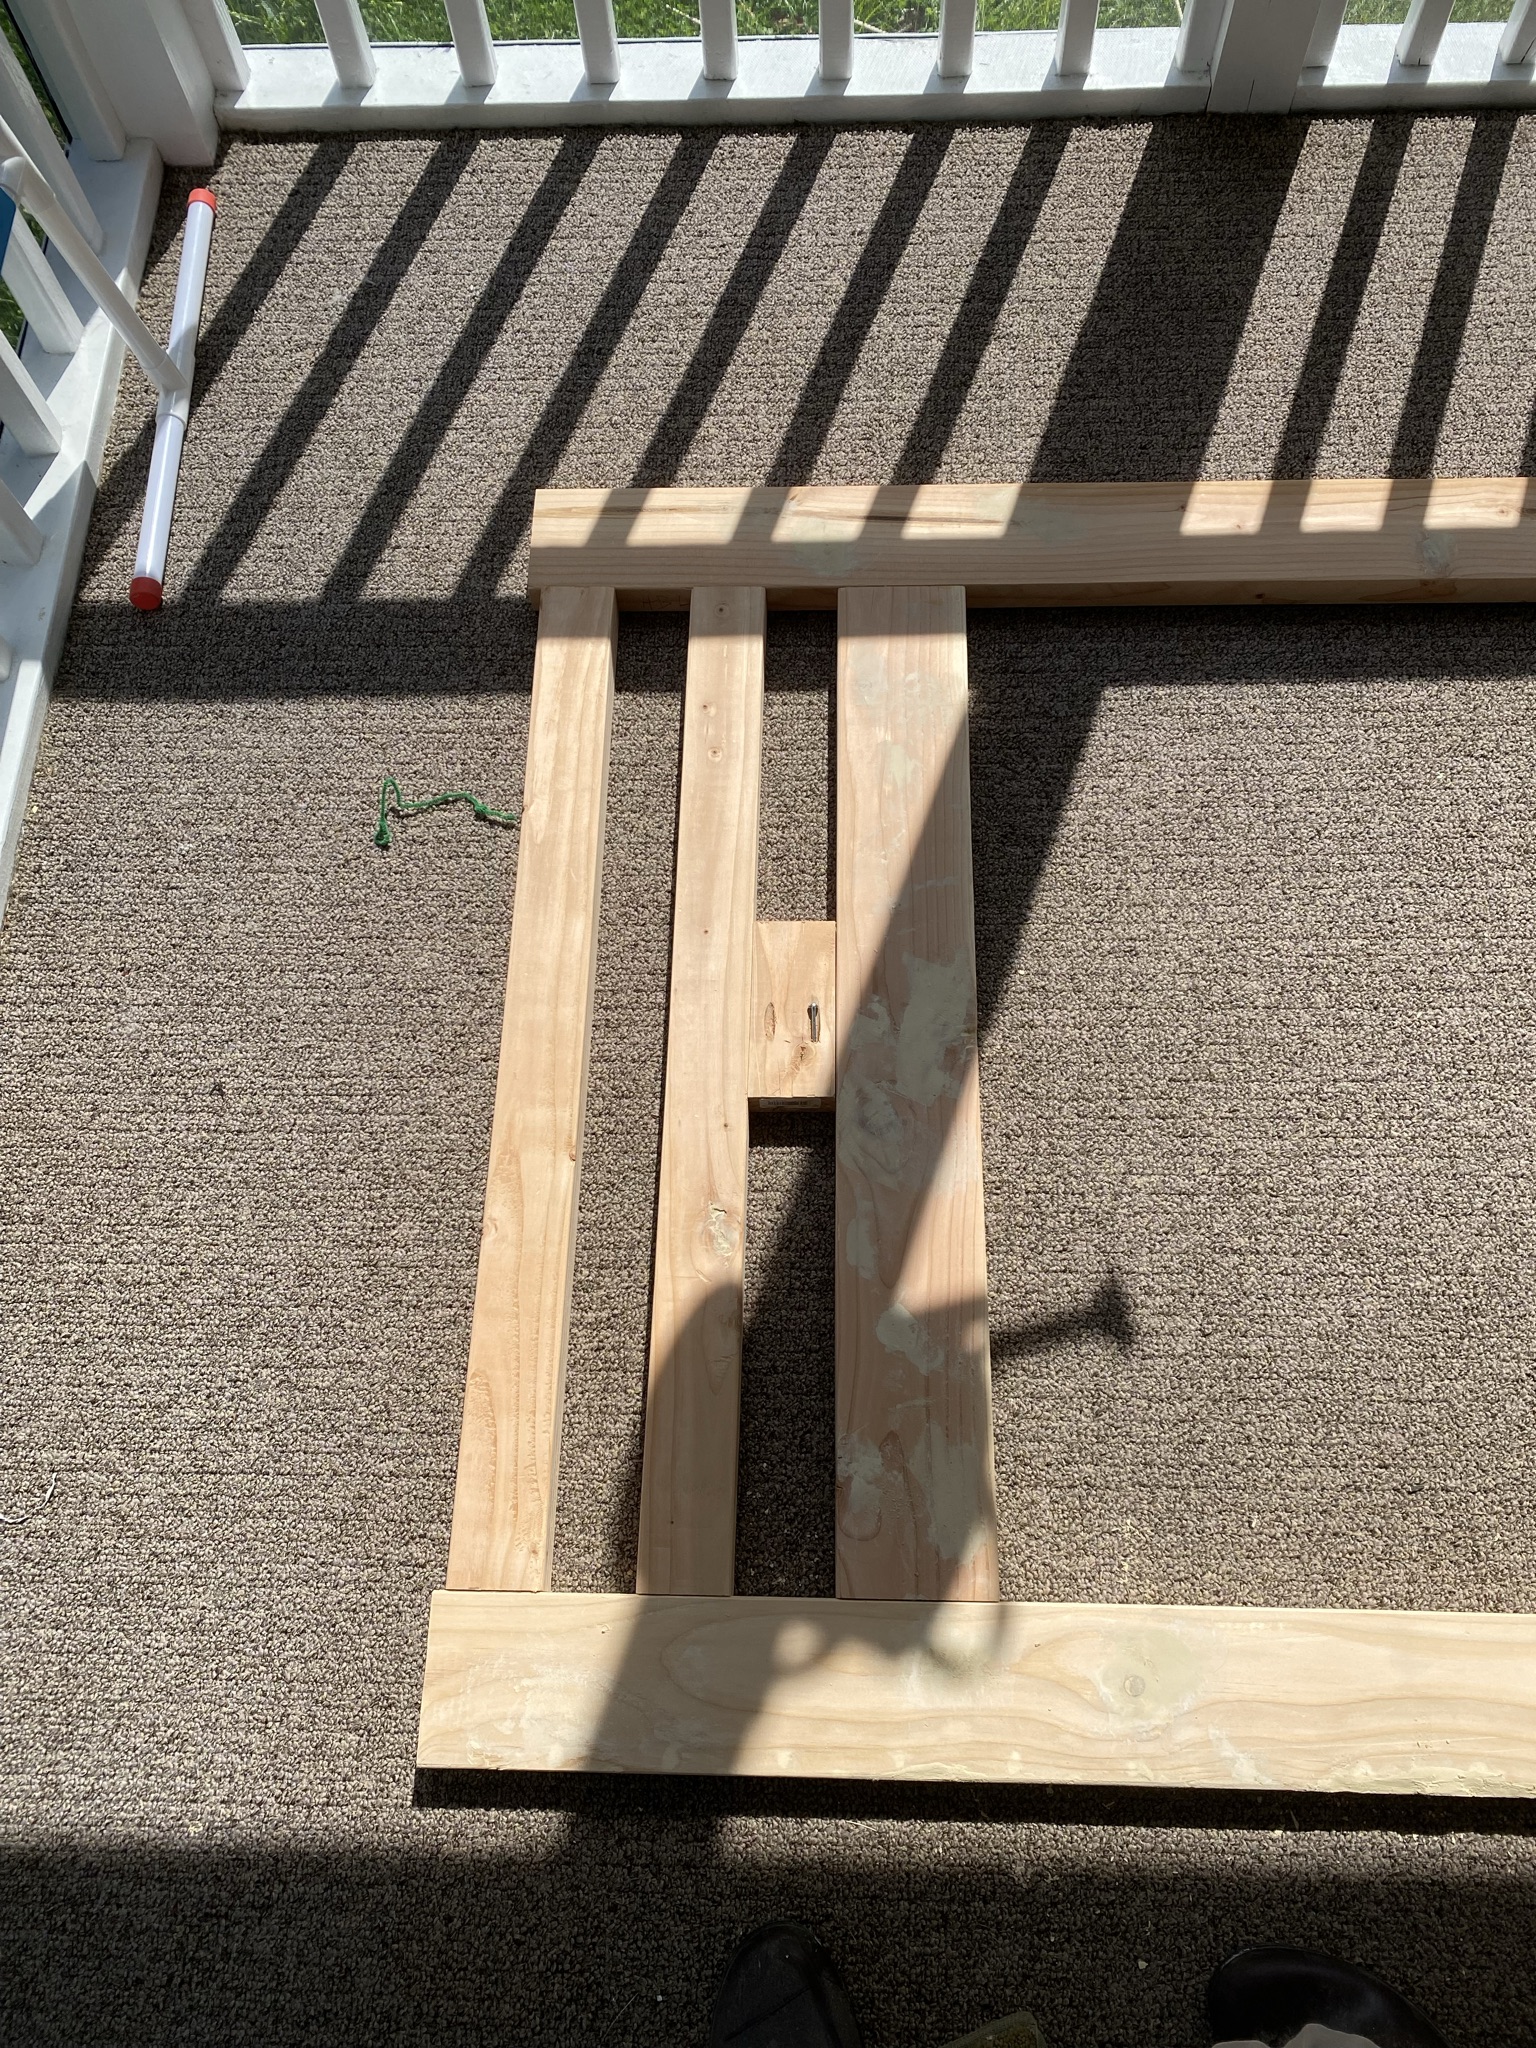
We used pocket hole screws to join the pieces together. We filled the holes with dowels and smoothed everything out with wood filler. Lots of wood filler. I priced using fine lumber (like Maple) instead of Pine, but it was 4x more expensive. Our daughter also wanted the bed painted, so I wasn’t going to waste the money on Maple when the grain wouldn’t even show.
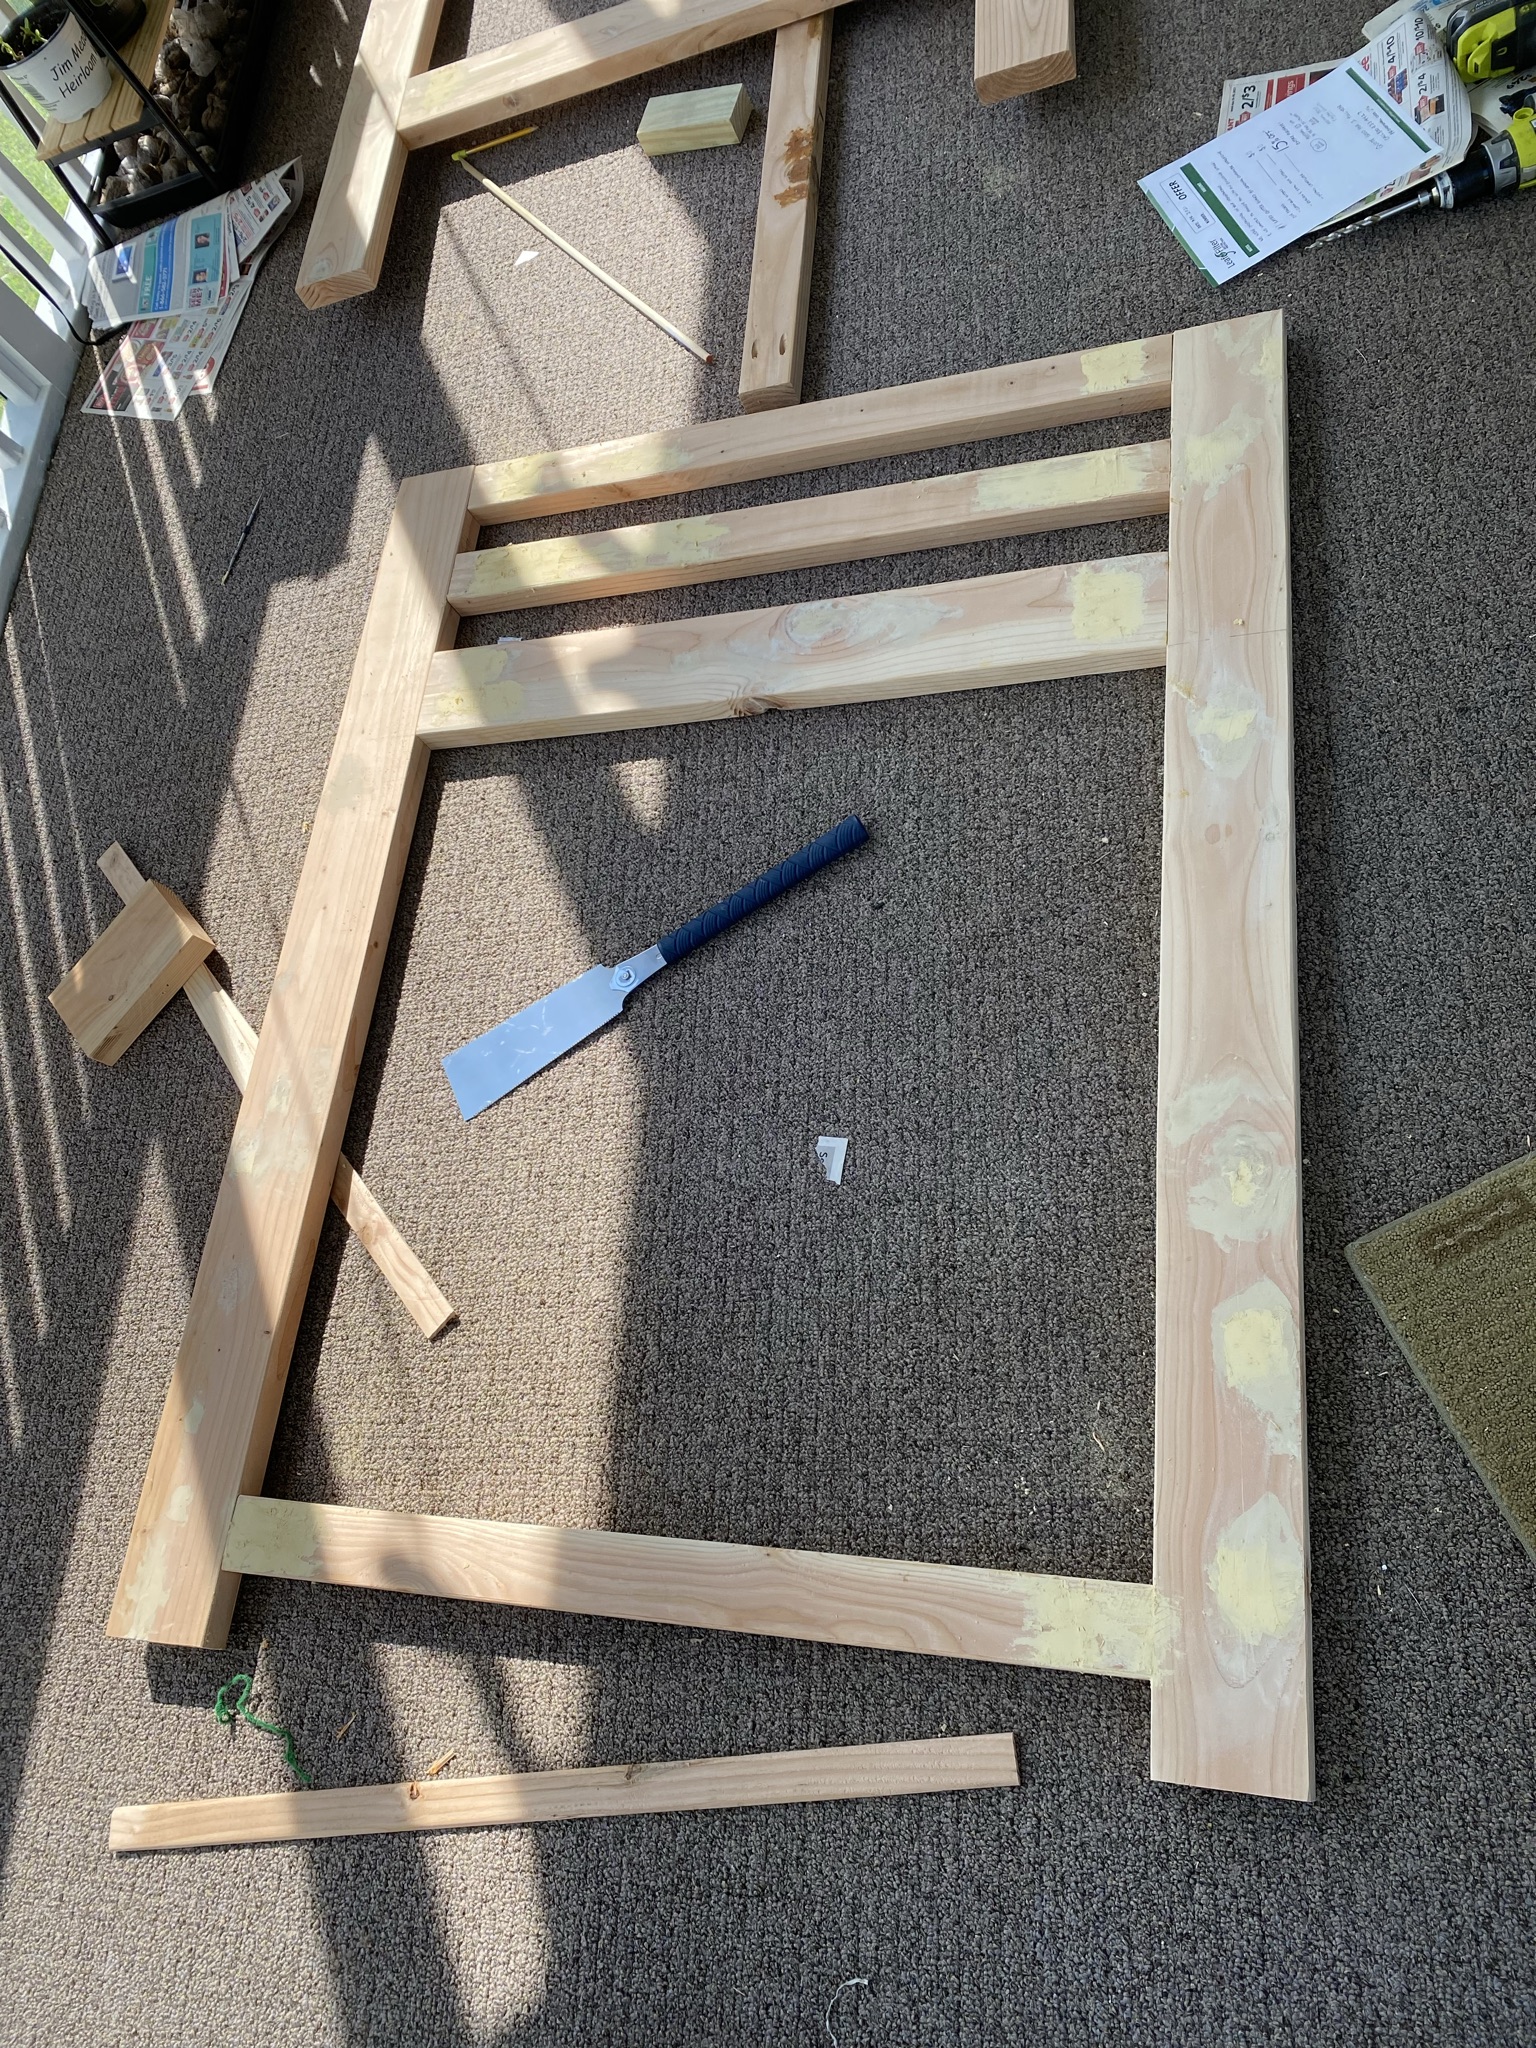
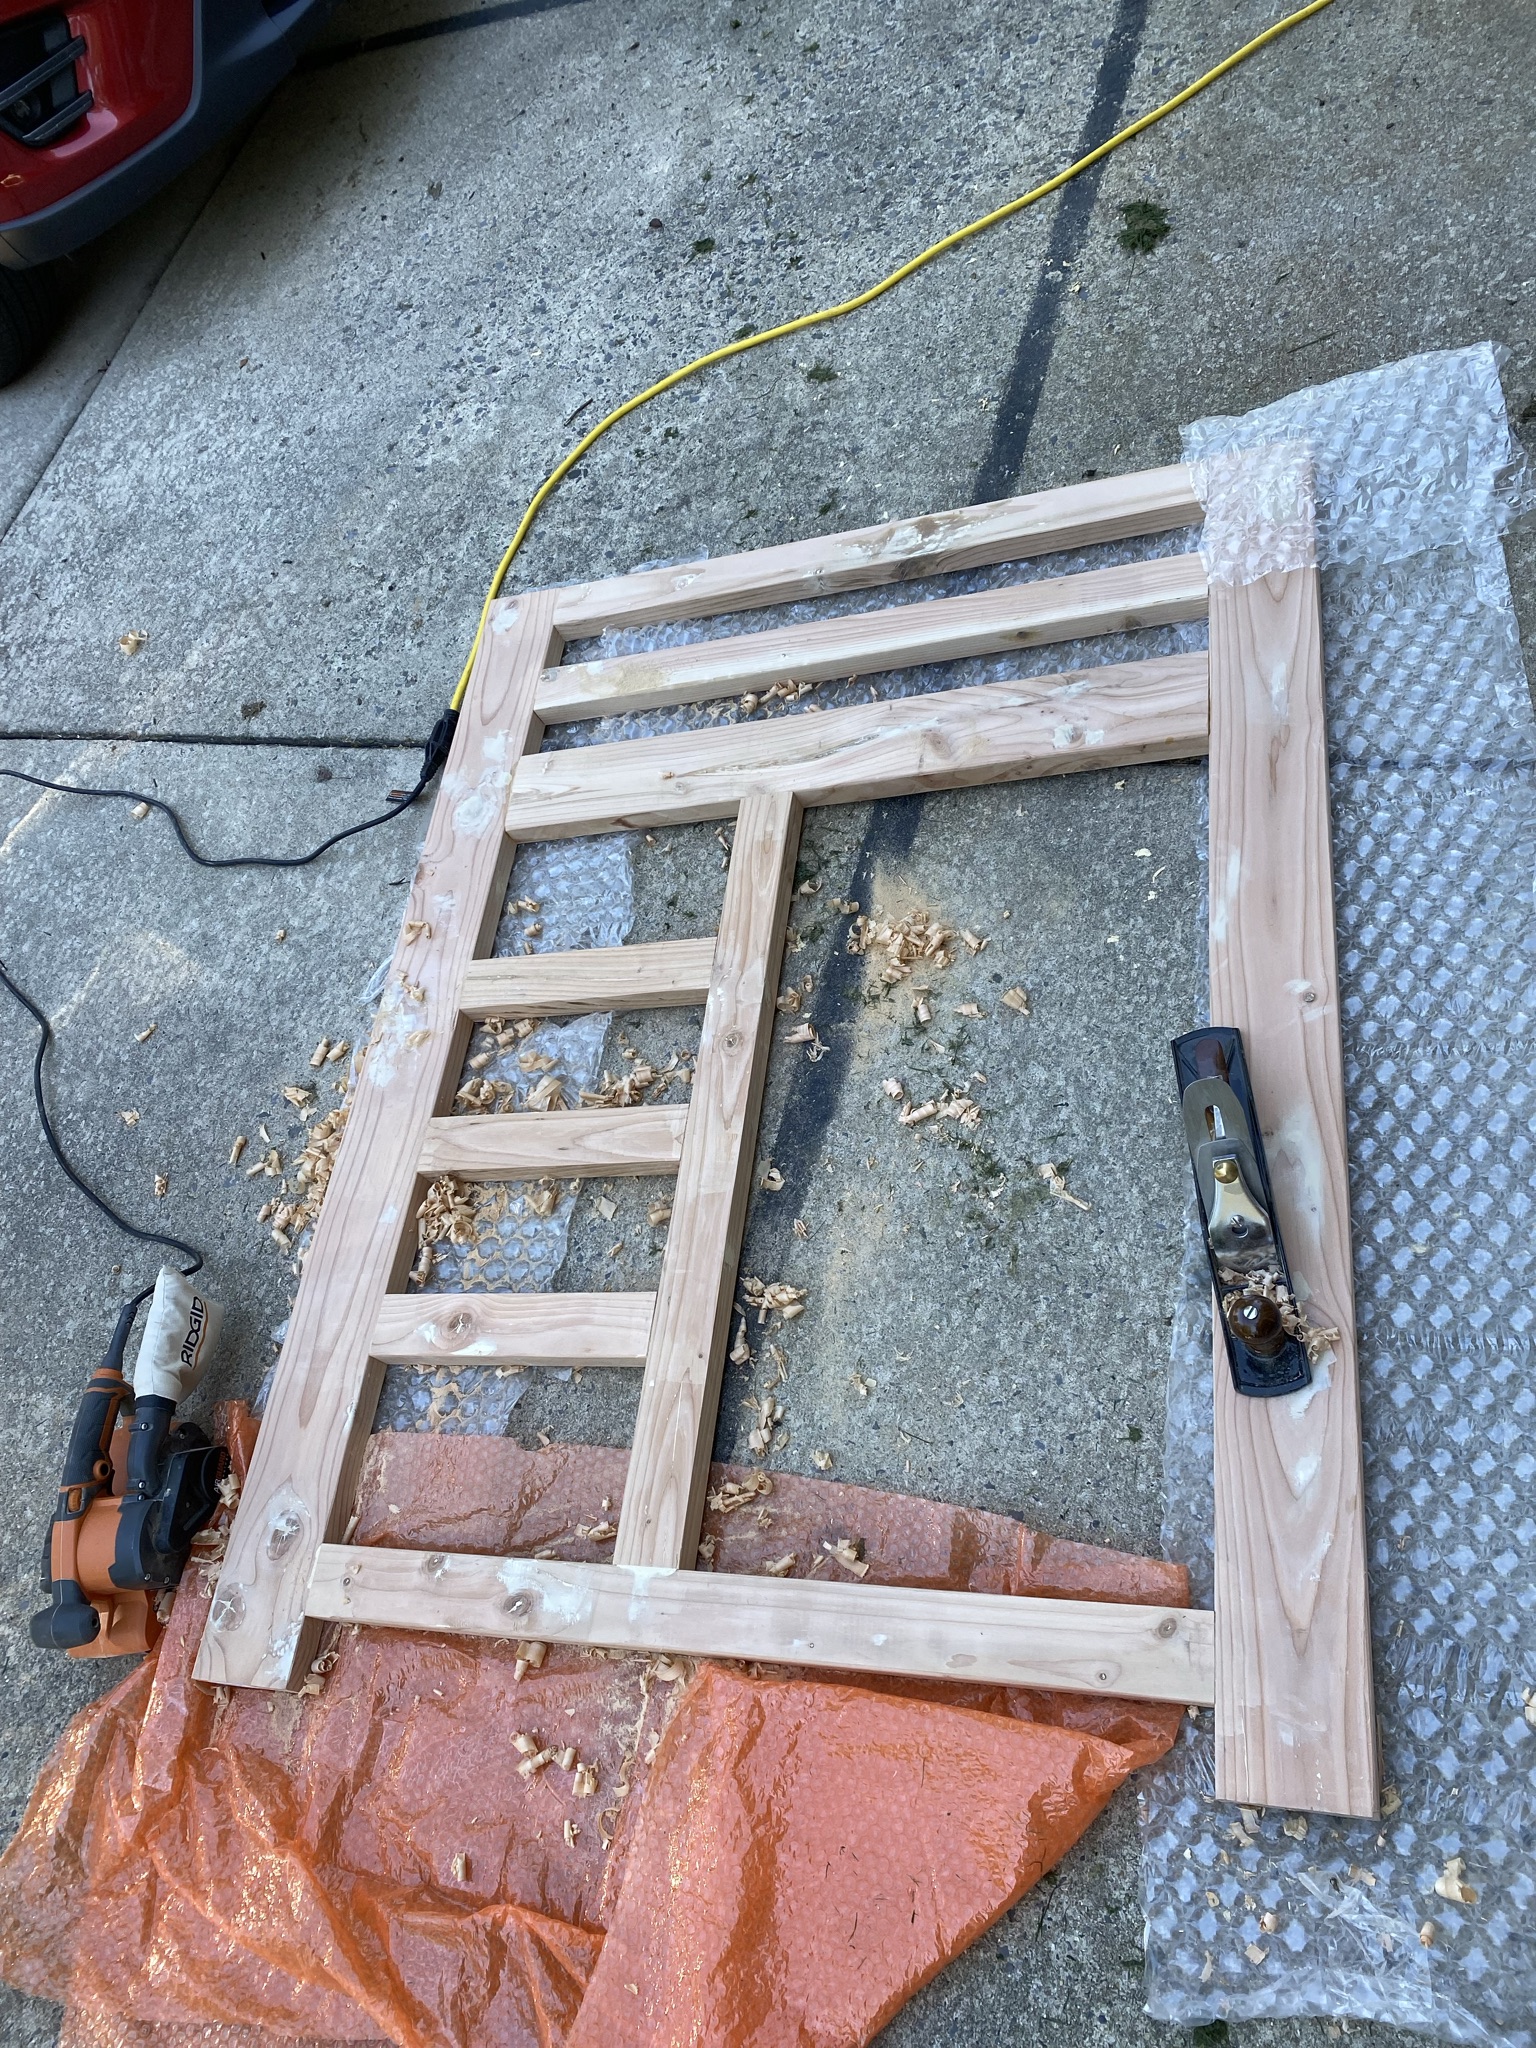
The footboard was assembled the same way, but presented its own challenges. I learned during this adventure that wood isn’t cut to exact dimensions at the lumber mill. I didn’t really ever think it was all the same thickness, but I never thought how obvious it would be when two pieces didn’t line up just right. I don’t have a thickness planer, so I had to use my hand planer to even things out. It worked ok and was a good work out.
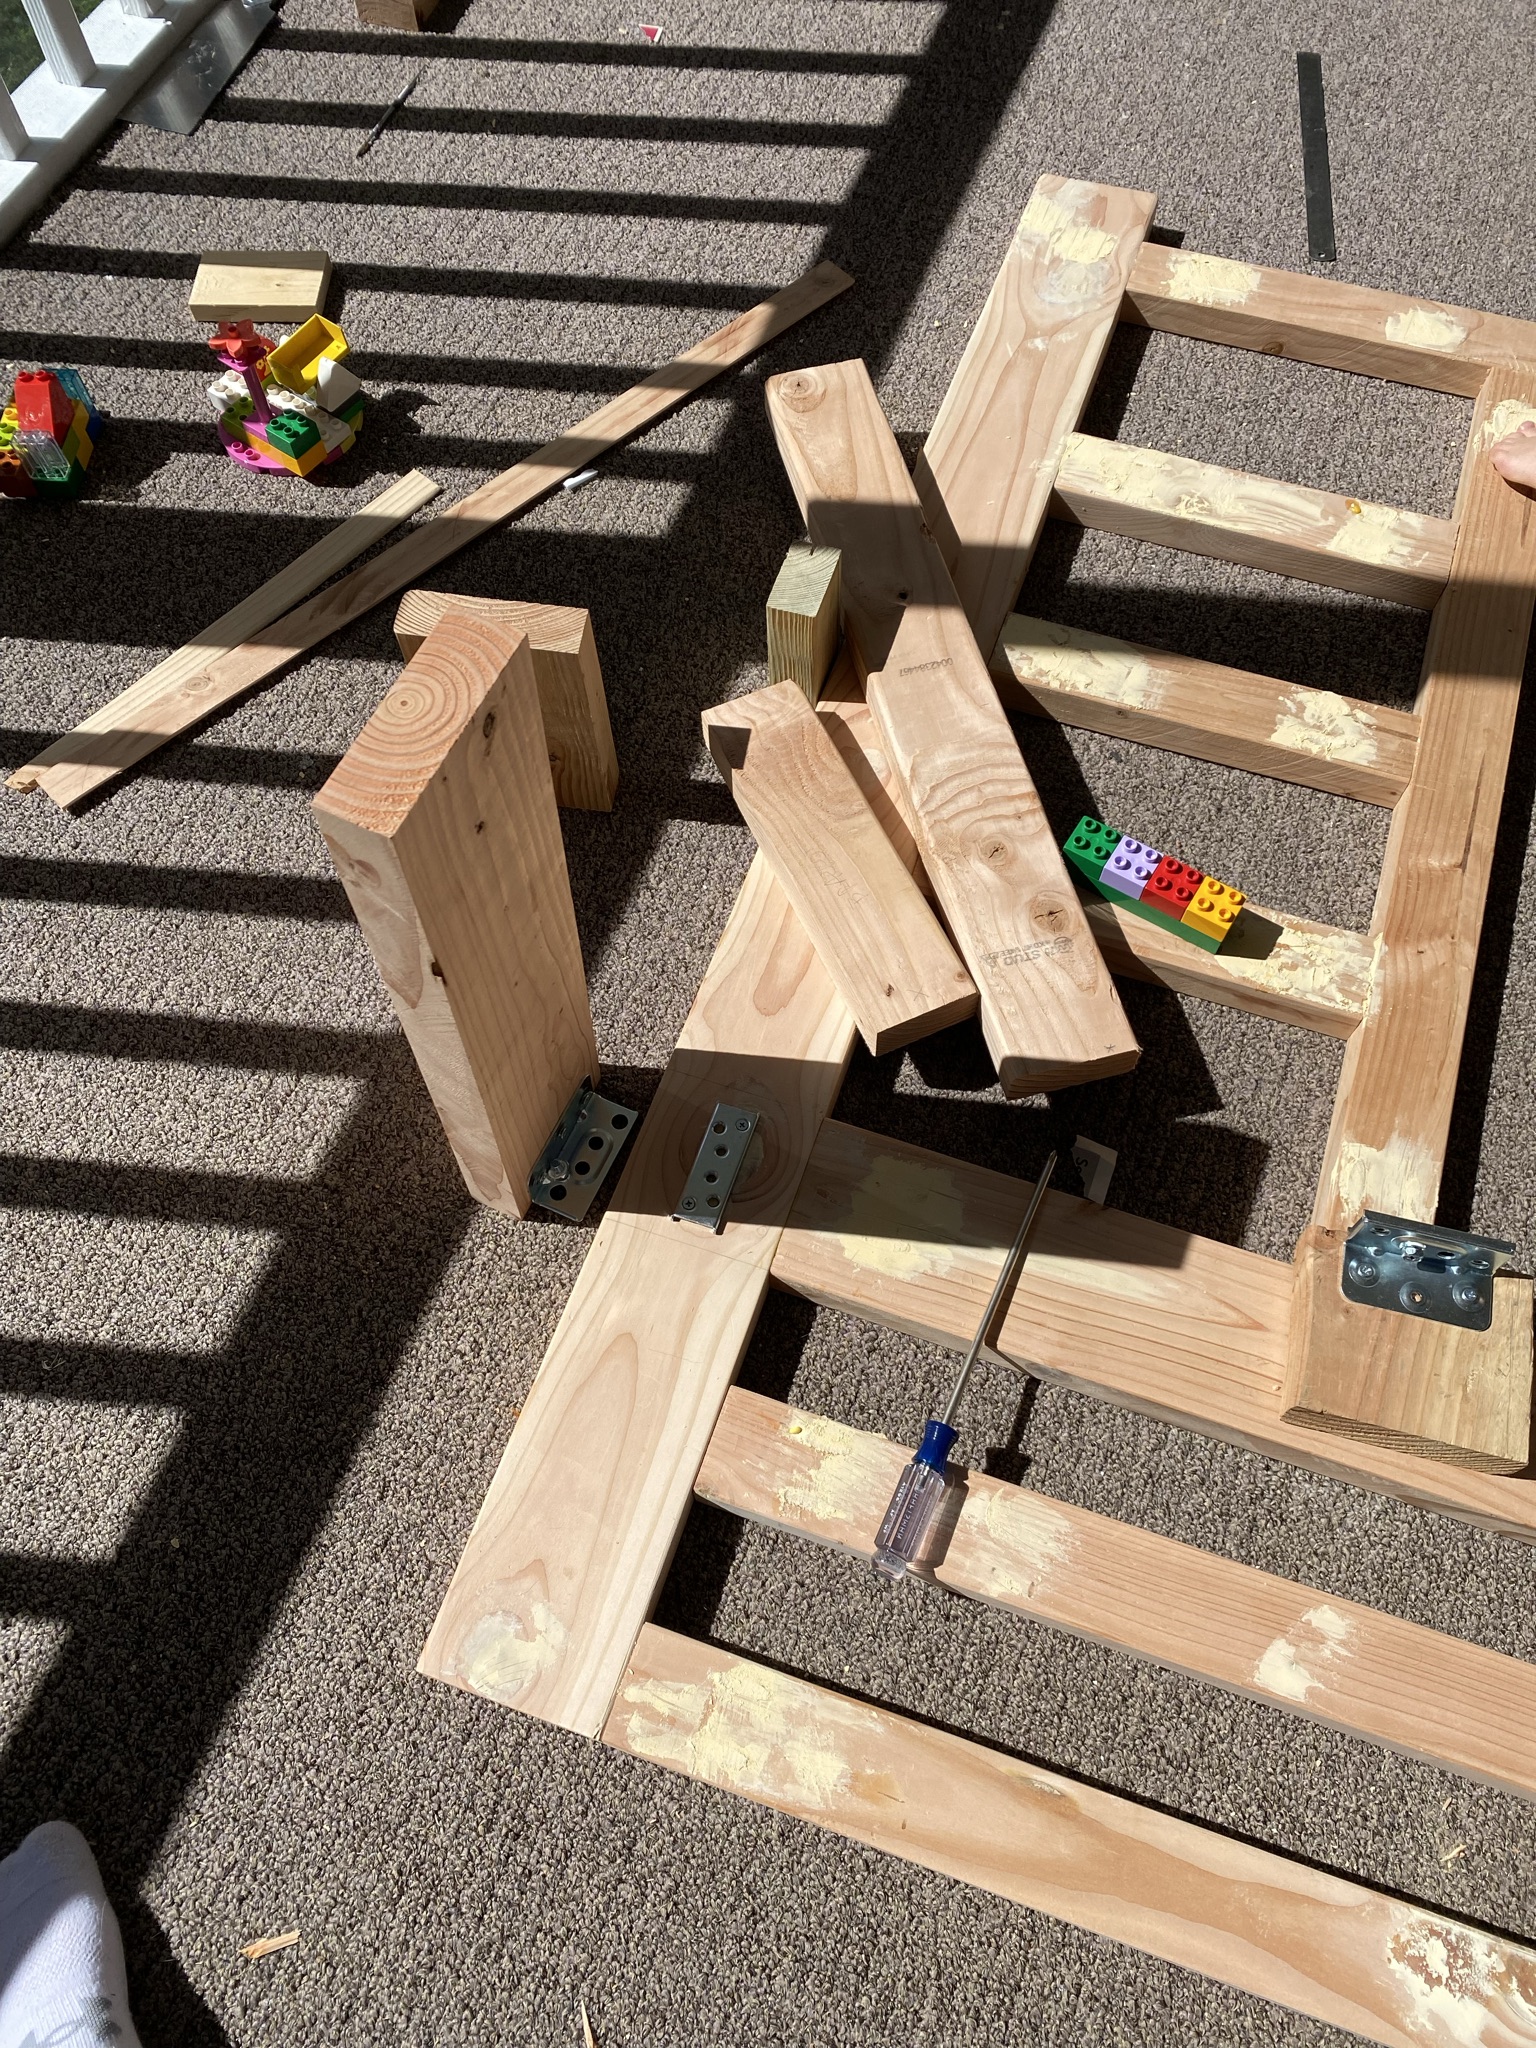
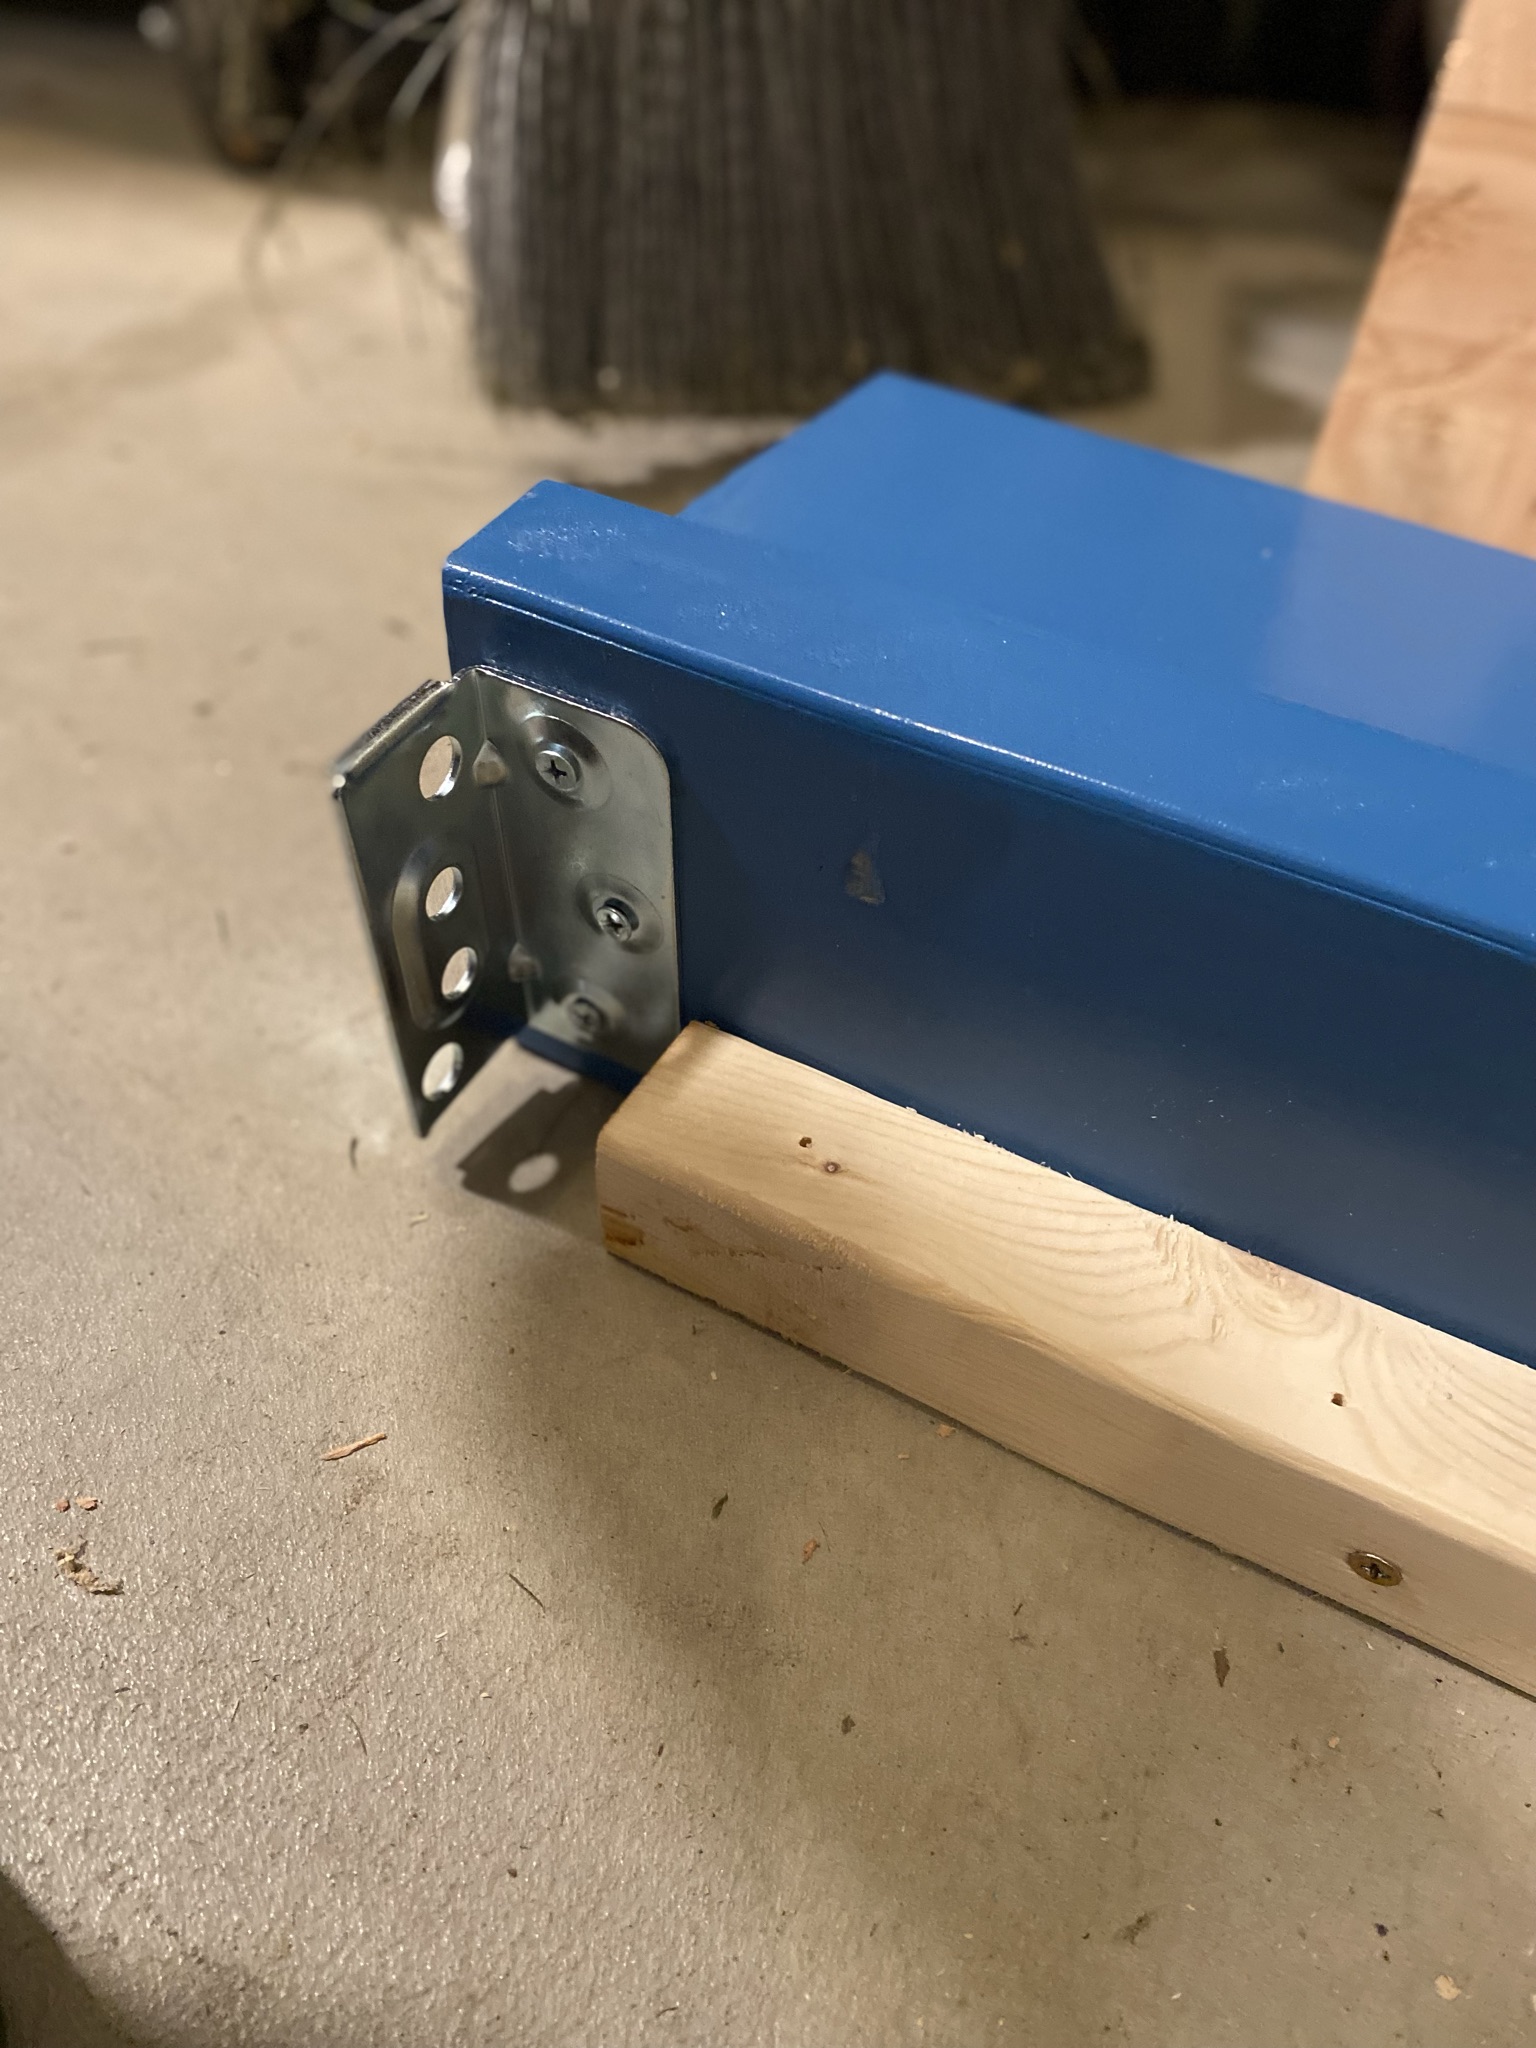
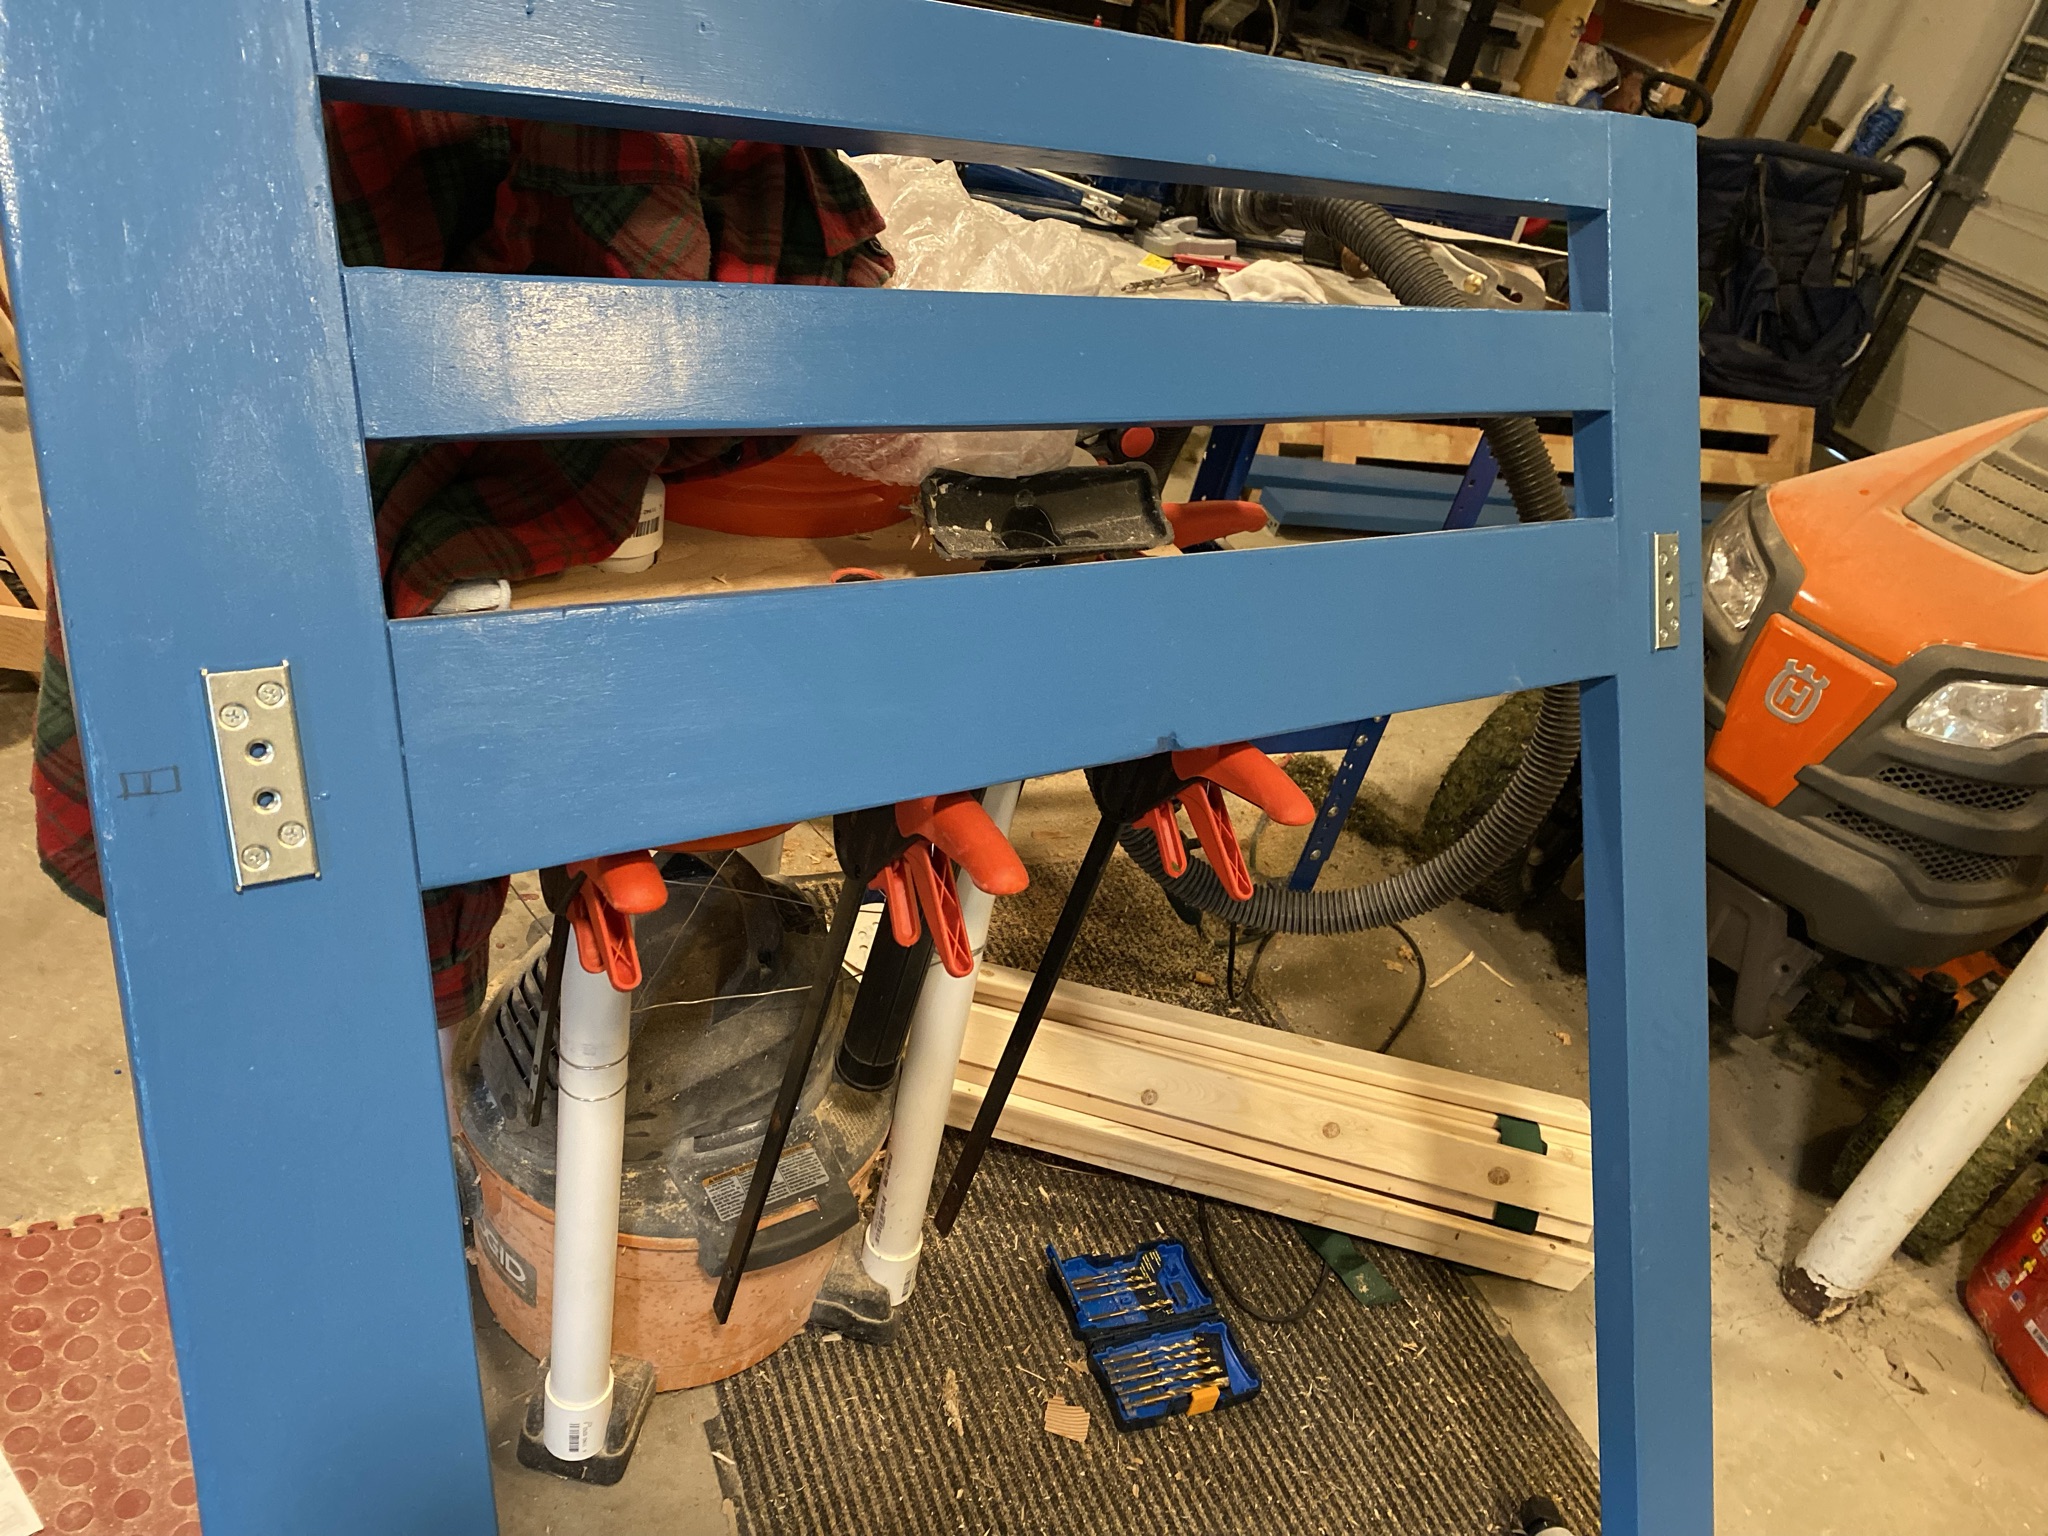
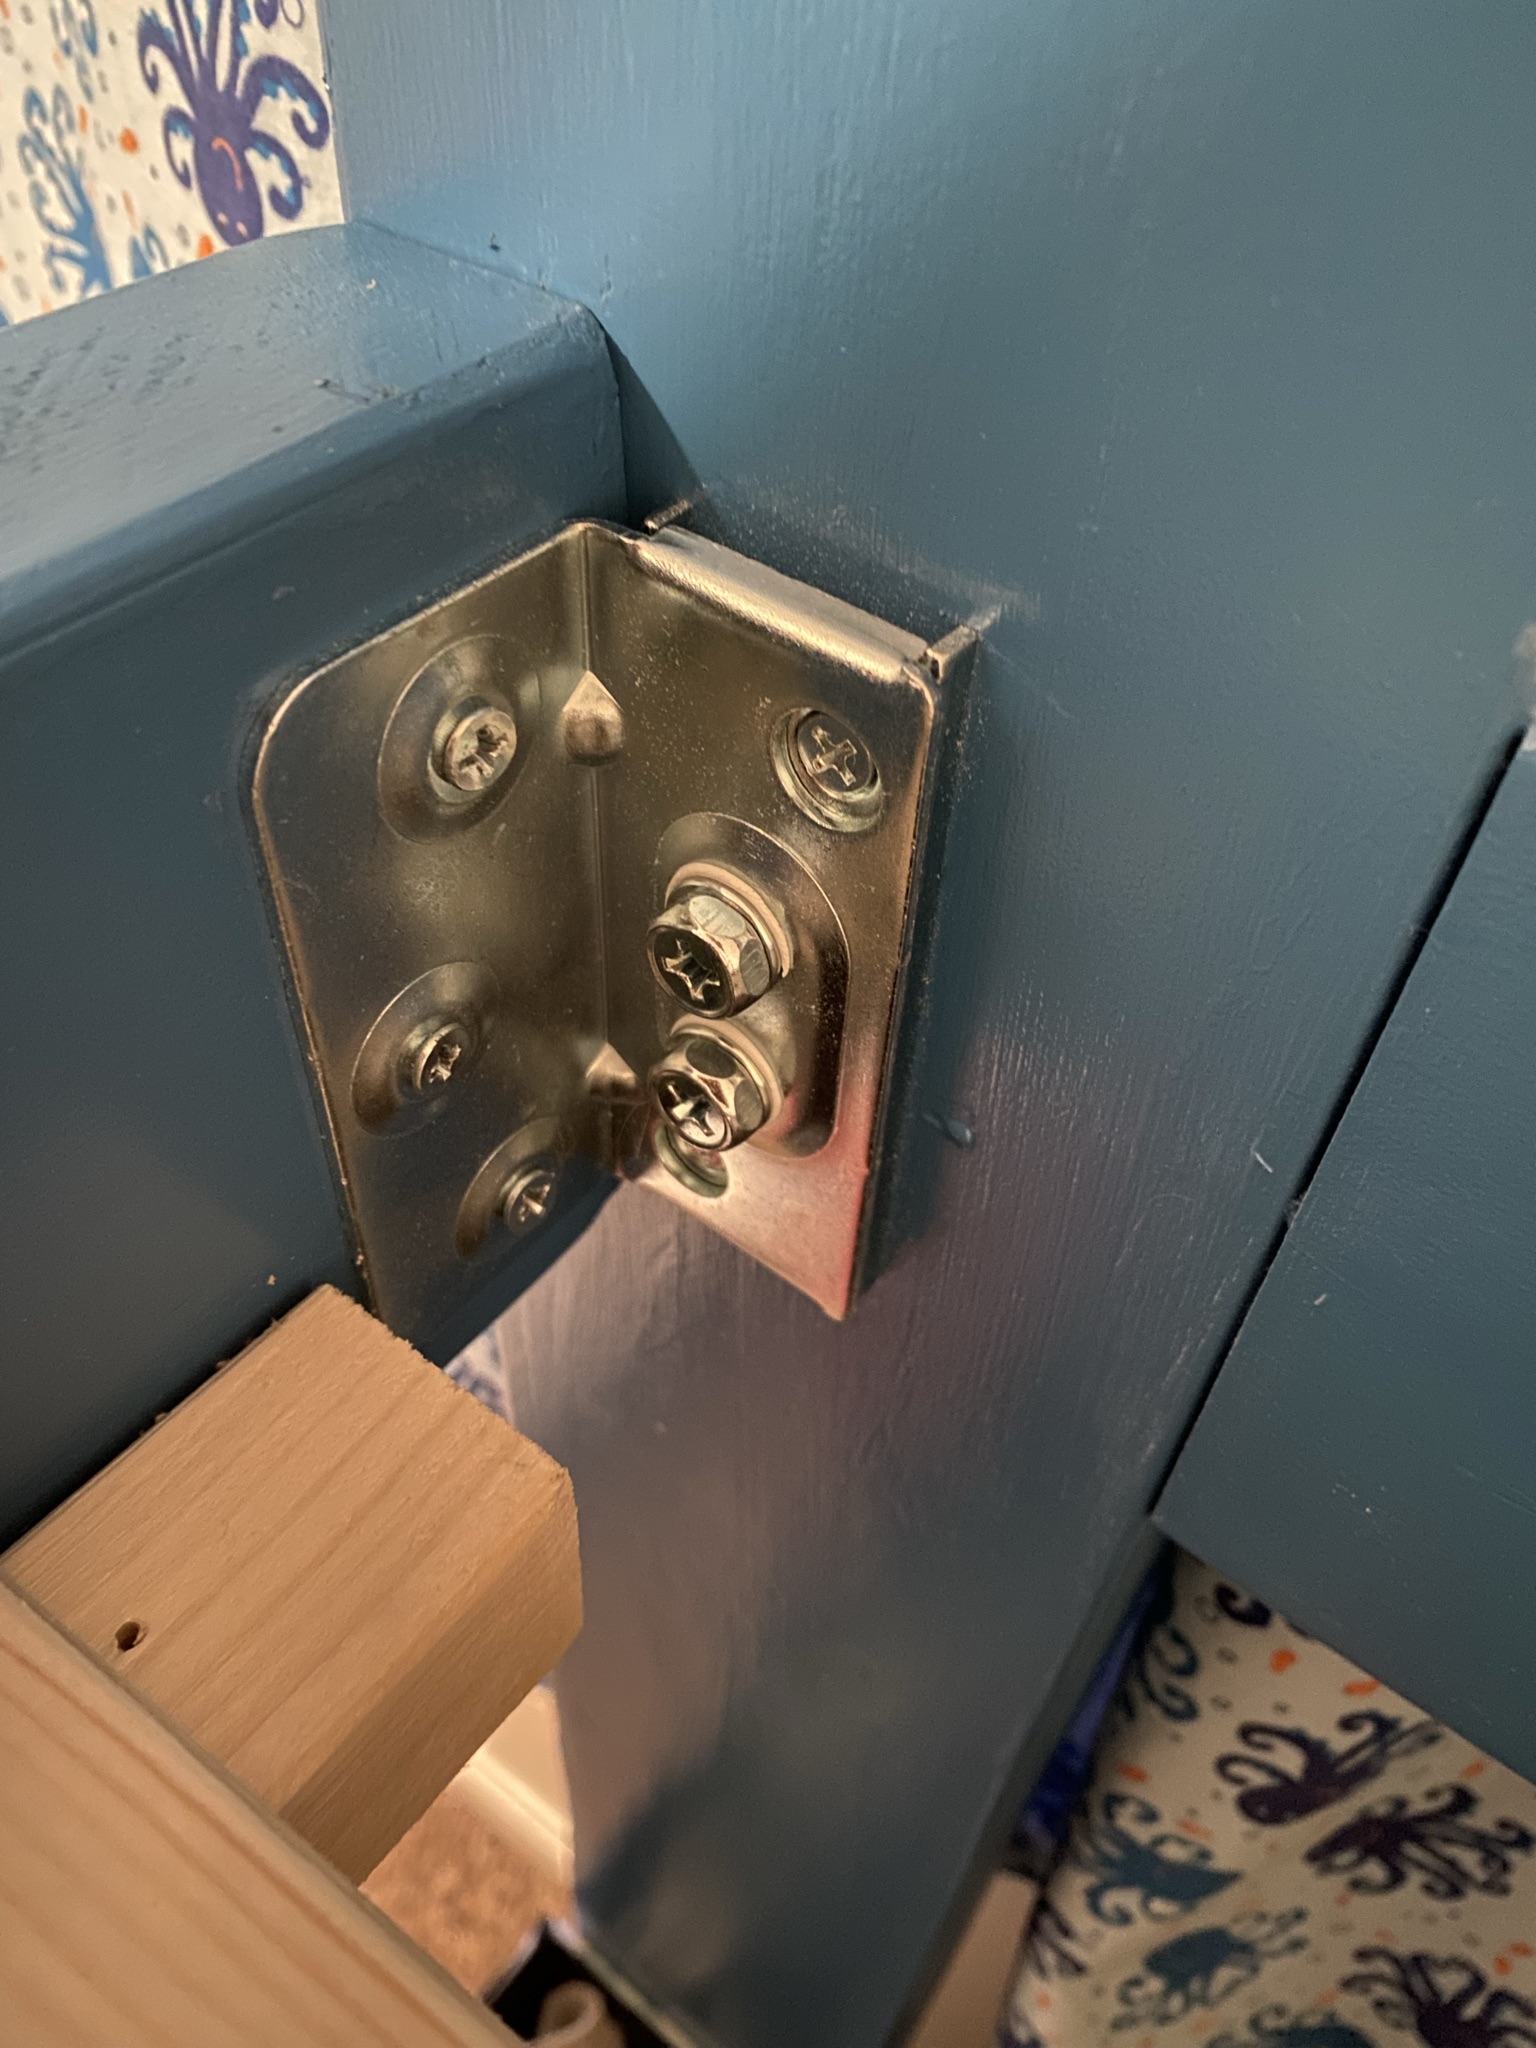
I bought a set of bed hardware from rockler.com. They have quite a selection of options. I chose this one because the hardware is completely hidden by the mattress, can be disconnected (to disassemble the bed) without removing screws from the wood, and it has two “positive lock” screws that gives a layer of redundancy if one screw comes loose.
It took about an hour to align everything perfectly the first time and make a jig so it could be repeated on all four corners. Once we had it setup, it was a piece of cake to repeat. I also got a self-centering drill bit so I knew the screw holes would be perfectly centered. Below you can see the two parts of the hardware. Those two parts always stay screwed into the wood and then screw together with hefty bolts that form the positive lock.
The Rails
We painted the headboard, footboard & the rails that go between them. Several years ago, we had a bed from a big box store where the wood that supports the box spring randomly split. That wood was only 1”x1”. Since this would be a kid’s bed, I decided we should use 2”x2” pieces for extra strength. Those pieces were screwed in, leaving enough room on the ends for the hardware to attach everything.
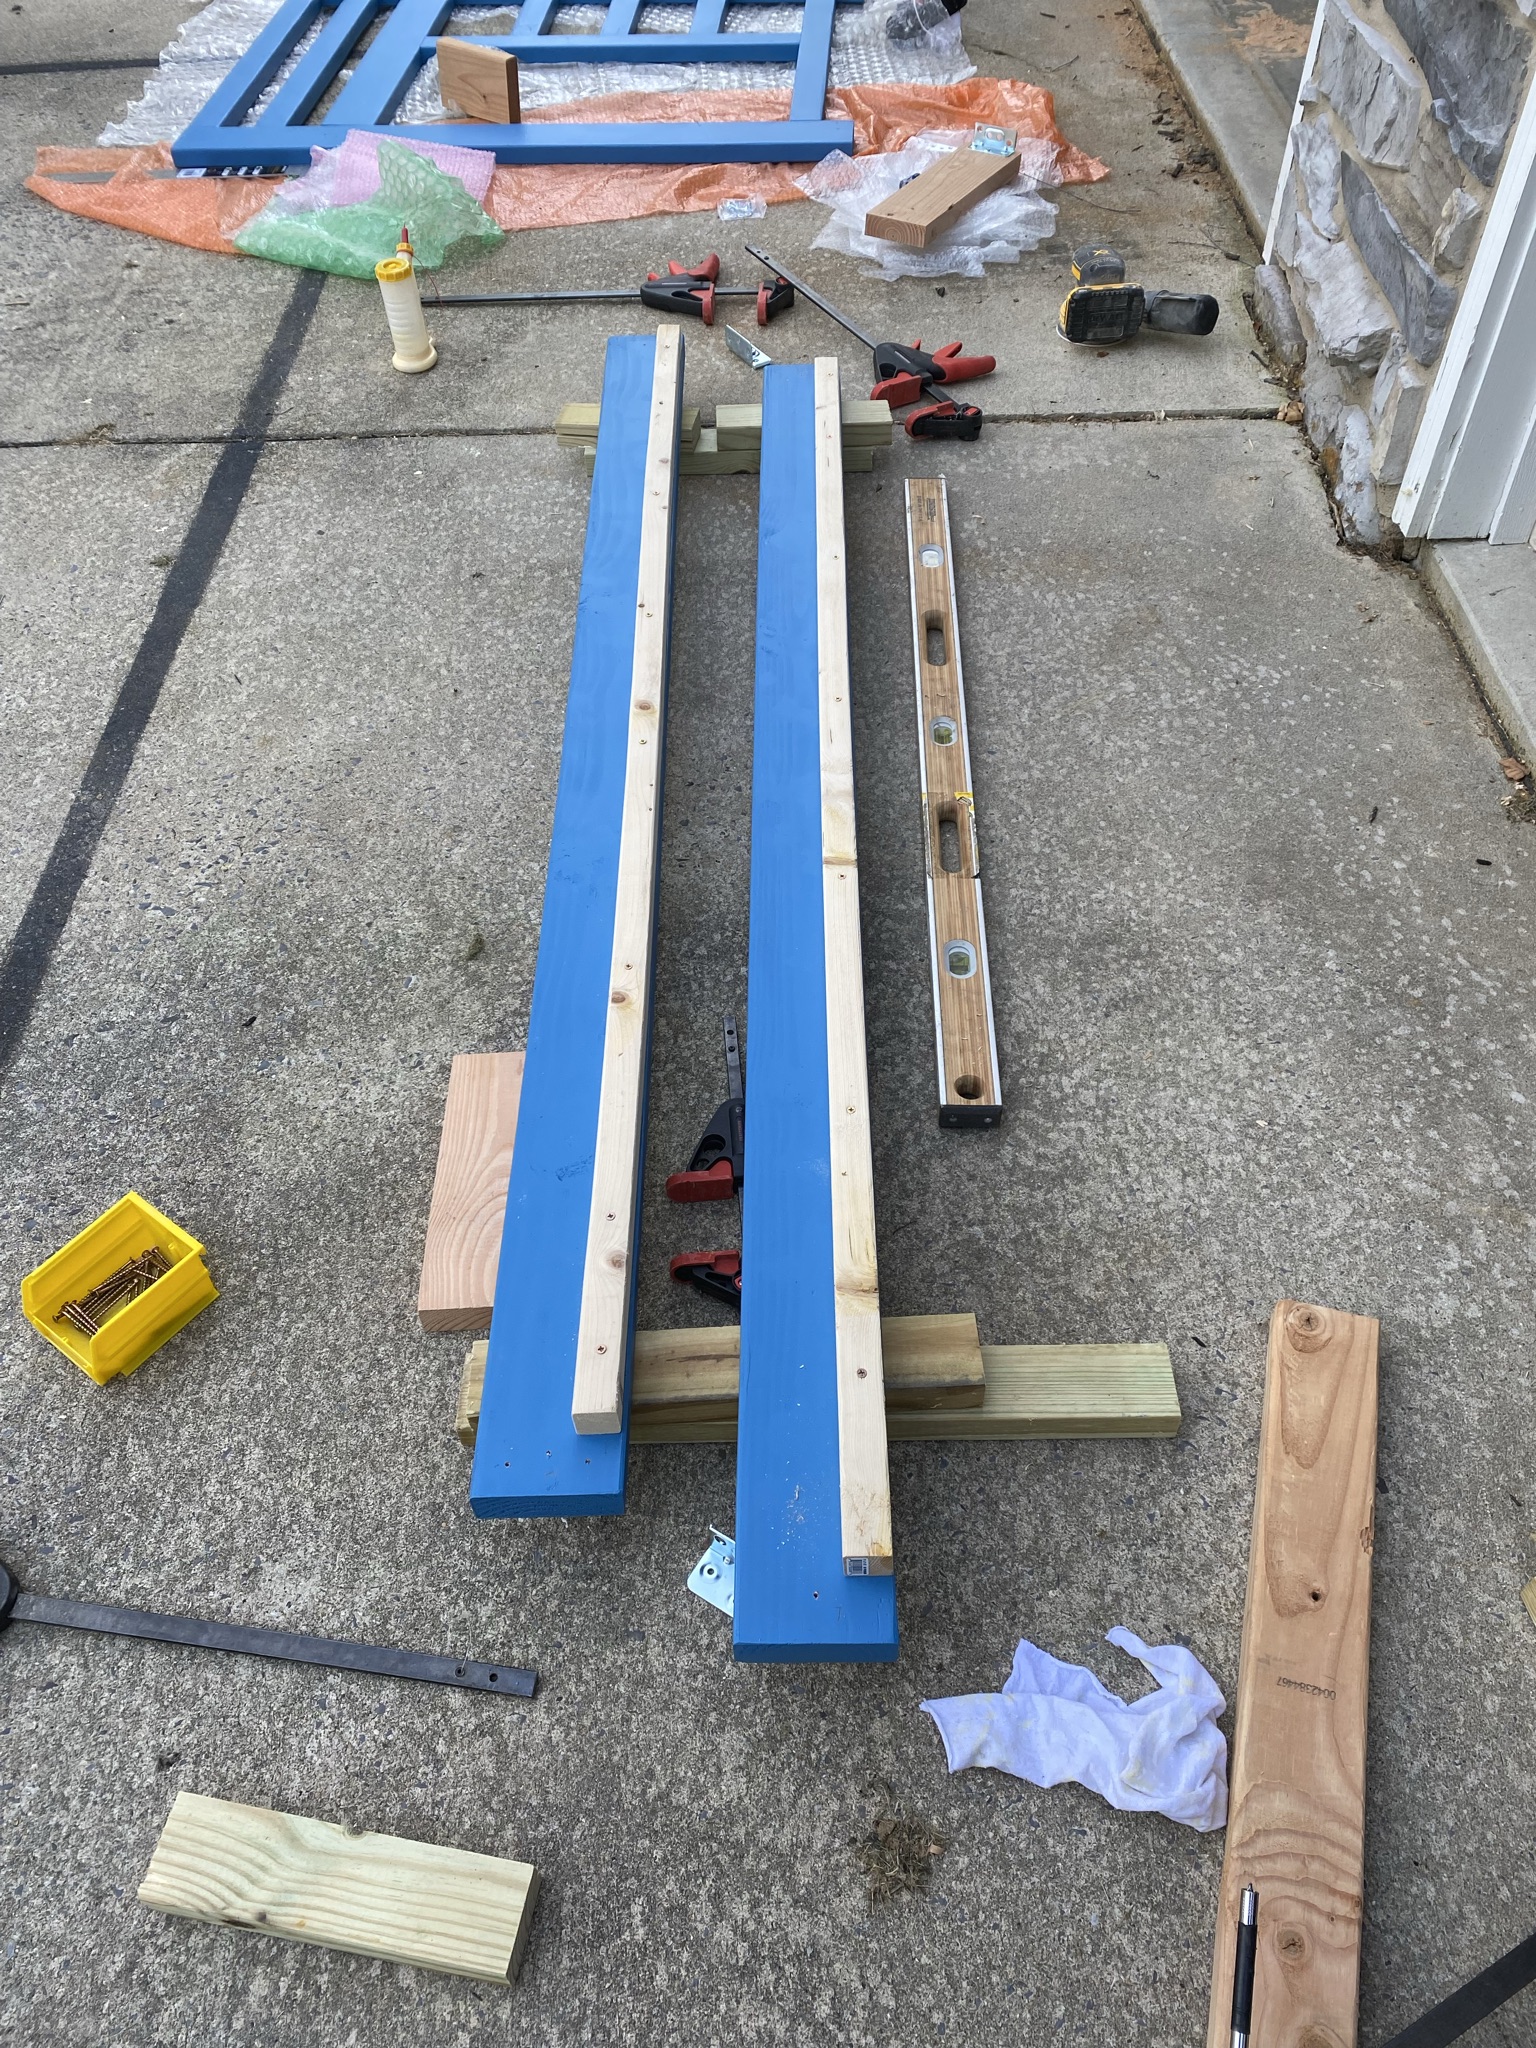
Here’s a close up of the hardware attached to one of the rails:
Safety Rails
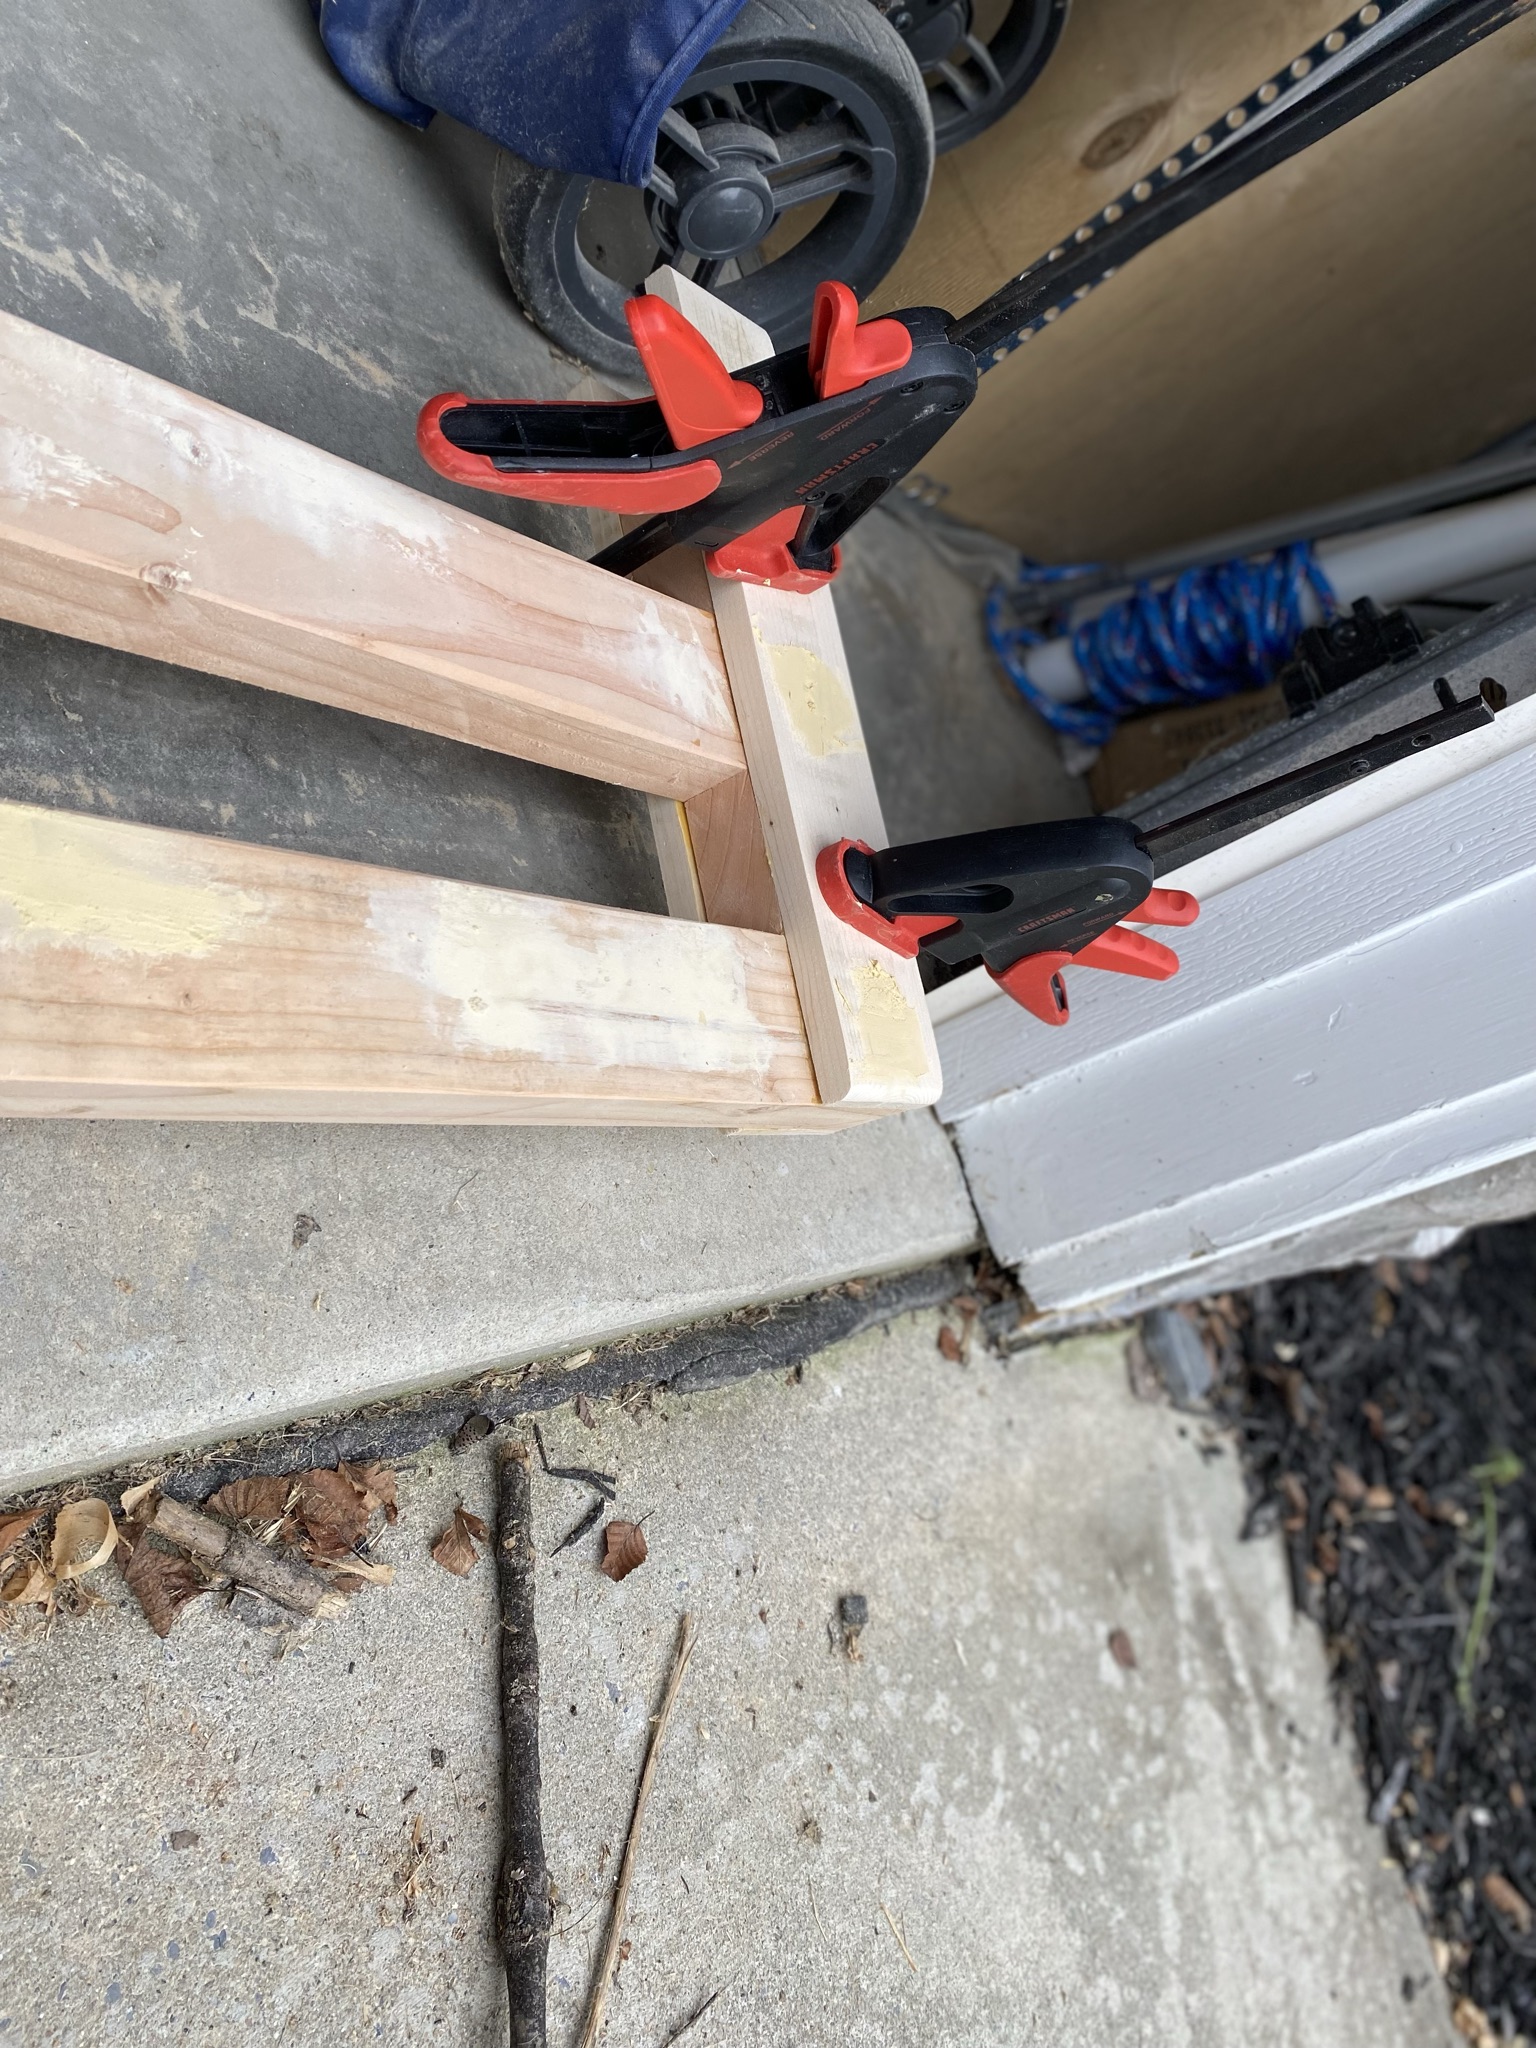
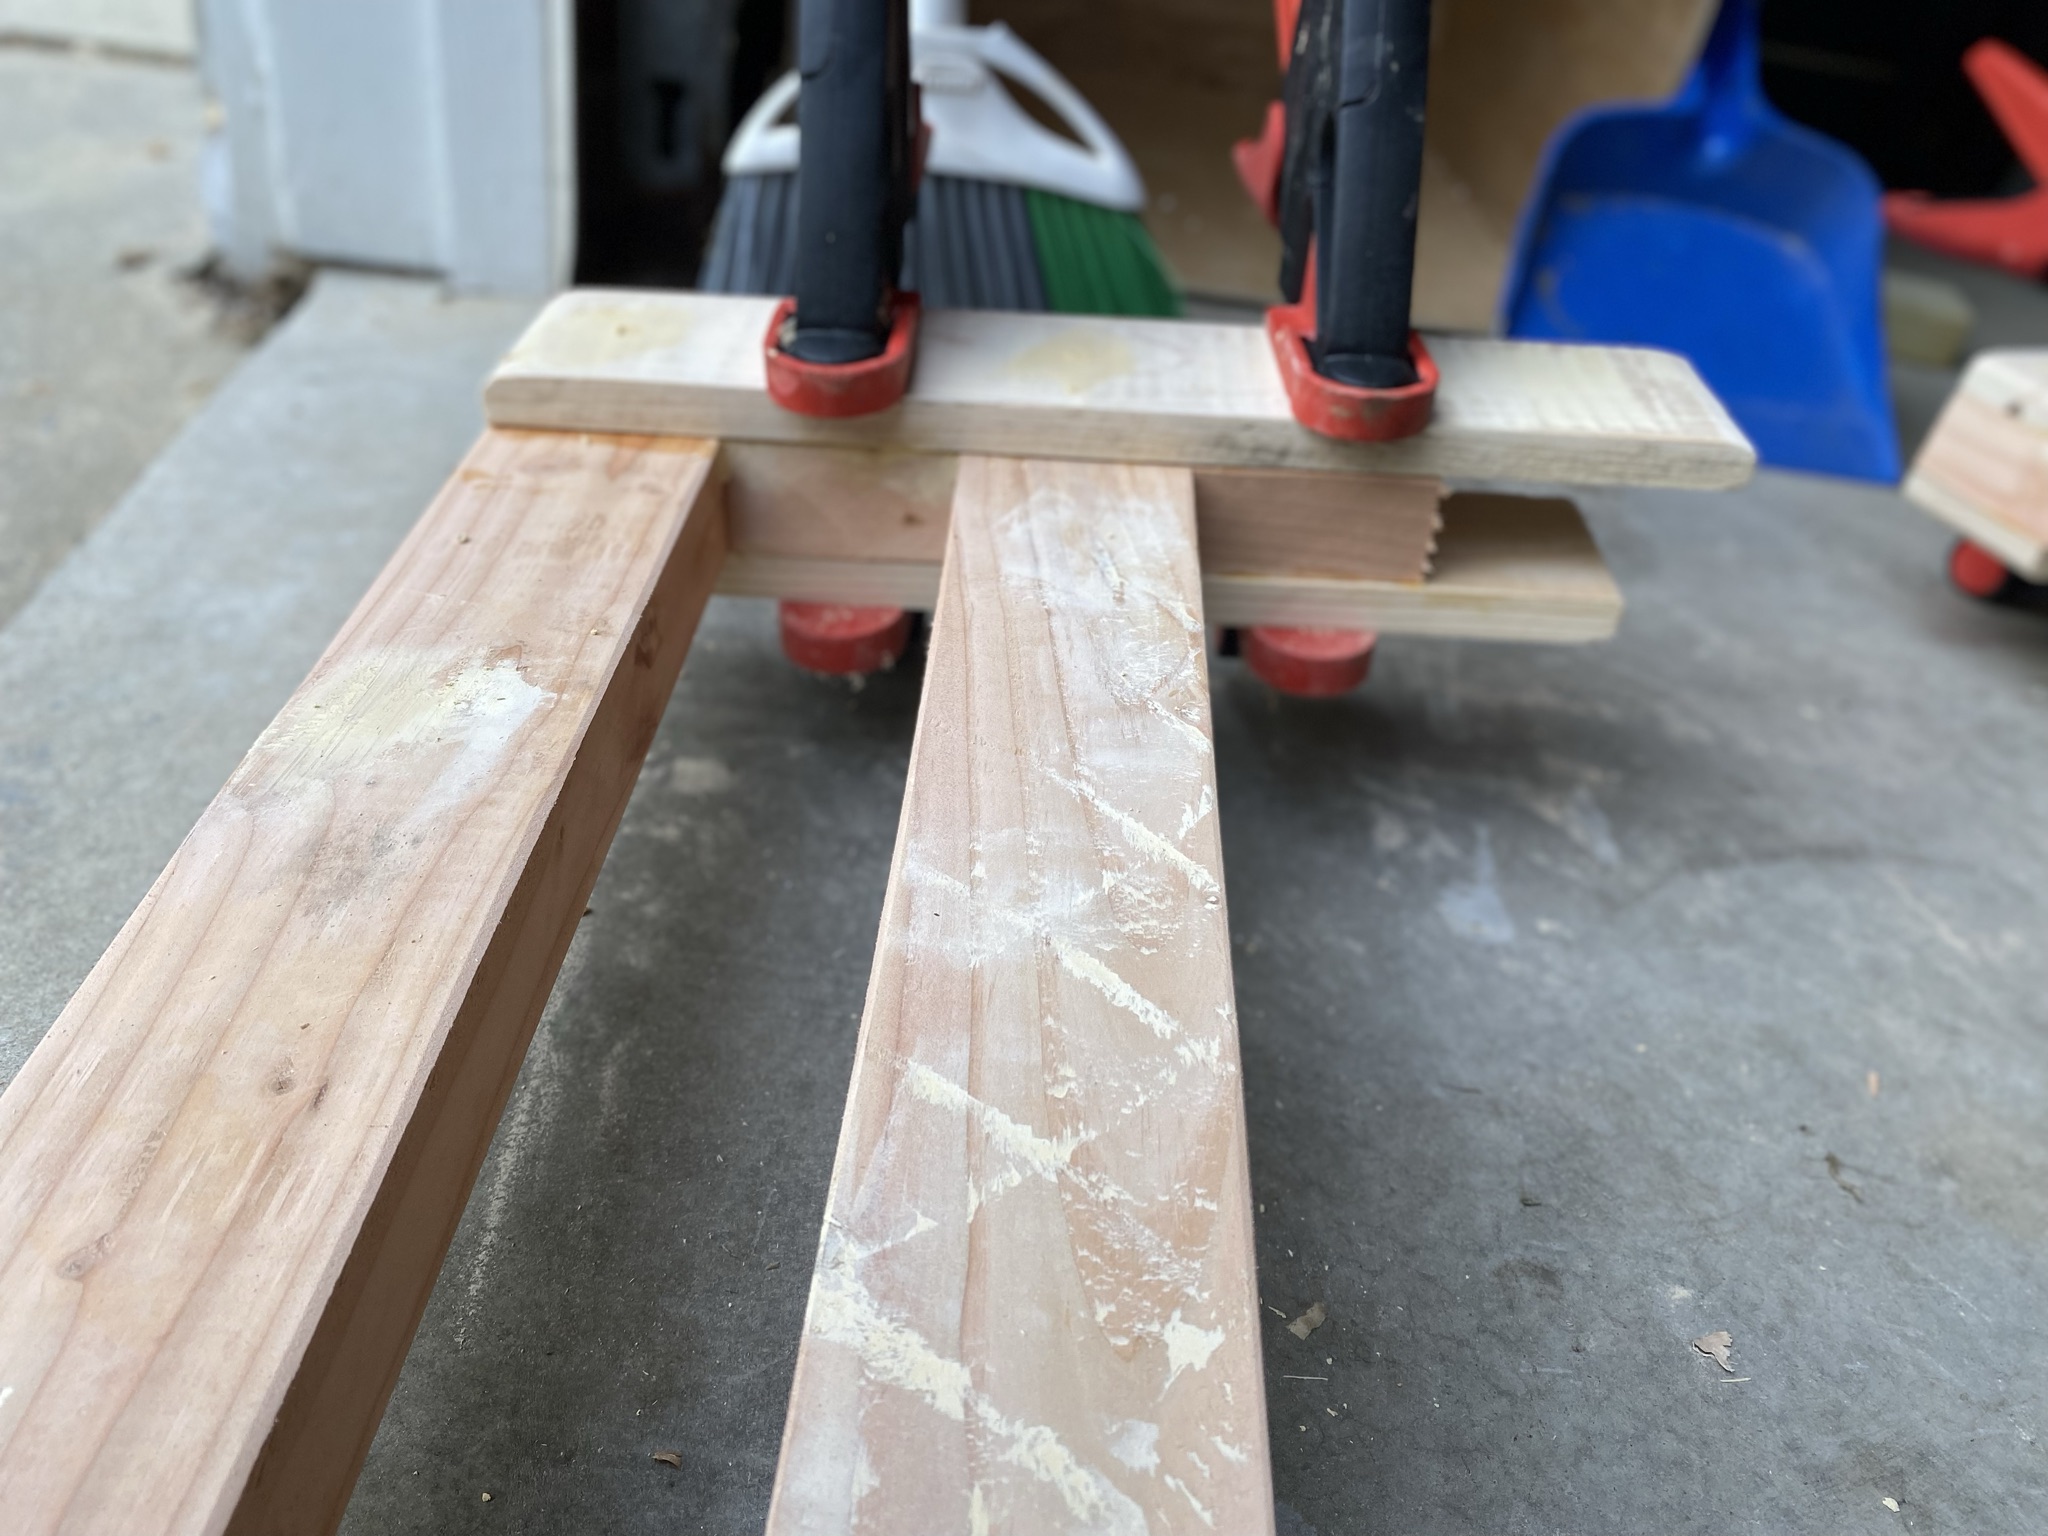
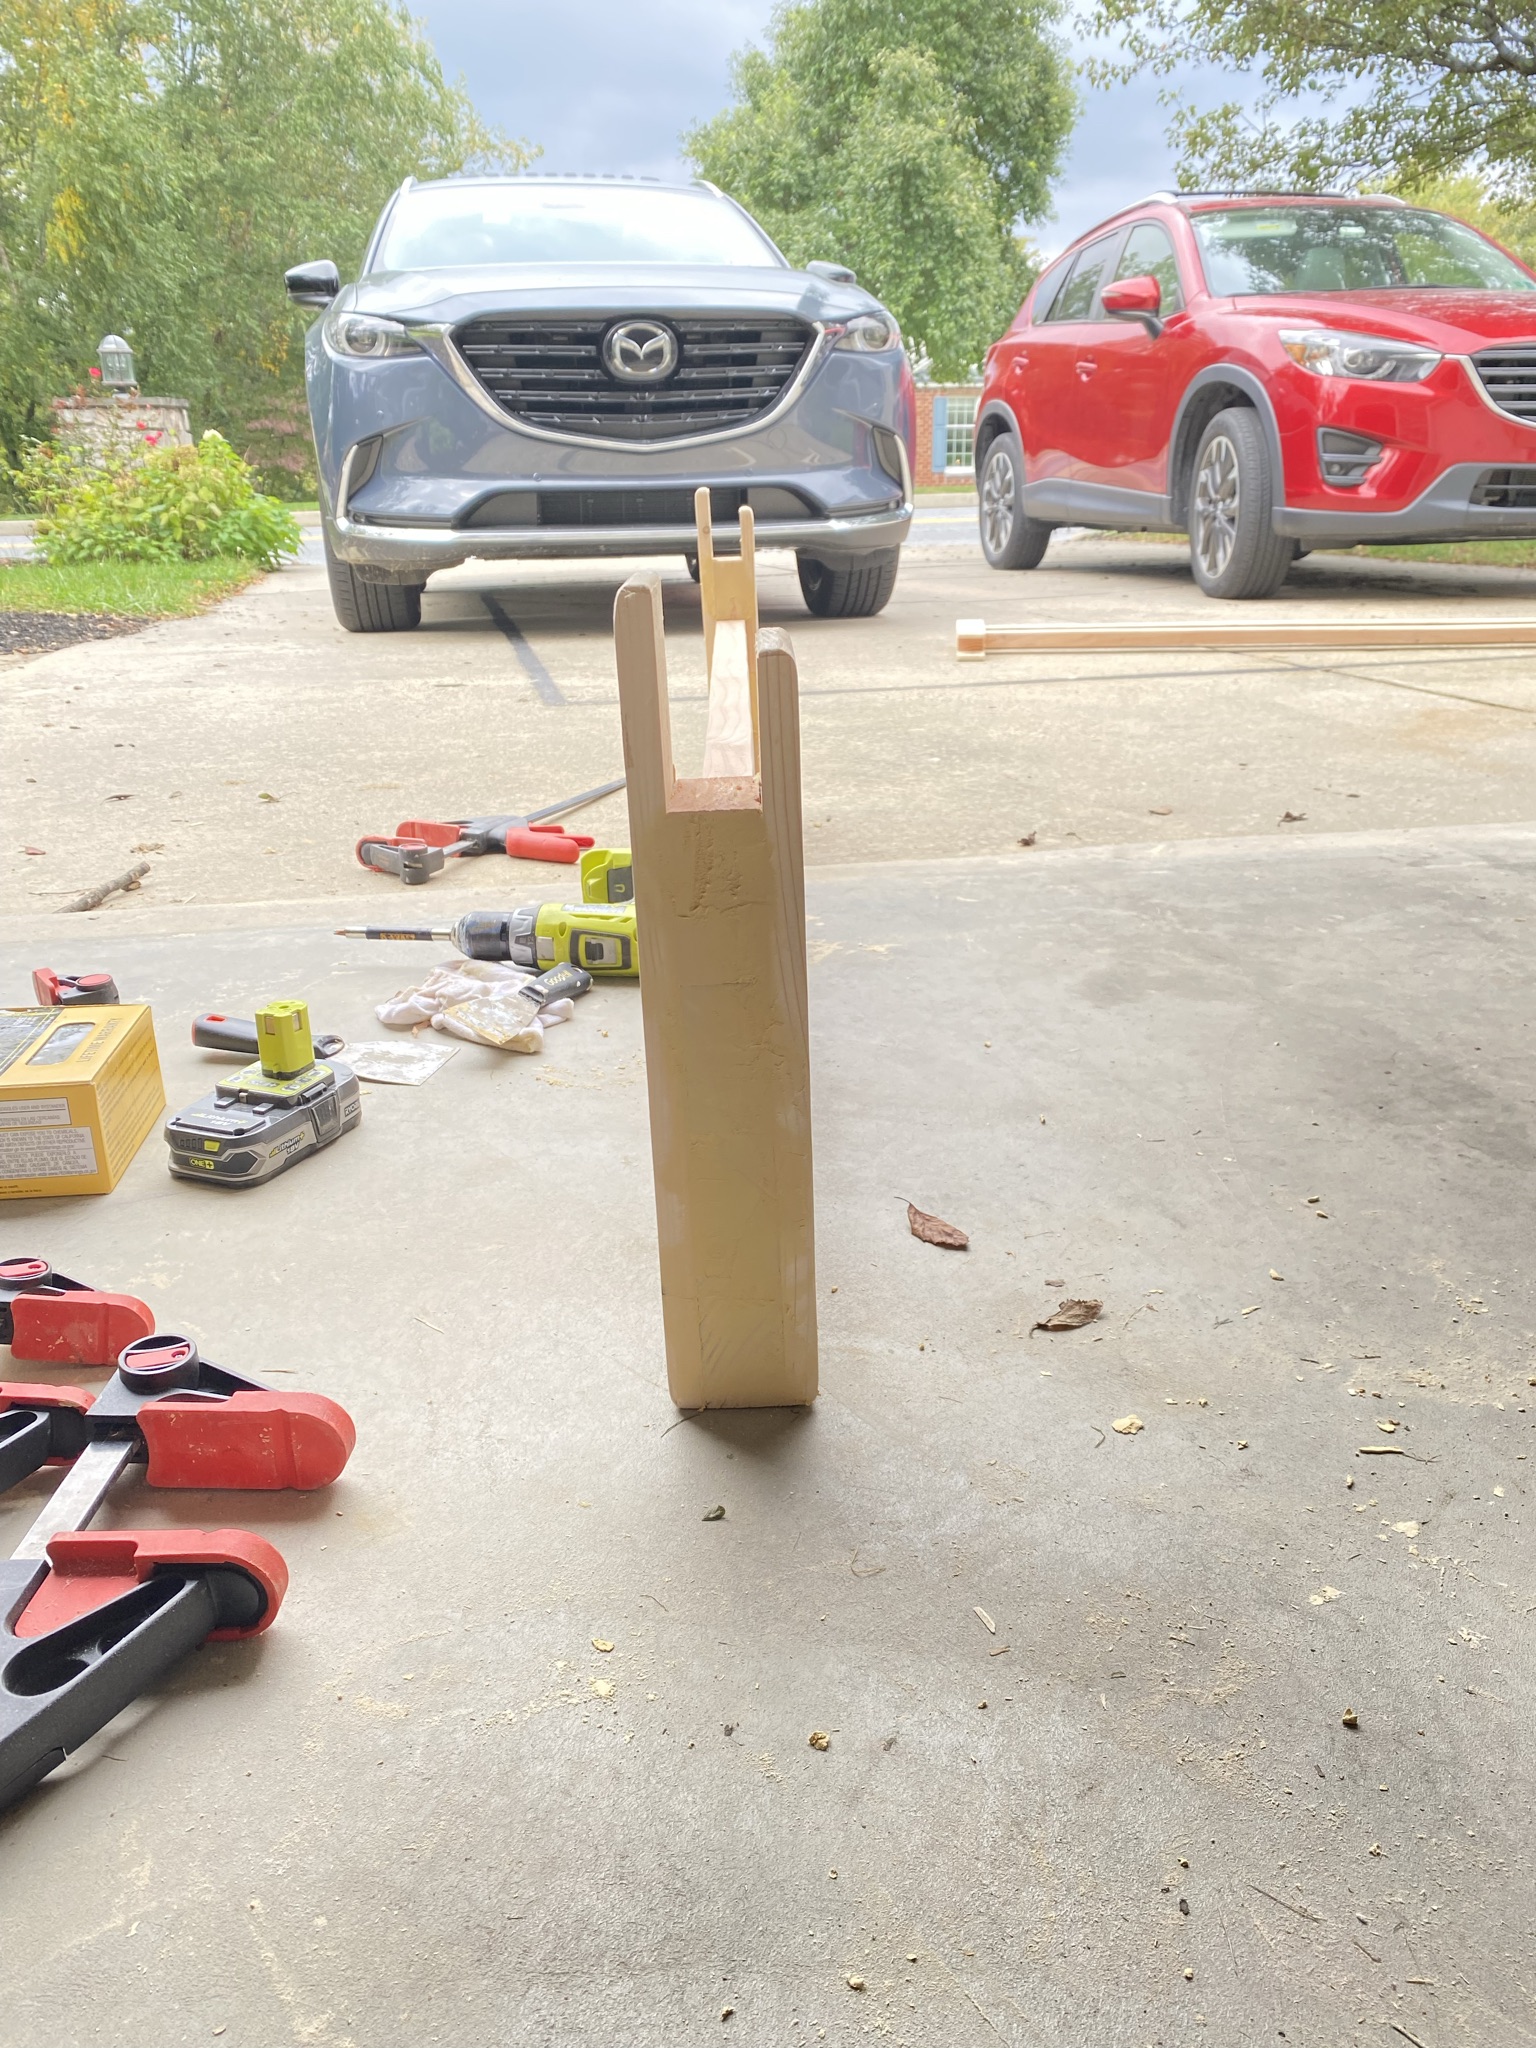
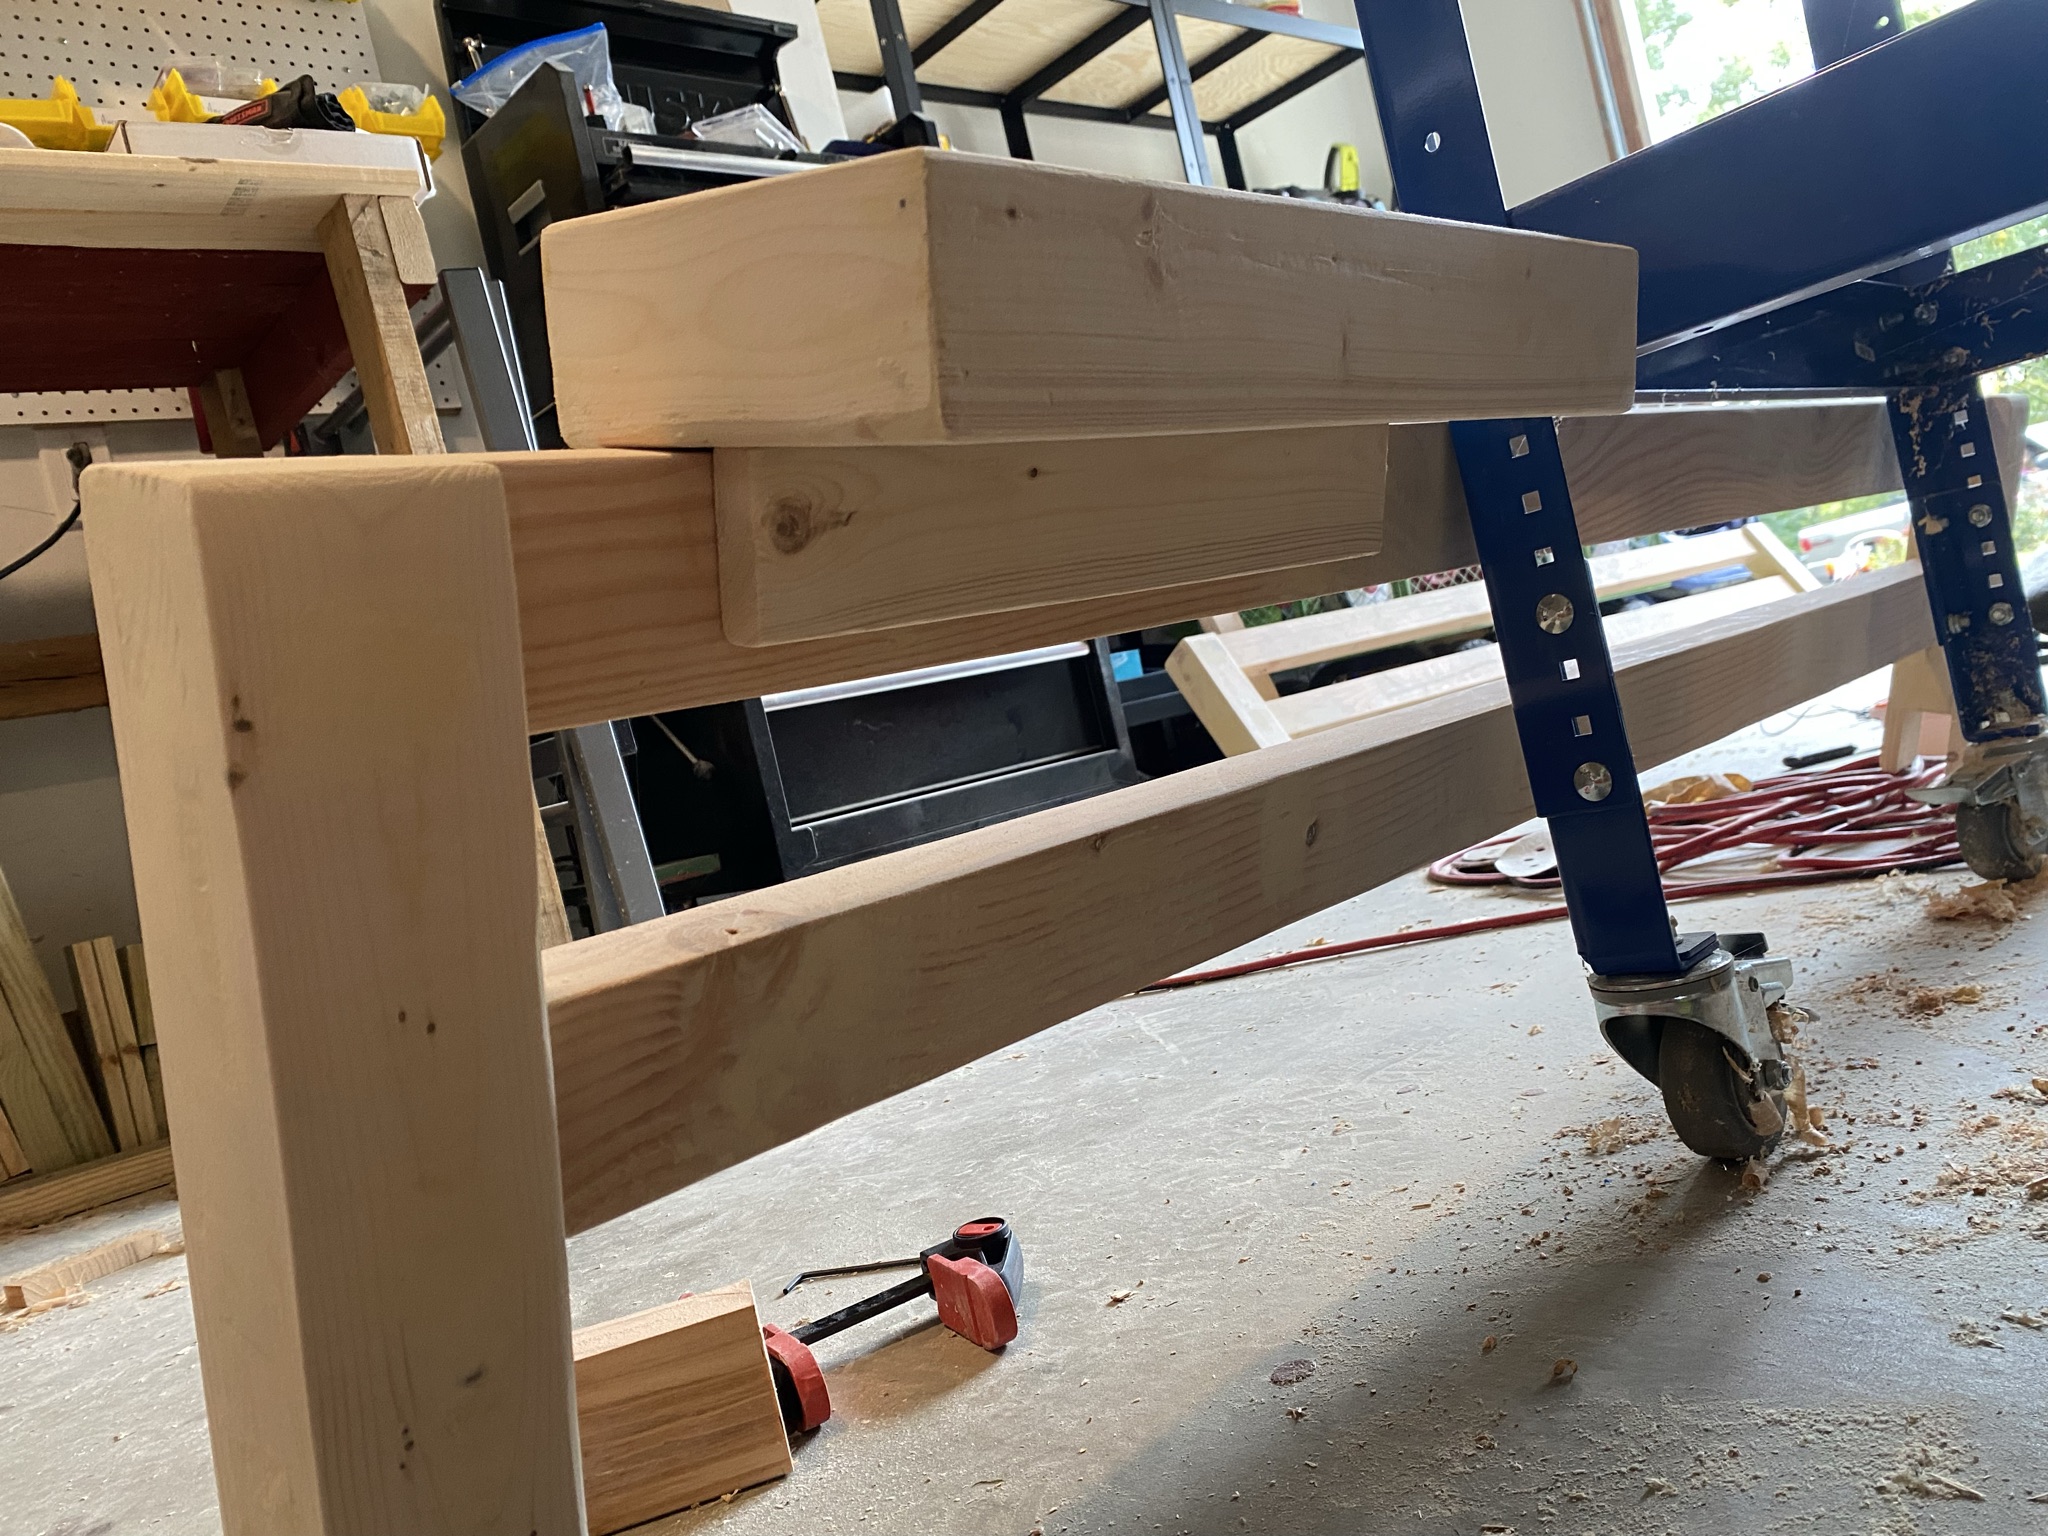
The inspiration for the safety rail design came from my wife’s childhood bed. It had a safety rail that slid over the rail of the bed frame. We took the same idea and I smoothed the edges with a round over bit on my router table. The outer side is a couple inches longer than the inner side to give more structural support if the kid were to push against them.
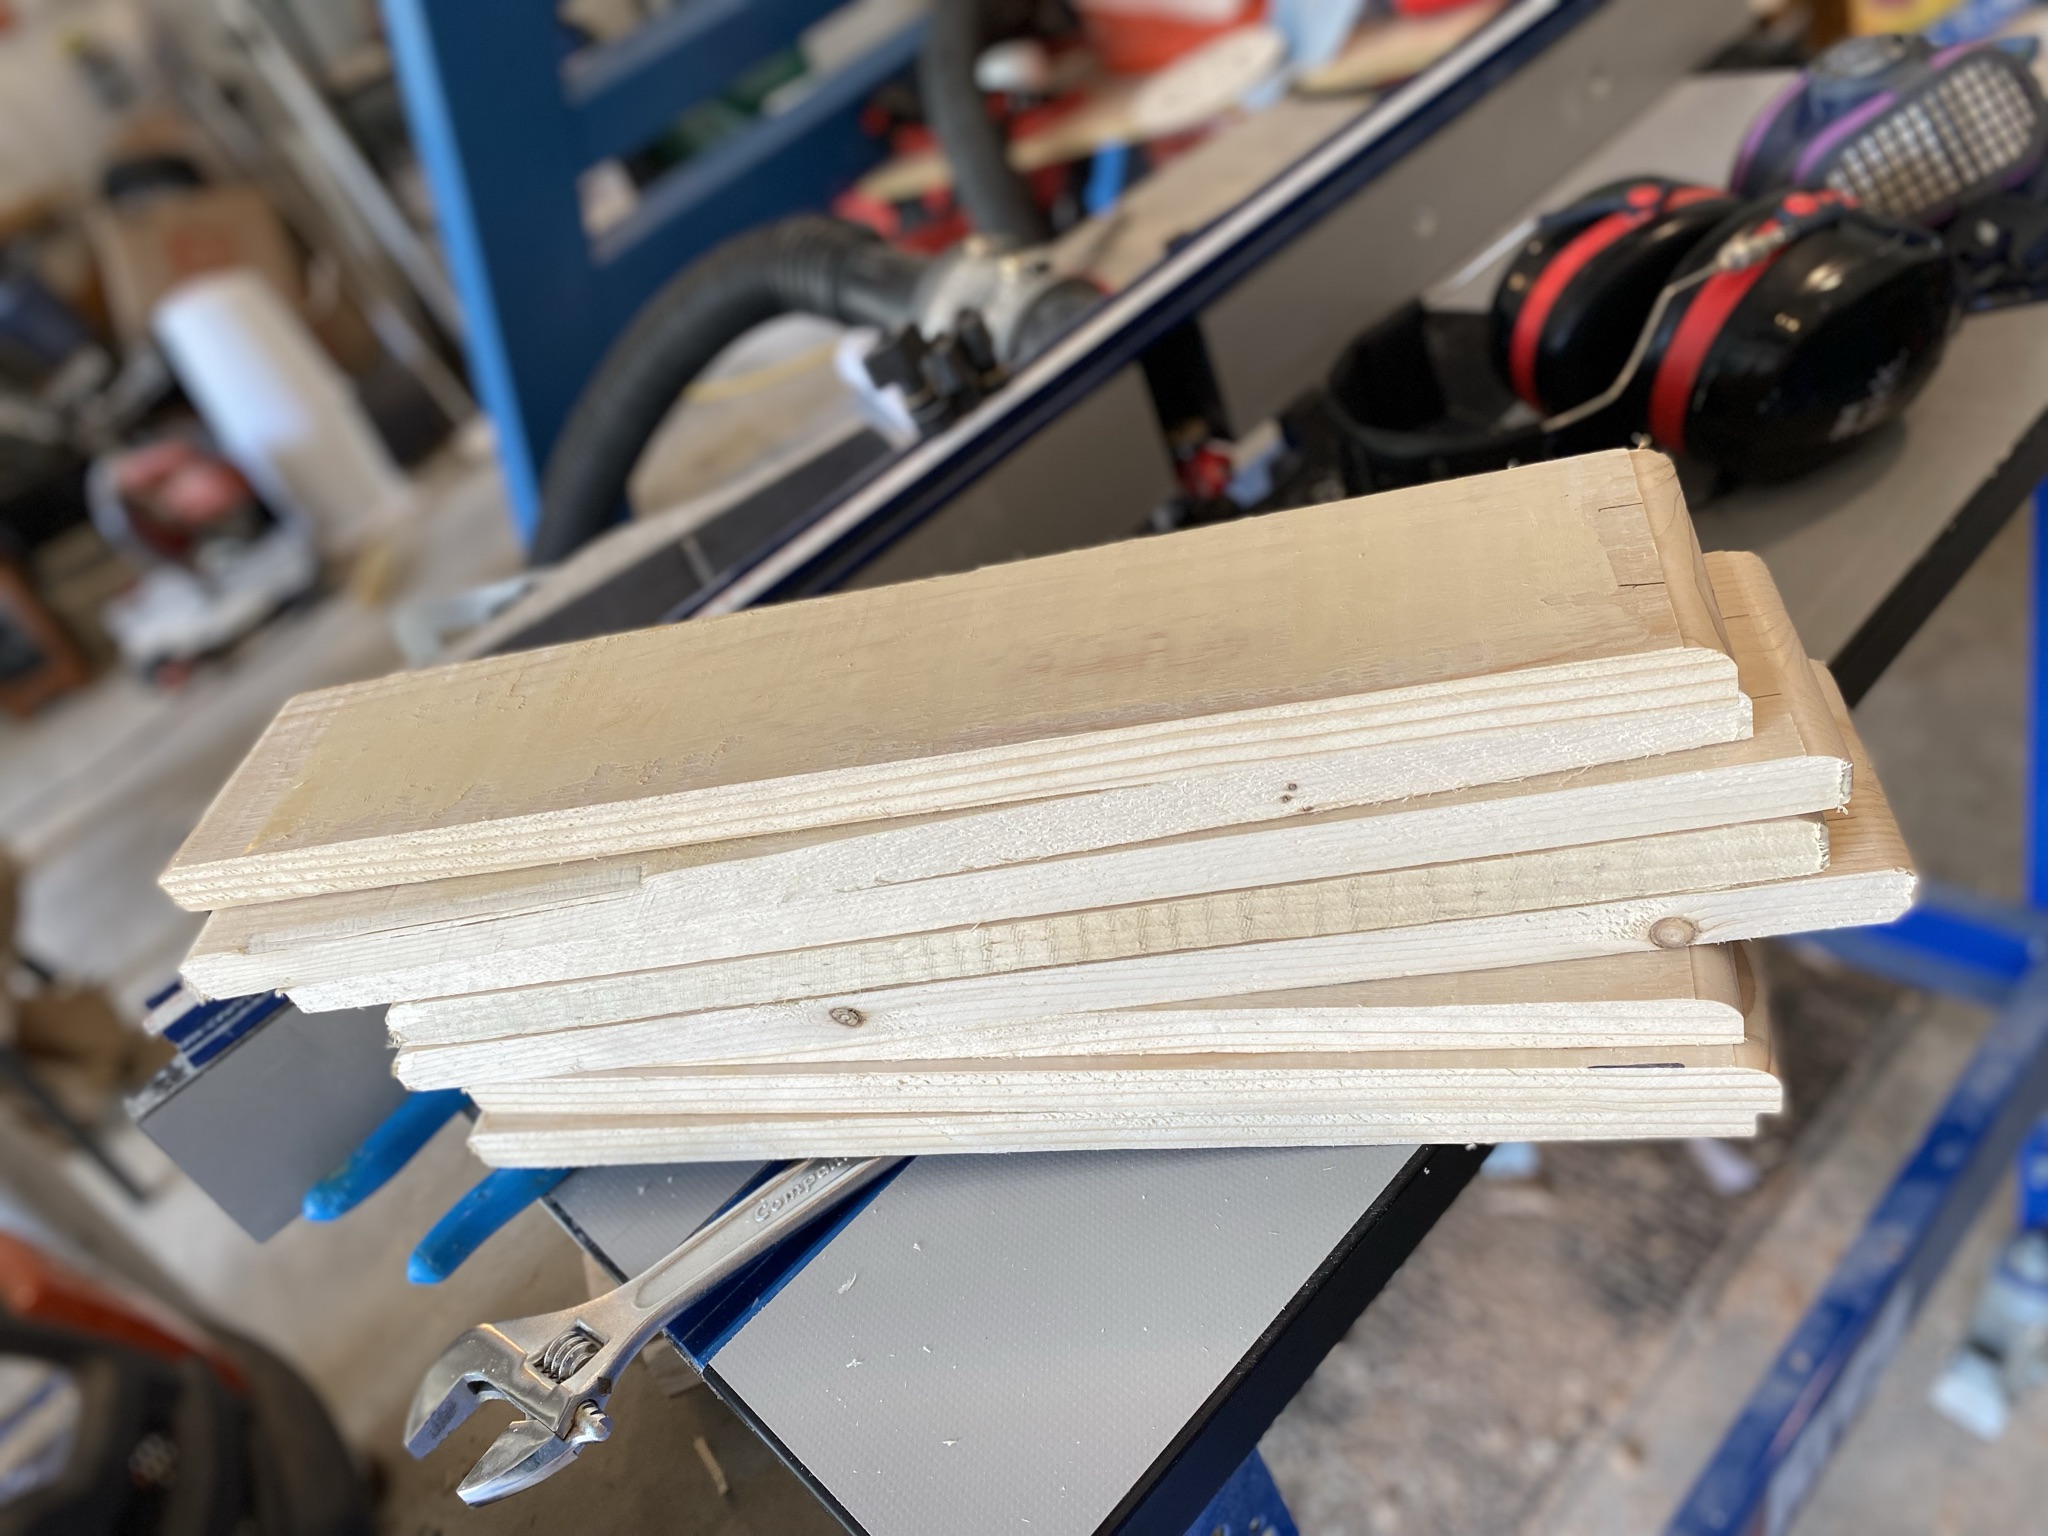
The safety rails are 2”x4” pieces of wood trimmed down, with their edges rounded over at 1/8th”. The supports above are clamped down with the rails and filler pieces of wood sandwiched between them.
Miscellaneous Box
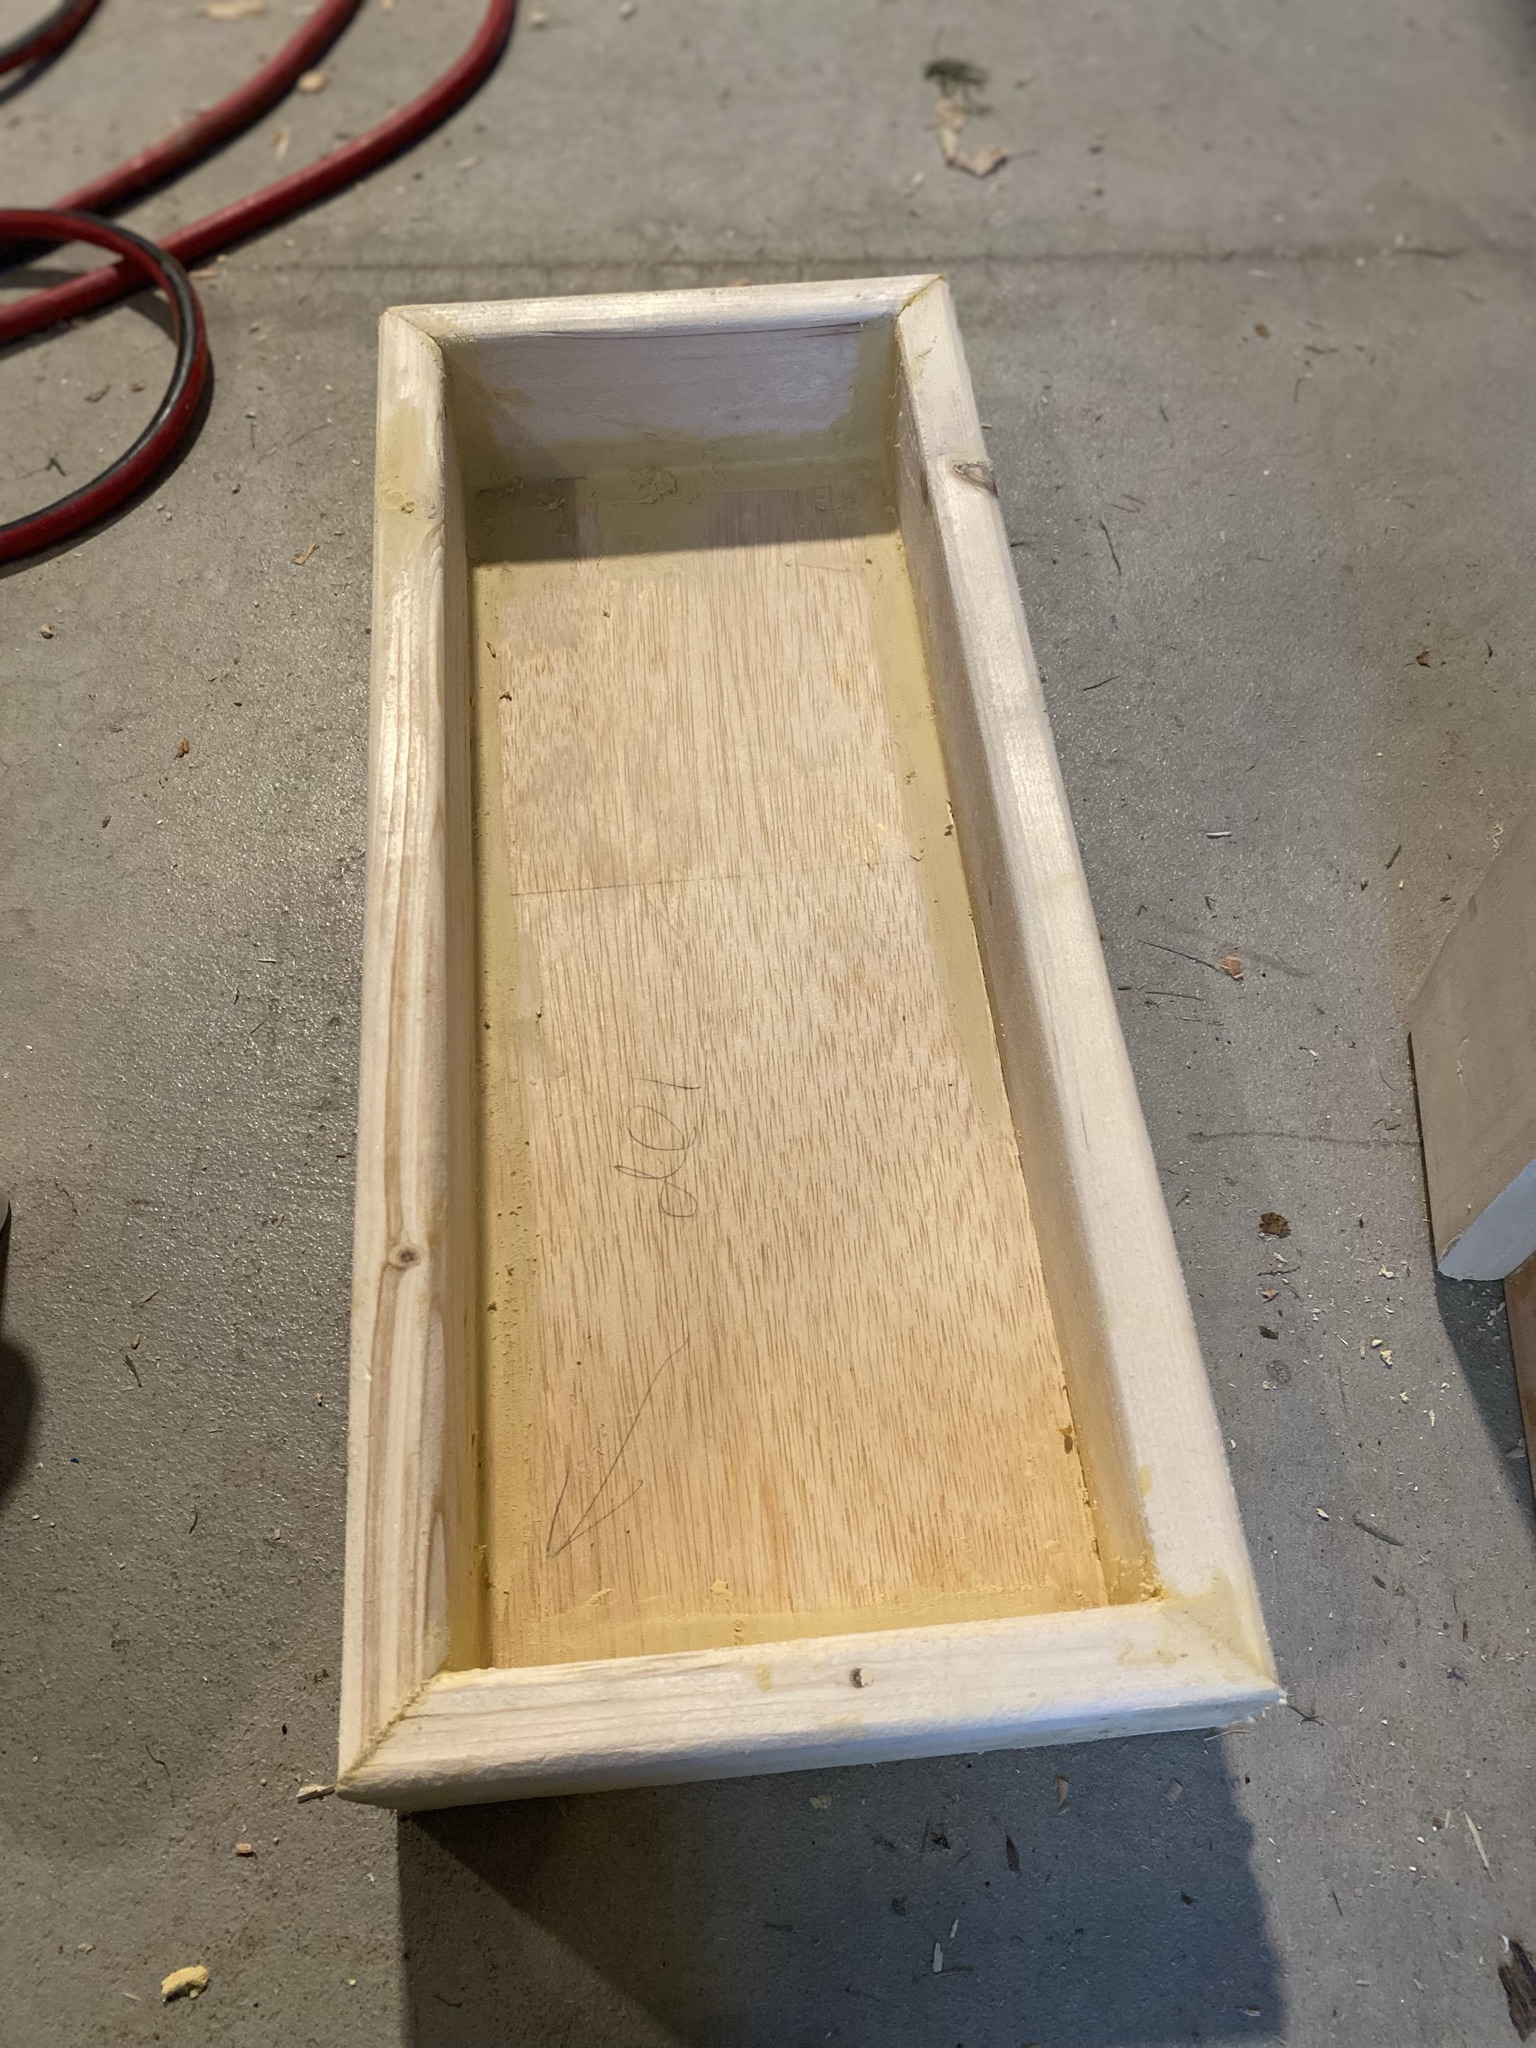
I realized we had some extra lumber left over and I had an idea to build a box that would attach just like the safety rails. I took a tissue box, a paperback book and a water cup and tried a few different configurations. The bottom of the box is just 1/8th” plywood and the sides are ¾” wood with 45 degree angle miter joints. I glued it all together and used nails for extra strength.
Then I attached supports that would slide over the safety rails using pocket hole screws & glue.
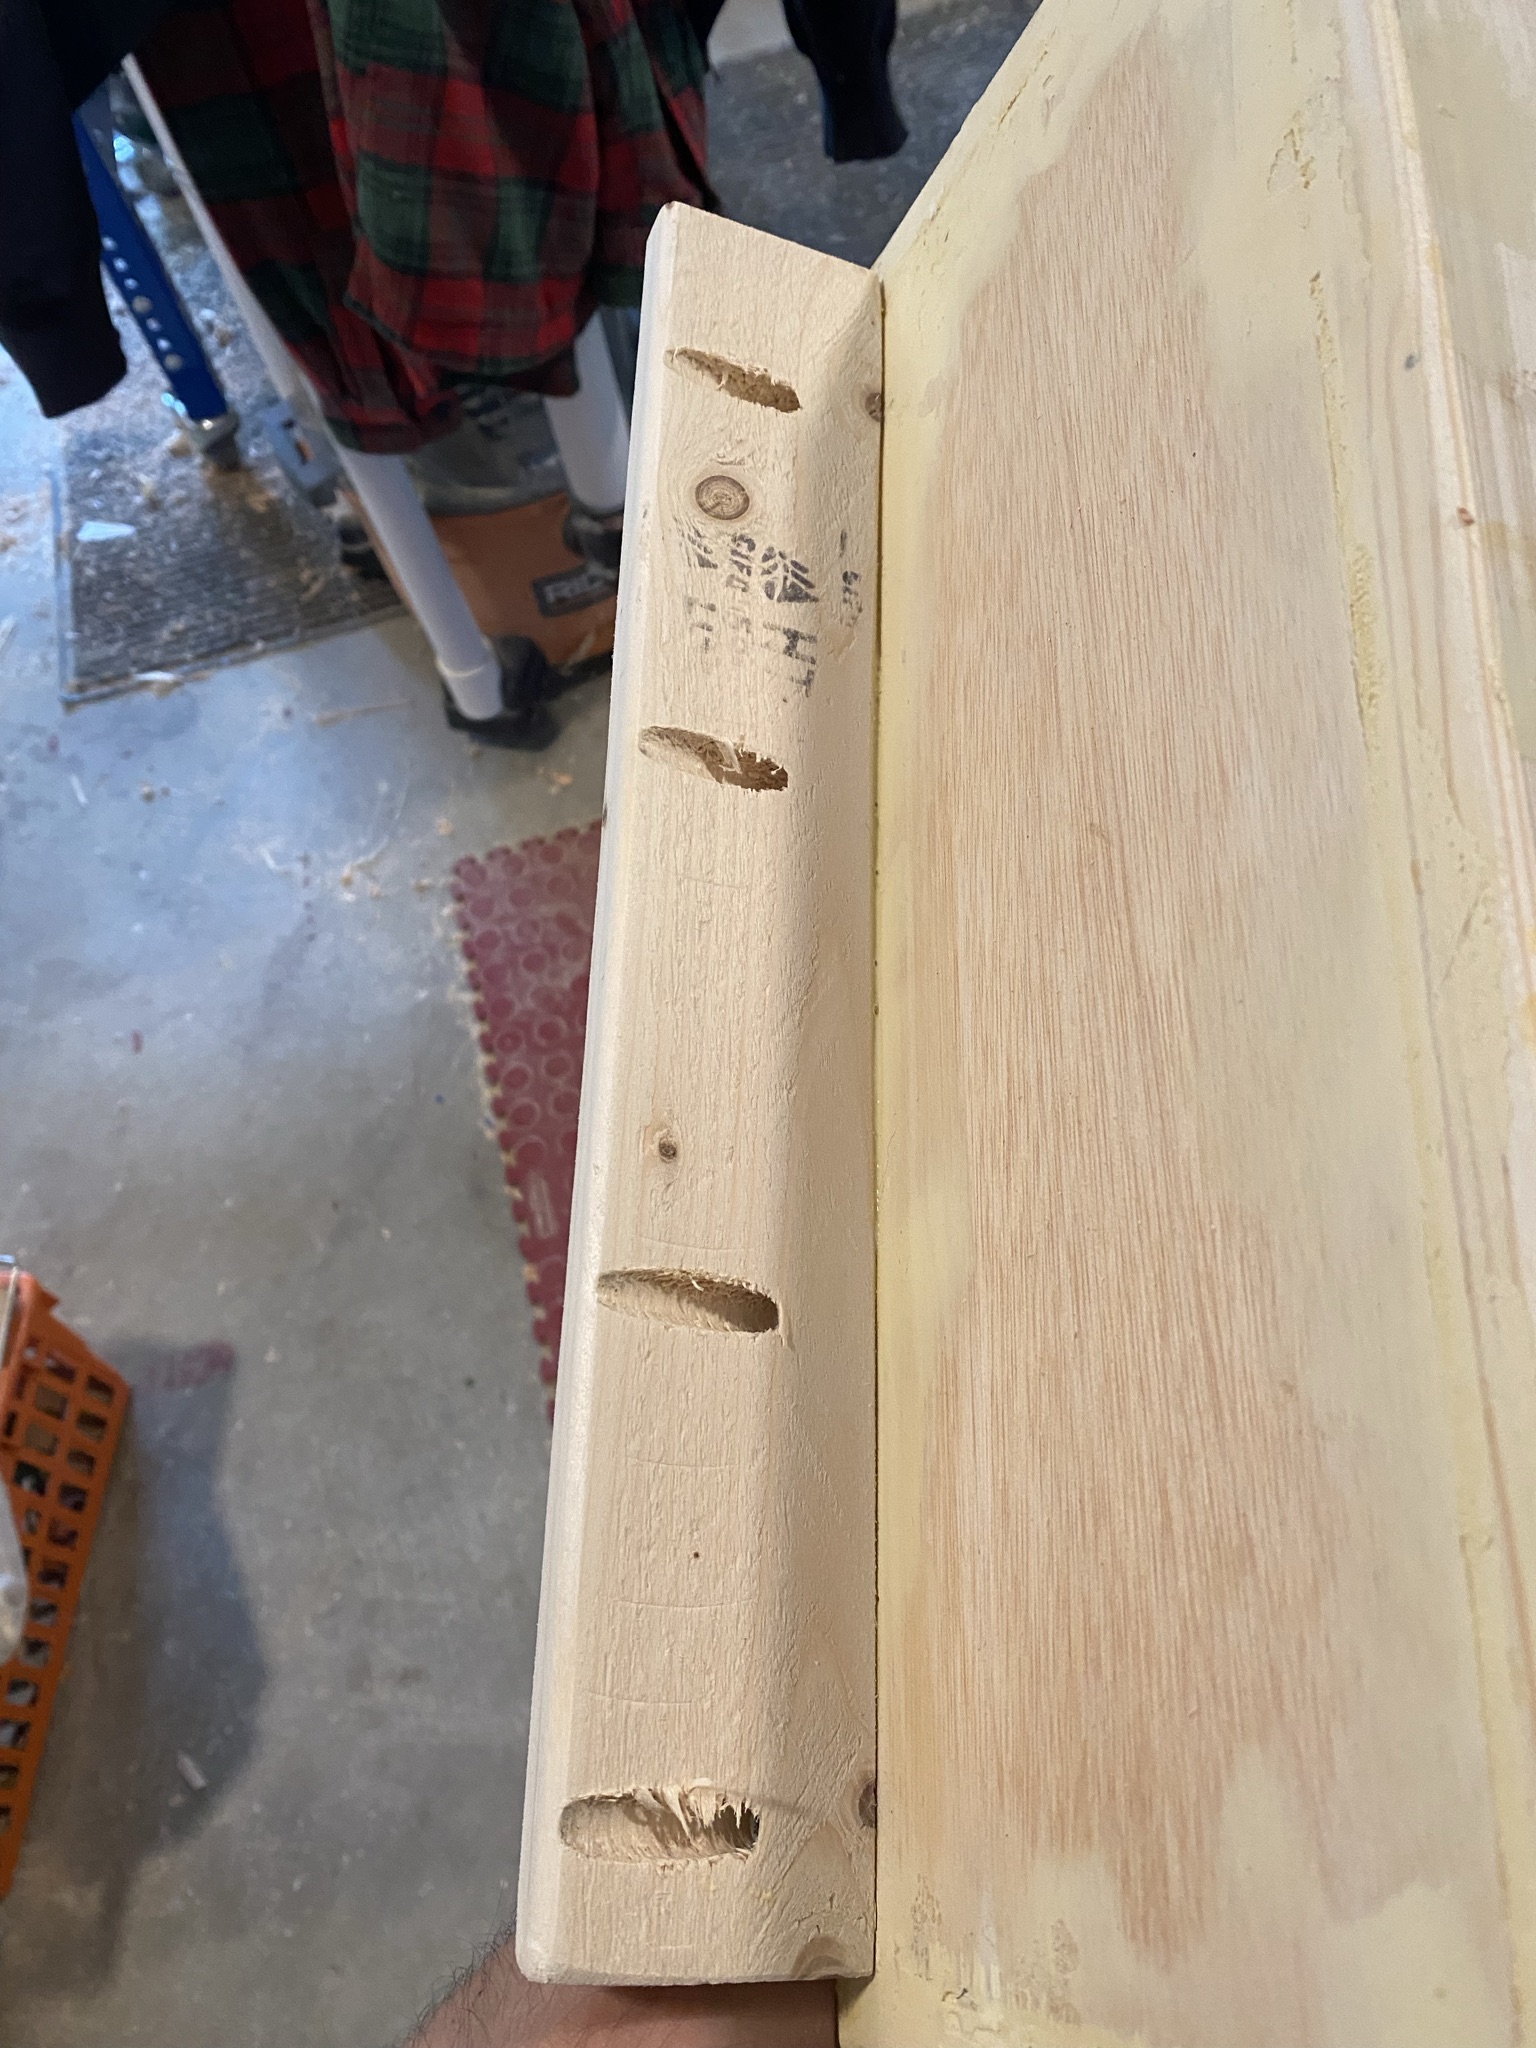
This is what the bottom of the box looked like:
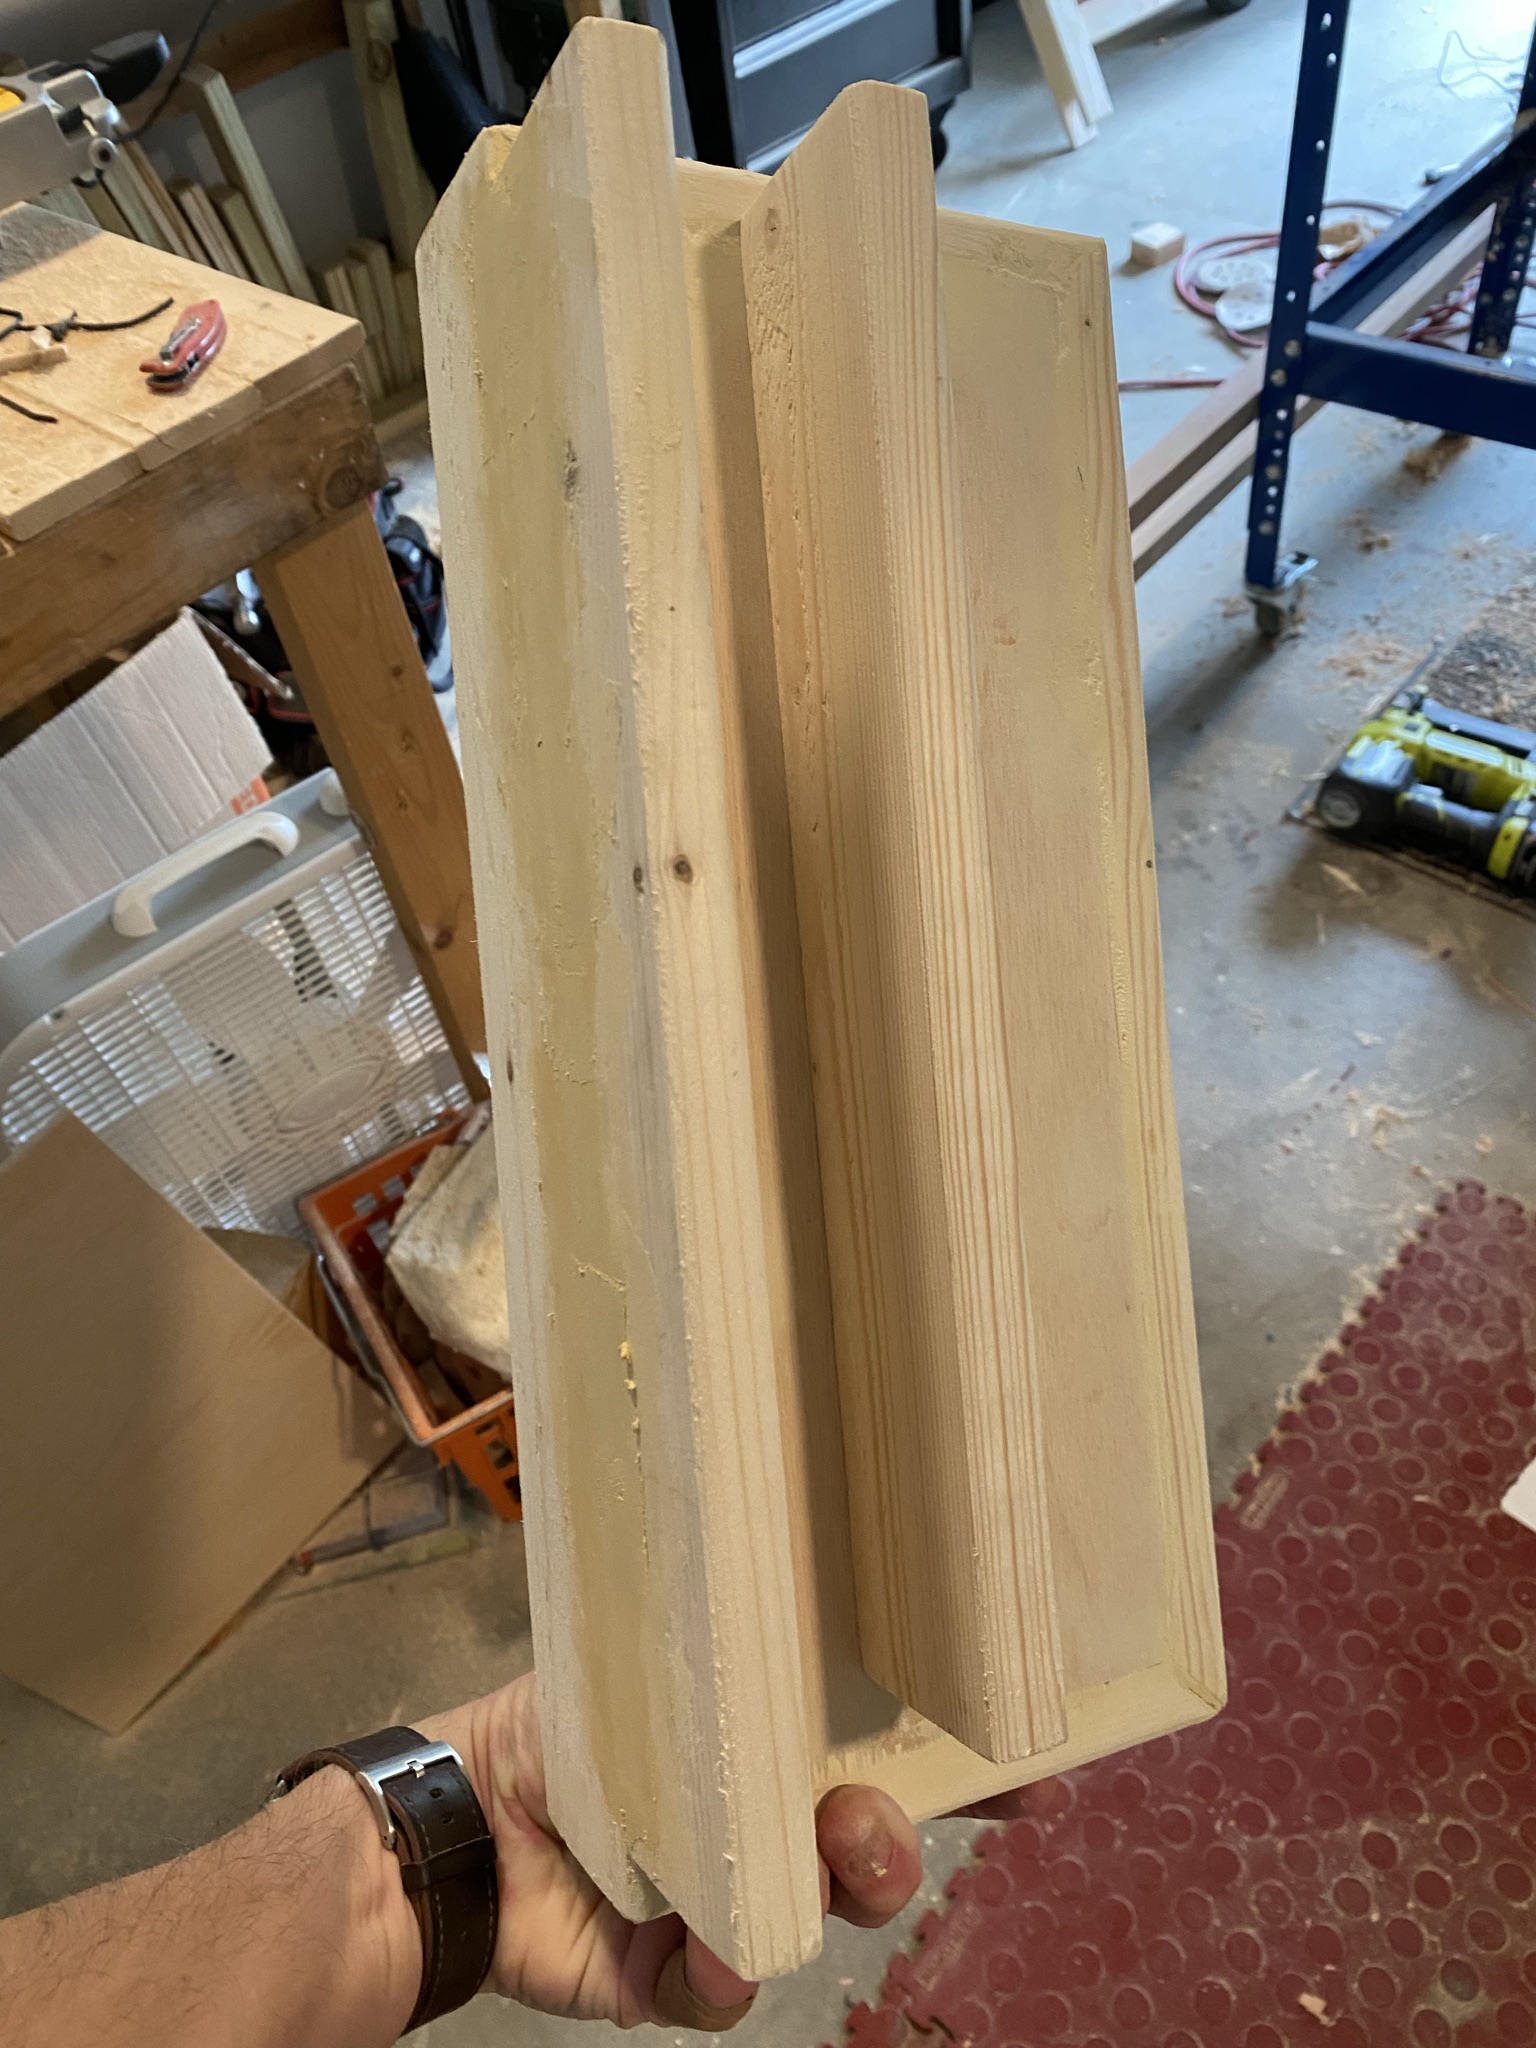
I added some wood filler & did a dry fit on the safety rail.
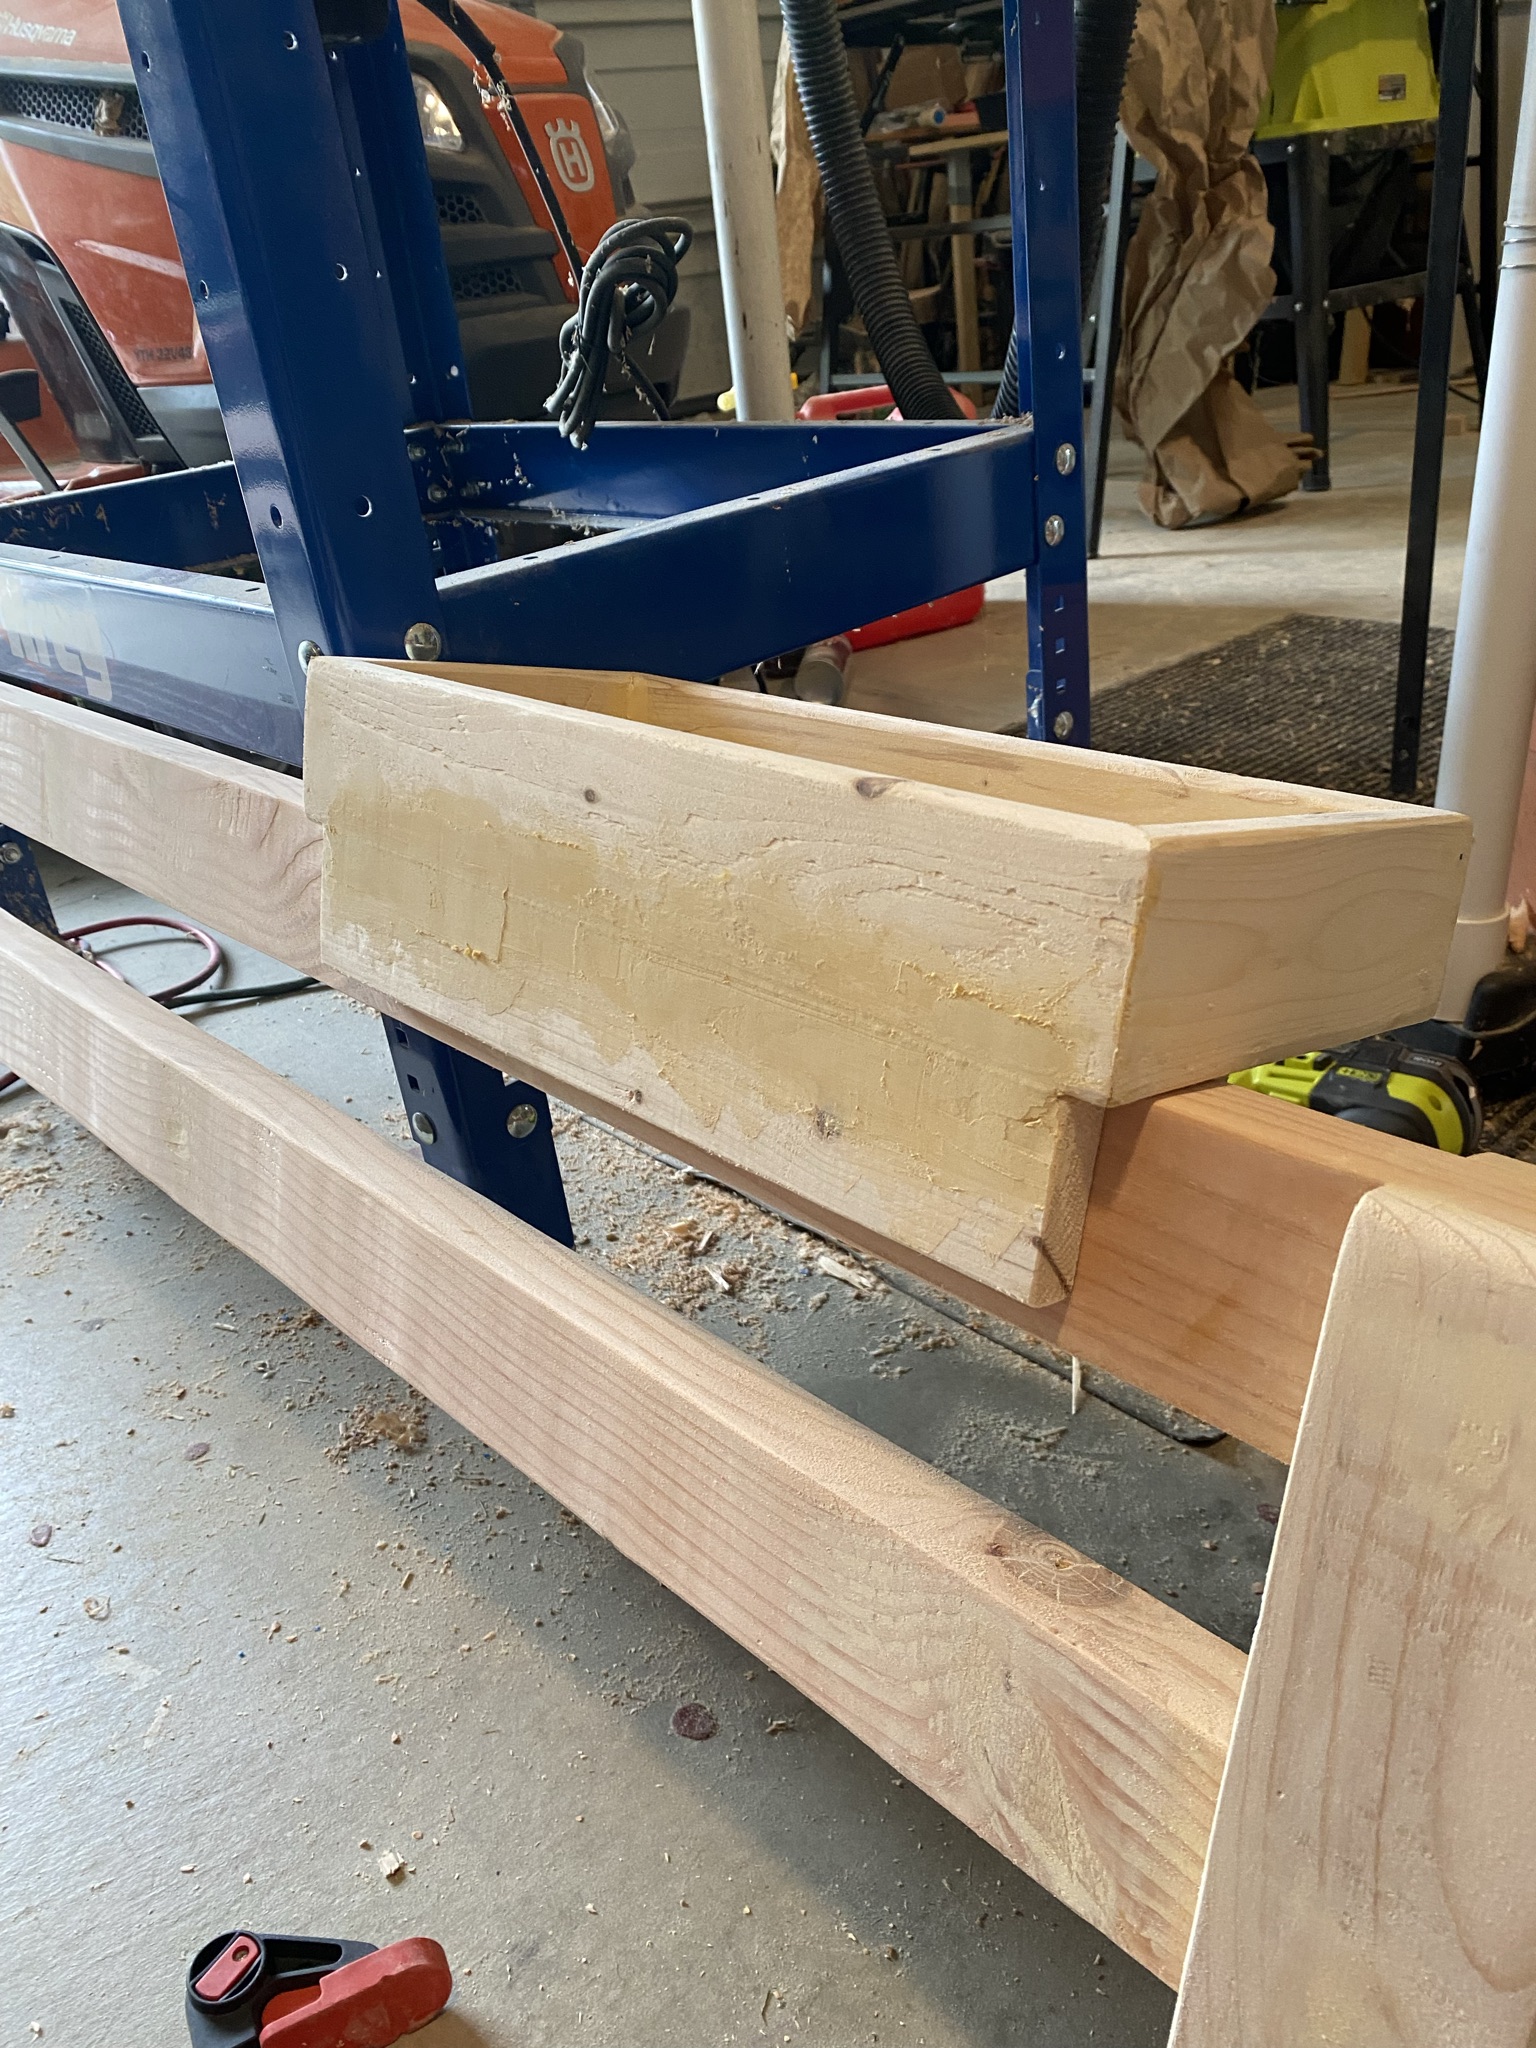
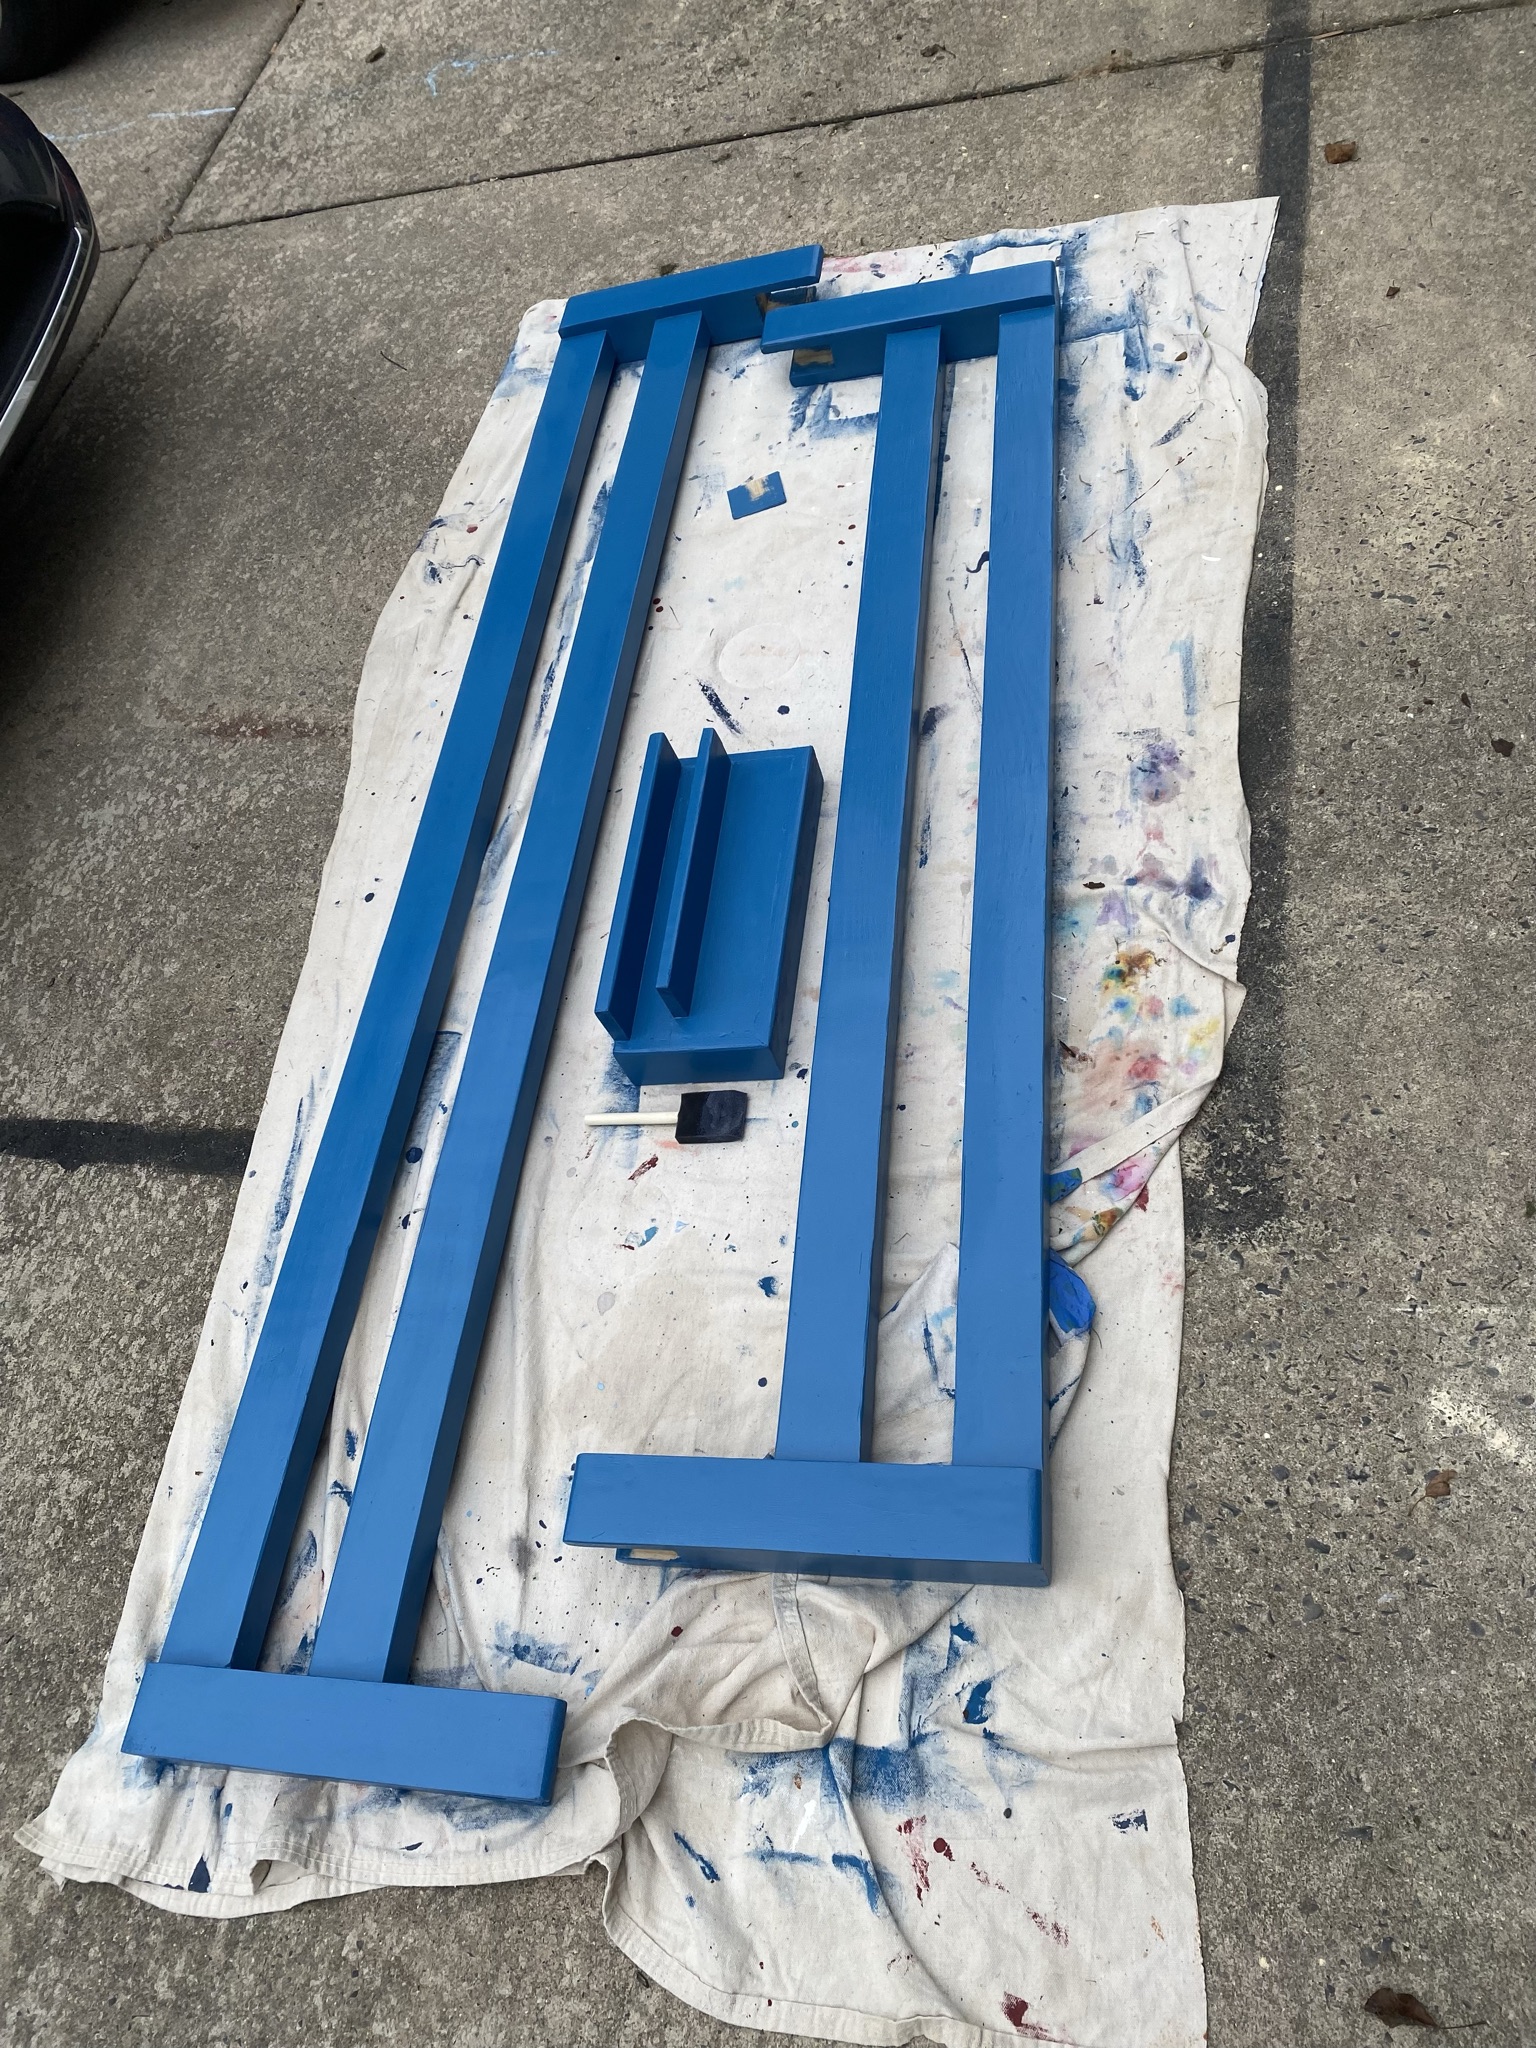
We applied copious amounts of wood filler, screws & some nails, and then painted the rails & box:
The Slats
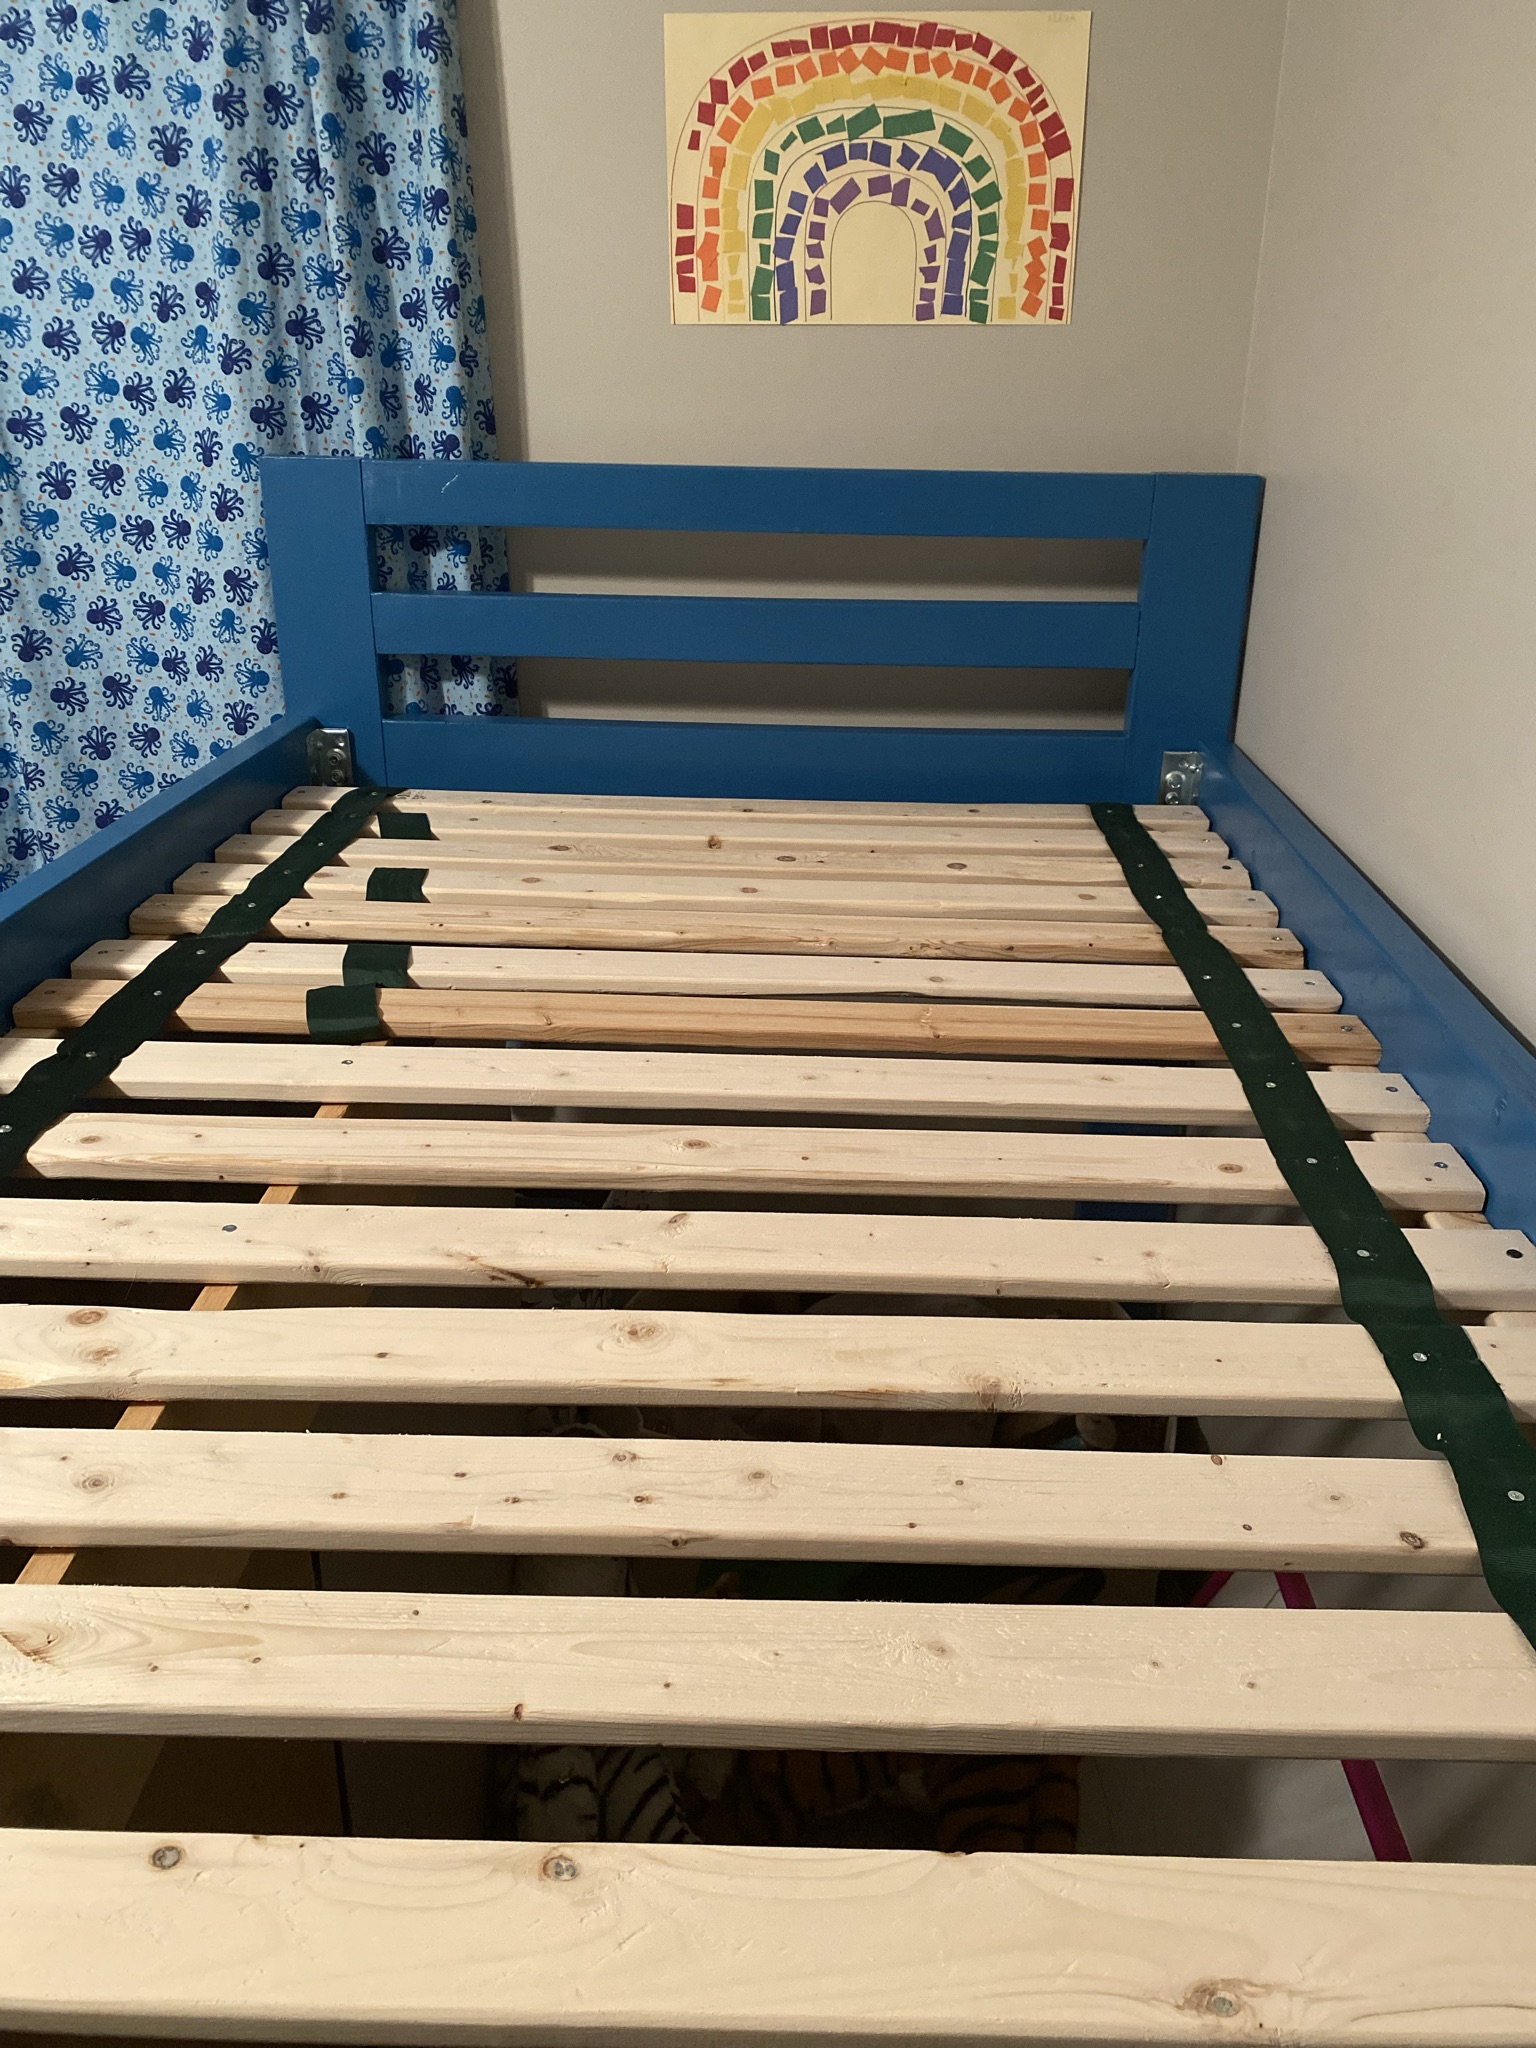
The slats were the easiest part. I pre-drilled them so they wouldn’t split and then screwed them to the 2x2 support.
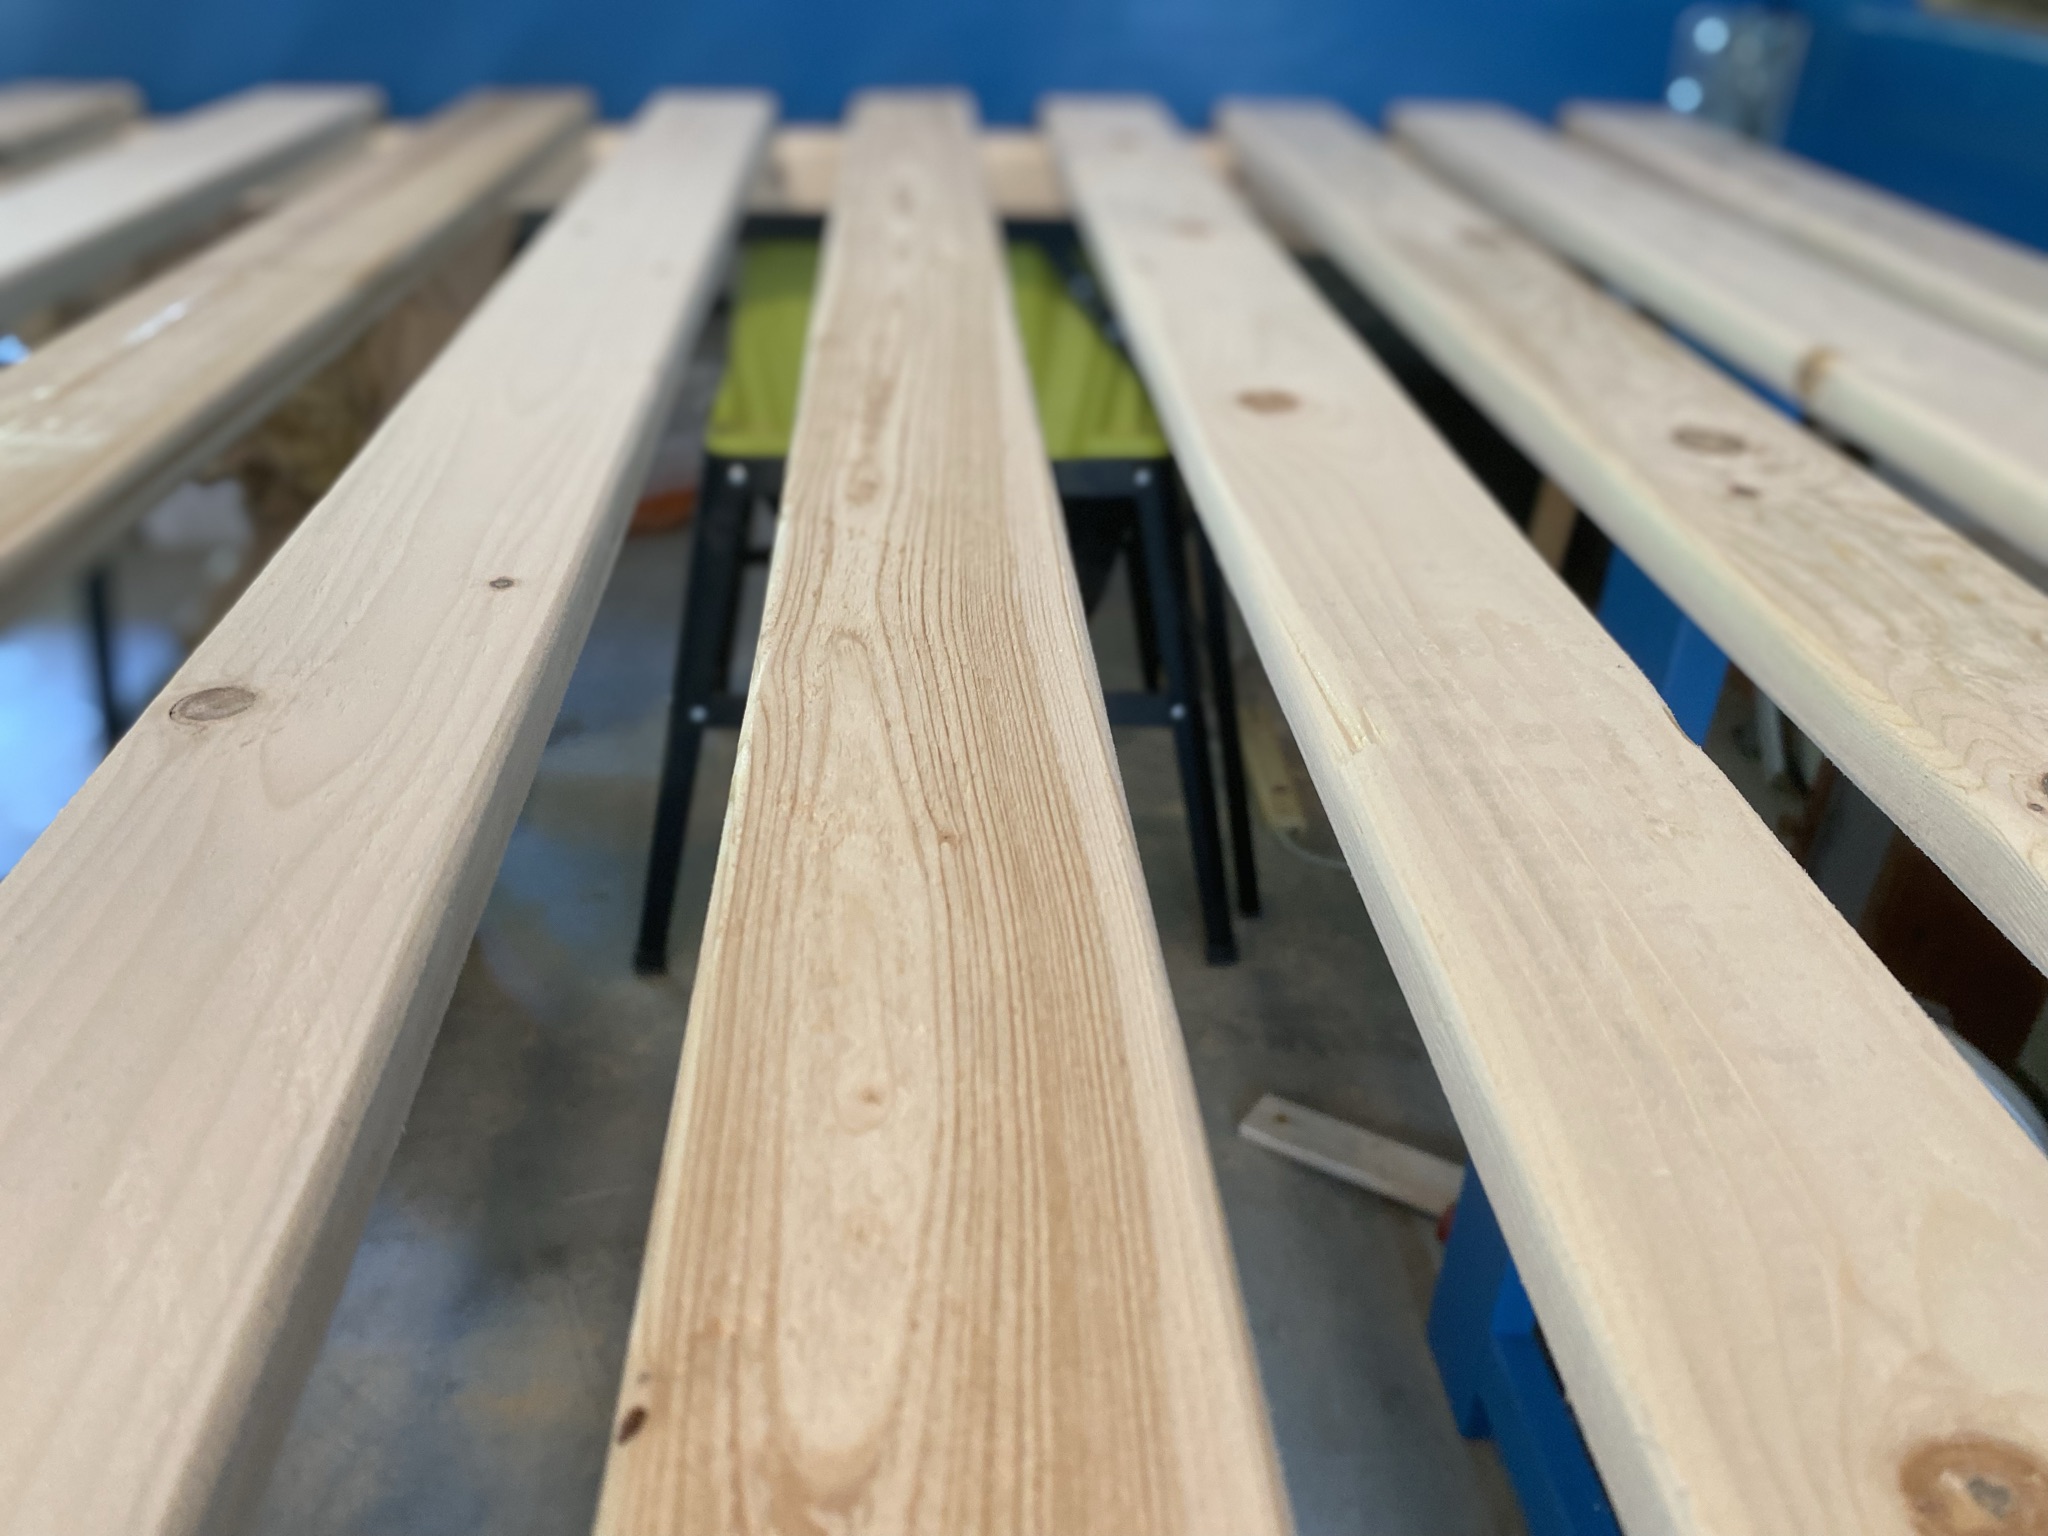
Every once in a while, you find some pine that is really attractive:
I attached some fabric to the slats so they would all stay together if they ever needed to be taken off.
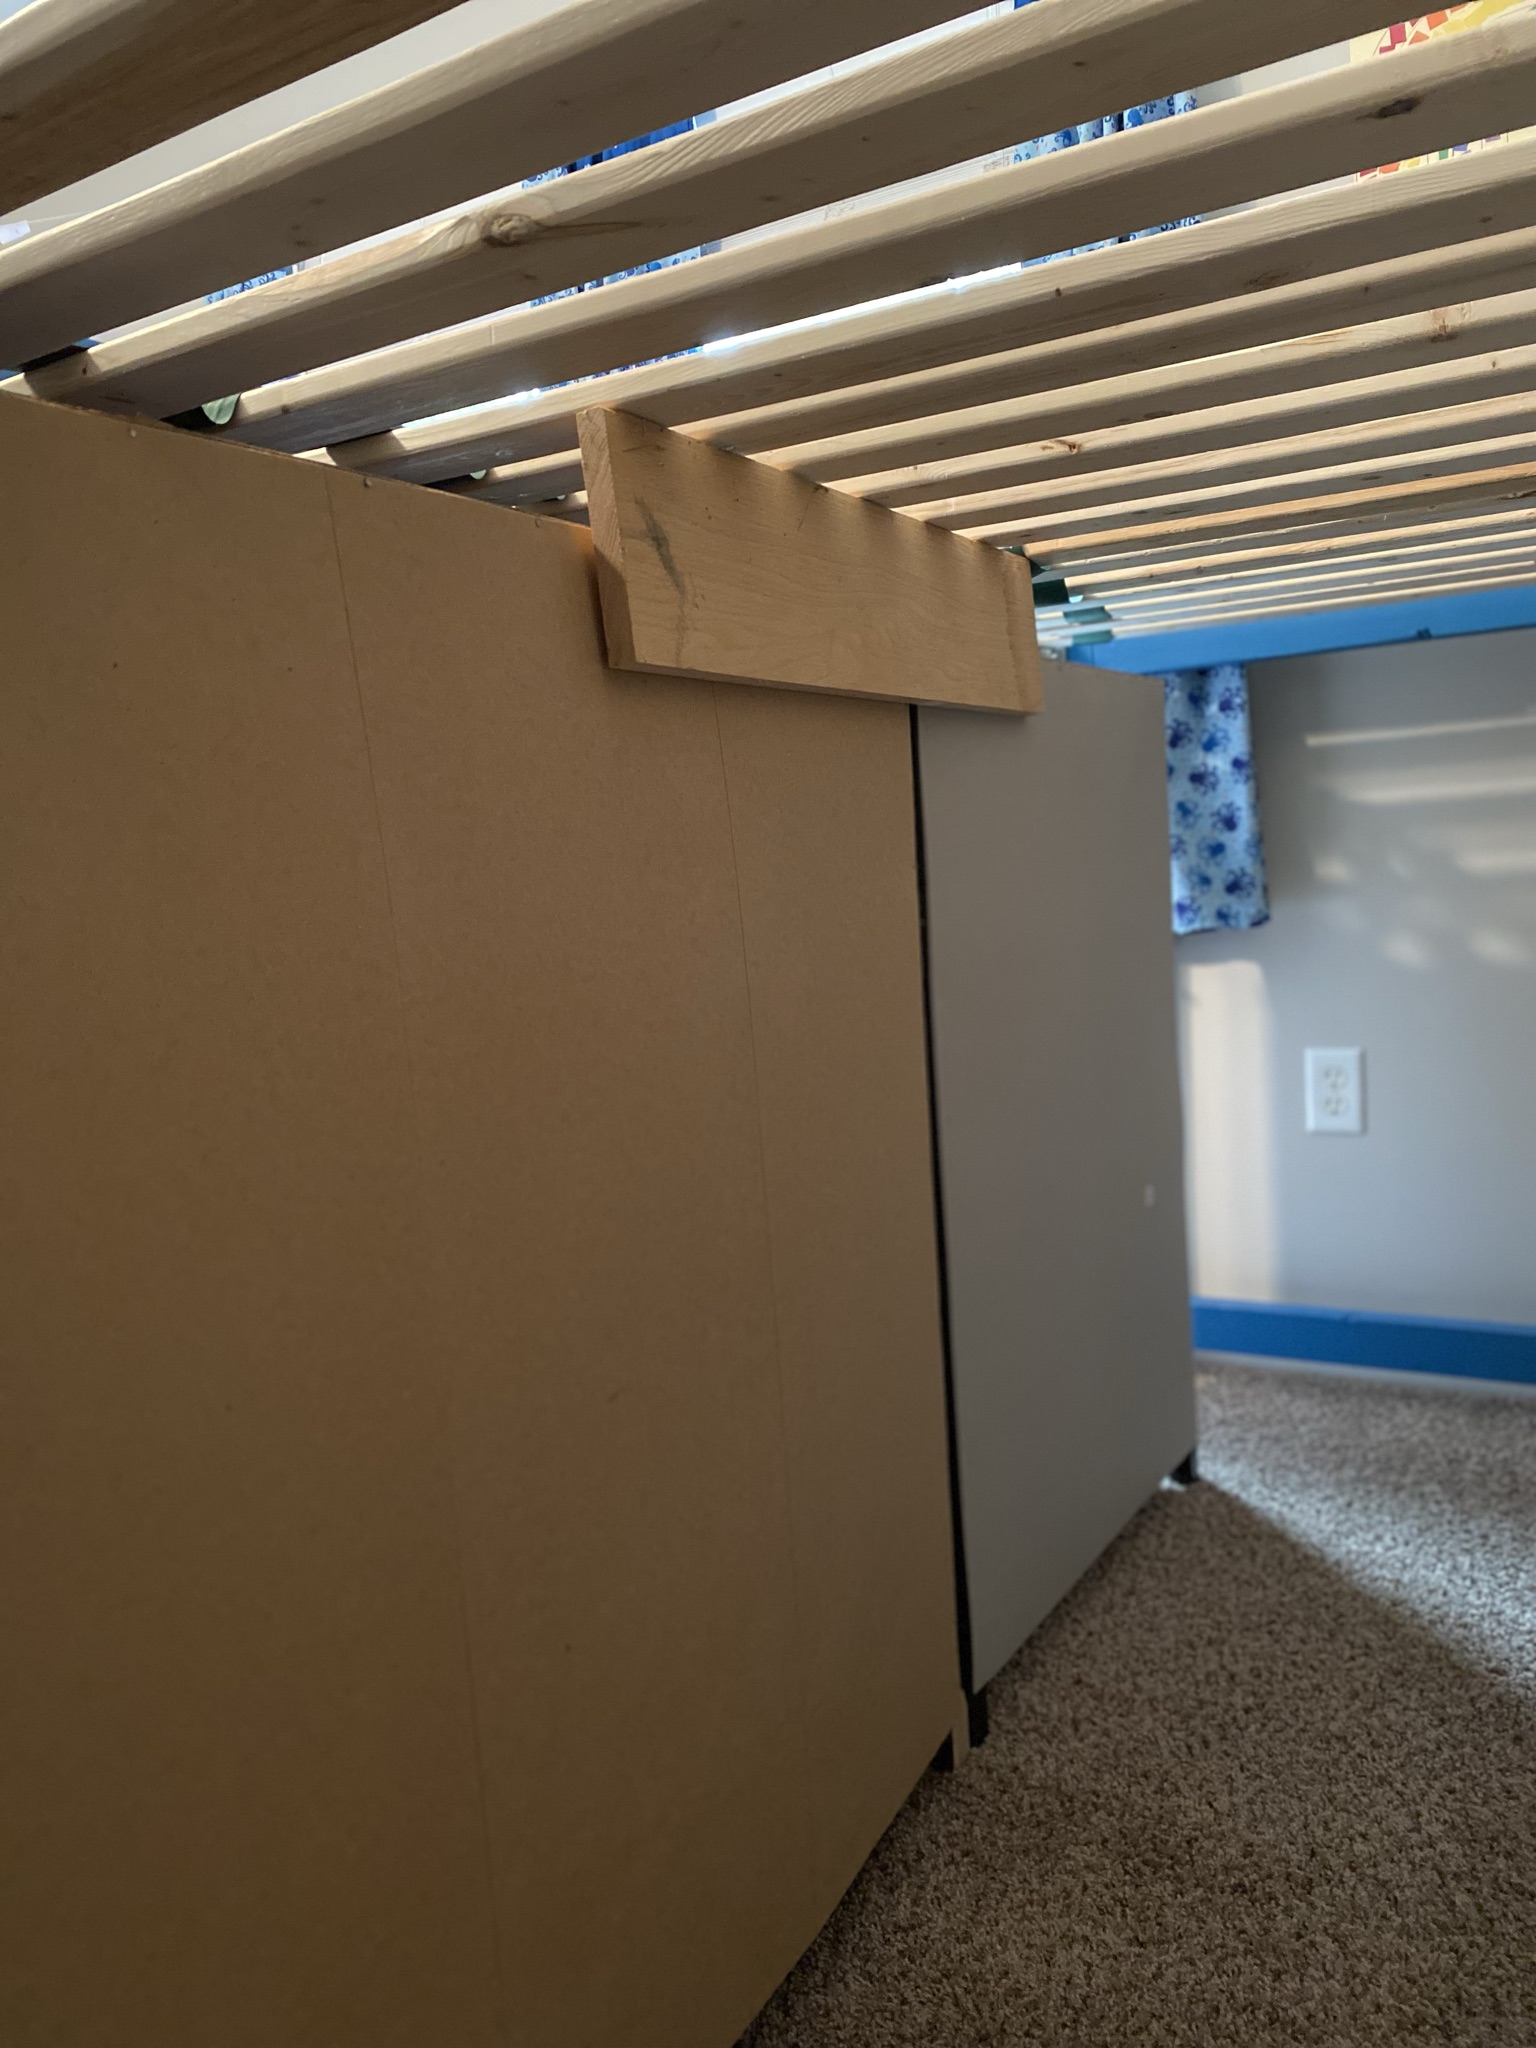
Support
I wanted to be sure the cubbies couldn’t fall backward when a kid was under the bed, so I screwed through the slats and attached a perpendicular piece of wood that the cubbies rest against. It was very sturdy.
Last but not least, I put the safety rails & box on. I had to trim the inner sides of the safety rail supports because the paint took a few millimeters. The bed was a huge success and lots of independence gained!

Thanks for reading! I hope this has given you some ideas & confidence to build something yourself.
