My first real home improvement project was the condo bathroom in the first place I ever owned. I had barely any tools other than the basic hammer, screw drivers, etc. It started simple (or what I thought was simple). I just wanted to build a new vanity with a couple drawers. I was not equipped with tools or experience to be able to do it properly, but it was a great learning experience. The project snowballed into an 8 month process of renovating the entire bathroom. Thankfully we had a neighbor upstairs that let us use her shower for several of those months.
This project is from around 2010.
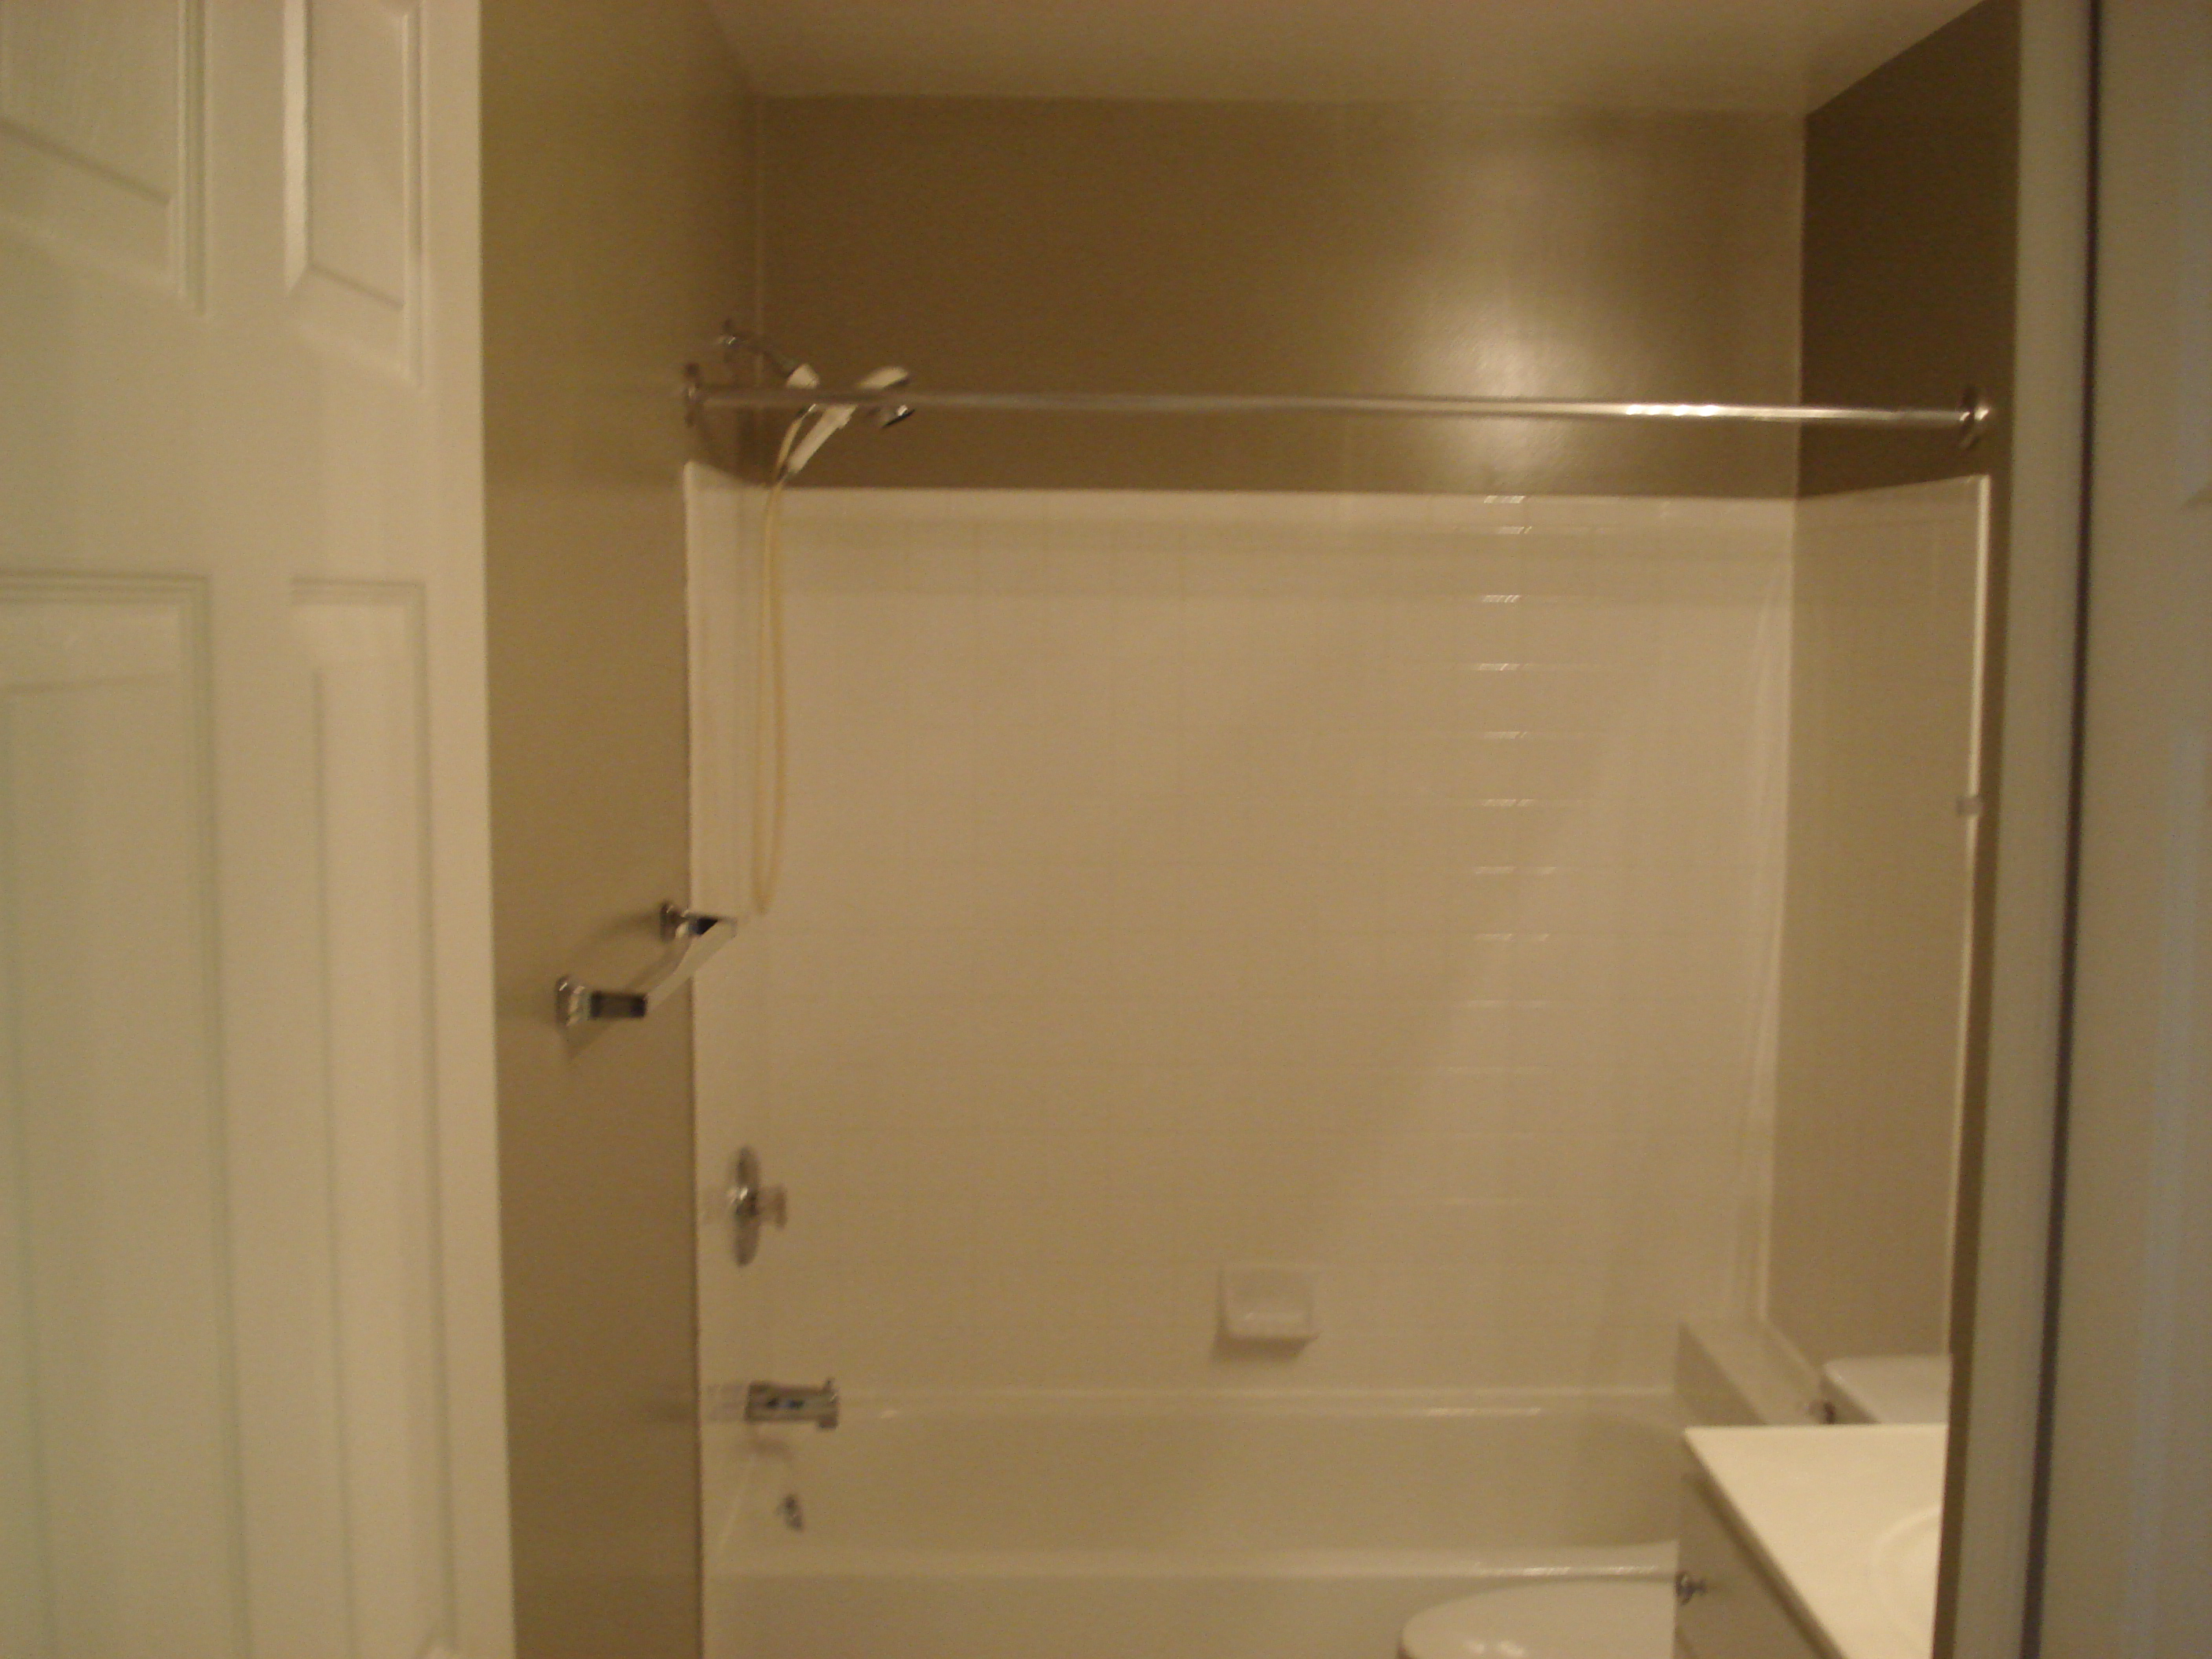
Before
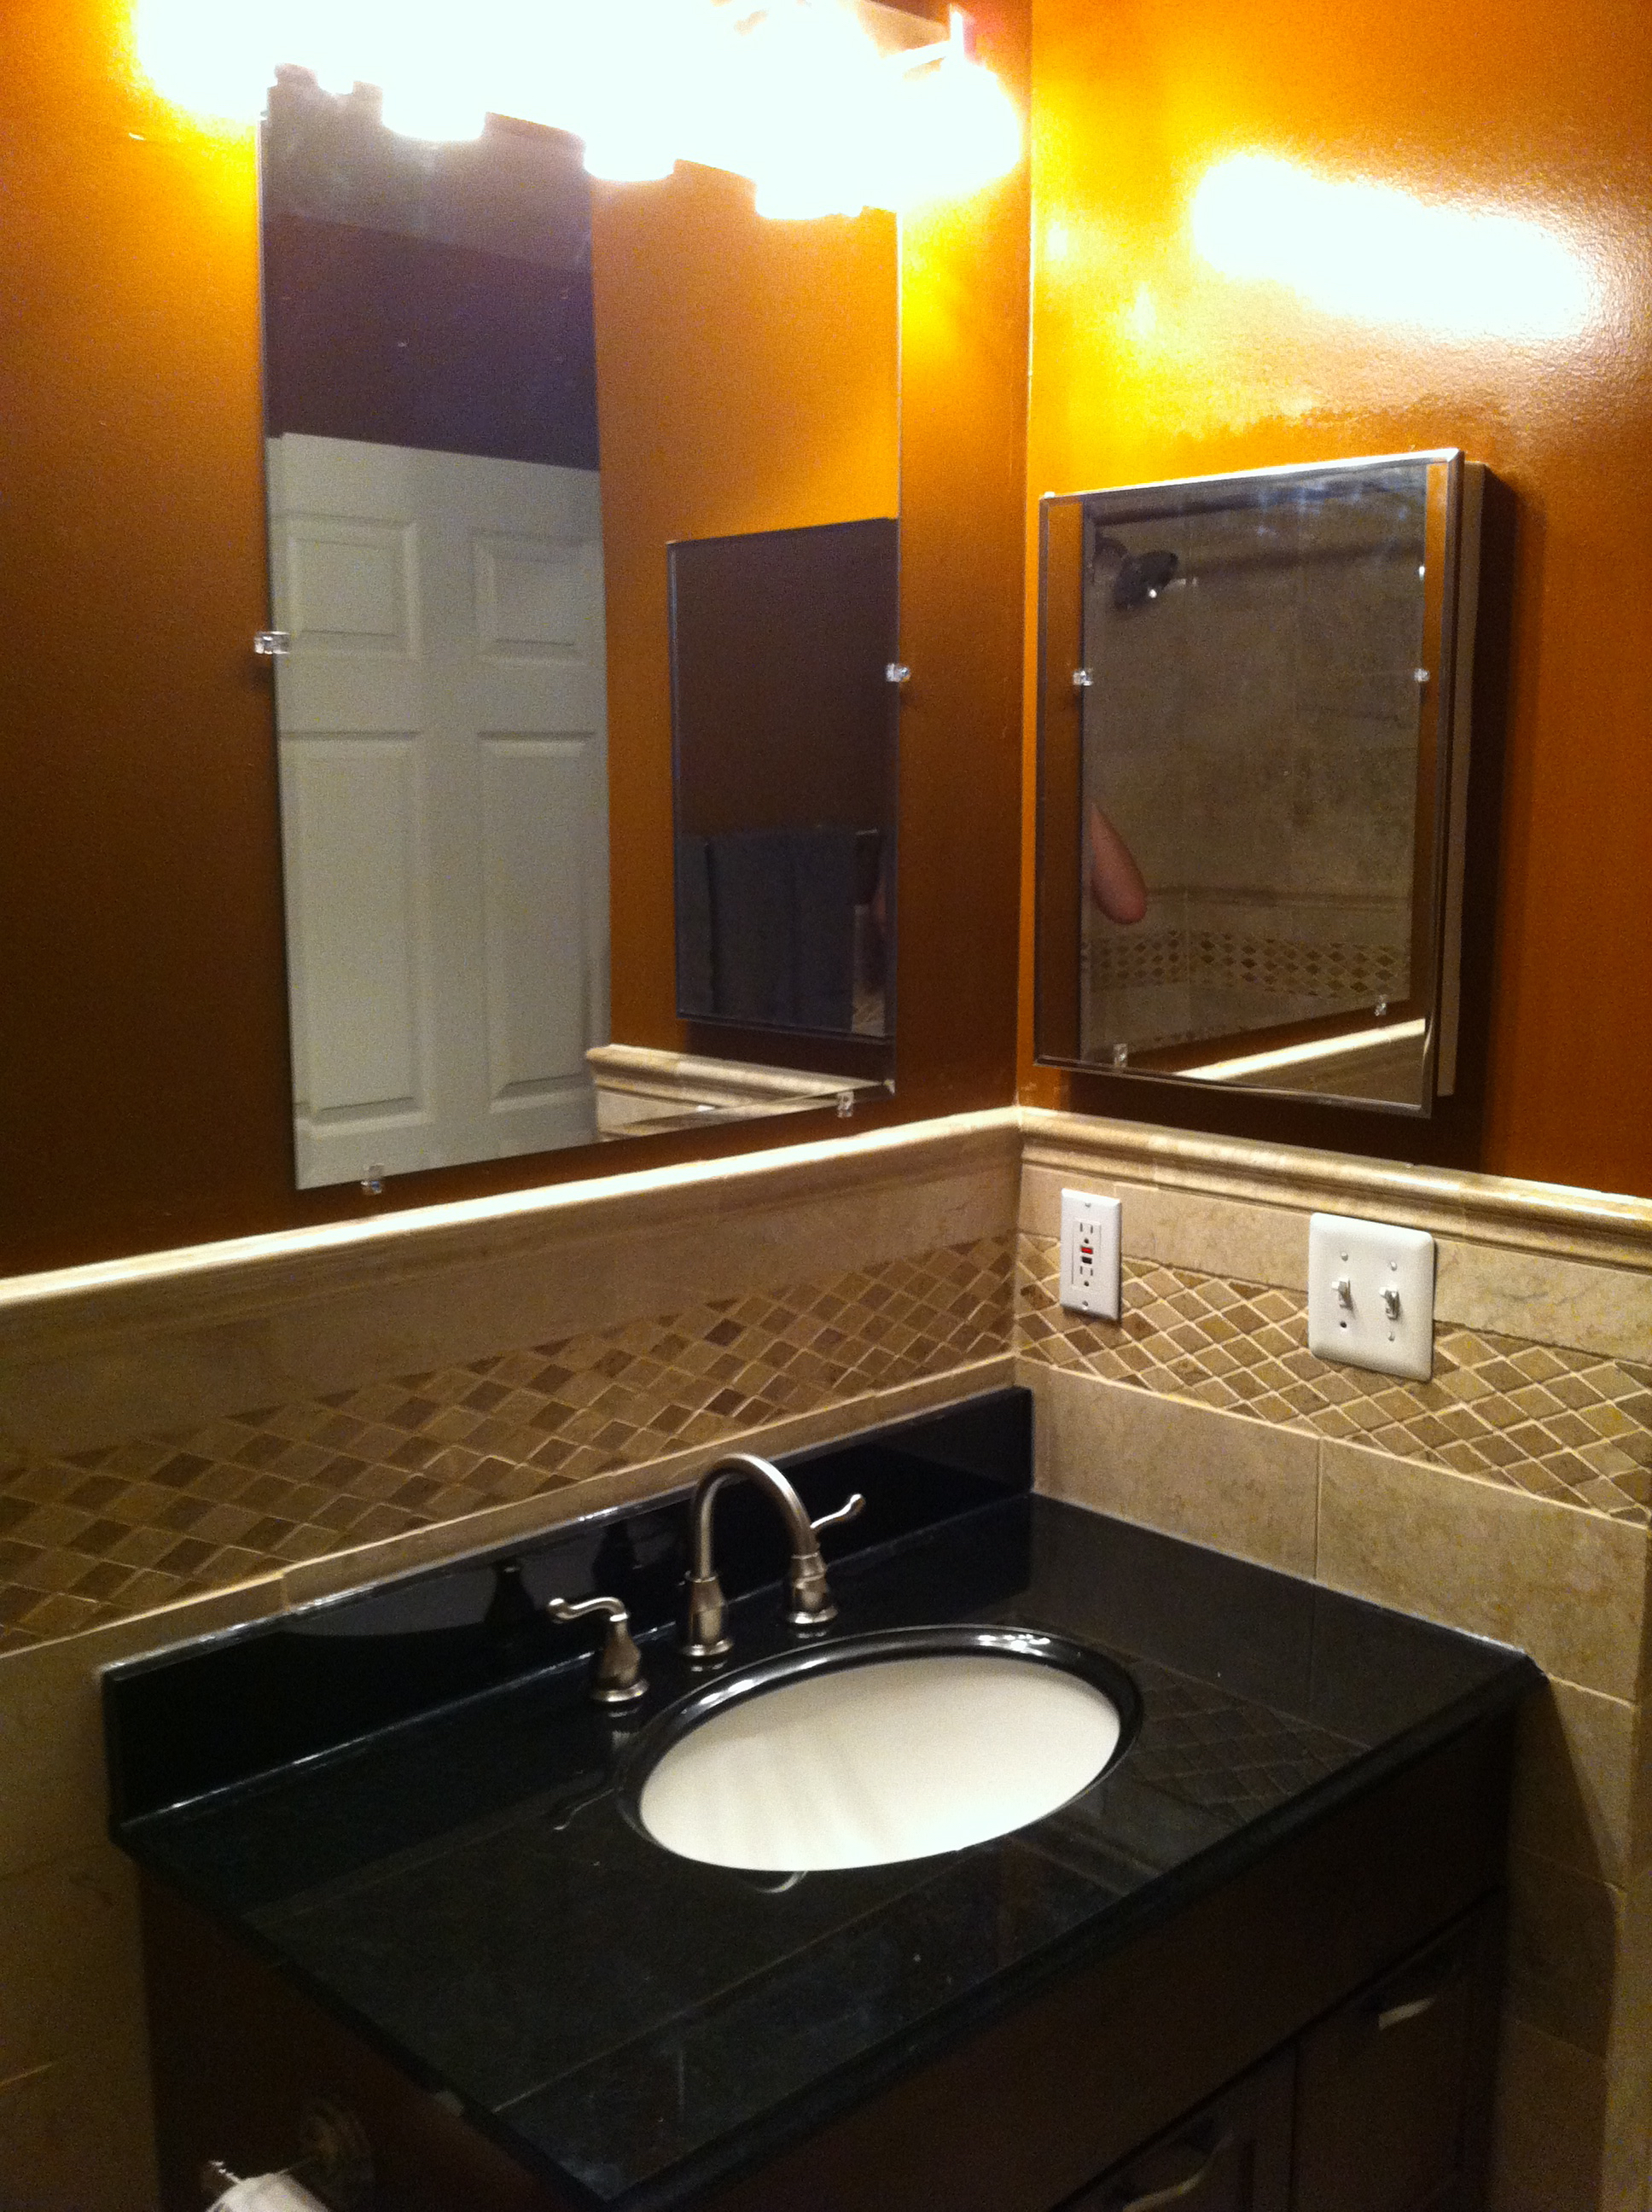
After
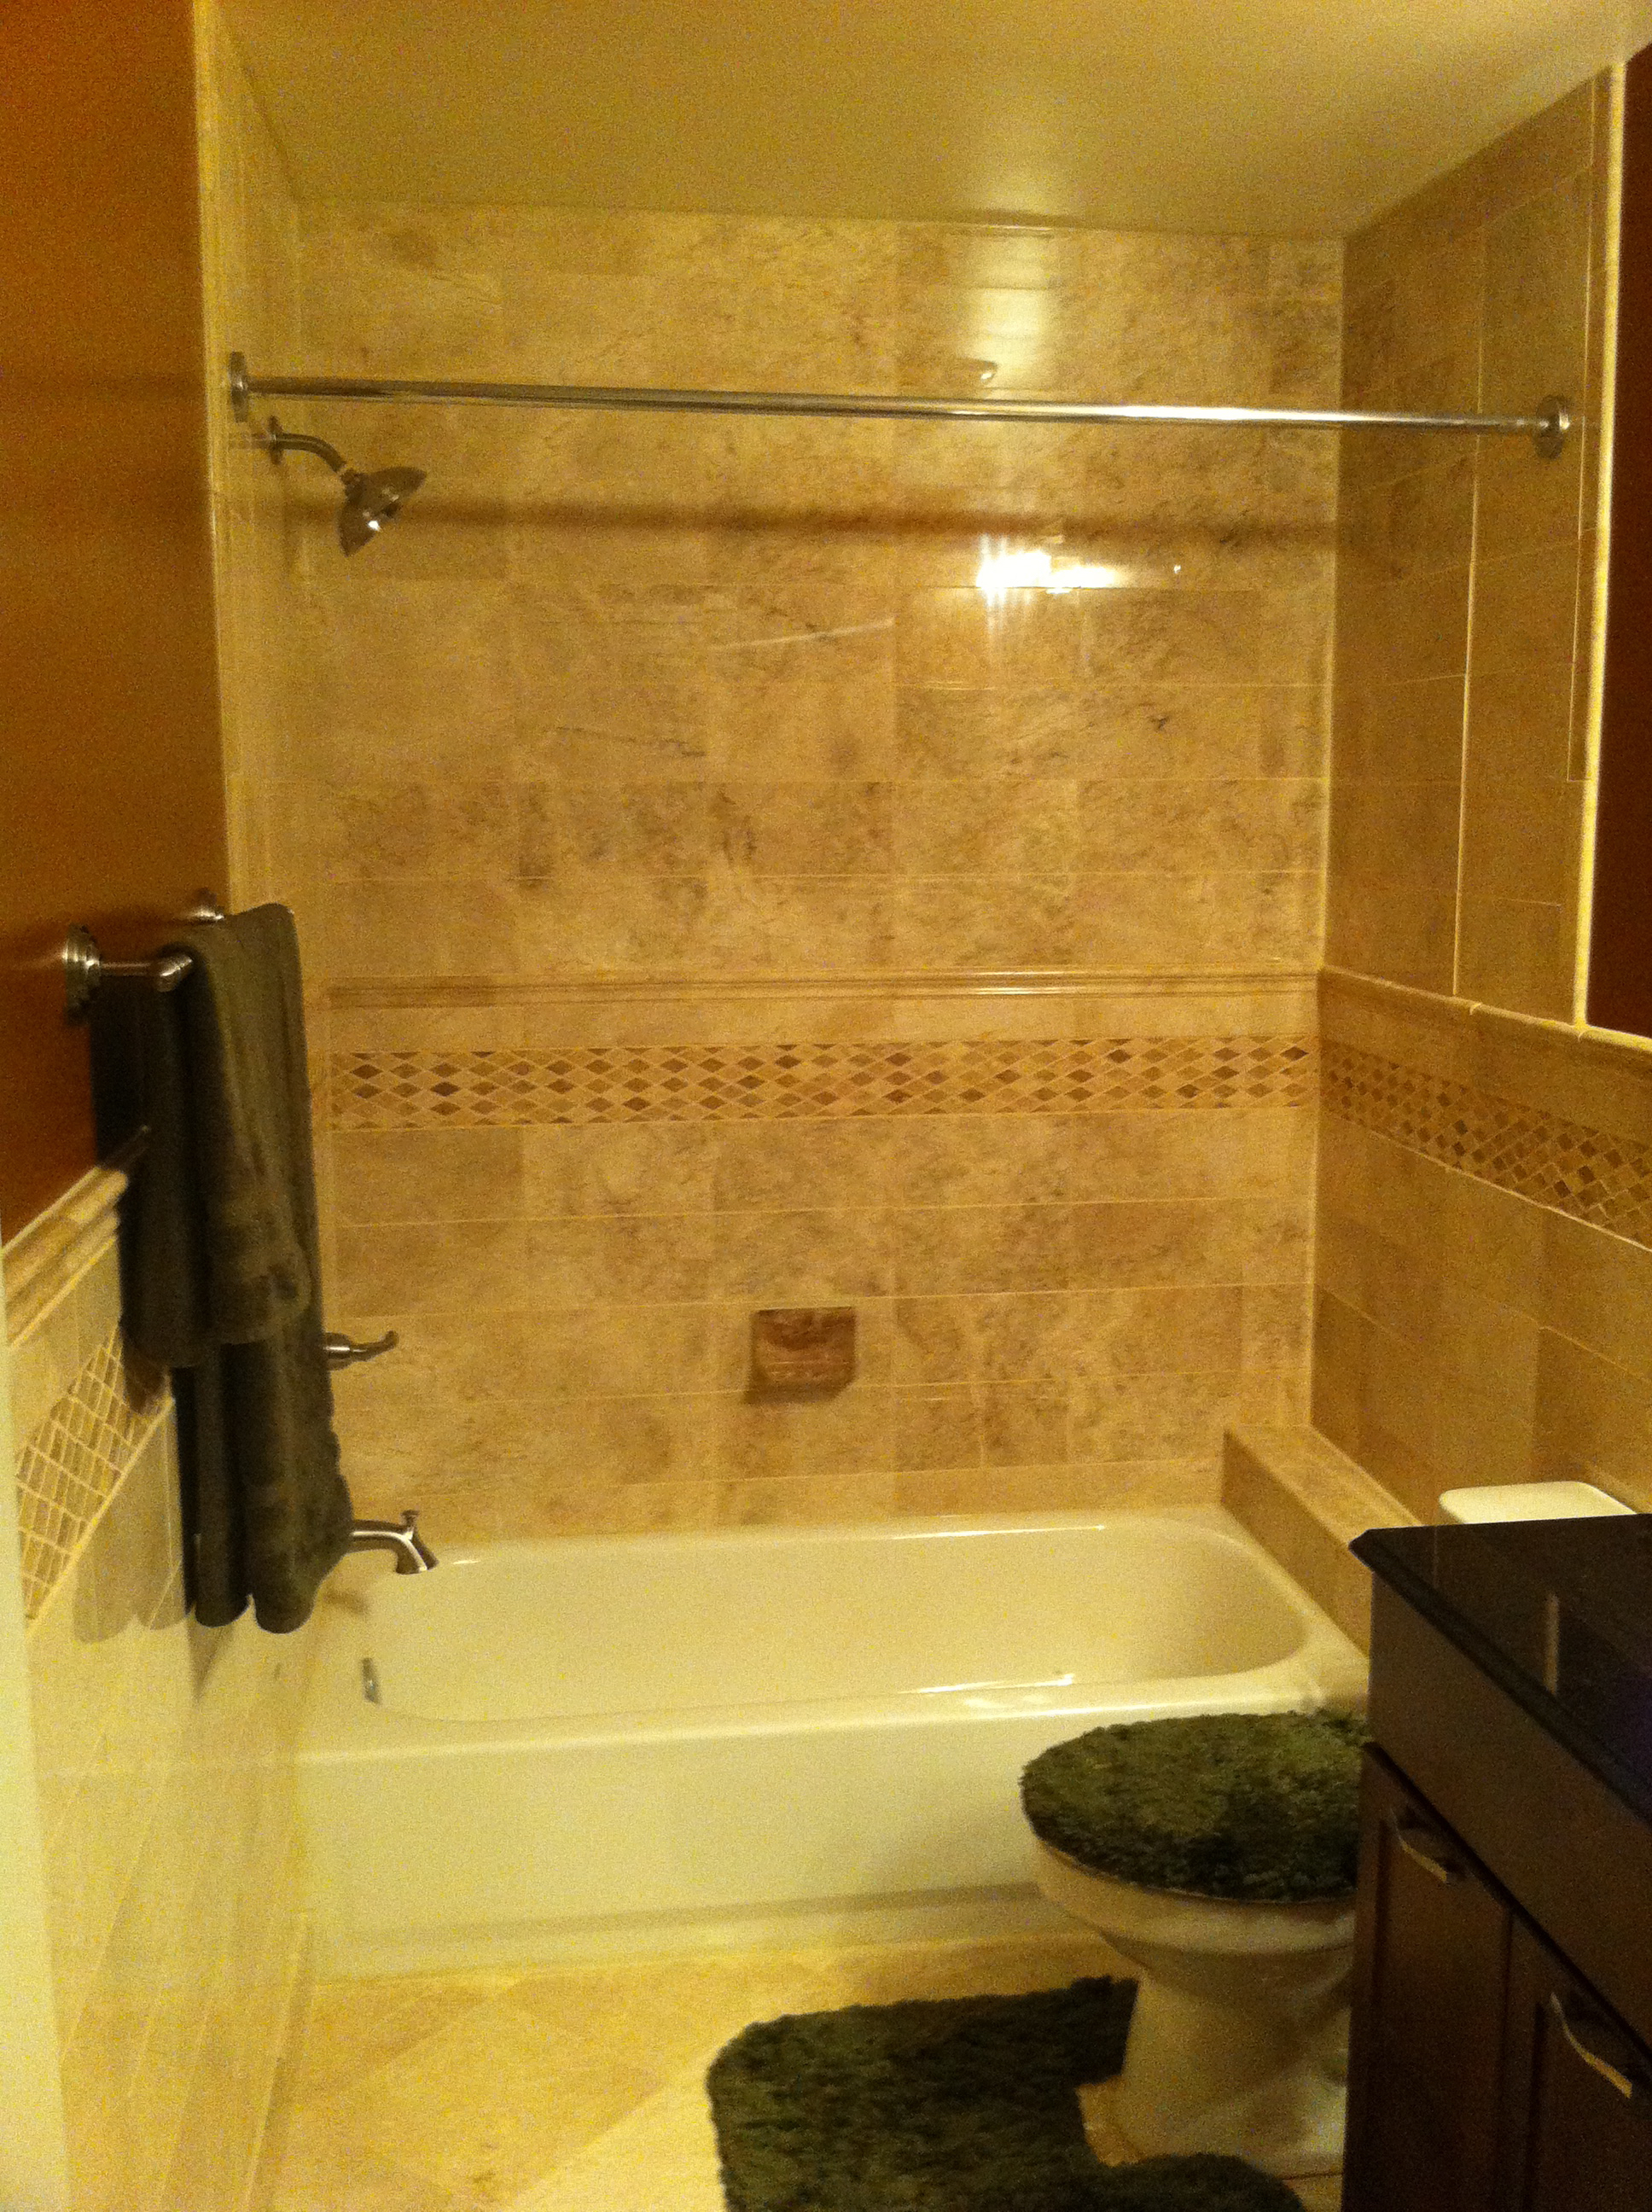
Read on for more pictures & disasters...
The Vanity Disaster
I thought building a vanity would be simple. Maybe it would have been if I had clamps & a table saw. I had neither of those things. I didn’t have room for a table saw, and the wood working place was sold out of clamps. I should have ordered some online, but I tried using a strap to hold things square.
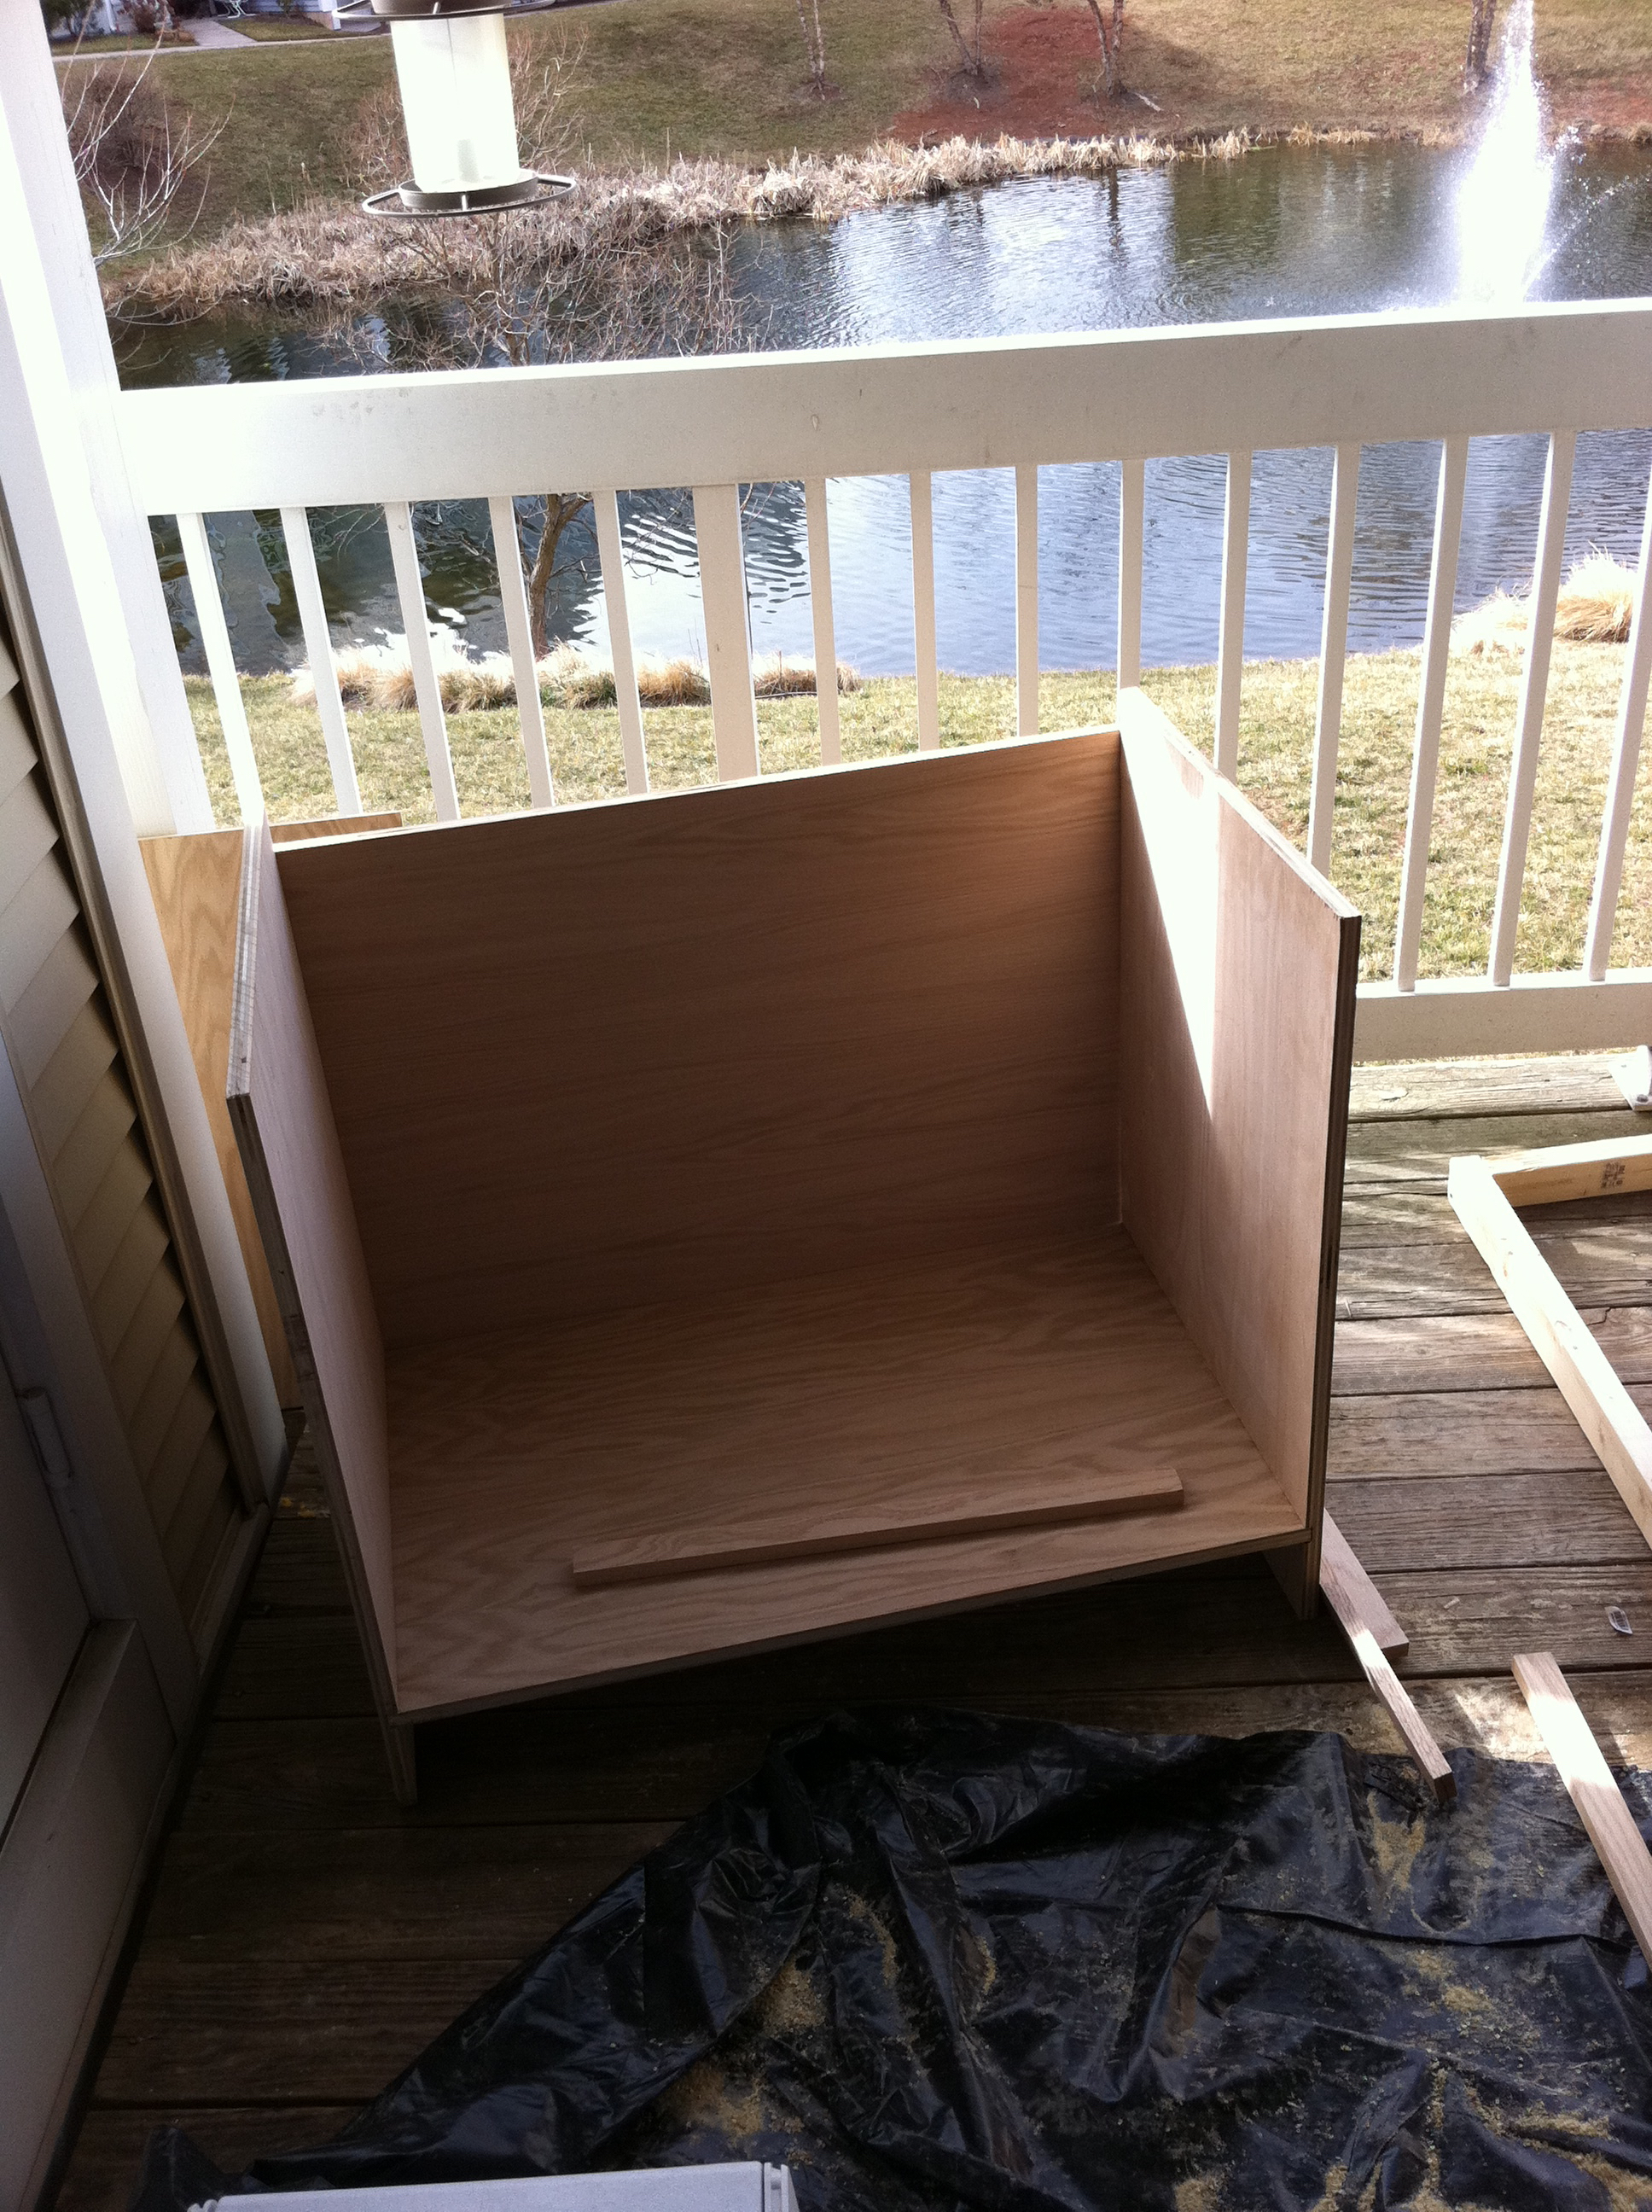
If you didn’t look closely, the vanity was fine. Very much a box. Well, more like a parallelogram.
I bought a Freud router (my first real tool purchase), and made dados for the bottom shelf to slide in. That part worked very well, but the bottom shelf wasn’t perfectly square & that lead to other problems.
Doors
Then I built the doors with the router too. In the first iteration, I didn’t account for the width of the rails & stiles, so the doors ended up being too big.
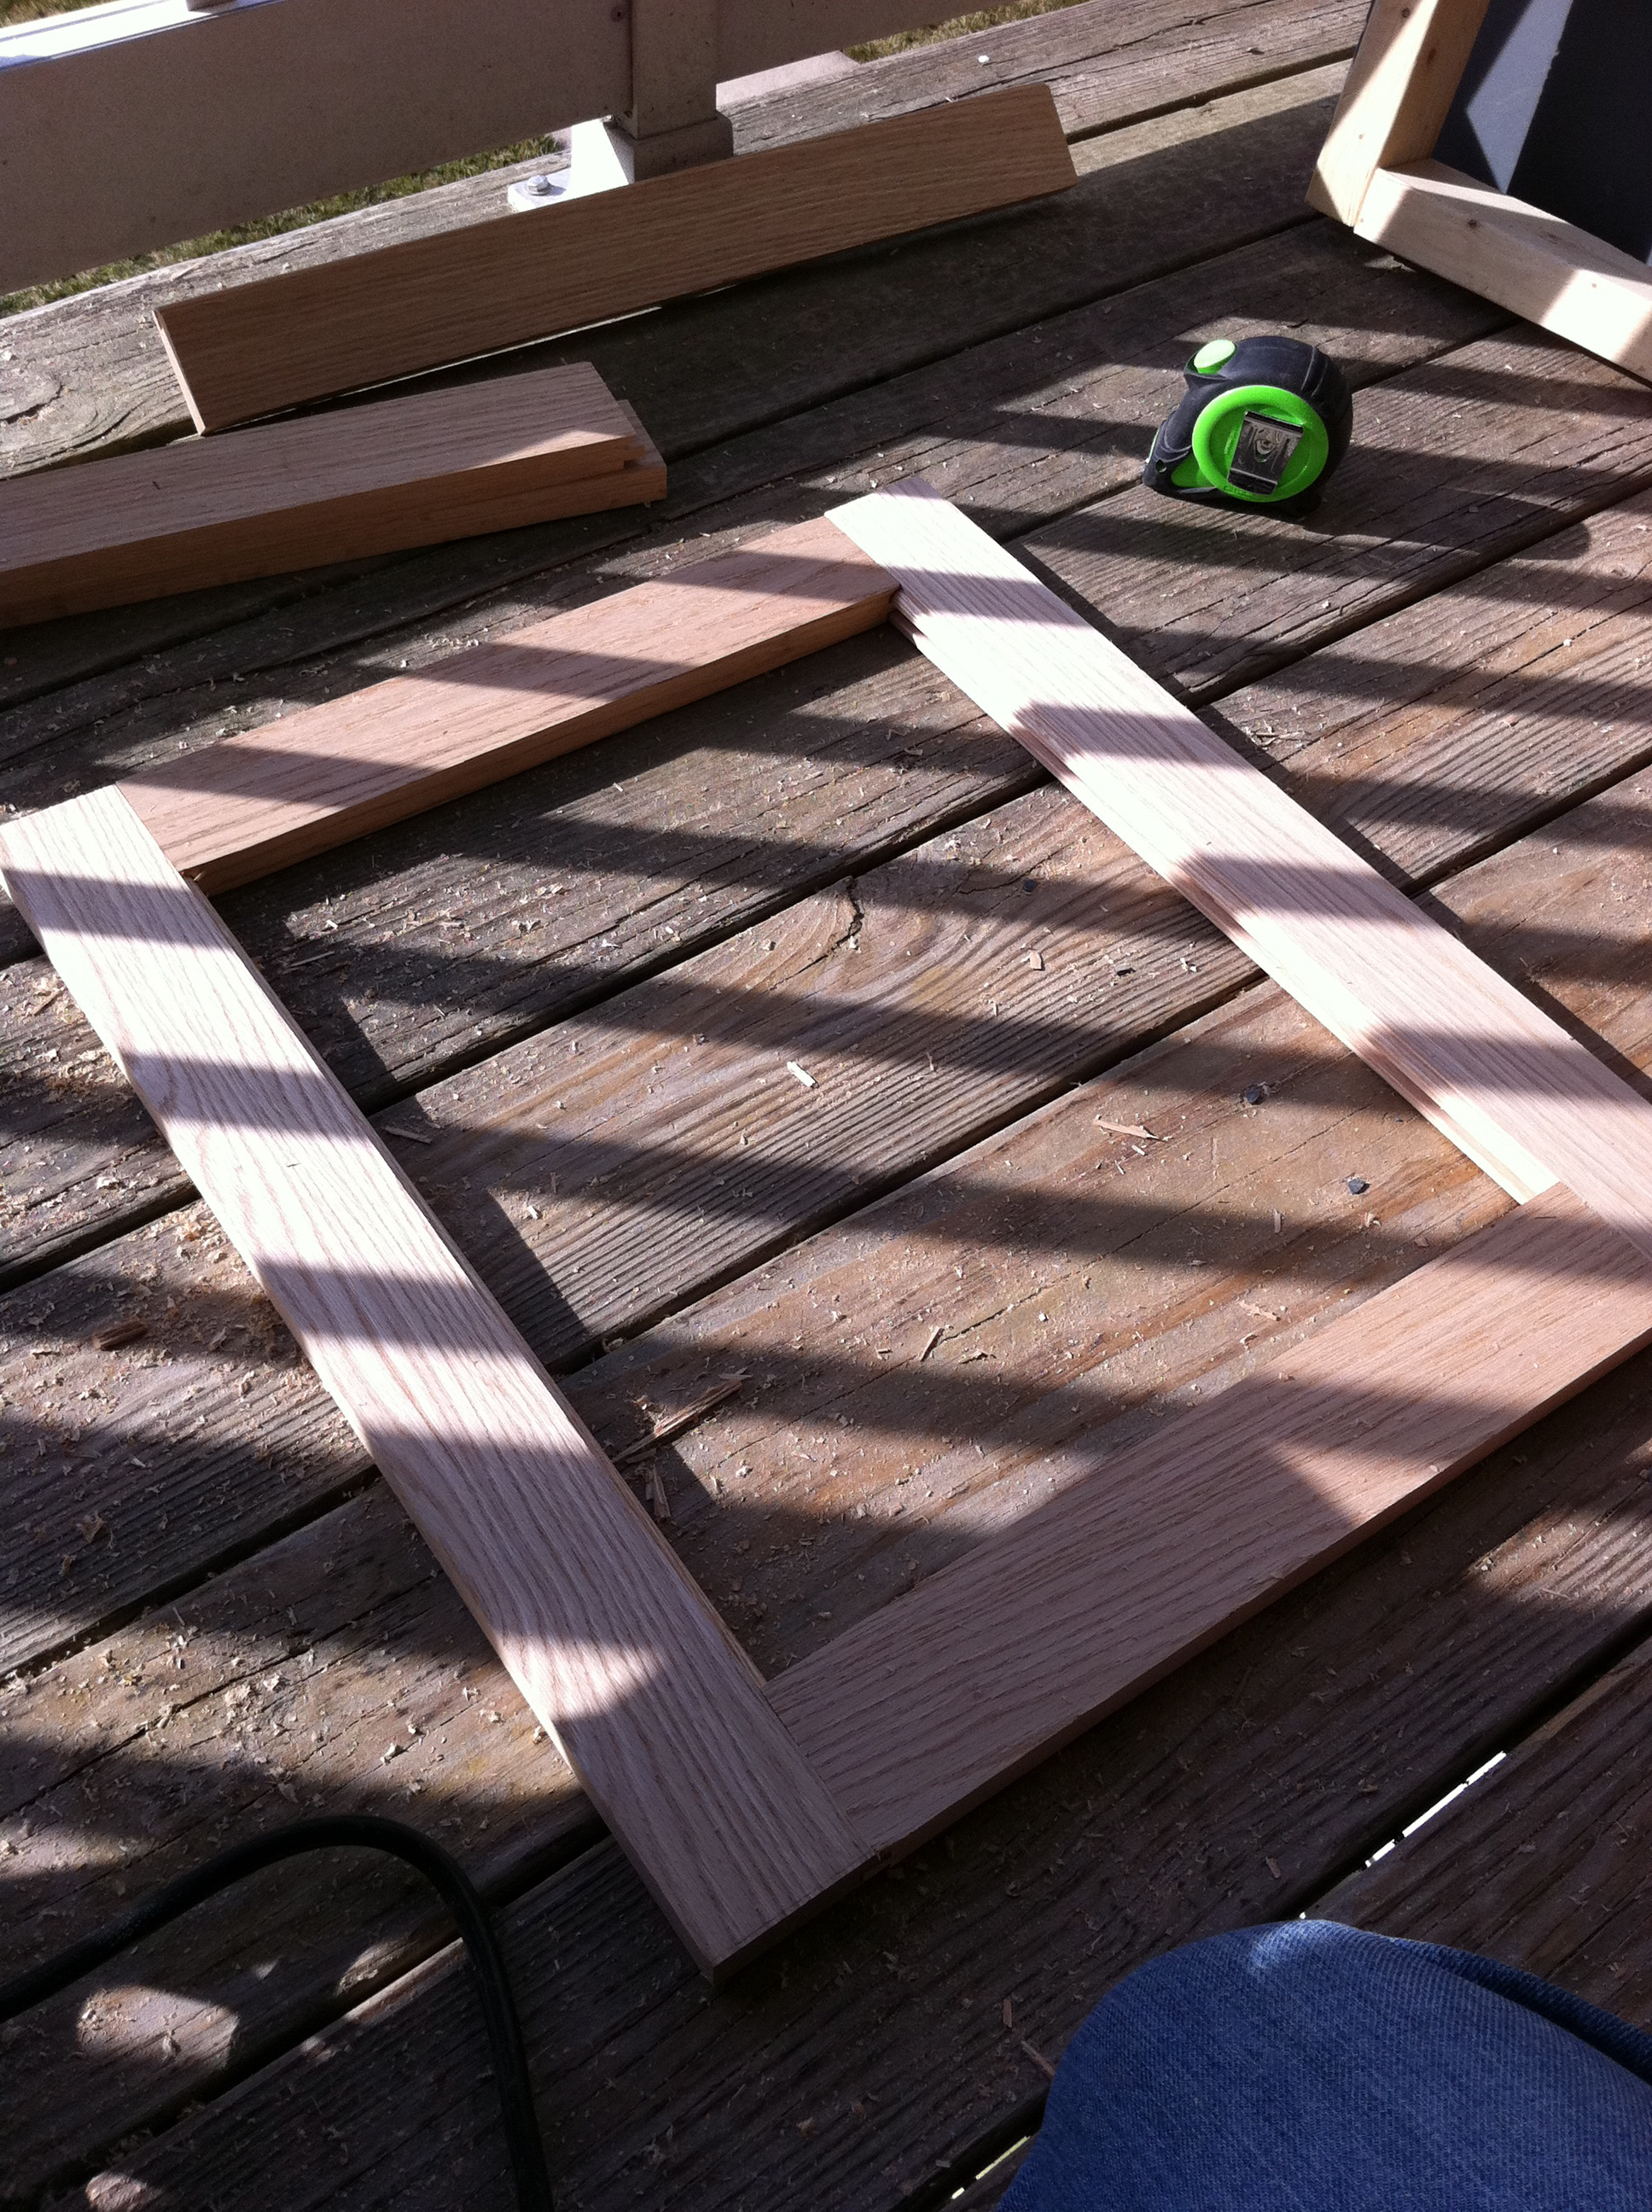
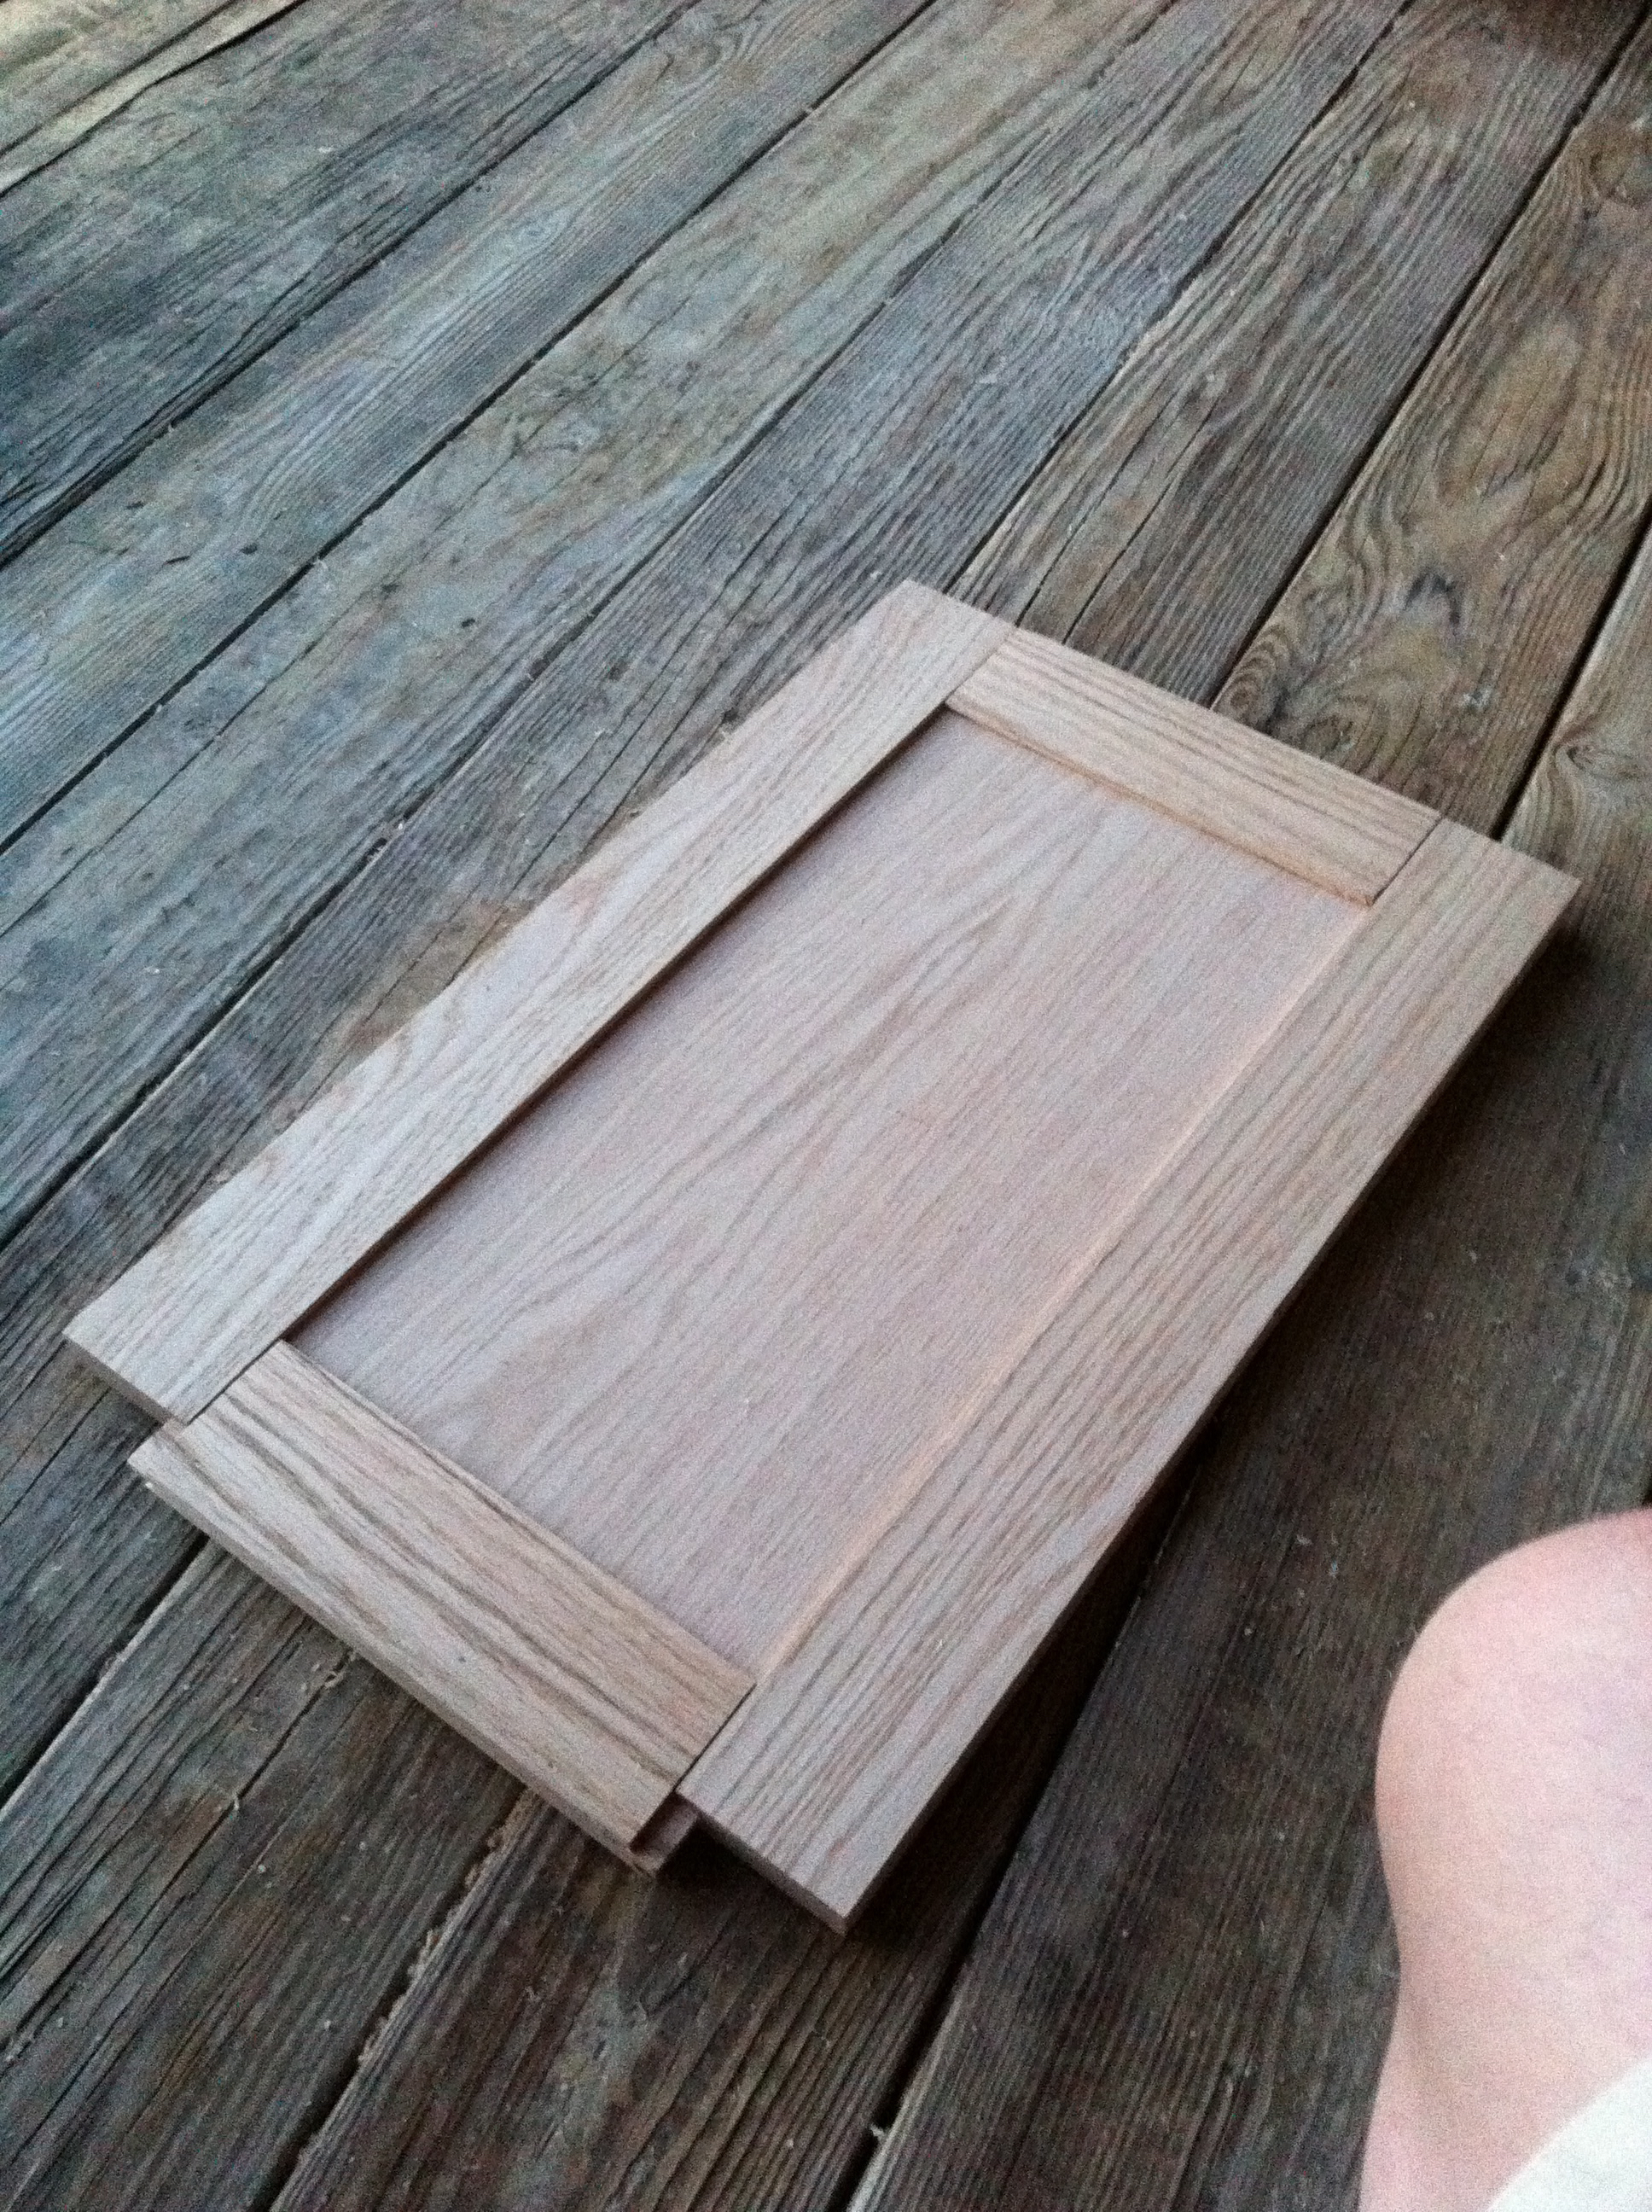
It was pretty though.
My “workshop” was the condo porch.
After some research, I figured out I needed to take the width of the stiles (the pieces on either side of the panel) plus the depth of the dado that the panel slides into to calculate the width of the panel. It works the same way for calculating the height of the panel. You take the height of the rails (the top and bottom of the door) plus the depth of the dado to determine the height.
Face Frame
Since I used plywood for the carcass of the cabinet, I built a solid wood frame to cover the plywood and give the cabinet some definition.
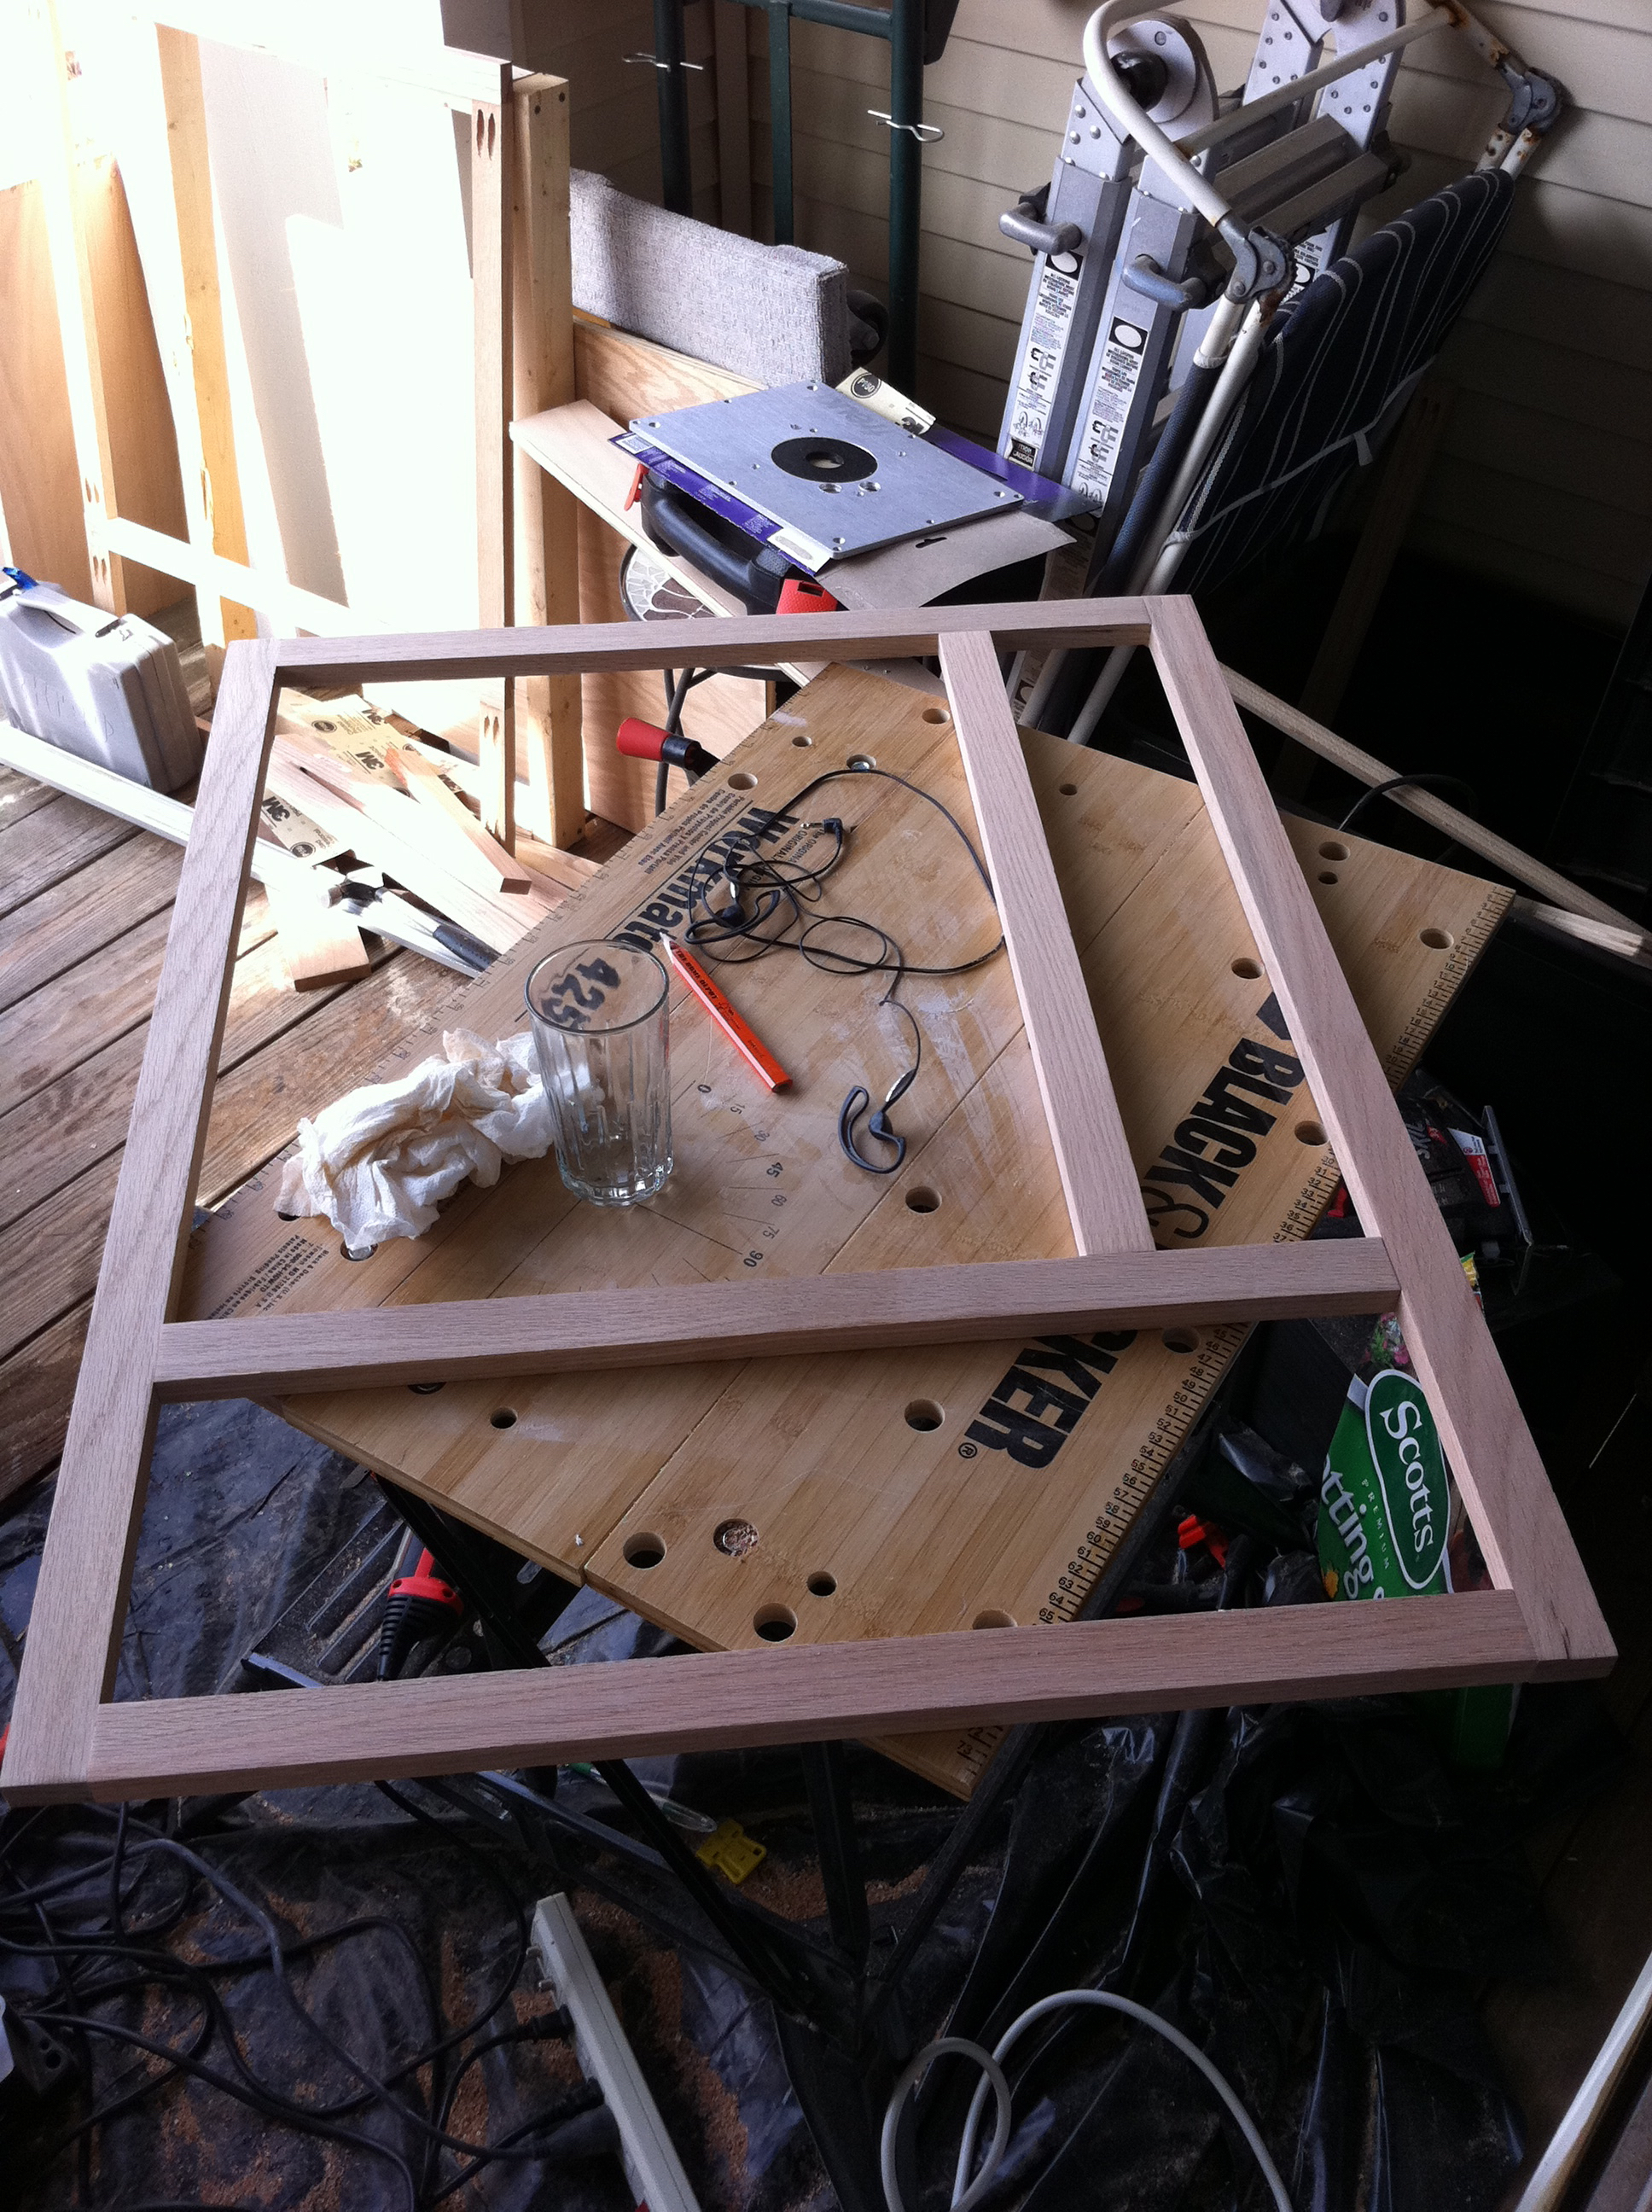
I assembled the face frame with pocket screws. The frame itself was perfectly square. So when I put it on the carcass, it was really obvious that it wasn’t square:
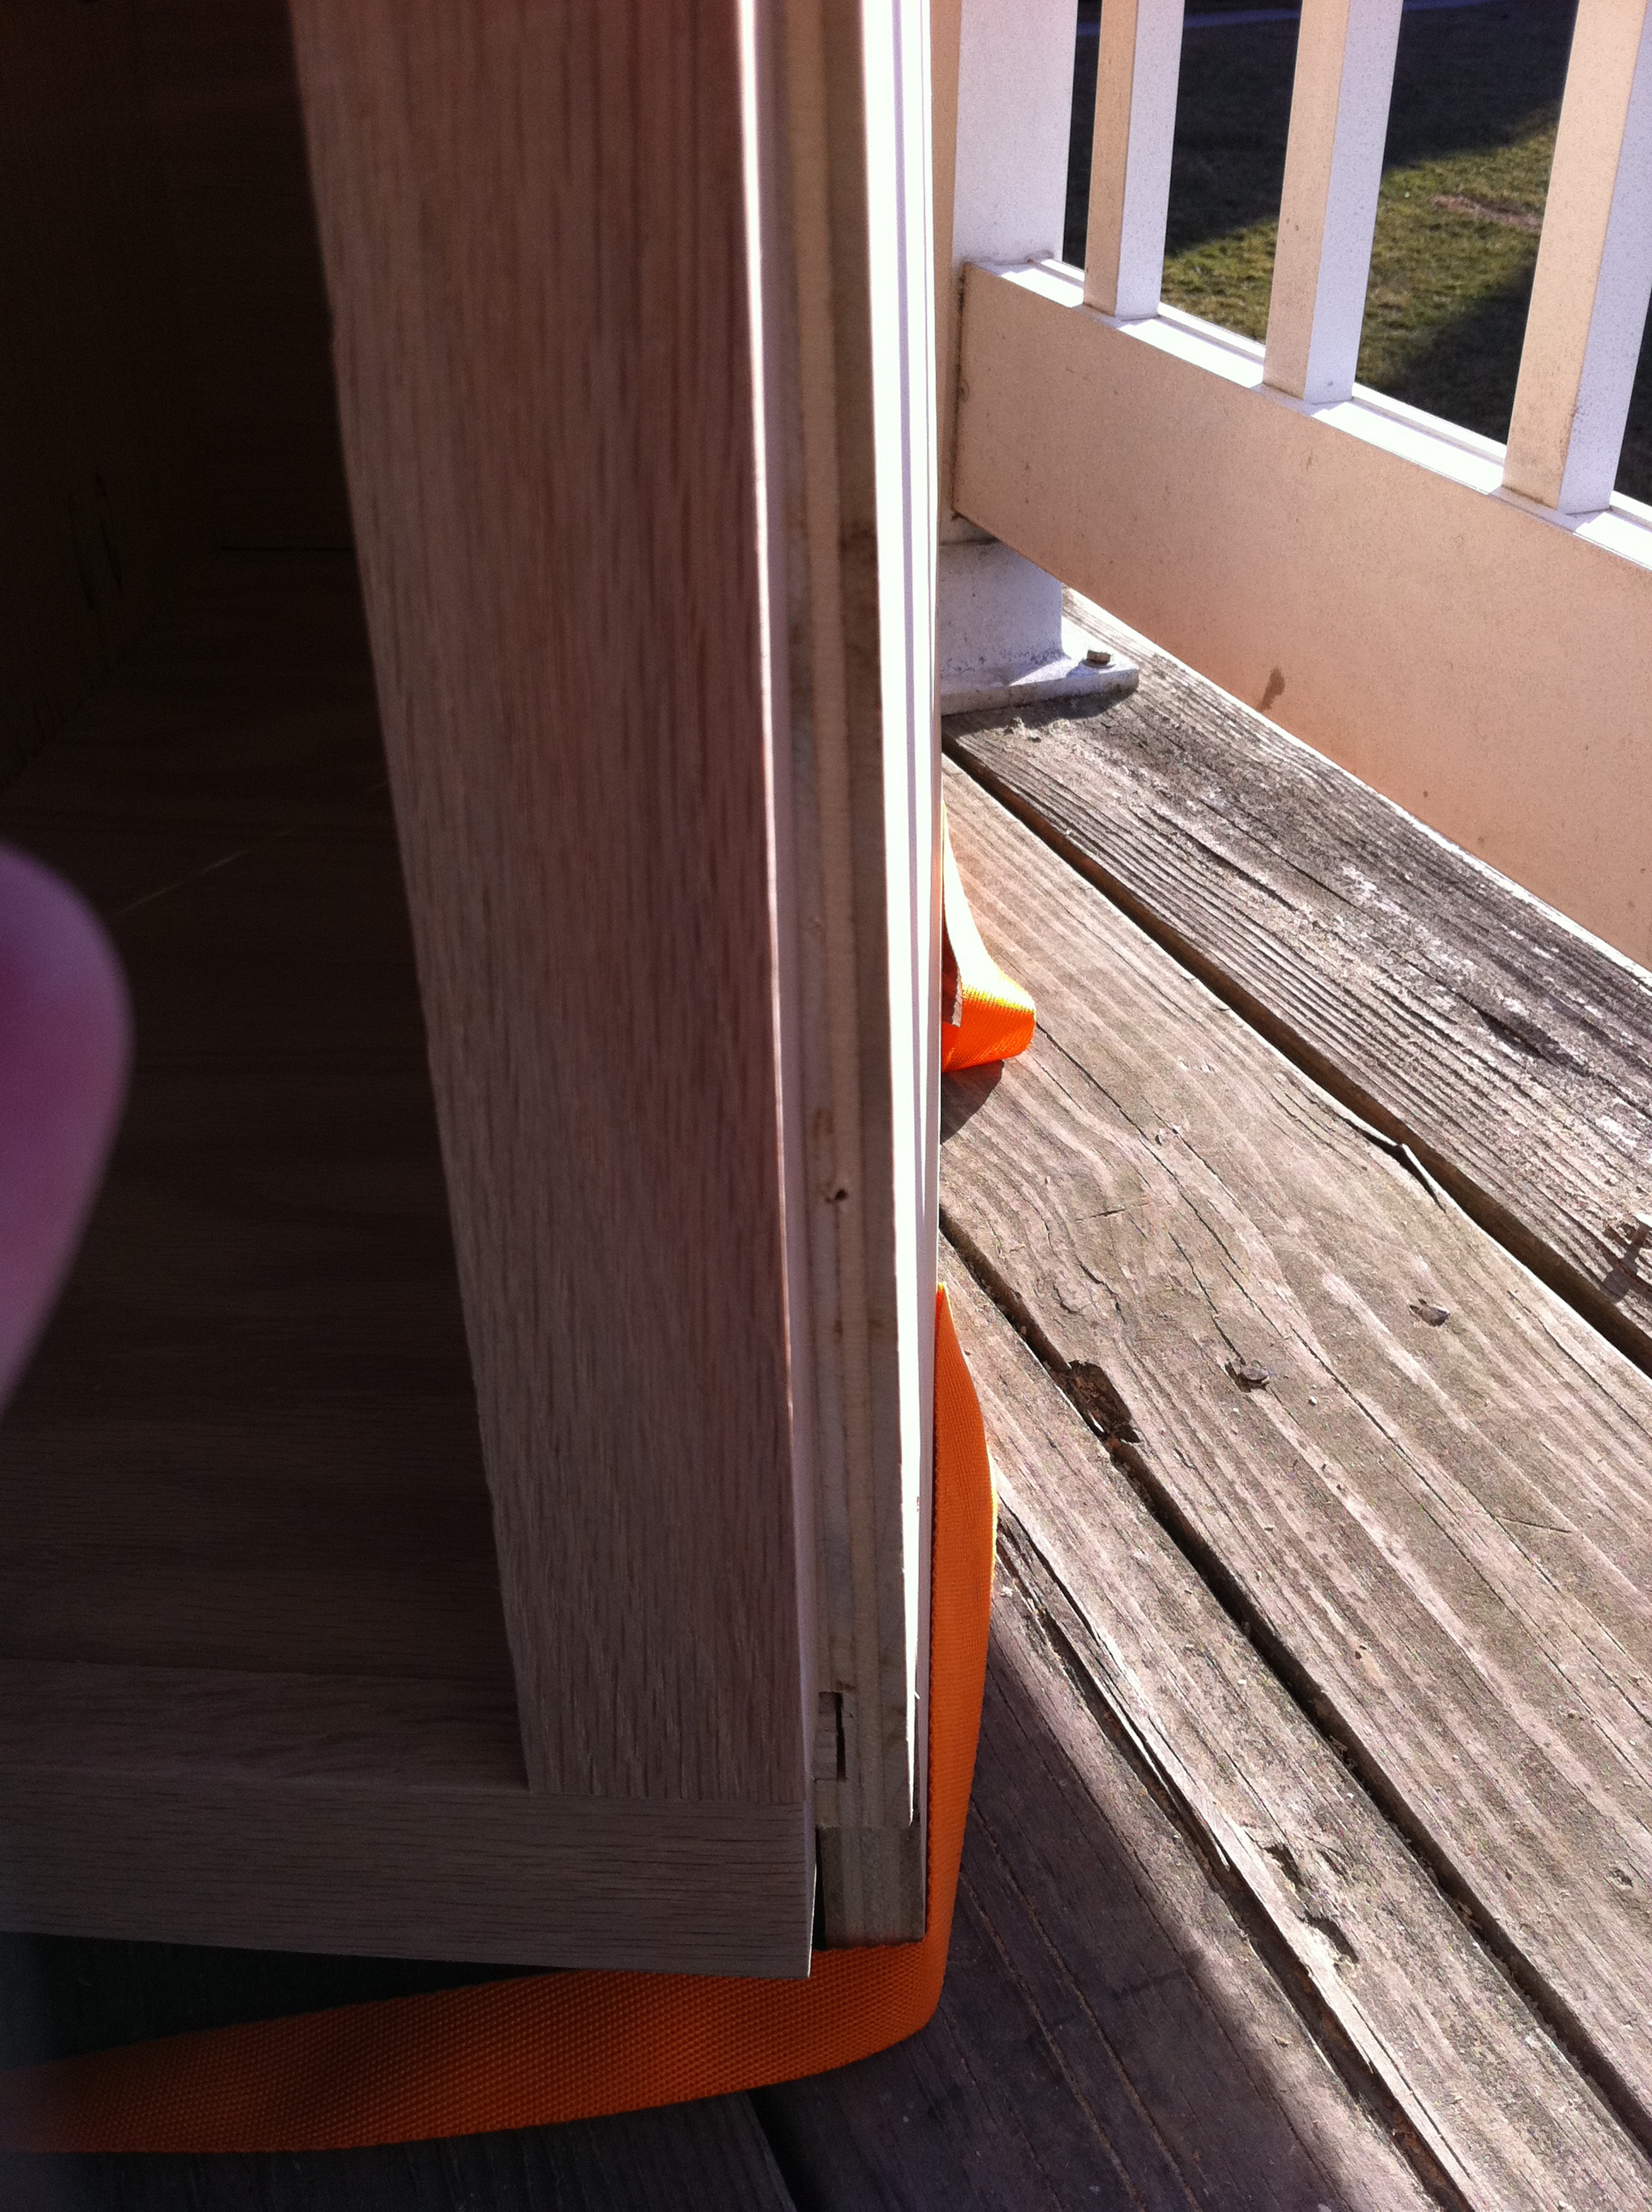
Unfortunately, the carcass was all glued together and wouldn’t come apart. Overall, it still looked nice though:
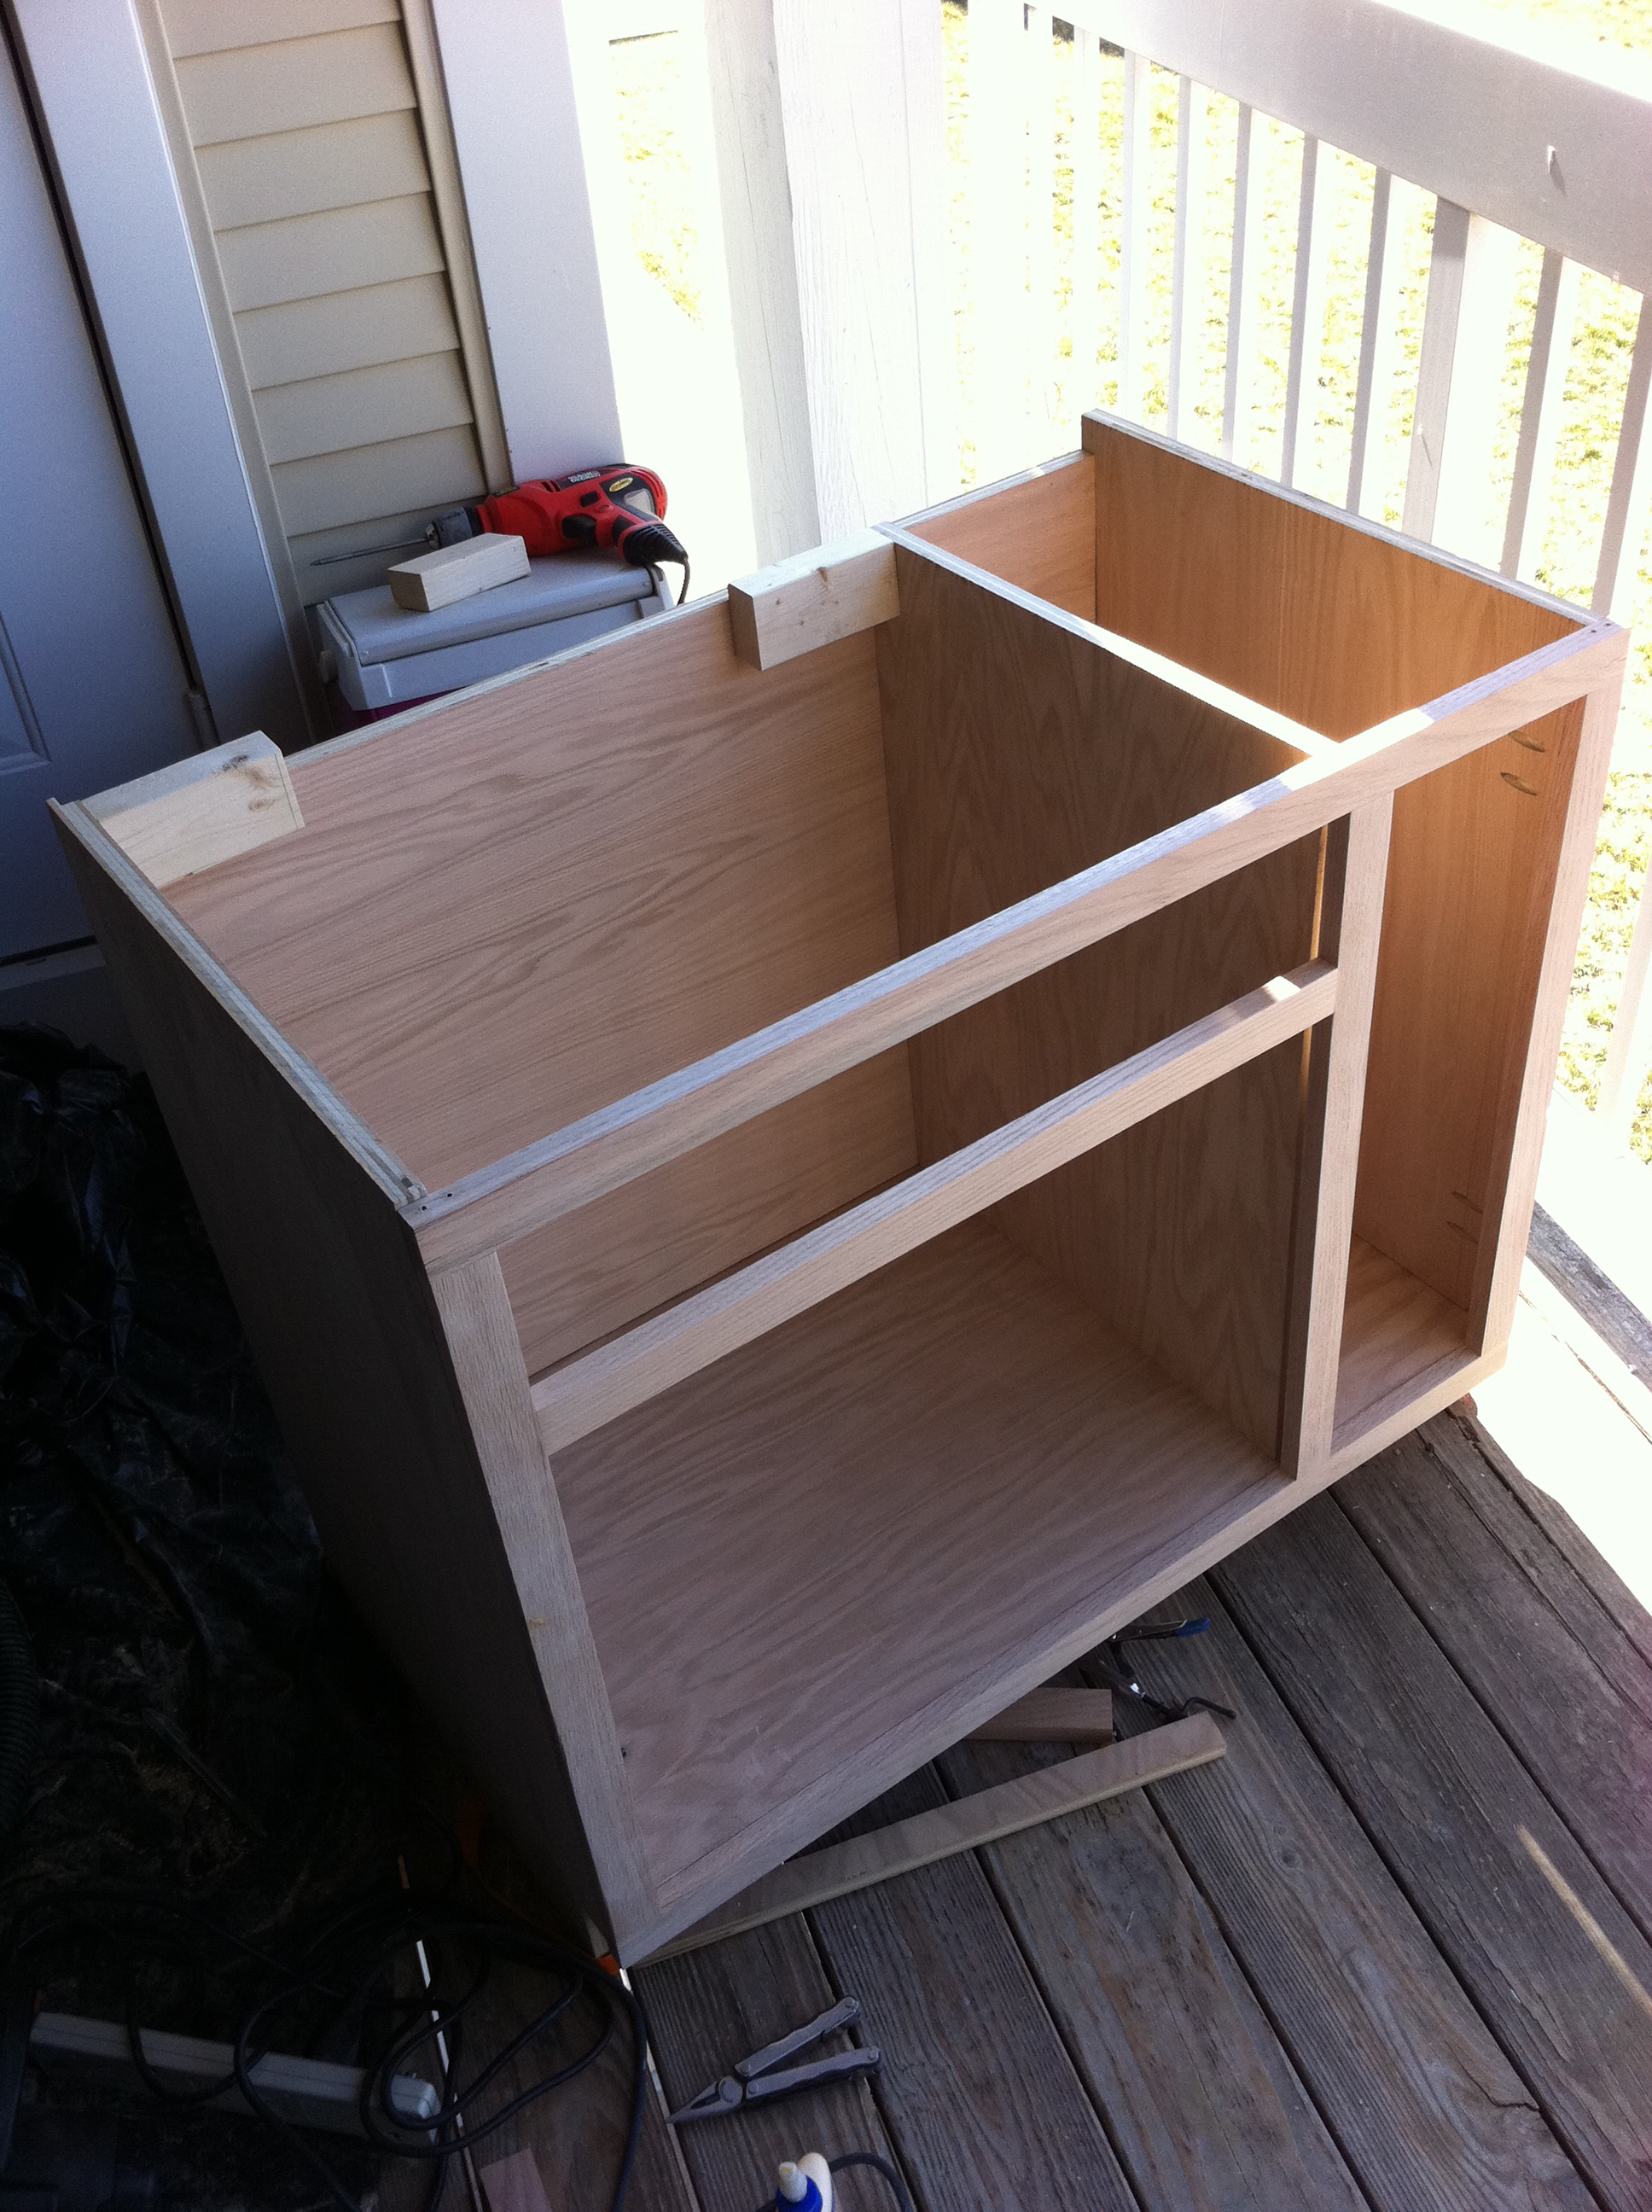
I put 2x4 blocks on the top back to support a countertop. I attached the face frame with pocket hole screws. Under the vanity, you can see the one 90 degree clamp I had at the time.
Staining
I went to a WoodCraft store near me and got a stain made by General Finishes. I liked it a lot. This was only my second time staining wood. It really showed off the grain of the wood.
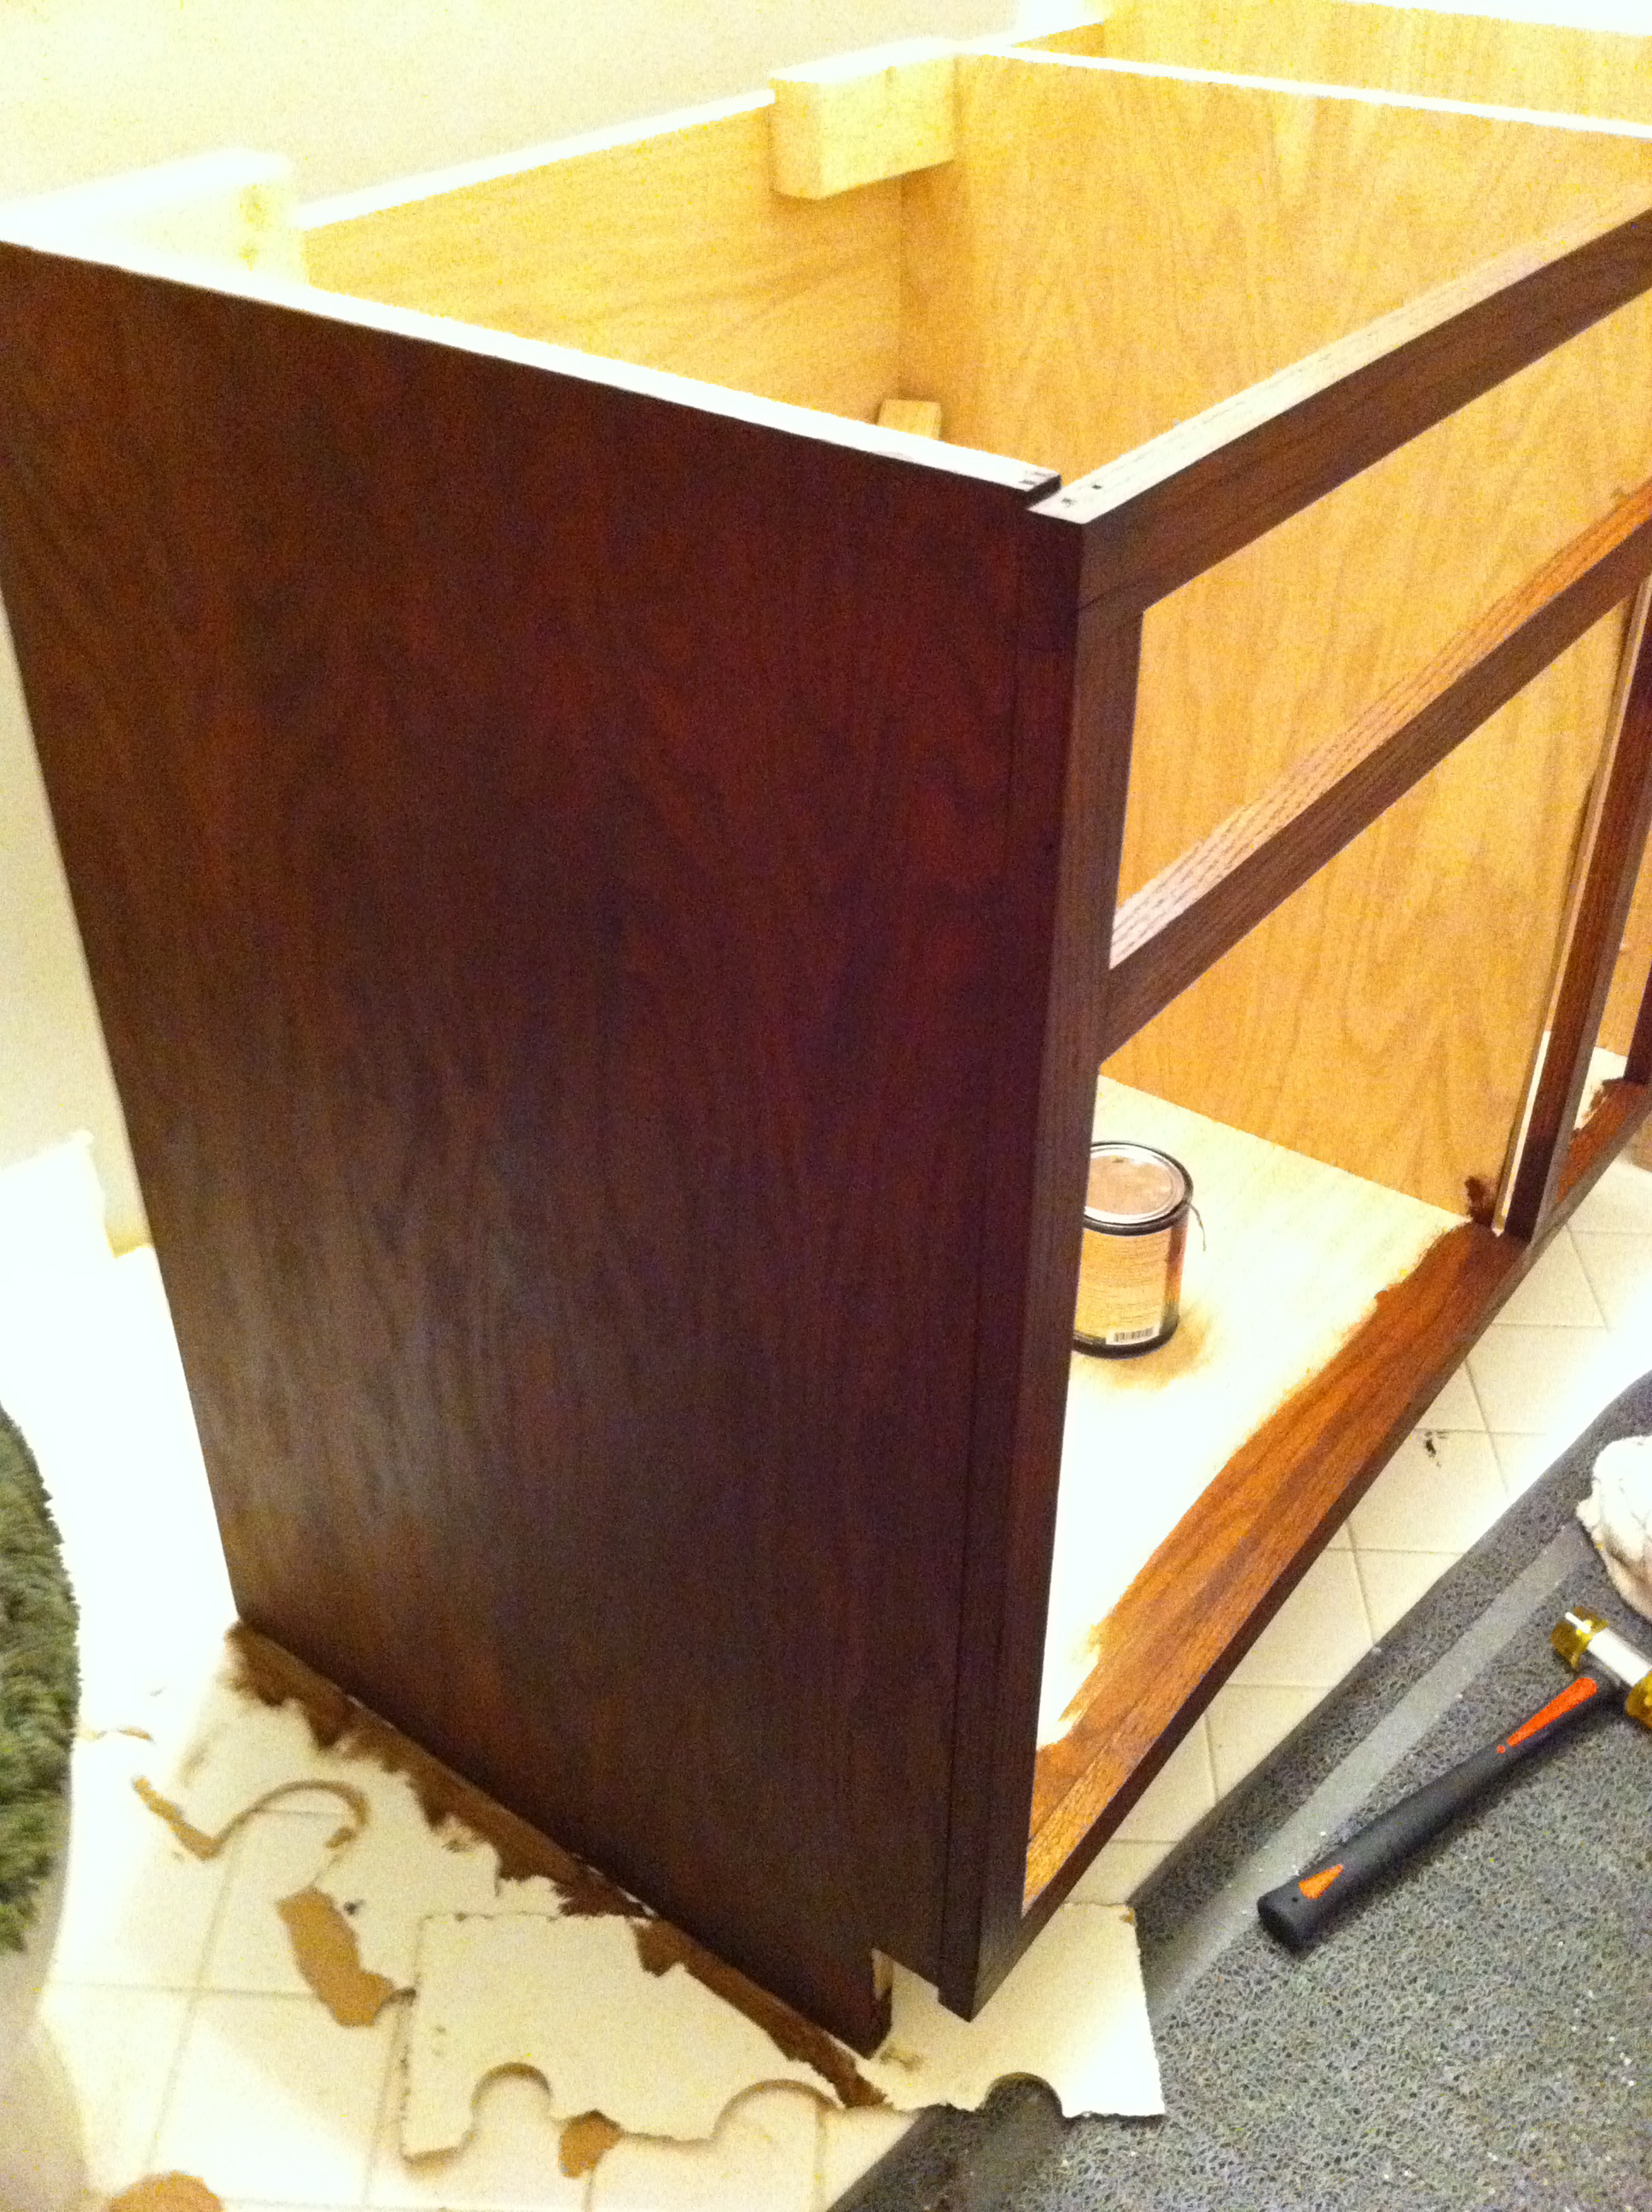
Drawers
Next, I started working on the first drawers I ever built. This was a really fun adventure. I like a good challenge and I had no clue what I was doing. First I researched drawer glides because I knew there were a ton of choices. I wanted ones that had a soft-close mechanism, and had a full-extension glide. No one likes having to dig through the back of a drawer unable to see what is back there.
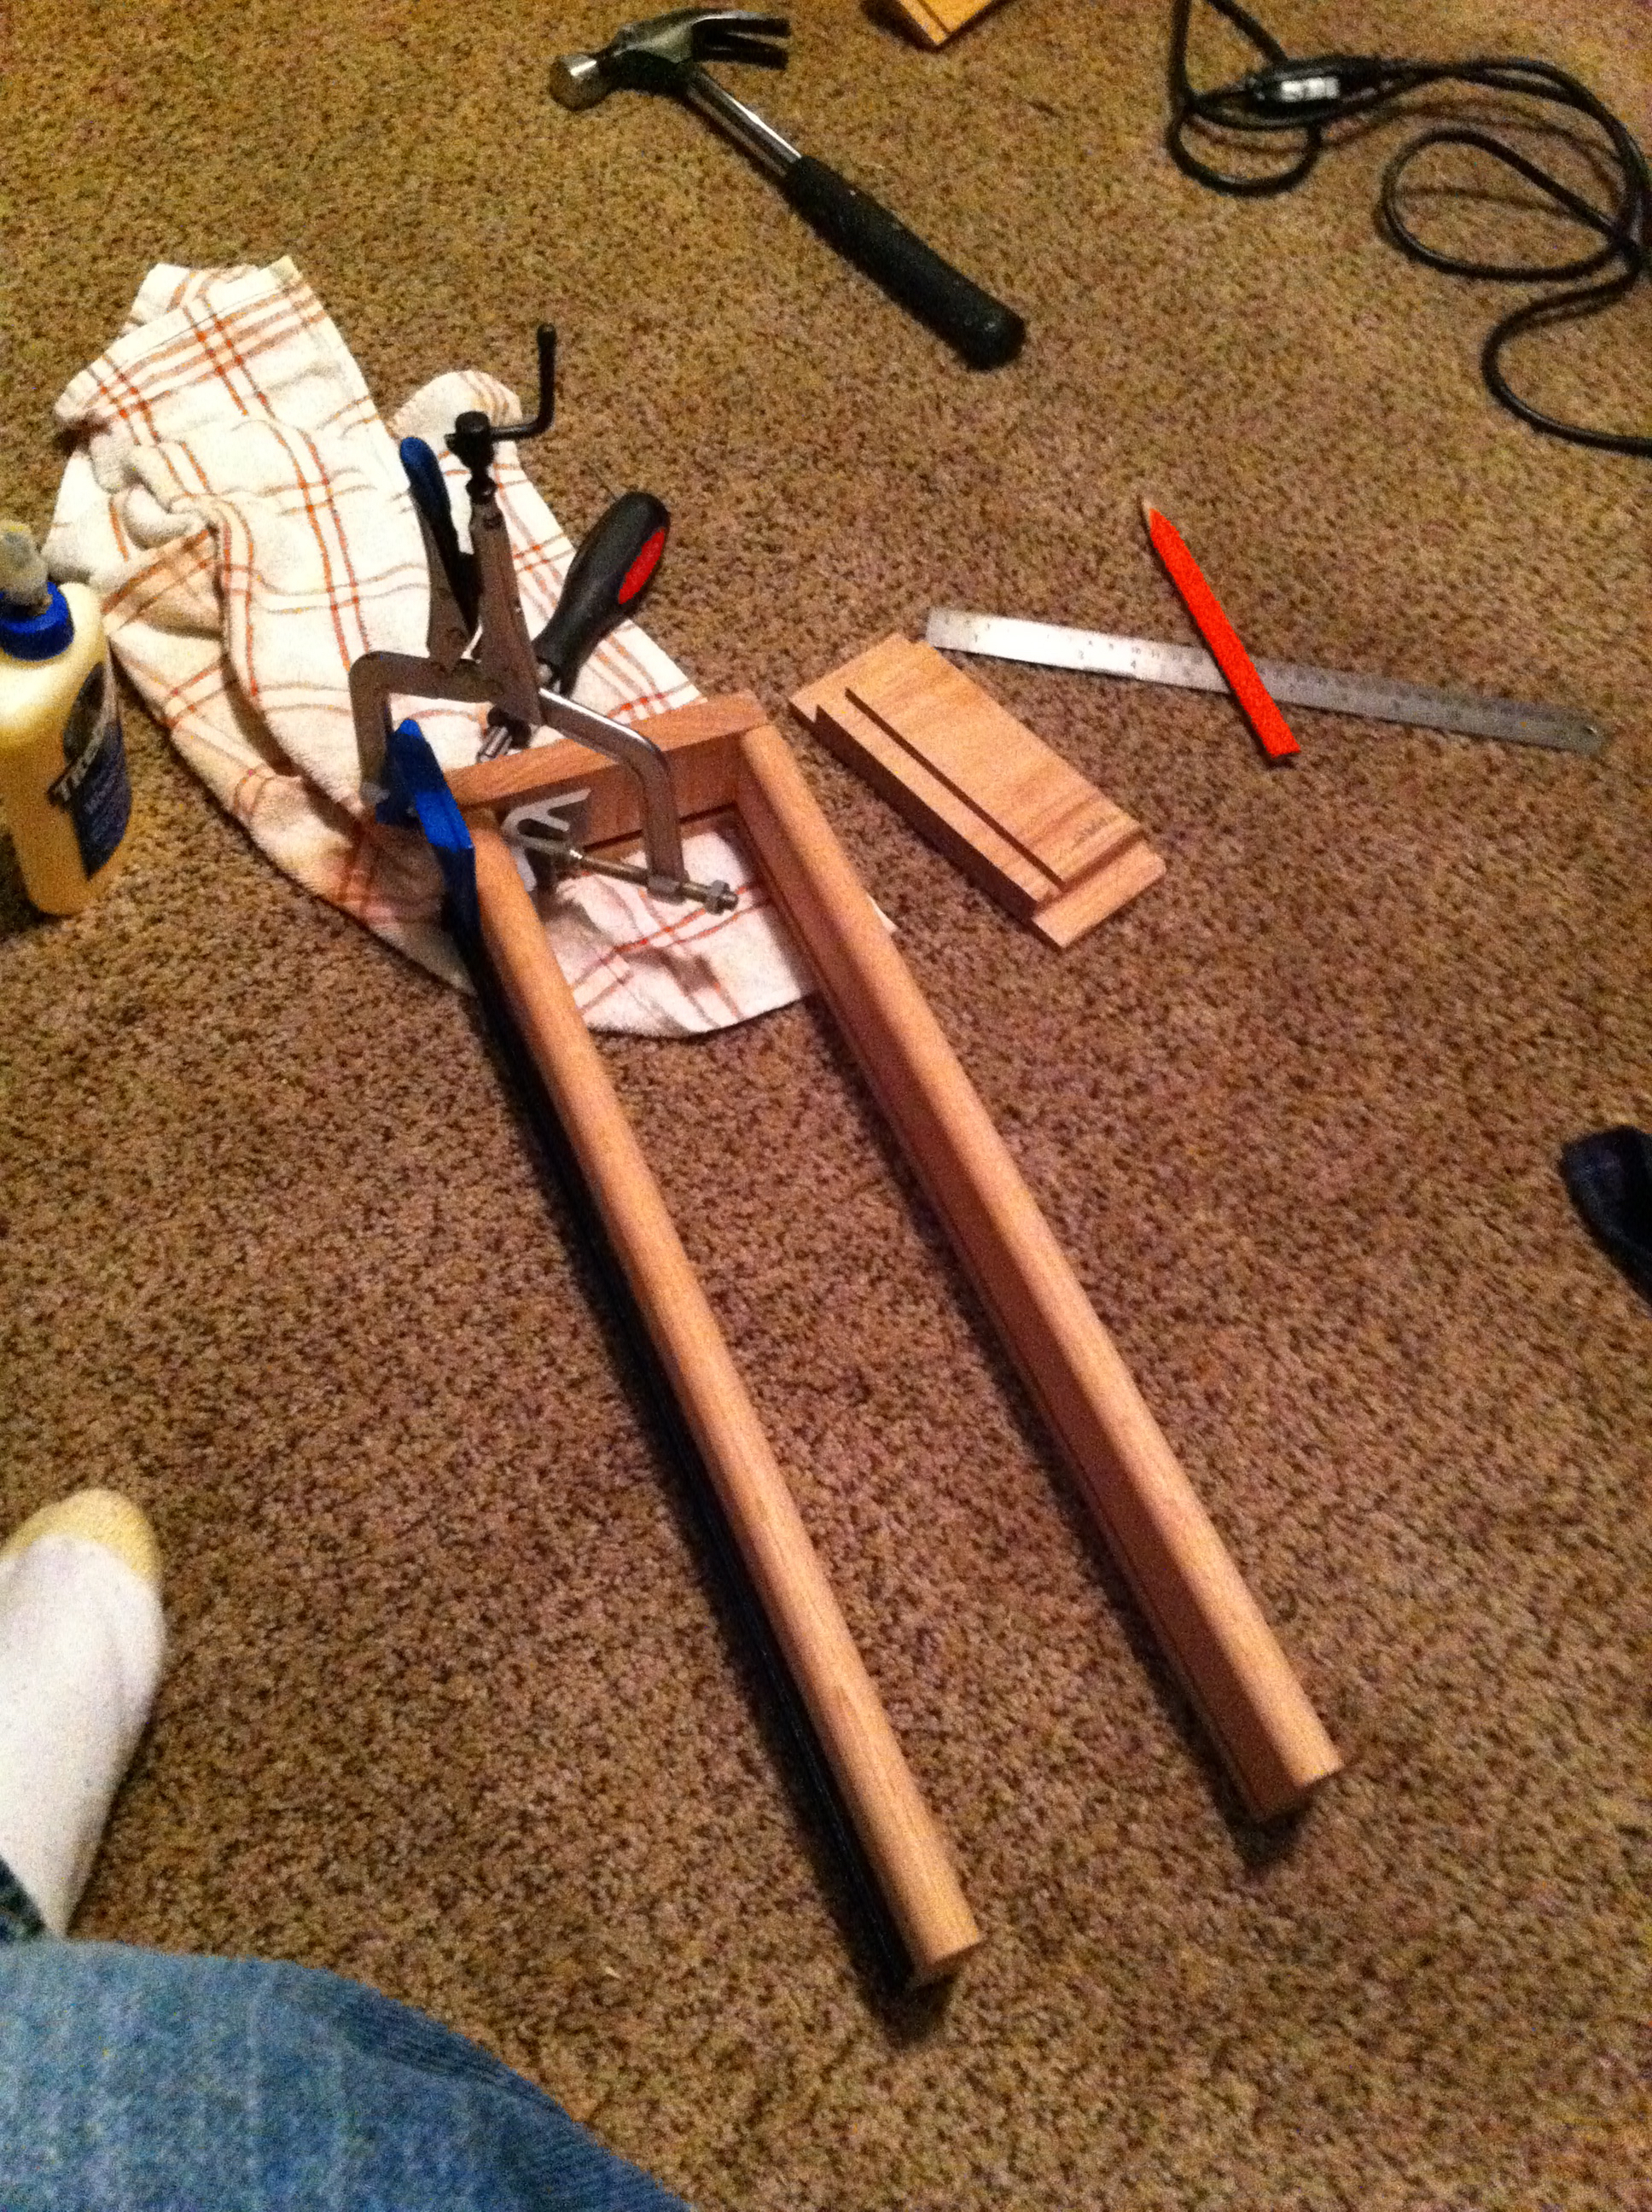
Since I used a face frame on my cabinet, I had to build up the inside of the cabinet so the rails were pronounced from the frame (or, at least, that’s how I designed it).
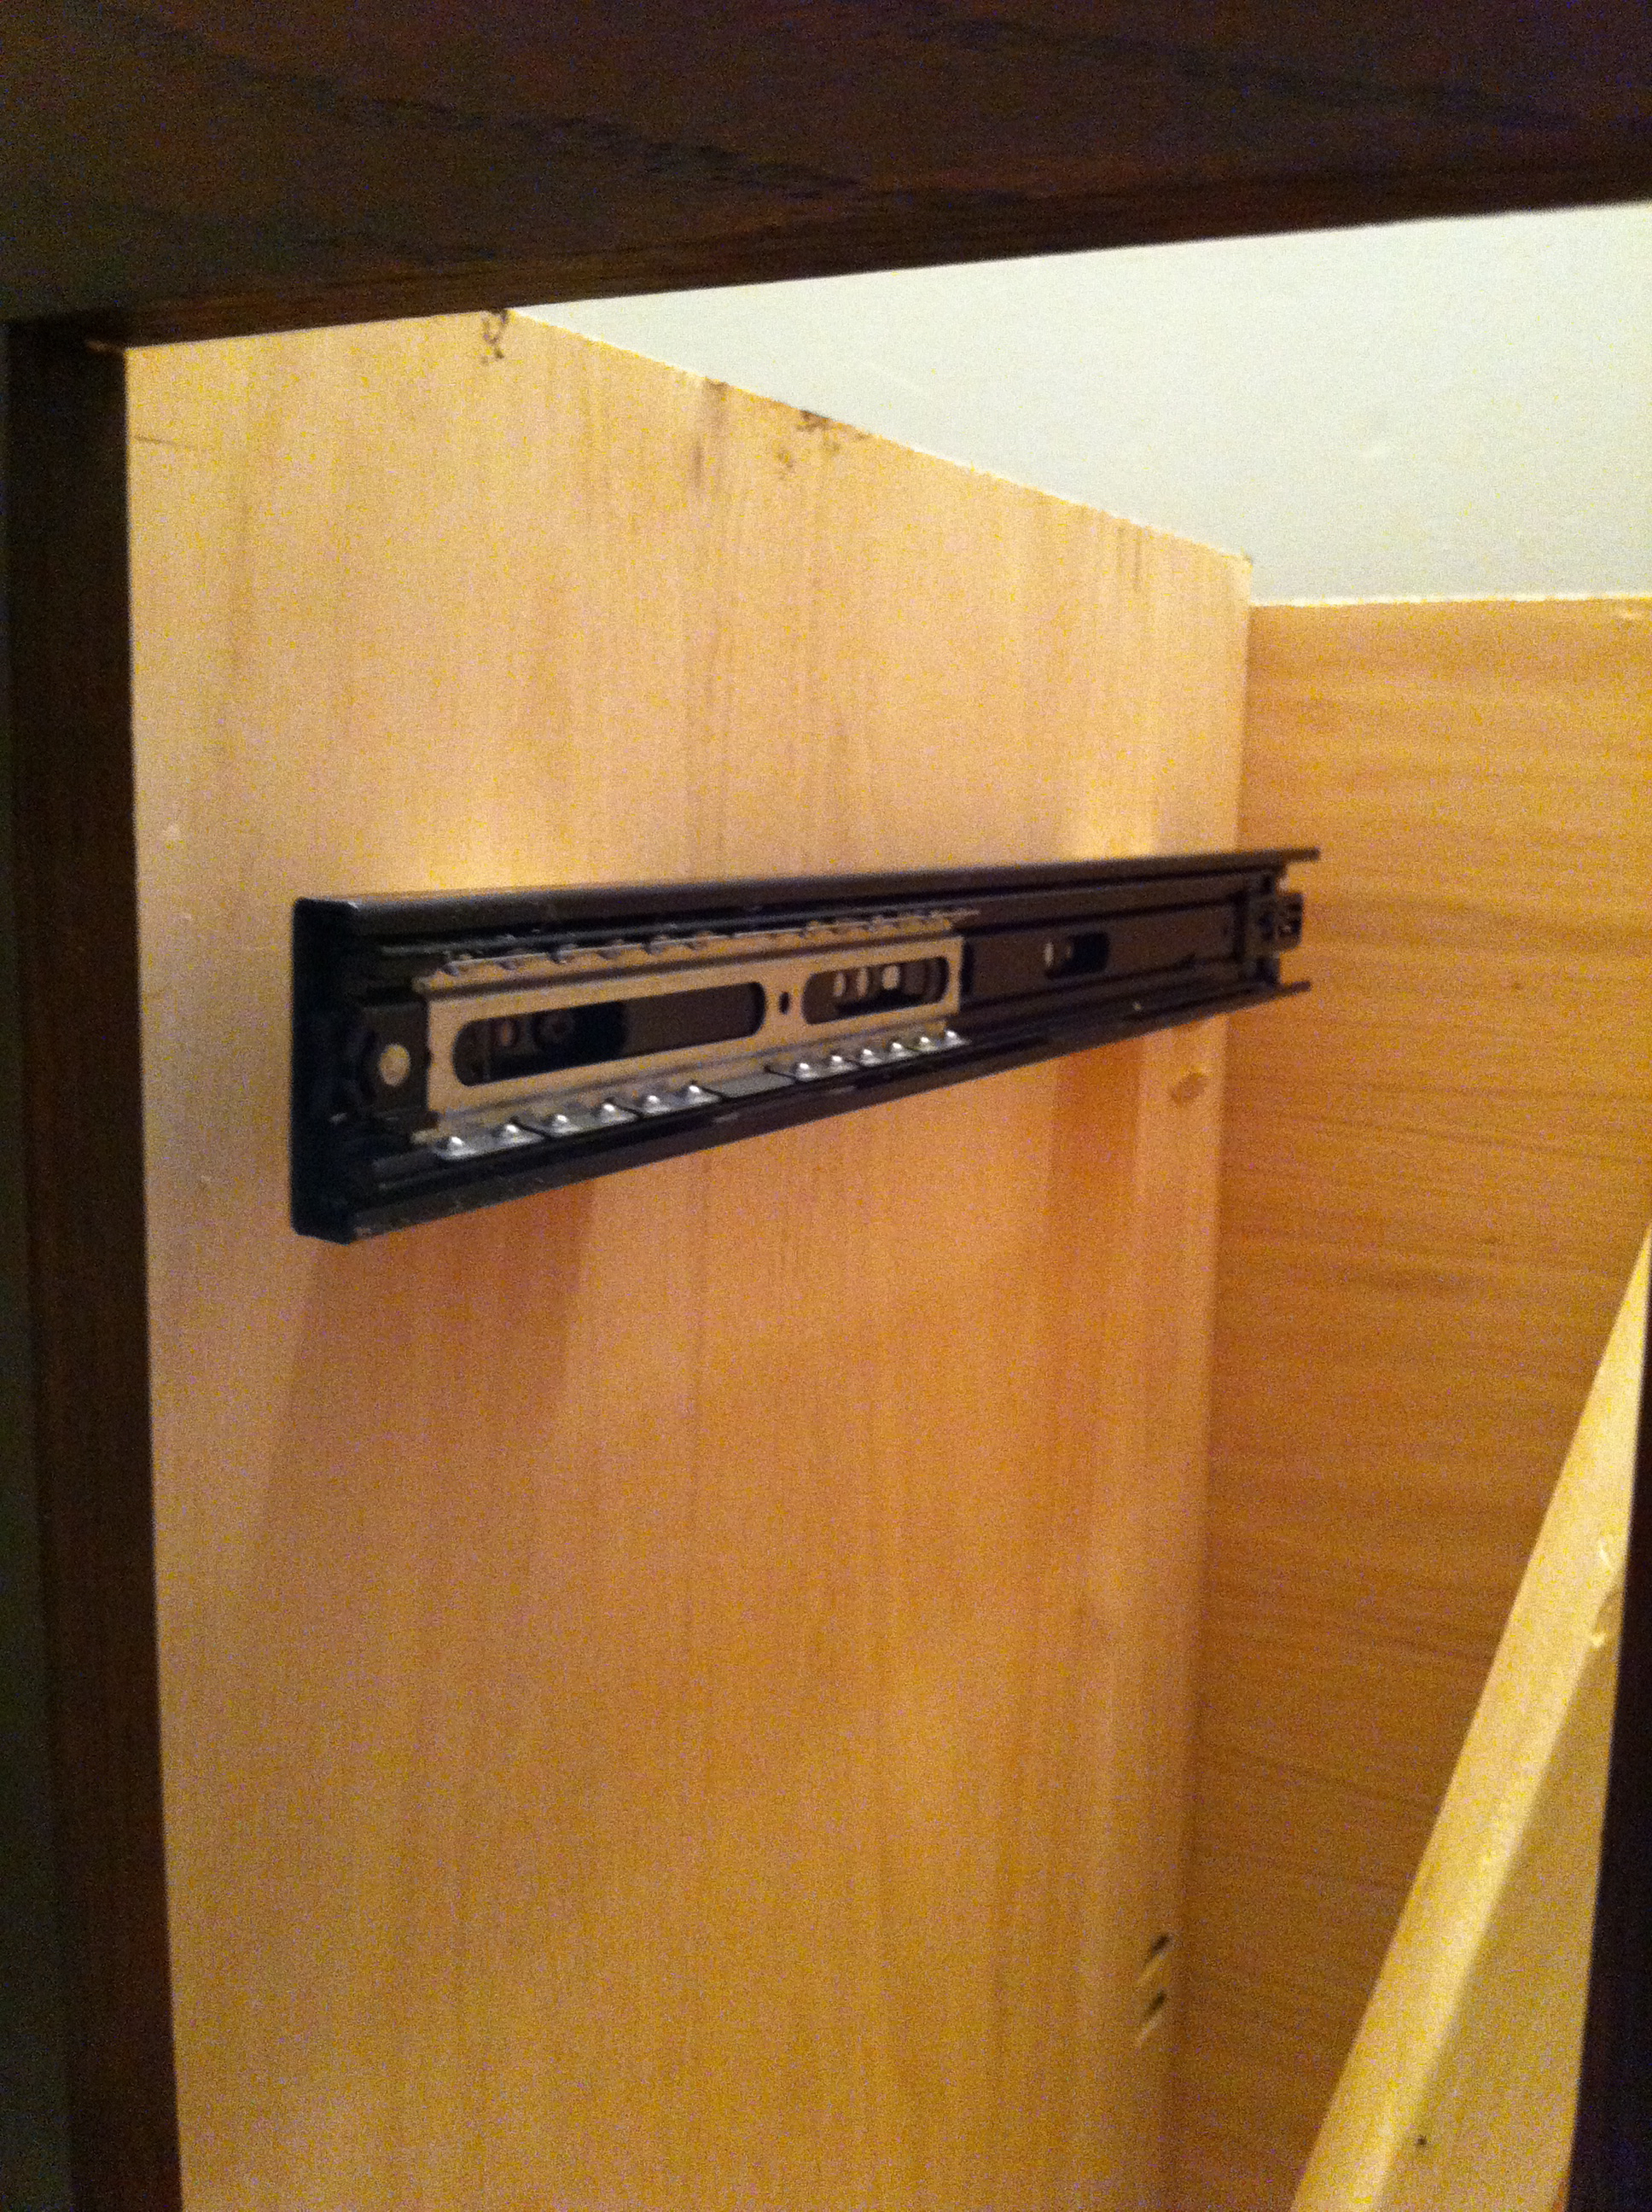
They went in pretty well, but were very stiff. It took a lot of effort to pull out the drawer. I think I just didn’t pick the right ones for what I was doing because I’ve done other projects since this vanity that didn’t have this stiffness.
I used my new router to round the top of the drawer sides. I used 3/4” thick wood, which was overkill. At the time, I didn’t have a miter saw, so the ends of the drawer got screwed together without angles matching up. But the drawer was perfectly square, and that made me very happy!
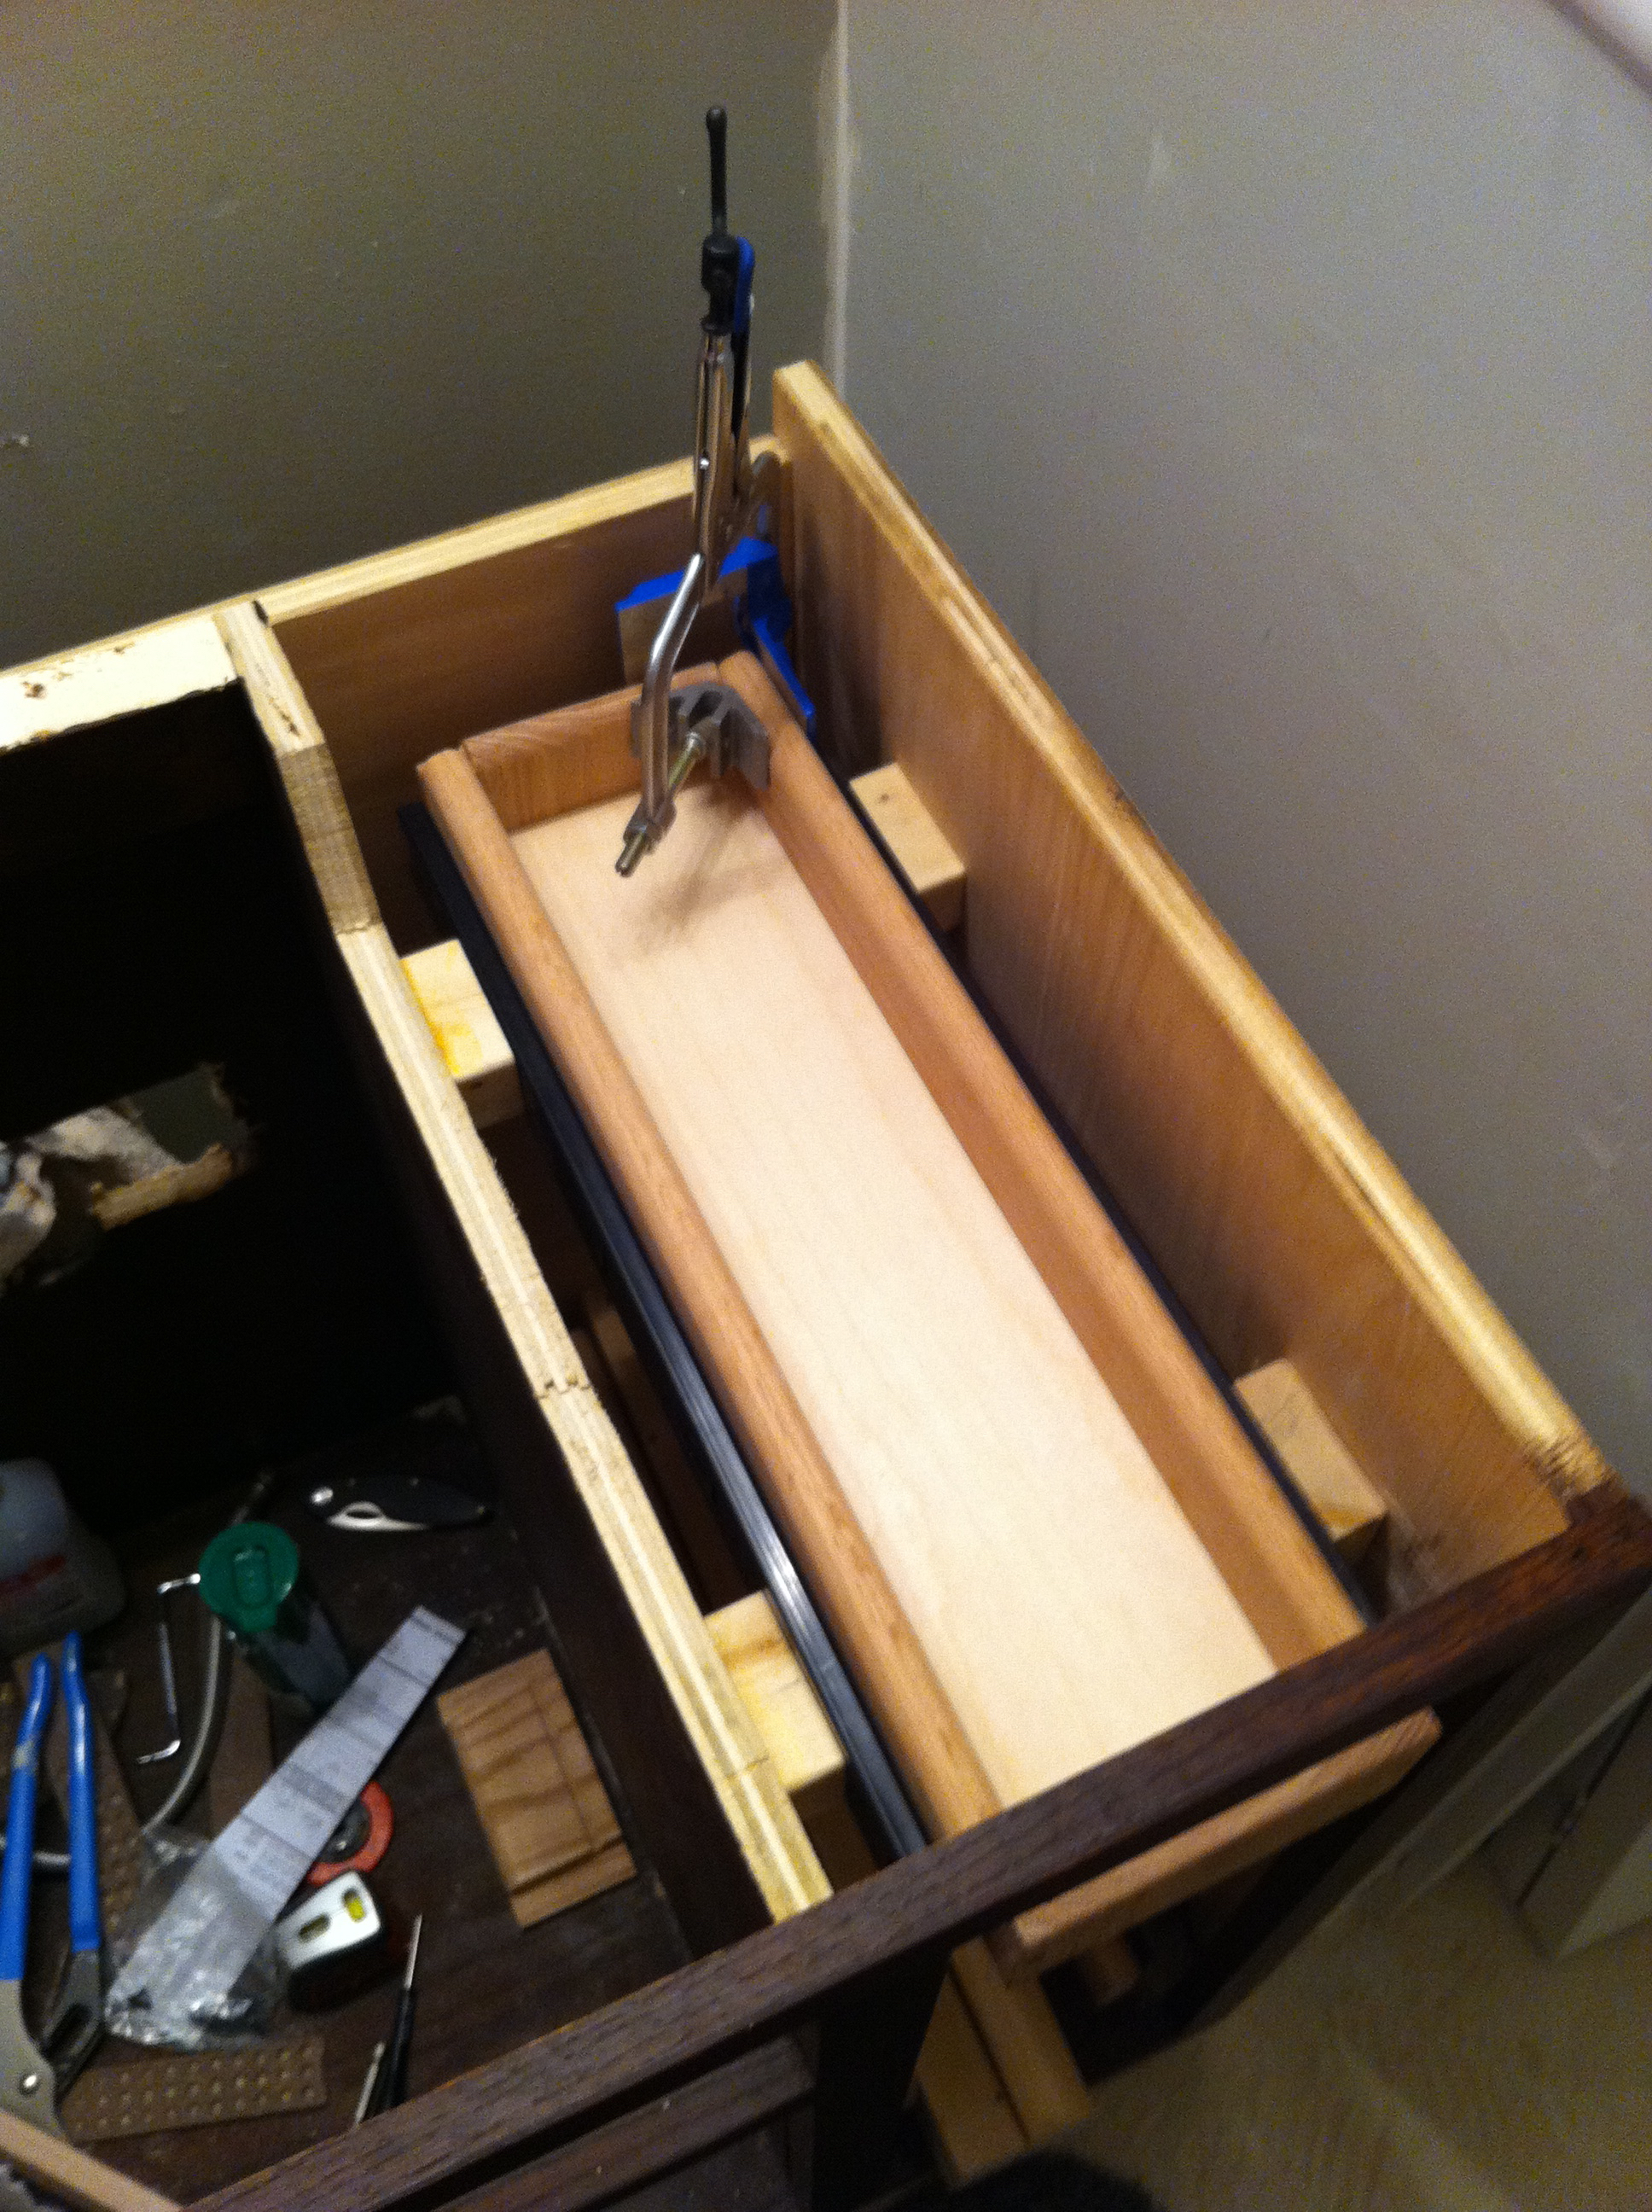
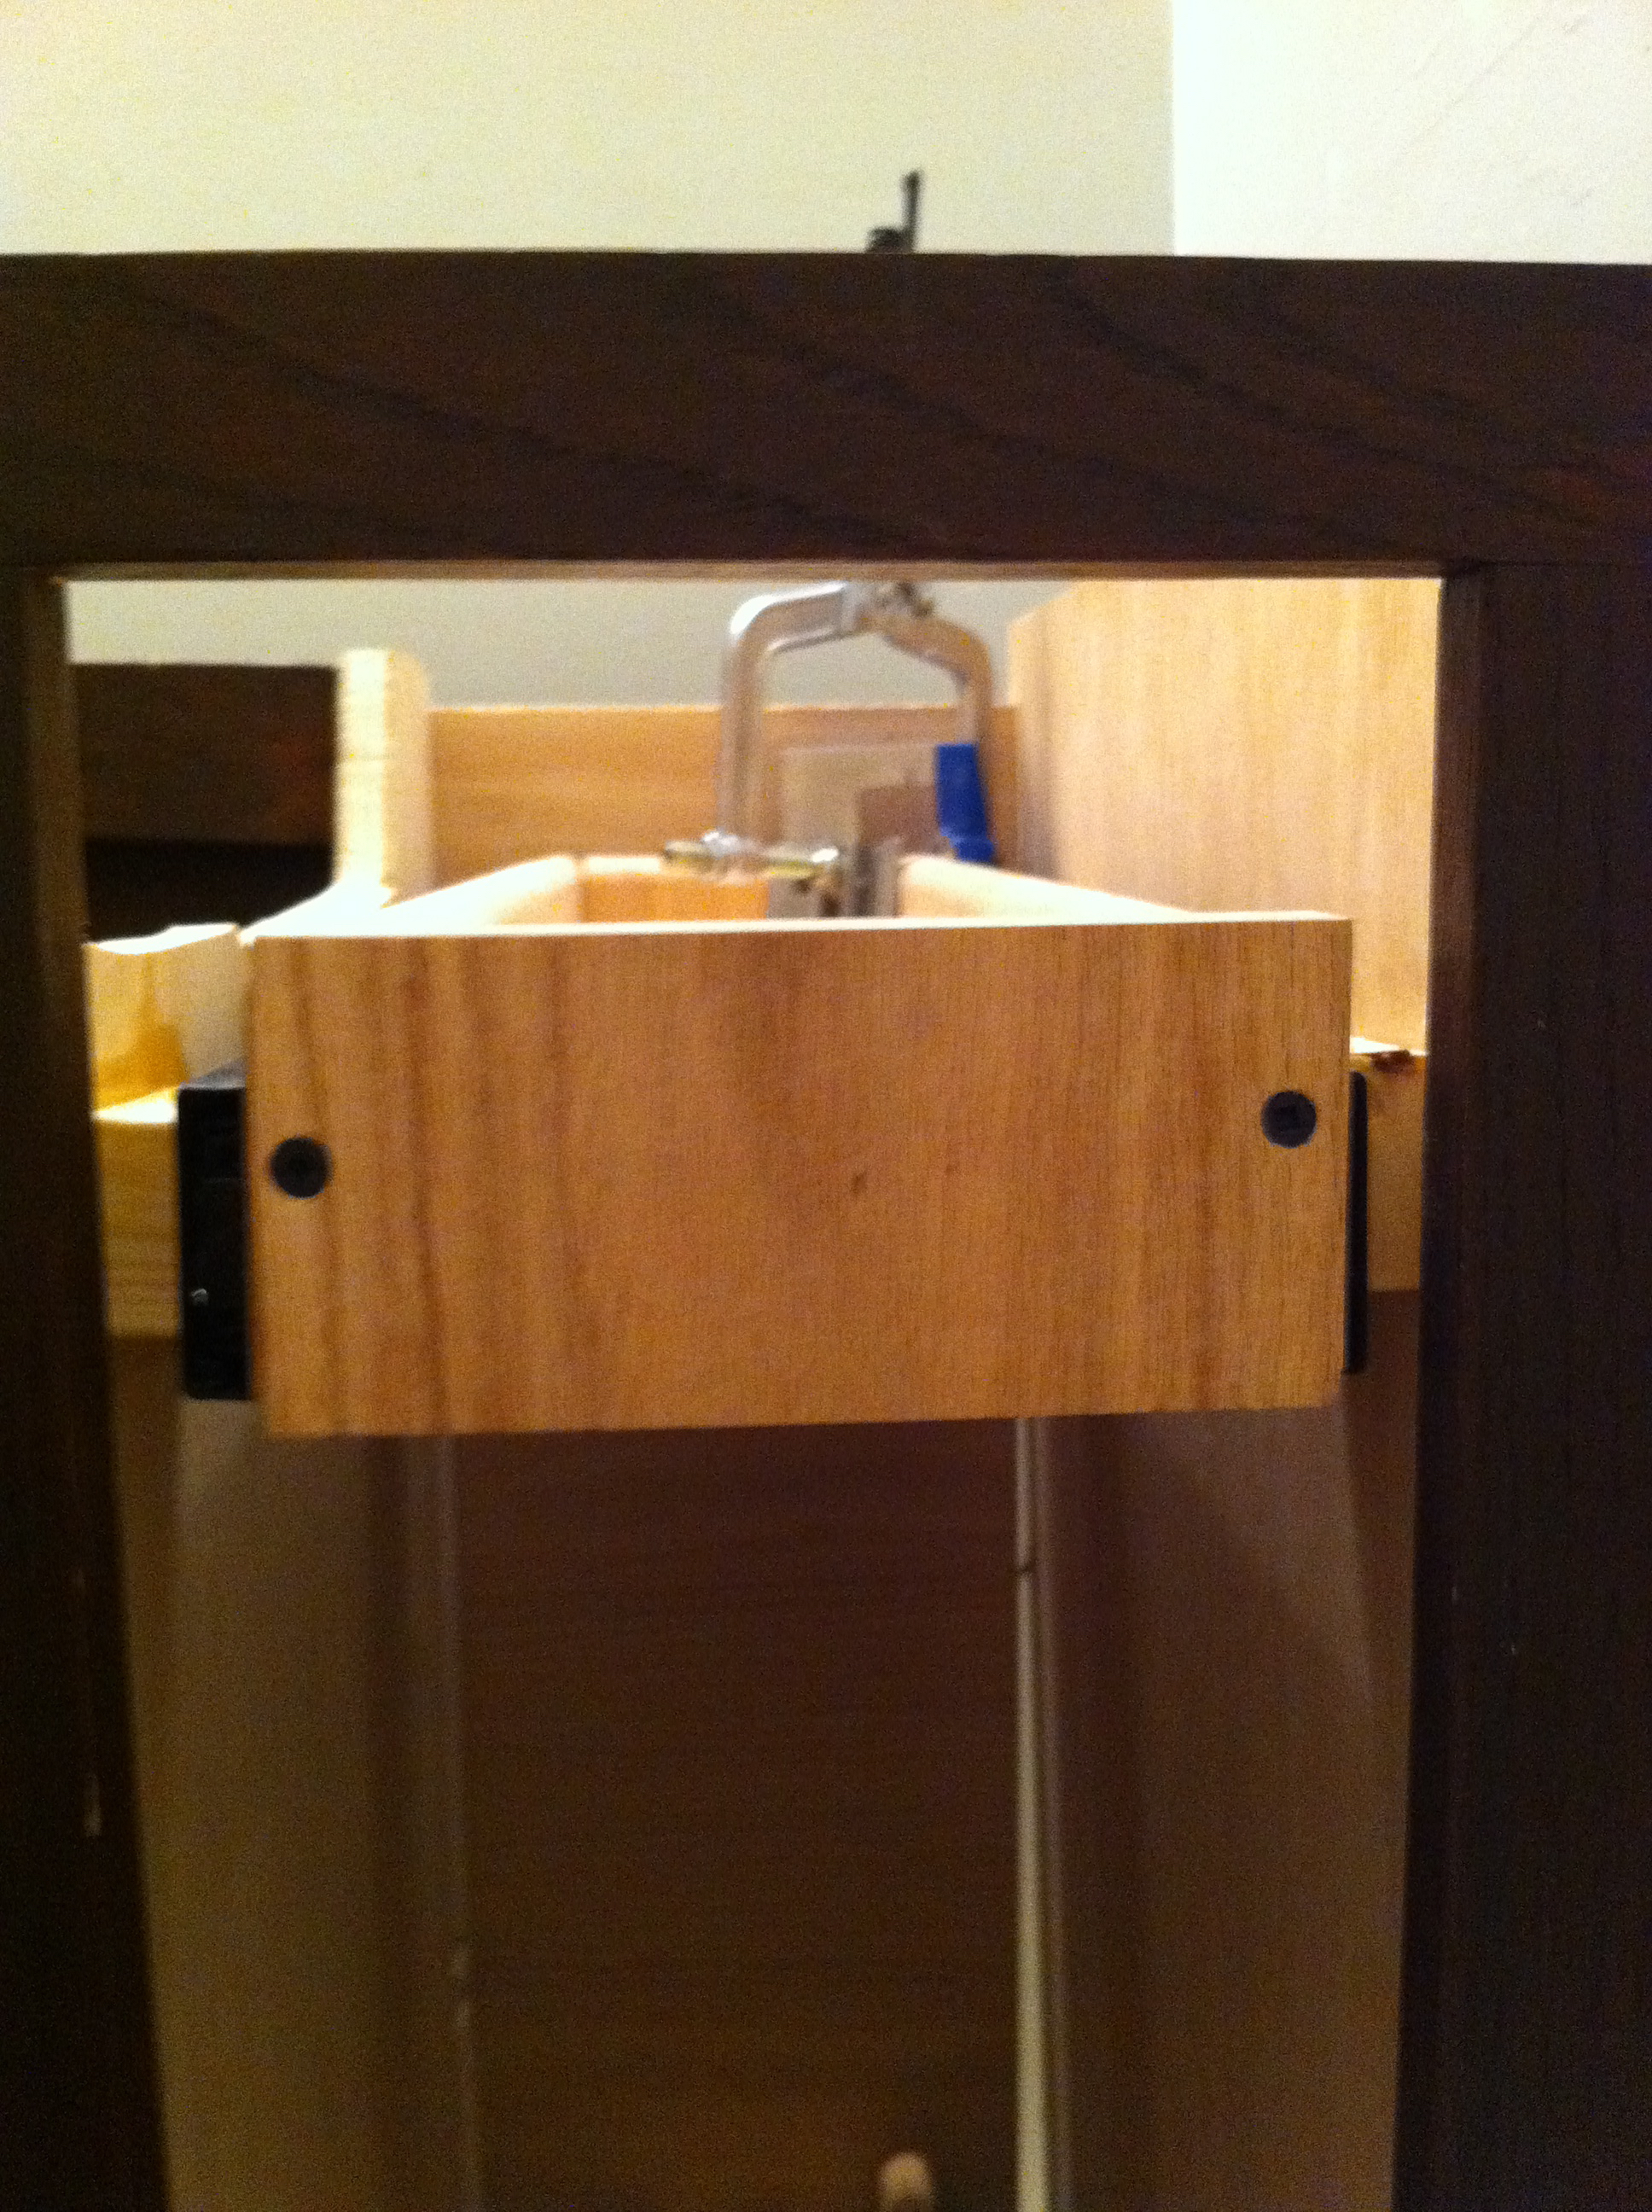
I designed the cabinet so it would have a drawer on top & one on the bottom. I wanted a third one in the middle, but two was enough of a challenge. In the picture below, you can see how out of square the cabinet is compared to a very square drawer.
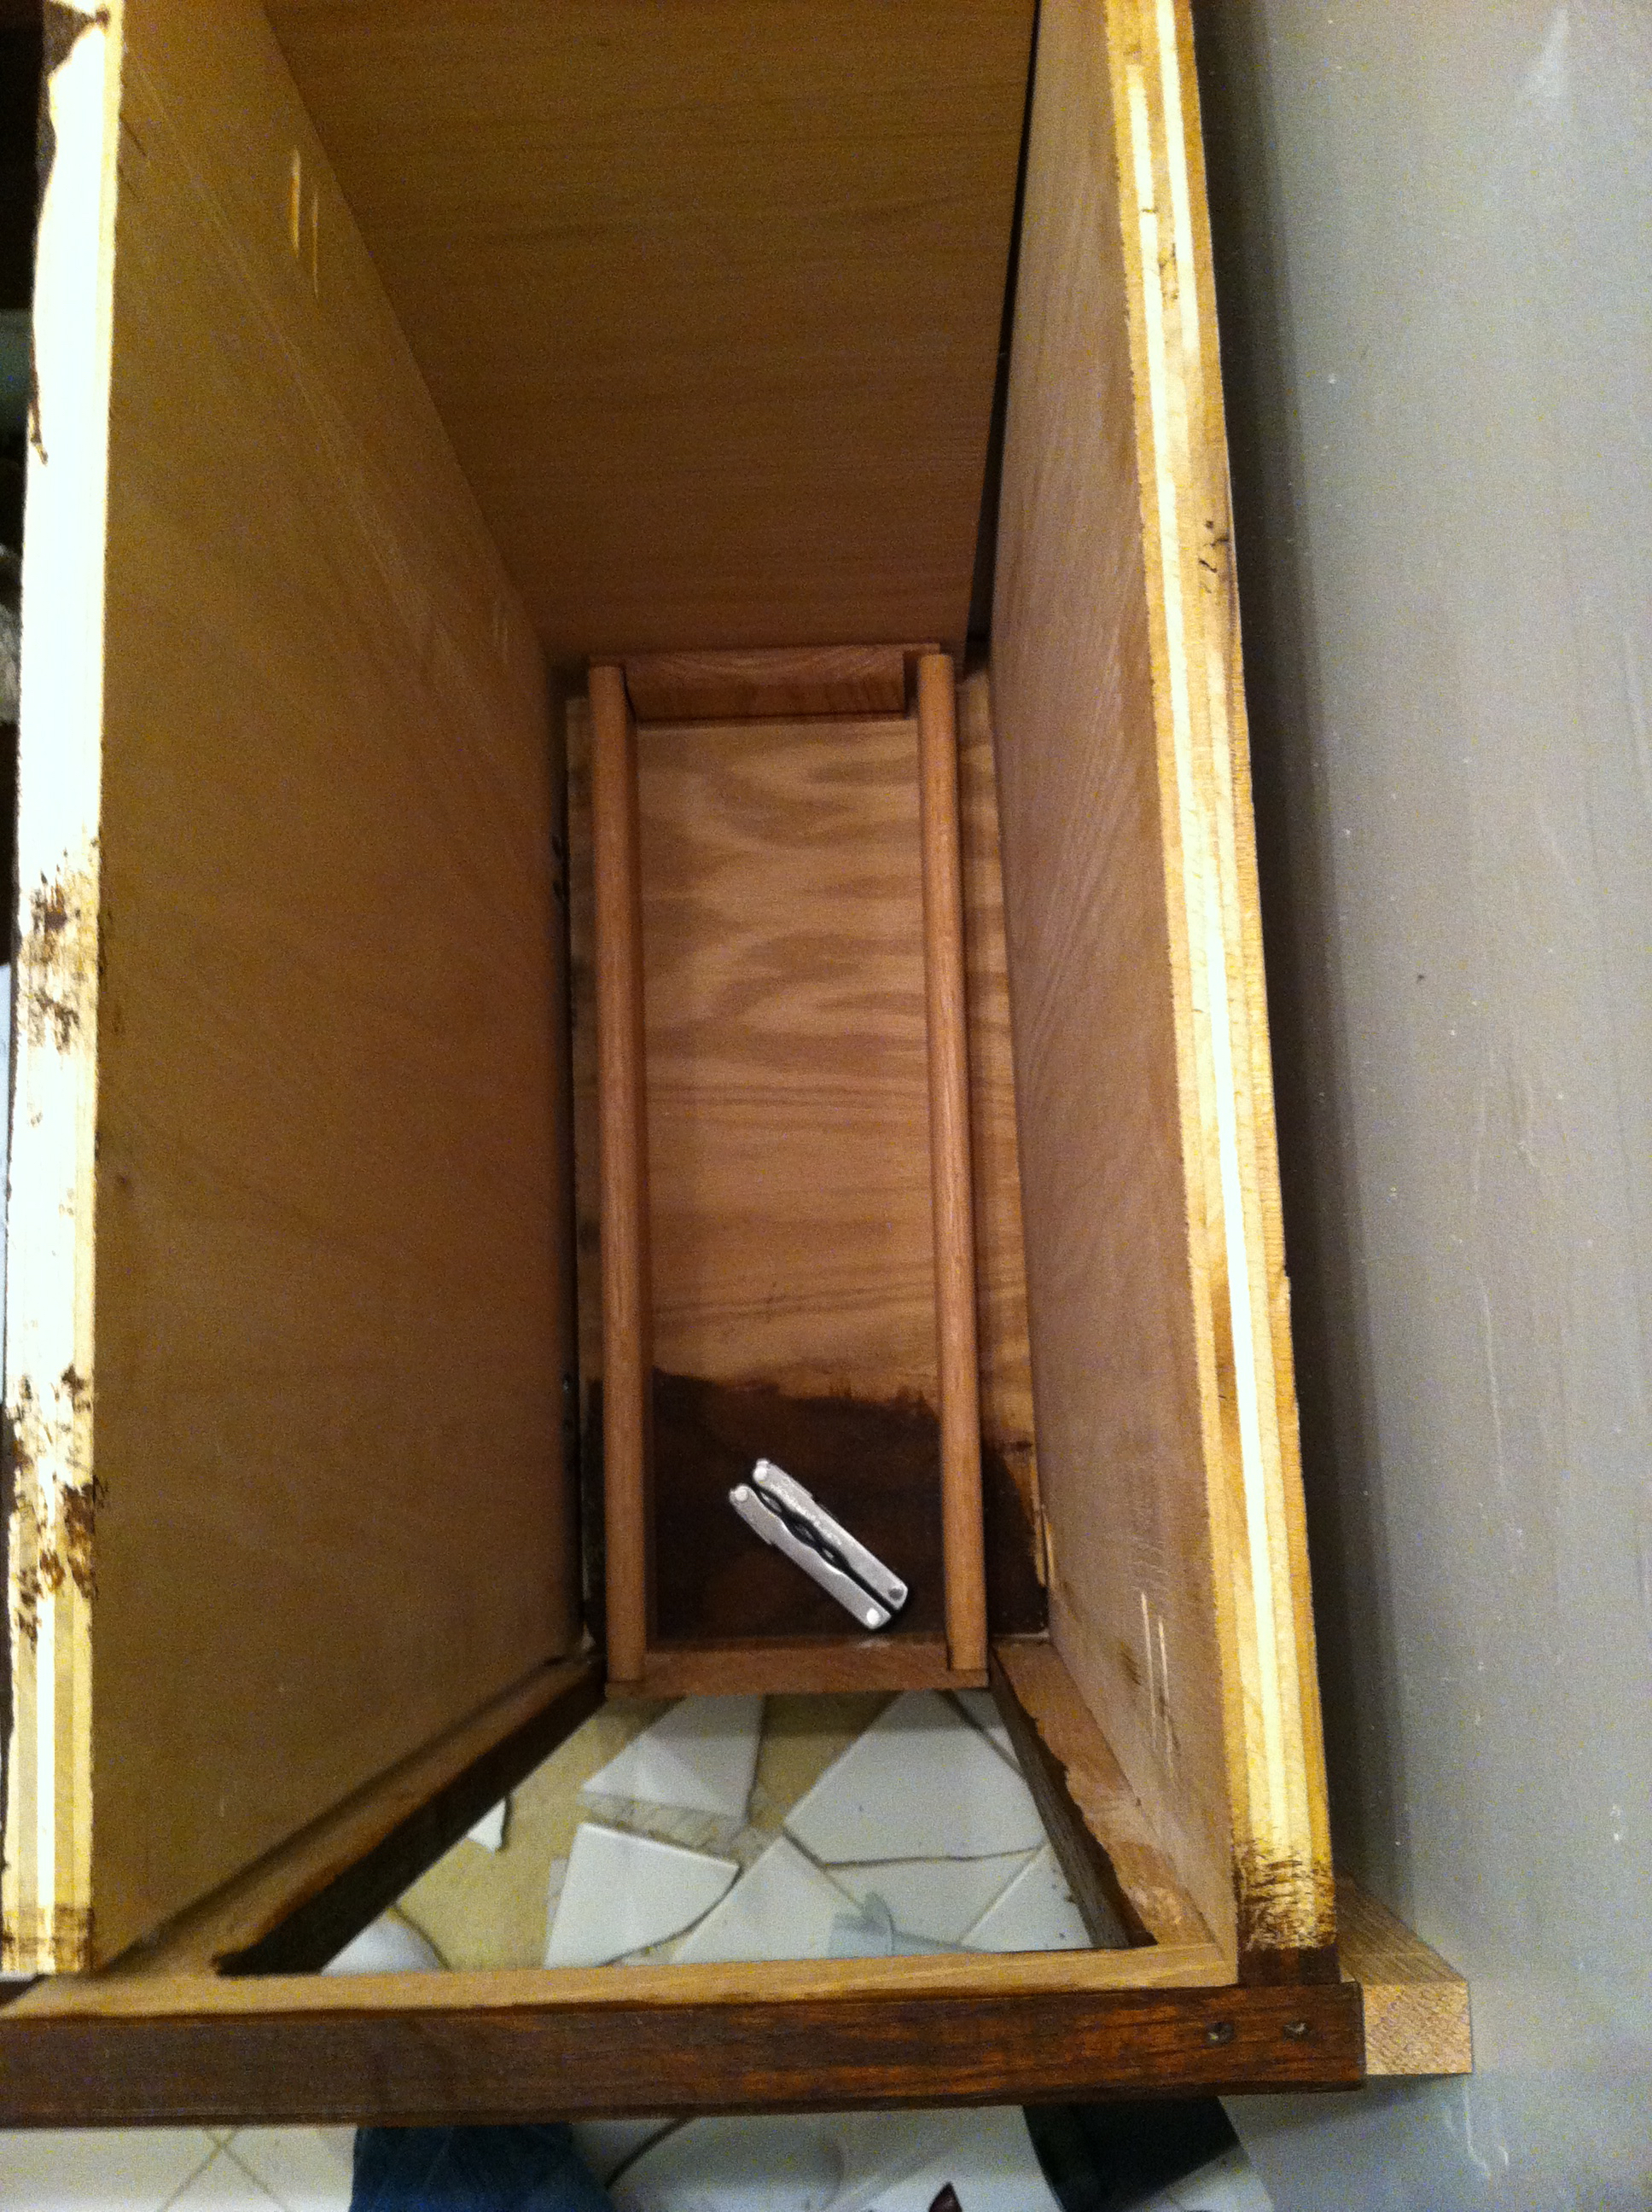
How important is it to be square?
When I put the vanity in the bathroom, it sat next to a wall that was plumb and square. That made it even more obvious that the vanity wasn’t square.
I learned how important it is for everything to be square when I put in the rails for the drawers. The vanity was narrower in the back and on the bottom. Rails need to be square so they don’t bind when the drawer is pulled out. Since the cabinet cavity wasn’t square in two dimensions (both horizontally and vertically), it was very difficult to get the drawers to work properly.
I finally decided my first vanity cabinet was a bust. I learned a lot, but this attempt wasn’t going to work.
I took out the old vanity and realized the floor tile was installed around the vanity. I could have just dropped the new vanity in place and been done, but the footprint of the new vanity was smaller than the old one. My simple project just got more complicated.
Tile
We bought the tile from a store called The Tile Shop. It’s the size of a Best Buy but has hundreds of styles, shapes, colors & material. The store also has a dozen or so sample rooms to give ideas on different designs.
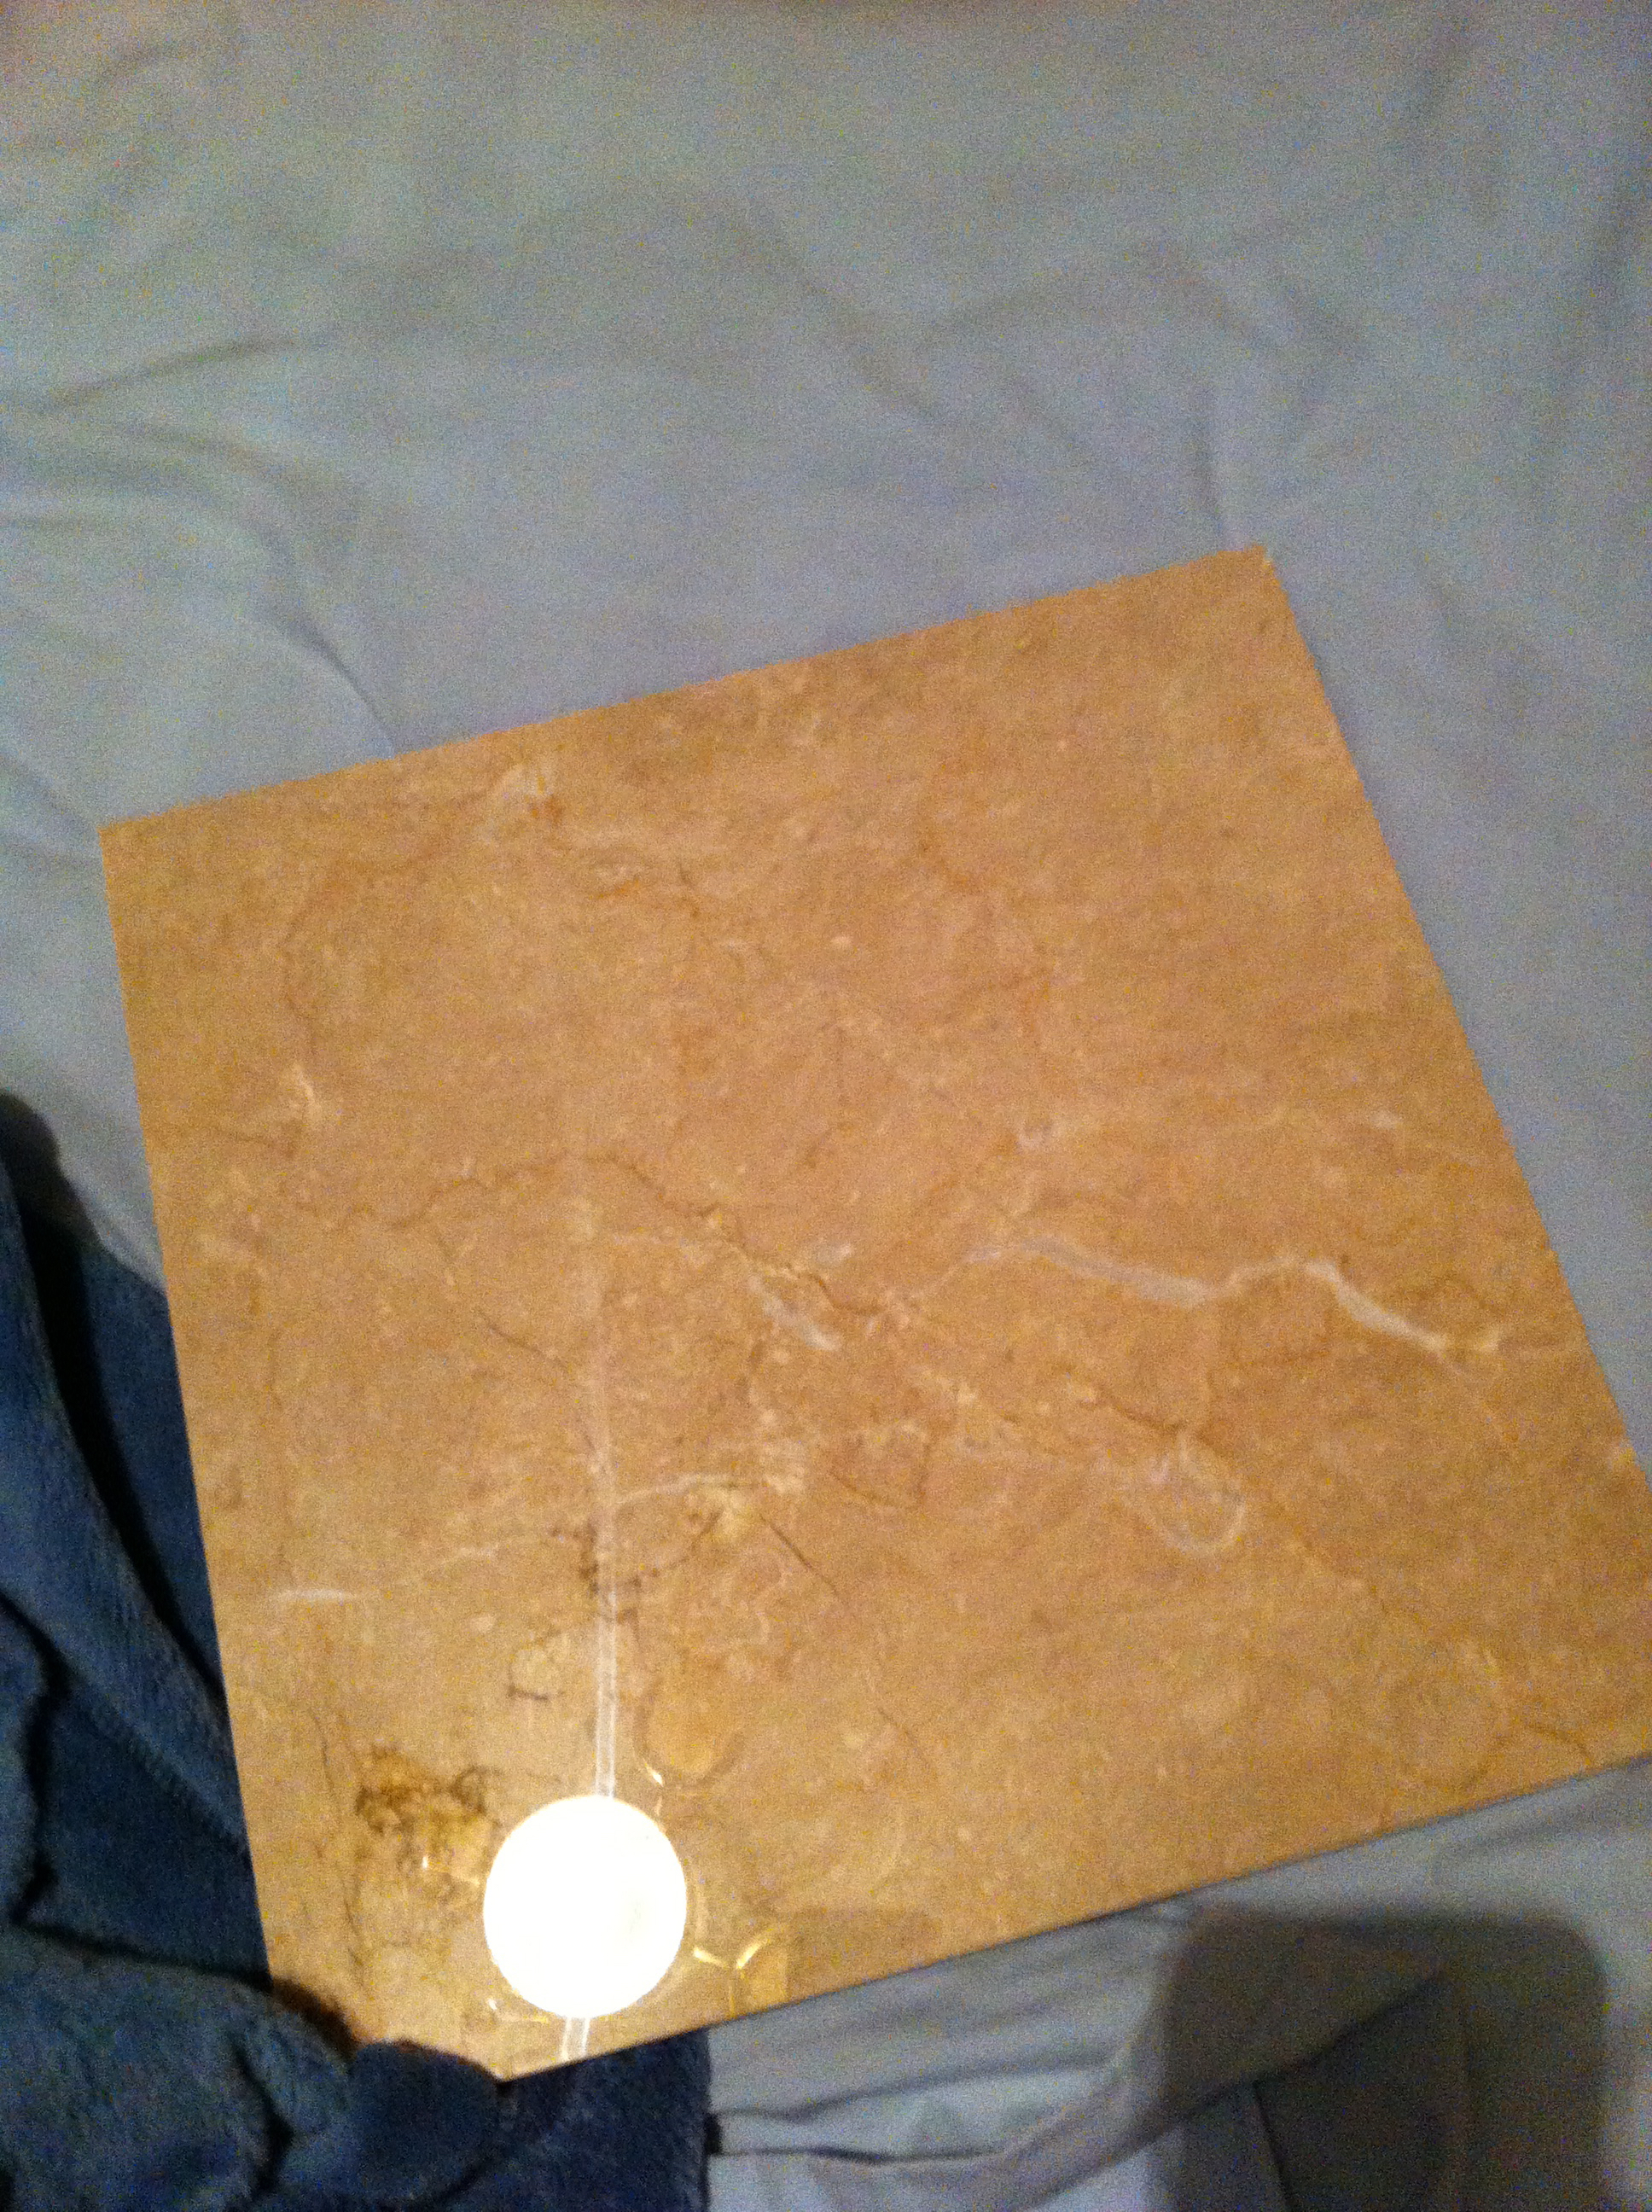
We picked marble 12” squares and it was 50% off. I wanted to do a wainscoting. We wanted the floor tile to be the full 12” square, but we wanted the wall tile to match but be rectangular. They didn’t make the tile in rectangles. So I cut every single piece of wall tile.
Since marble is a natural product, it splits very easily along the veins. The salesman warned me about this in advance, so I was prepared. I would definitely pick marble again, but I would probably pick a tile that comes in multiple sizes so I didn’t have to cut so much. I spent about two hours every day for at least three months cutting tile.
To add an accent, we added diamond shaped marble along the entire bathroom. I had to cut every diamond on top row and bottom row. Hundreds of diamonds.
Destruction
I started with tearing up the floor.
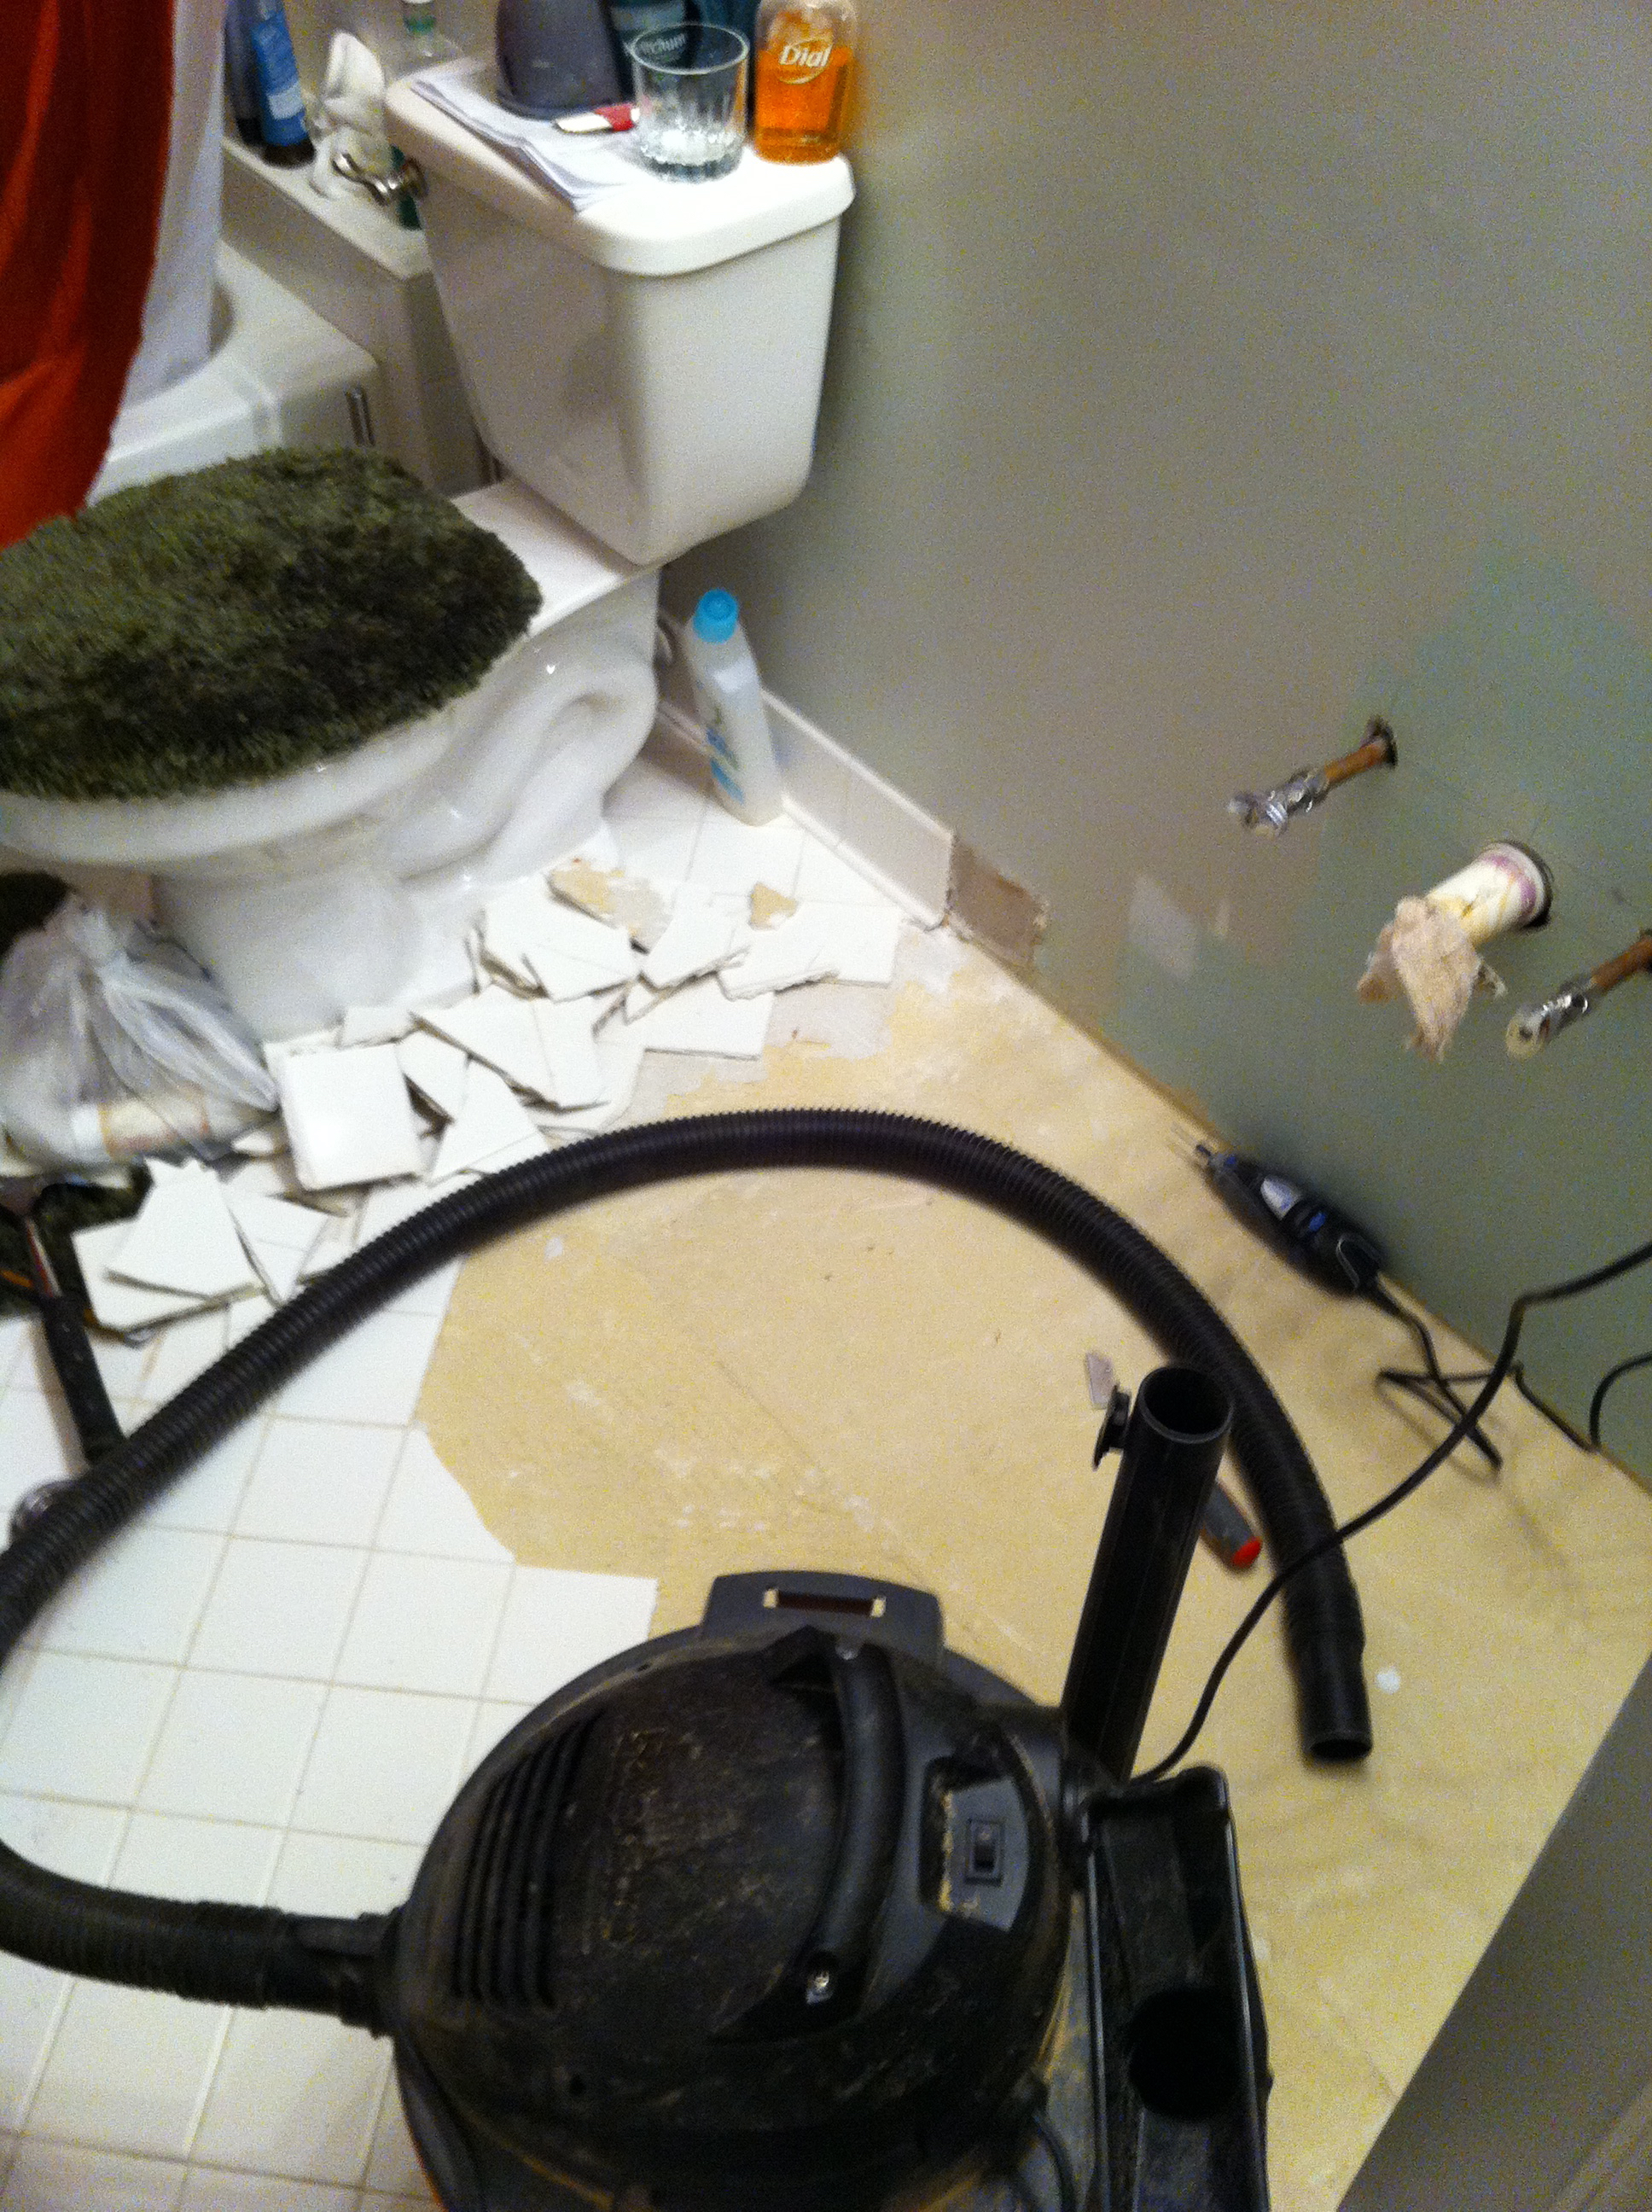
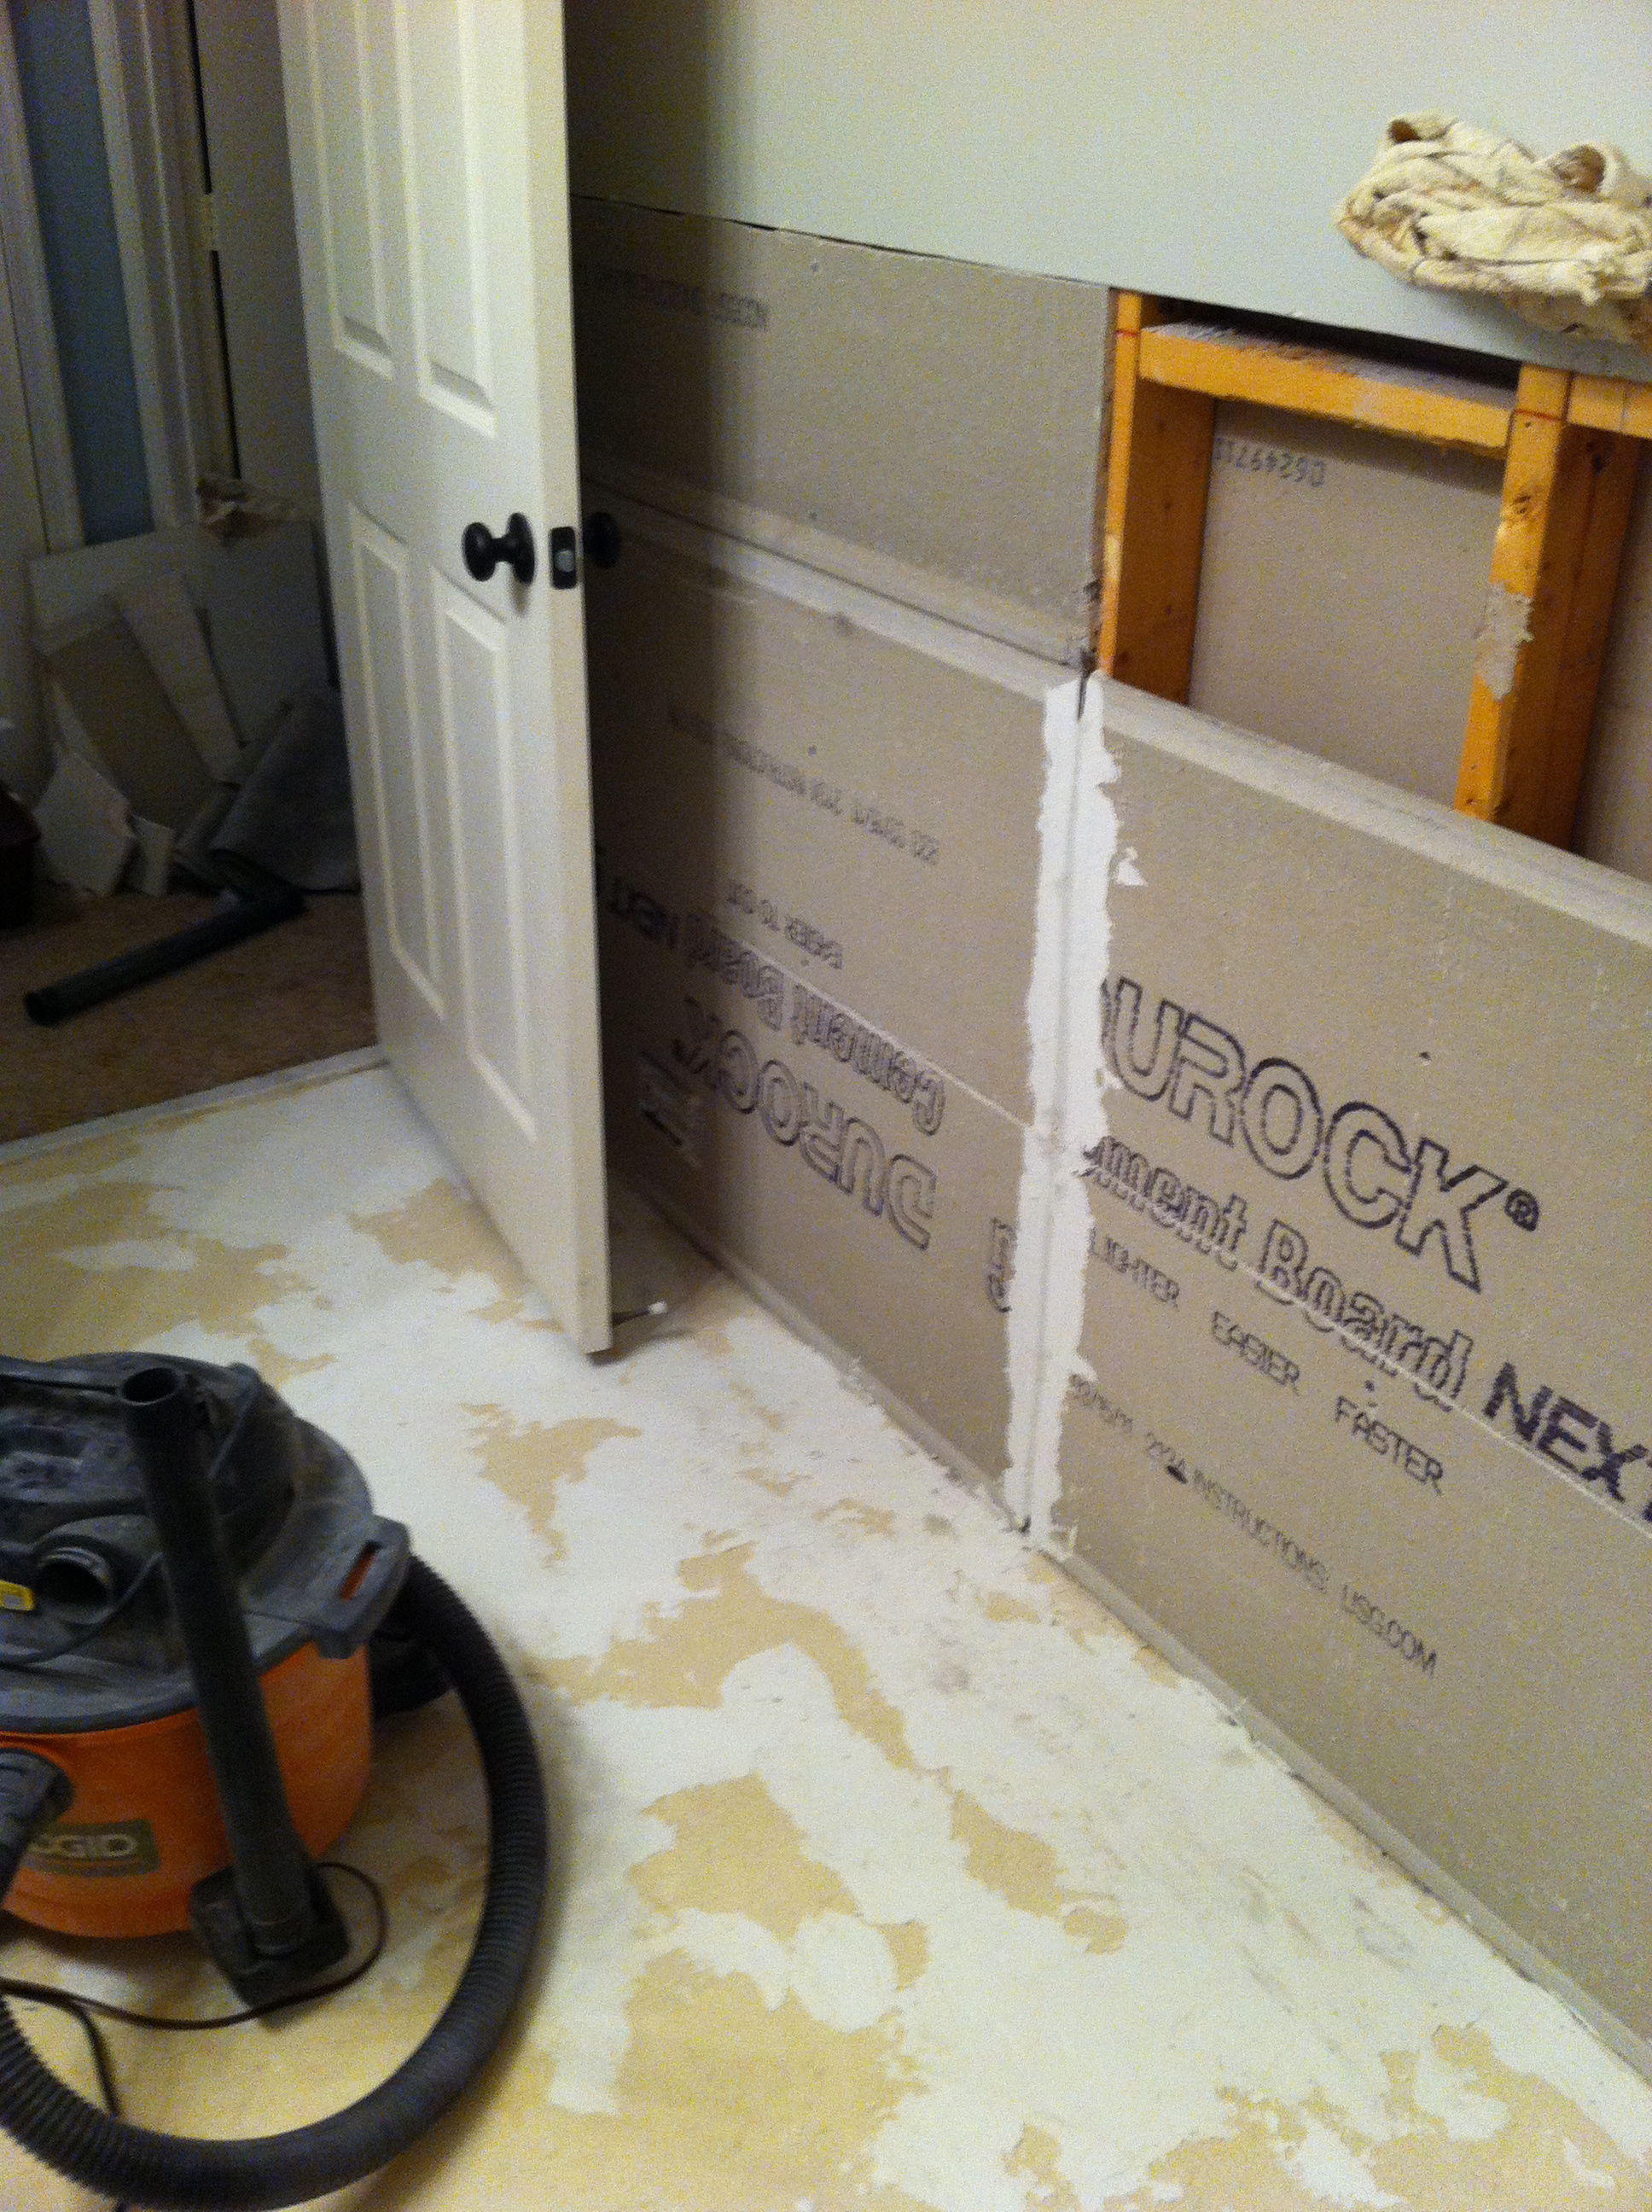
After tearing up all the floor tile, I measured 4’ up the wall, and marked a level line for where the wainscot would end. I probably could have left the drywall up for the wainscot, but I didn’t want there to be a remote possibility of the marble falling off because it wasn’t adhered to something stable. I torn down the drywall and replaced it with cement board. I got a lot of aggression out taking down the drywall.
Picking a floor design
There are a few design options for flooring when using squares. I chose to offset the tile at a 45 degree angle because it creates a visual illusion that the room is wider and deeper than it really is. I also just like the way it looks. It’s less boring that running the tile parallel to the wall.
Marble tile is cut from very large stones. Therefore, the veins that run from square to square are all part of a larger structure. If you’re lucky, one box of marble tile will be cut from the same stone.
We laid out several boxes of tiles to find stones that appeared to have coordinating veins & color features. This process was particularly fun because you get to really look at the tiles up close and pick ones you really love for different parts of the room. We laid out the floor tile in our living room first (it was more comfortable than a cold bathroom).
The green tape you see connecting the tiles below are how we kept track of which tiles were connected. We put letters on each piece of tape. We never duplicated the letters, so we always knew the tiles would end up oriented correctly even if they got separated while being moved around:
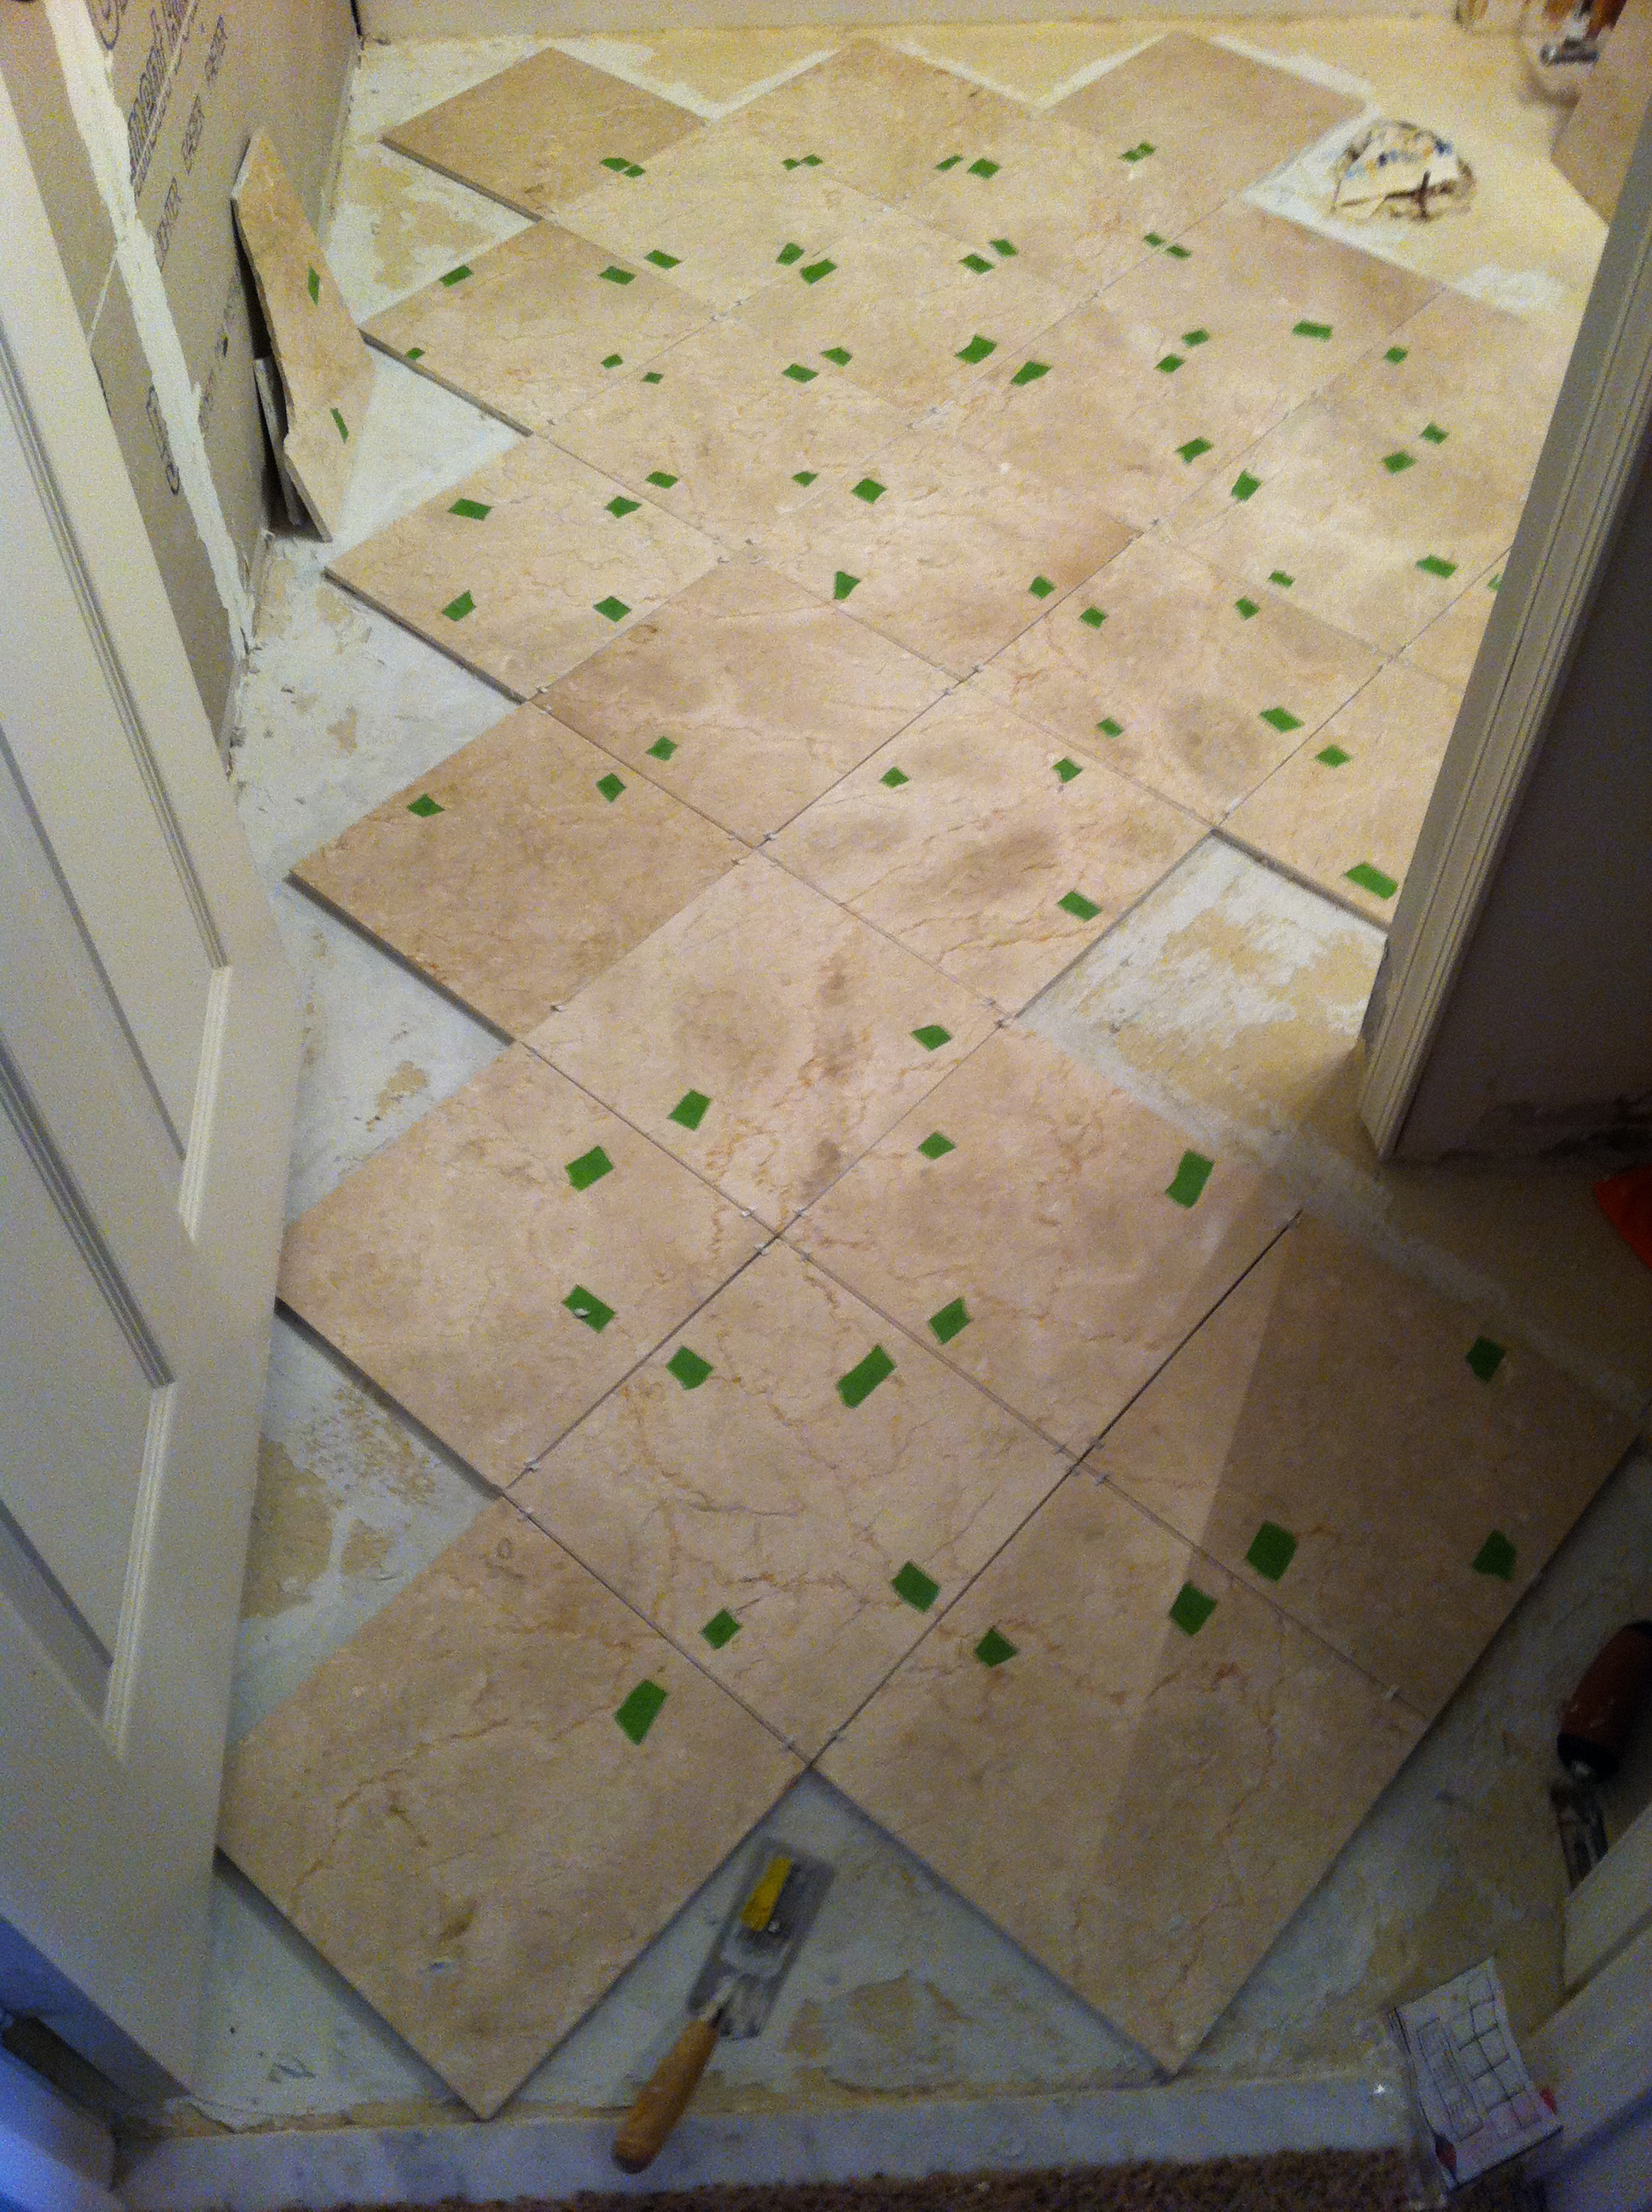
Using a chalk snap line, you can mark the edge of where every tile should be. Using spacers in between the tiles also helps make the spacing consistent between tiles. 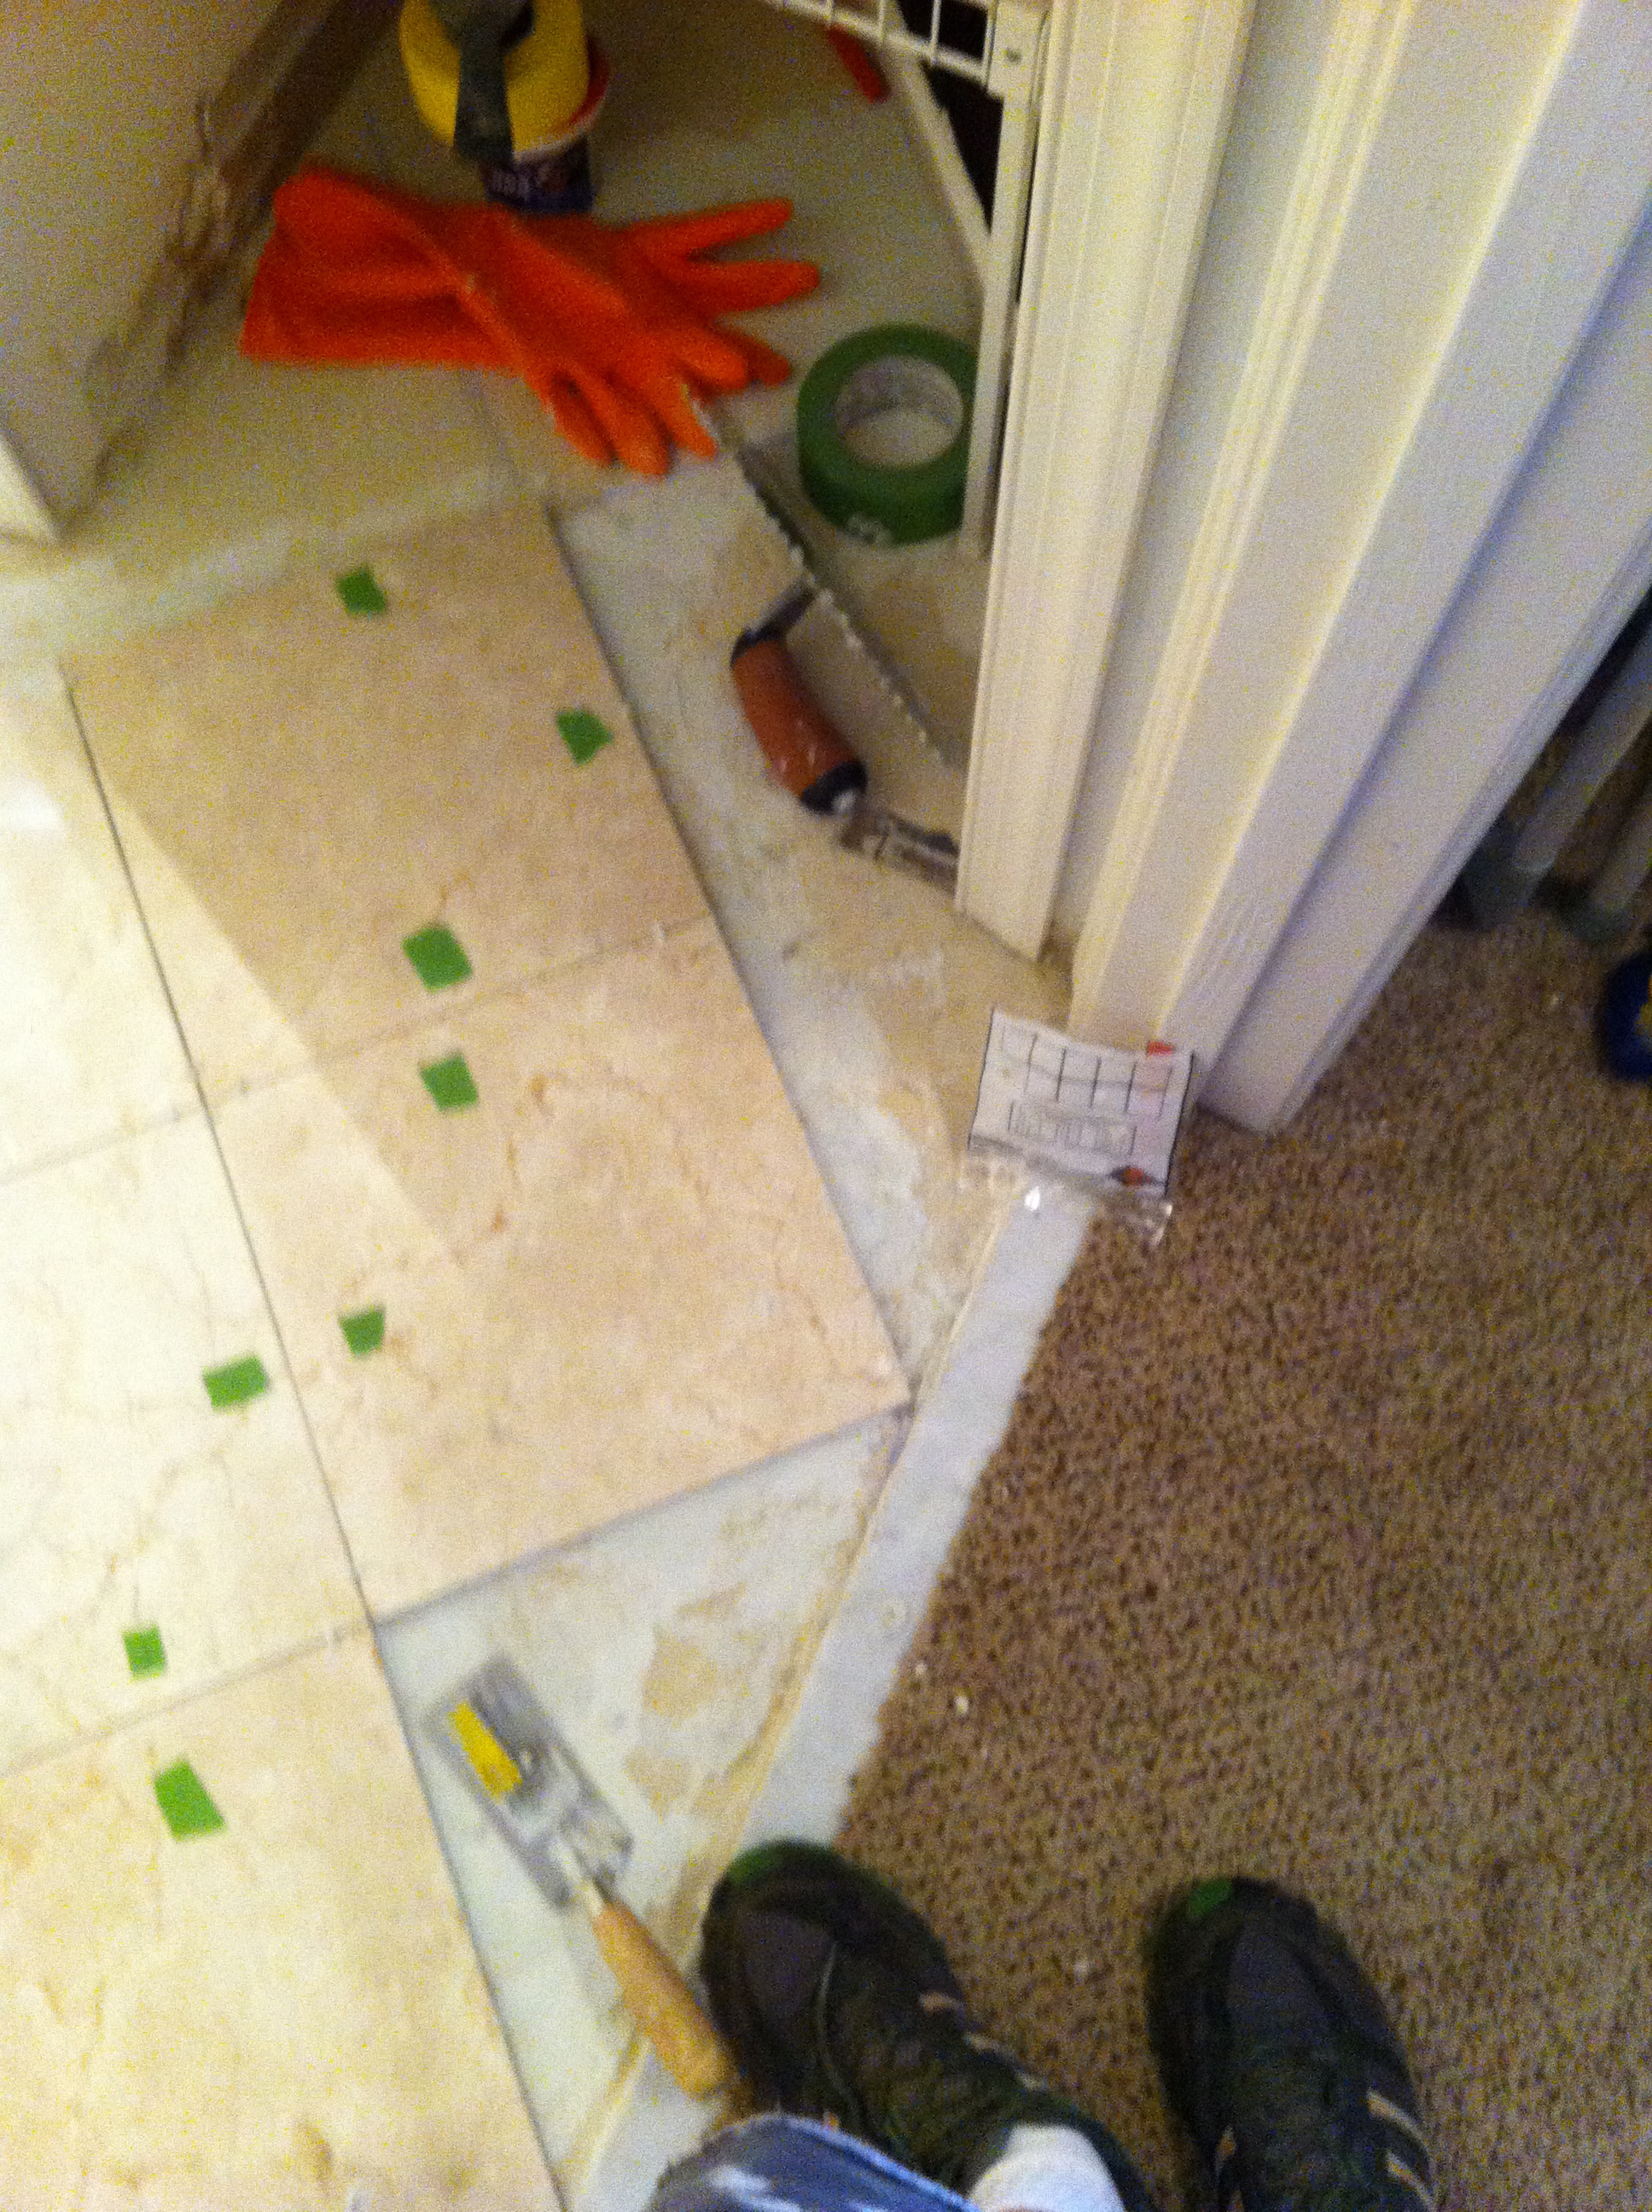
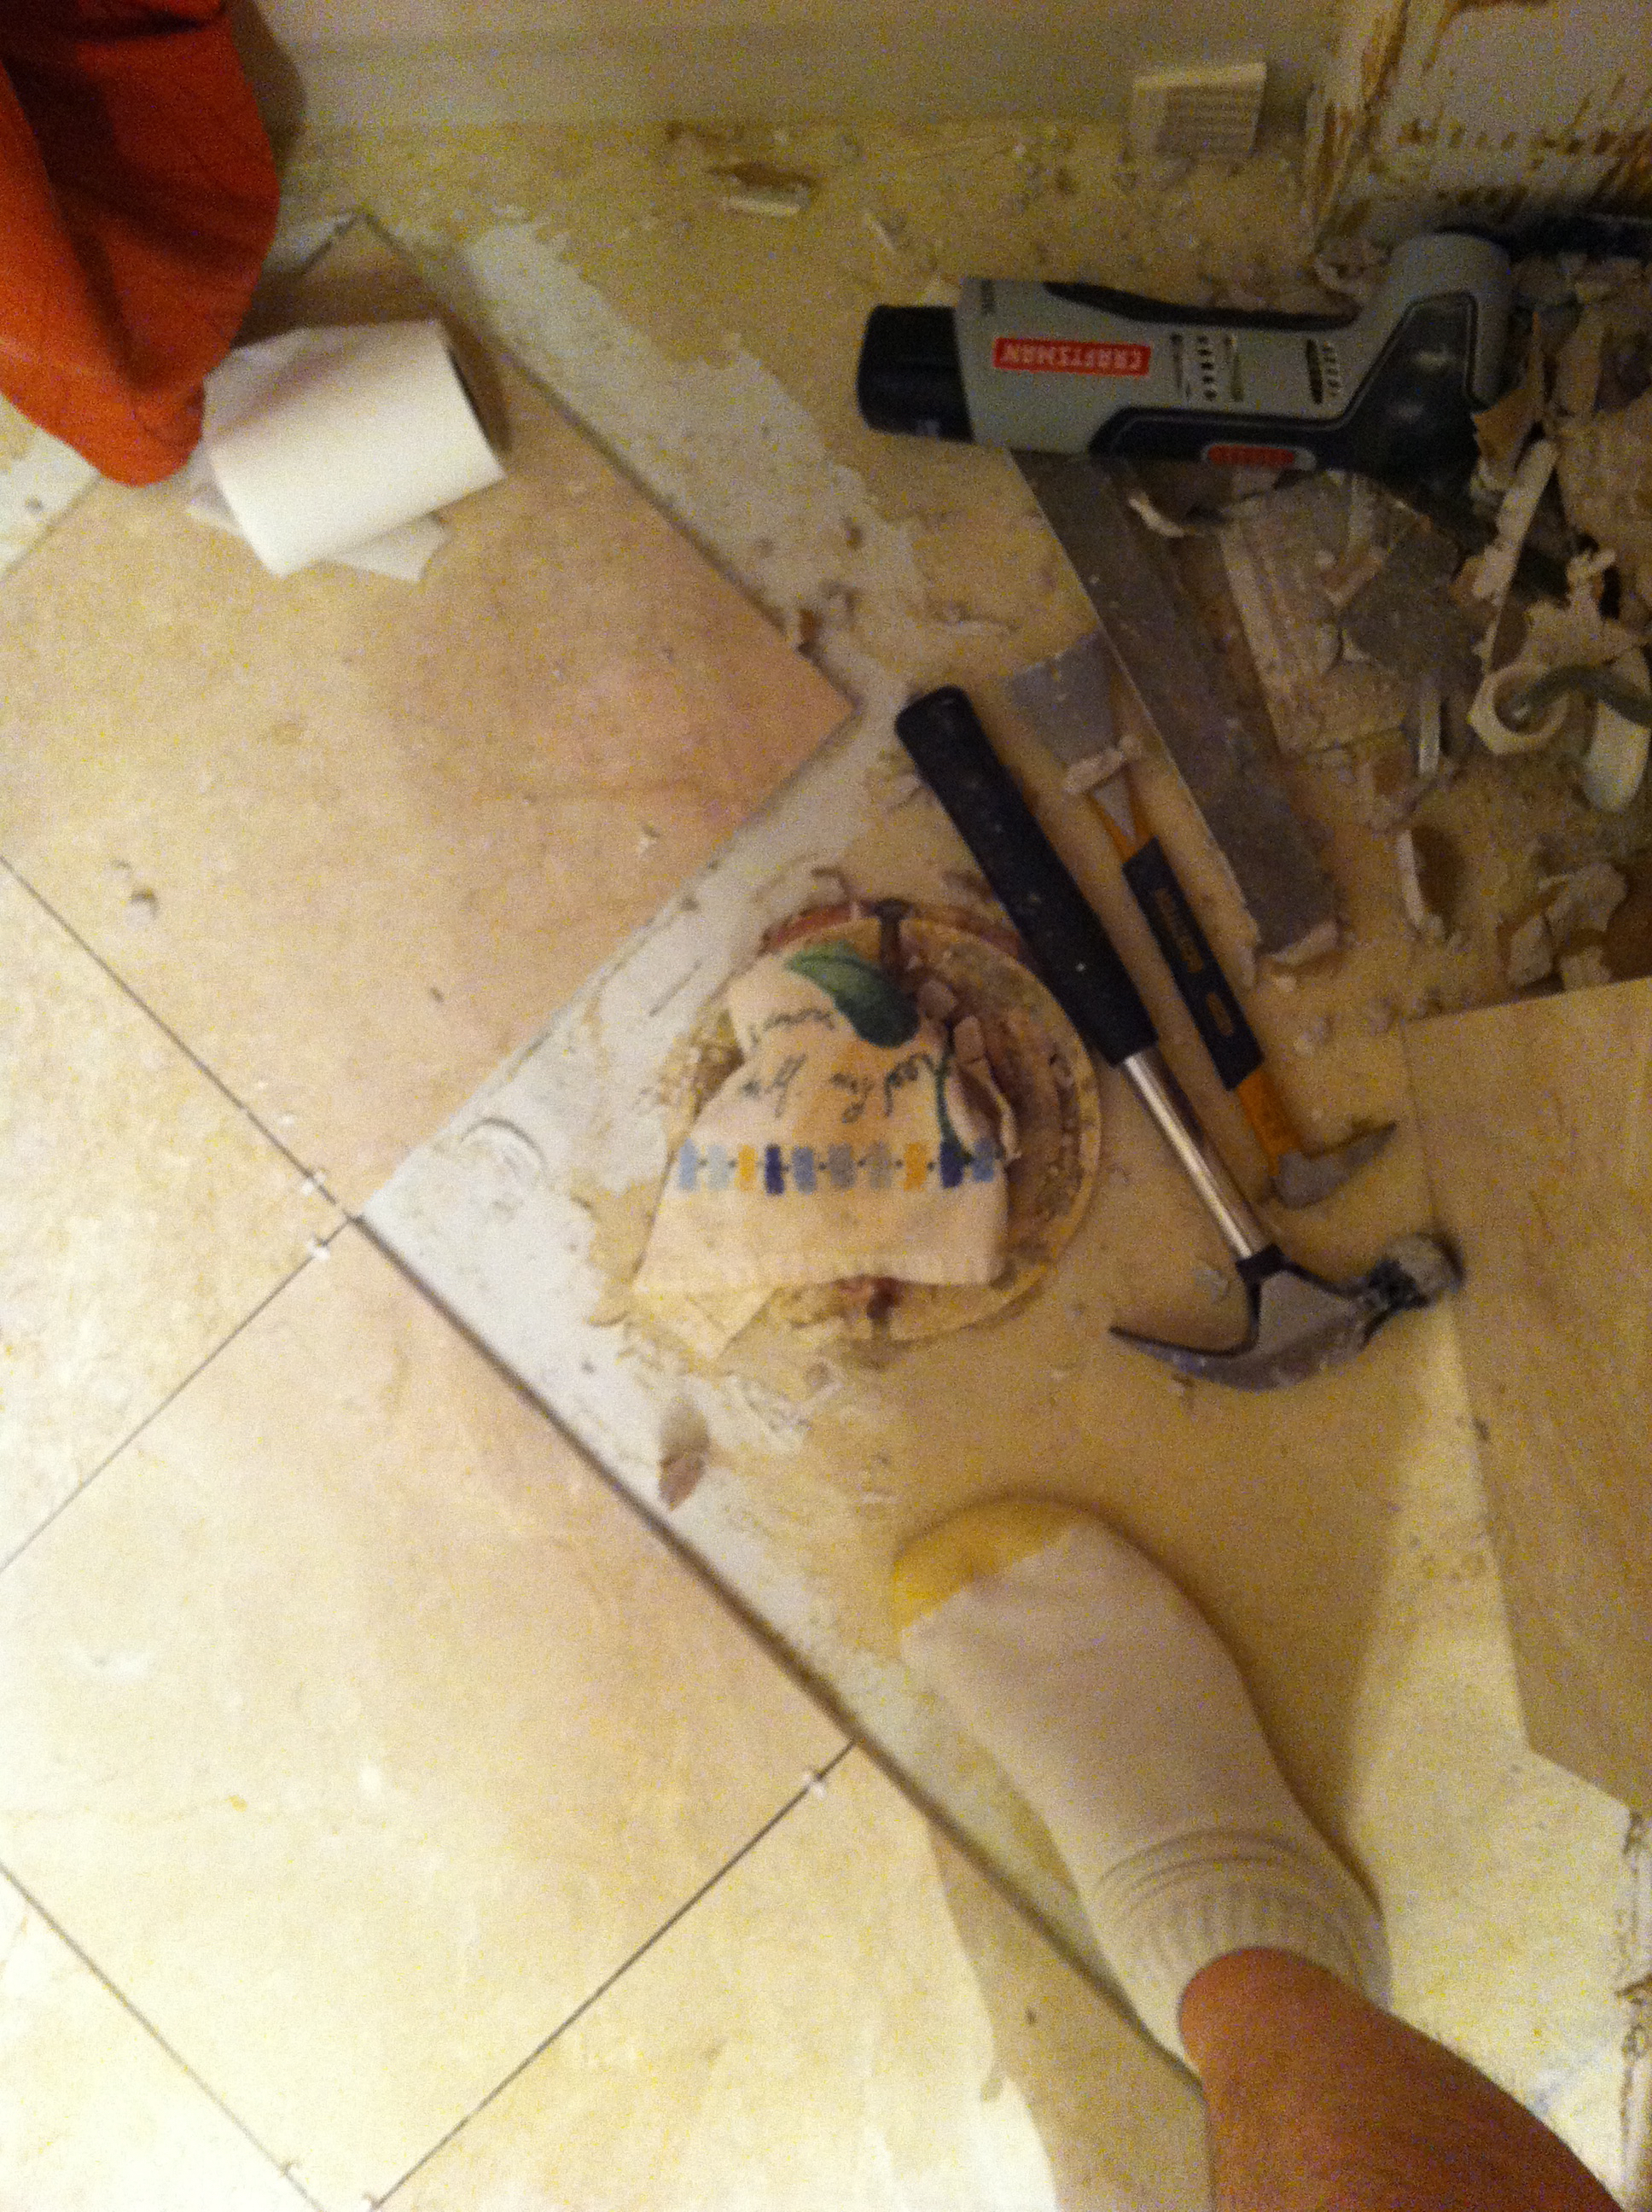
As you can see above, laying out the tiles at a 45 degree angle does add some complexity when you get to certain parts of the room. It’s even more complicated if the walls aren’t at 90 degree angles. Fitting tile around circles like the drain for the toilet is also a little challenging. You want the tile to be within ¼” or so of the wall/drain. The baseboard & toilet will provide some overlap.
Tip: We found one of the easiest ways to measure these tight areas is to take a large piece of paper and fold it into the shape of the tile you are trying to measure.
This was my first time replacing a toilet. It was a lot easier than I expected.
Wall Tile
One thing about marble is that every single piece if unique. There’s very little predictability to it, and I love that. I spent several minutes looking at every single piece of tile, laying out which ones would go next to other ones and mixing them around. Marble can be extremely expensive, but it can really be worth it with the right attention to detail.
We didn’t want 12” squares on our walls, but they didn’t sell smaller pieces in this style. I cut every single tile for the walls in half so they were 6”x12”. I started behind the toilet thinking that if I made any huge mistakes, they would be hidden. I’m glad I did because the fence on my tile saw ended up sliding slightly with every piece and I didn’t realize it until I started putting up the tile. This complicated things a bit because the lower six tiles across this whole wall had to line up to look right. I made sure all the tiles were 6” tall for every other wall. That meant the tiles didn’t line up perfectly in the corner of the shower, but it wasn’t noticeable when it was all done.
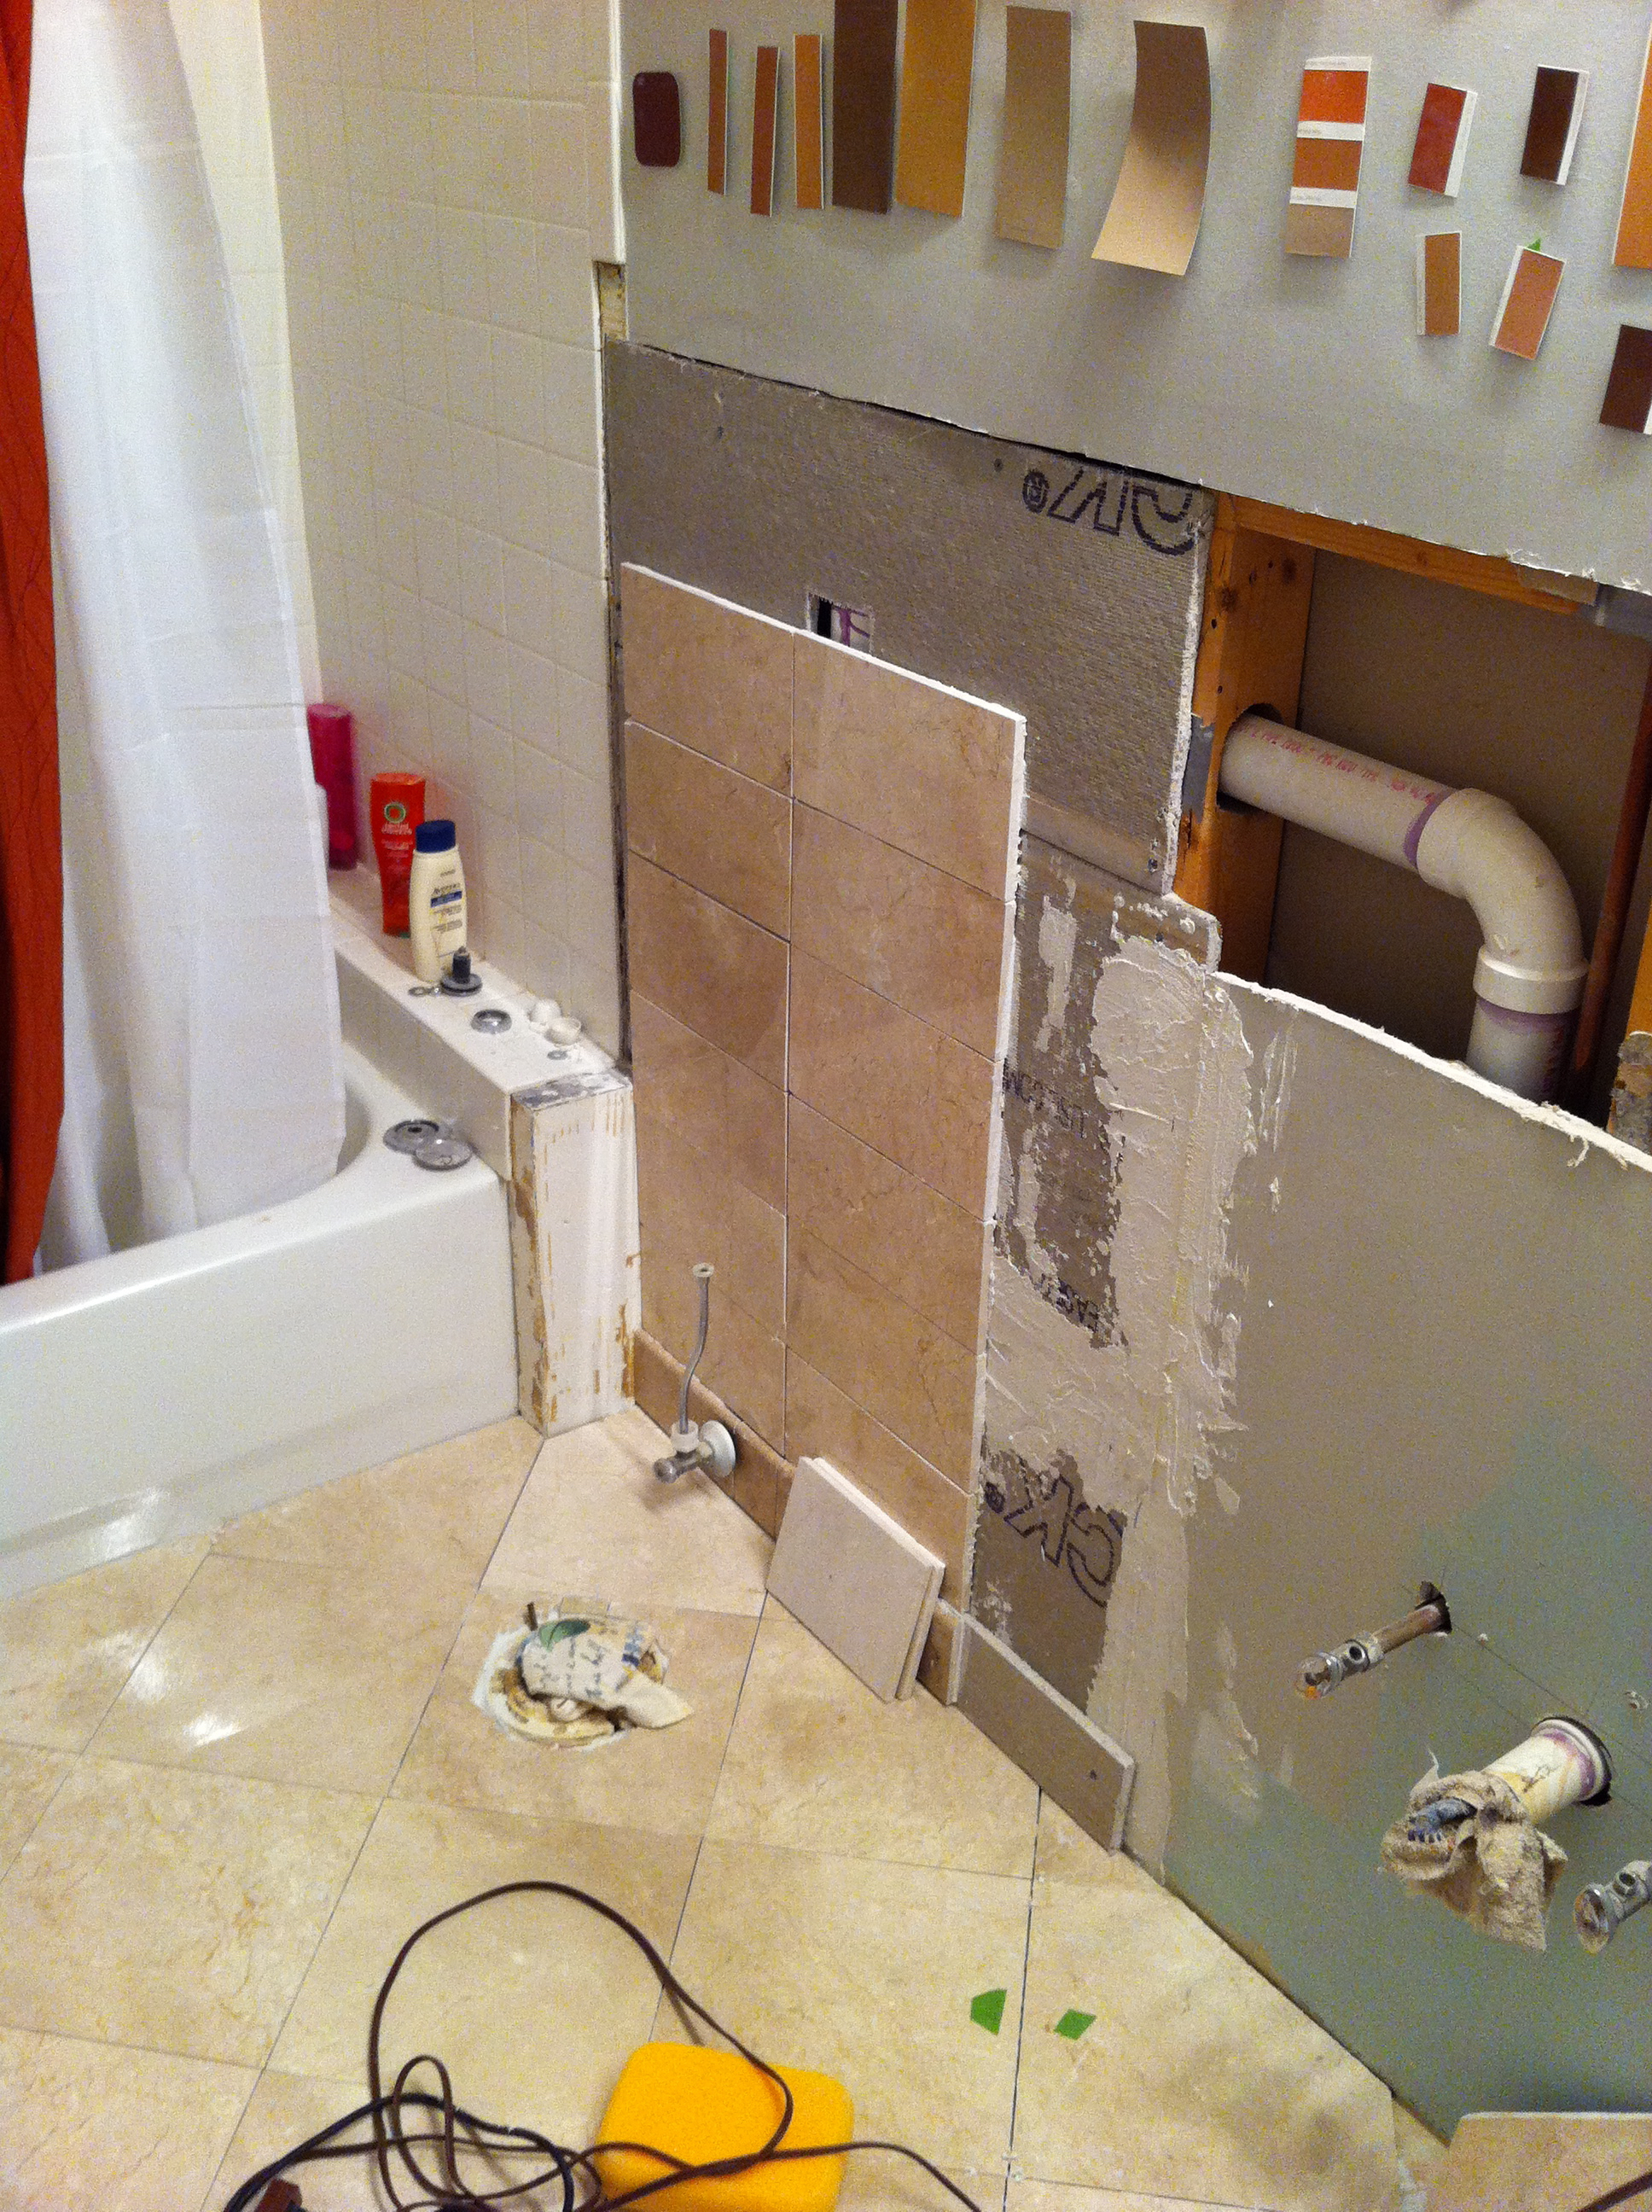
You can see from the shadows on the tiles that this wall wasn’t perfectly flat. It was a learning experience.
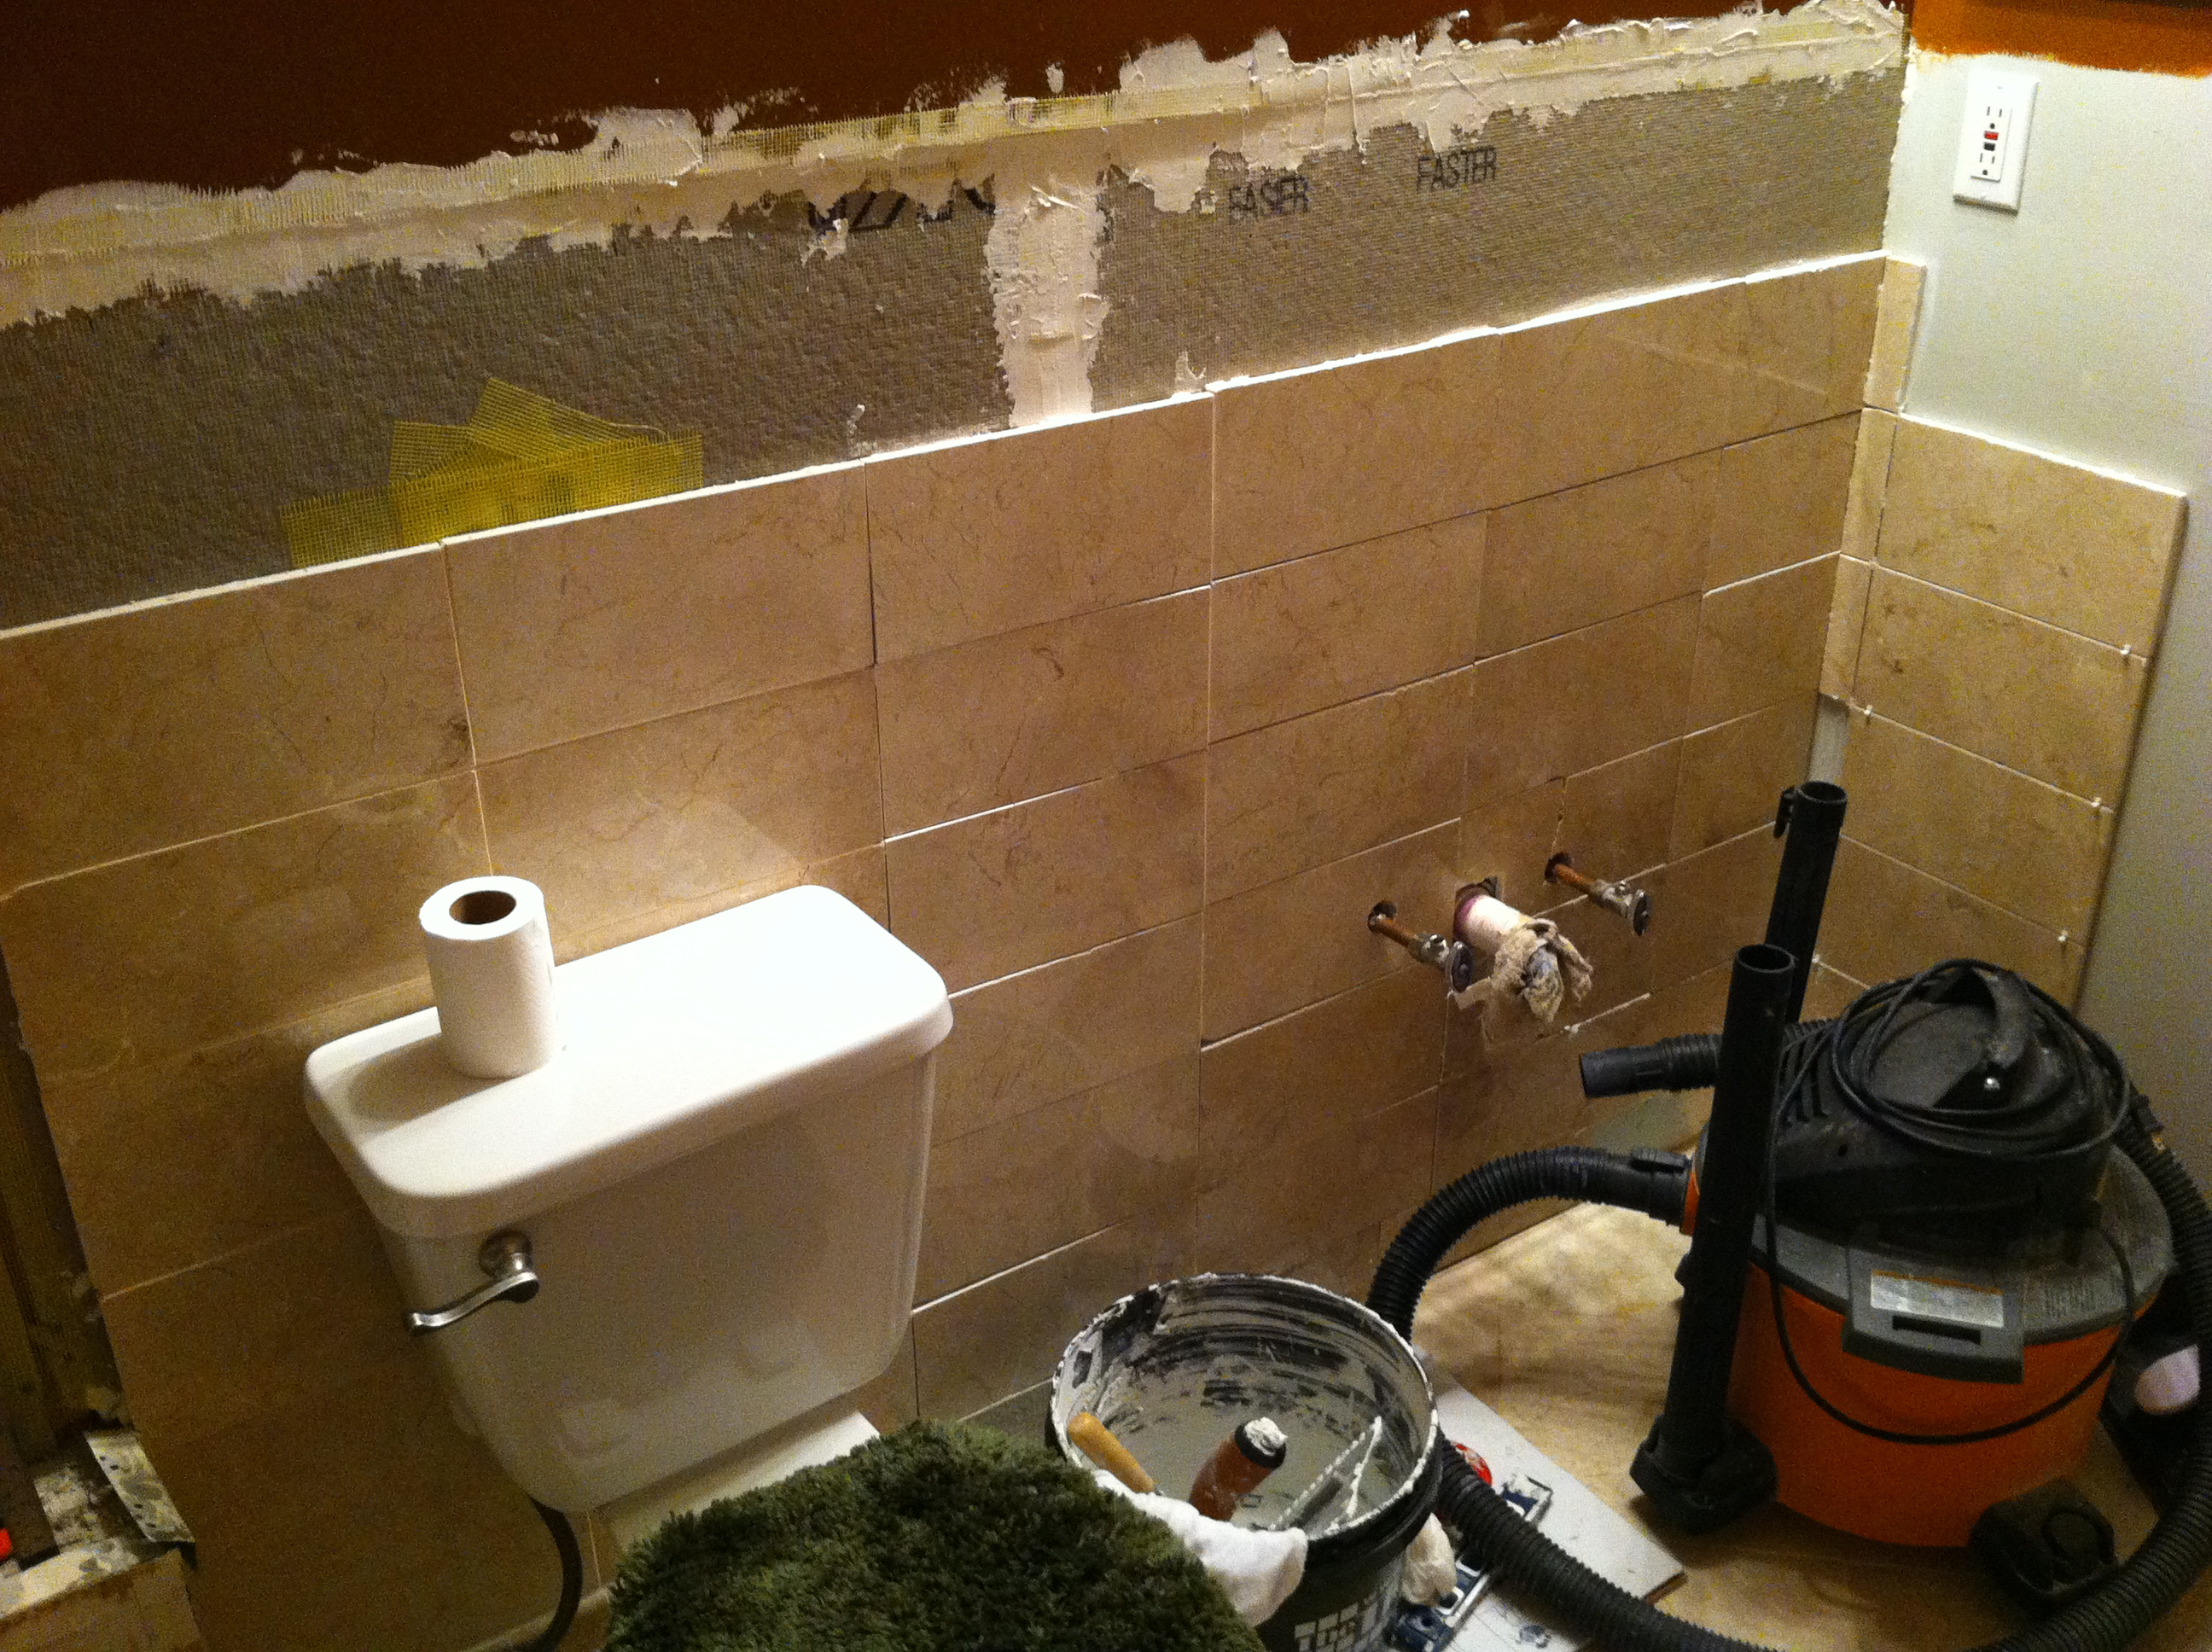
Tip: it’s best to put the small pieces closest to the corner so it looks like the tile disappears into the wall.
Another tip: it’s easier to remove thin set from a bucket when it’s dry & thin. Don’t bother using water.
Long Wall
The long wall pictured below was a breeze to work on. I had the backer board perfectly aligned the whole length of the wall. I had some help from a furry companion.
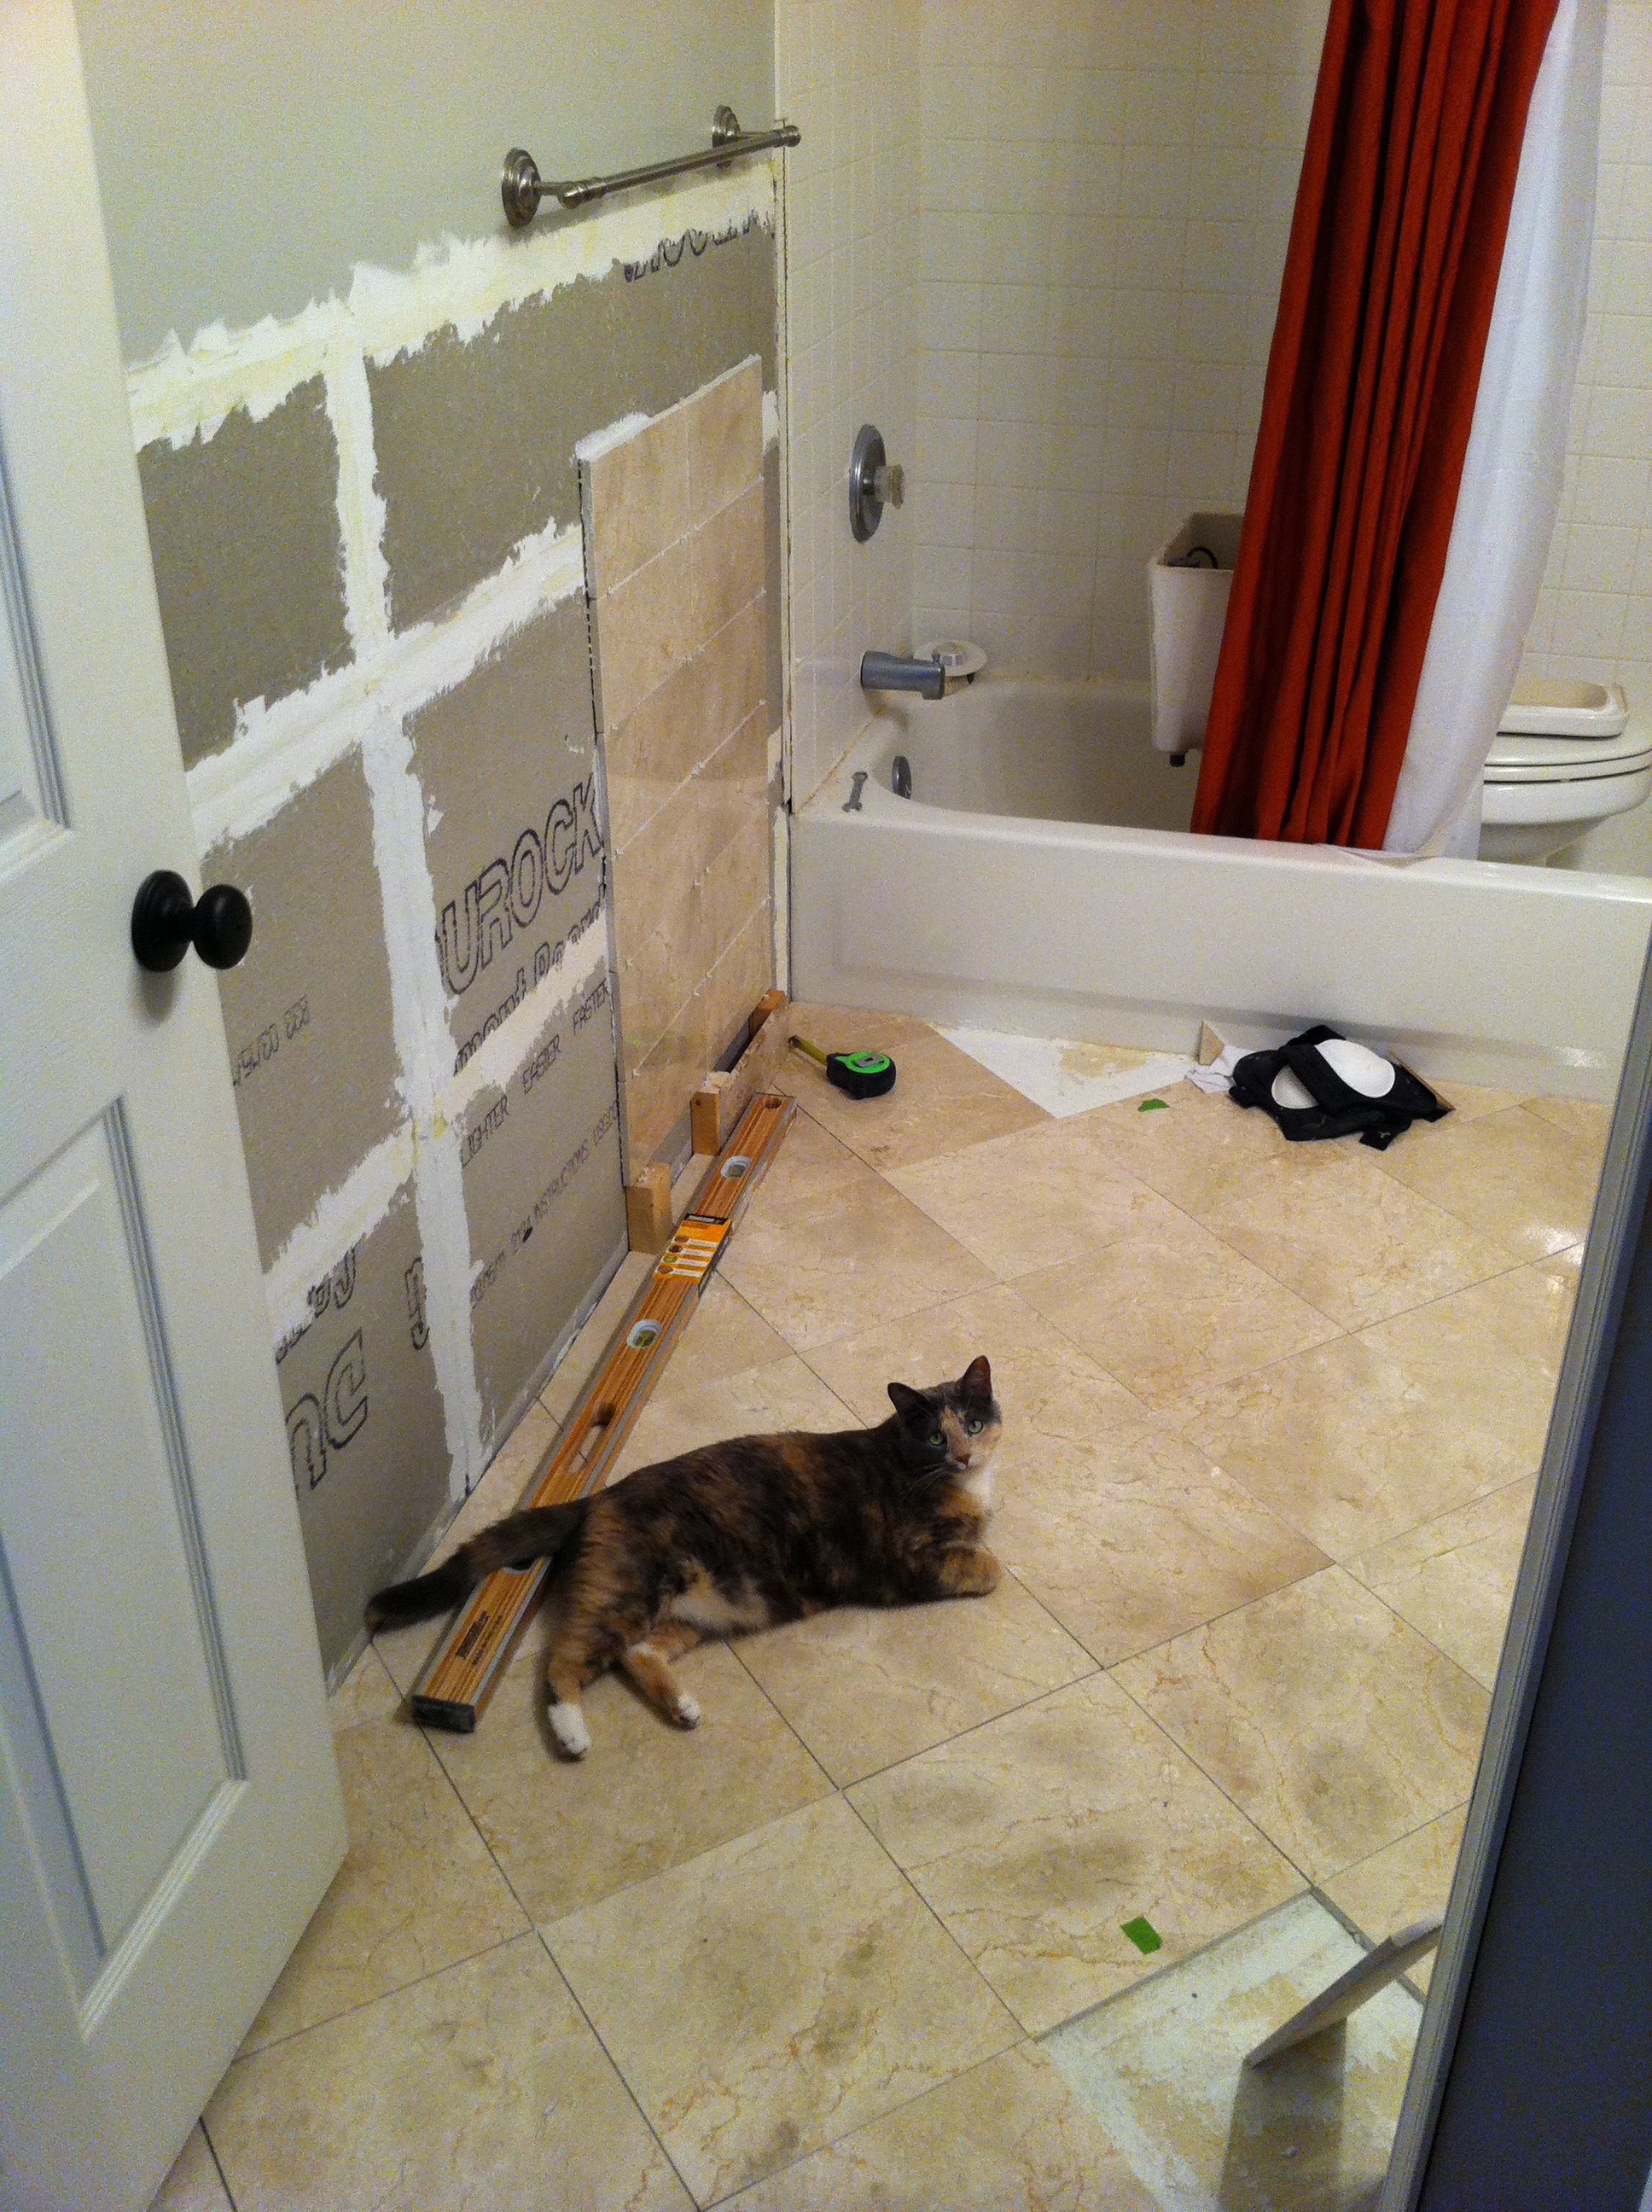
When I finished with that wall, I decided it was time to have fun with grout. This is the long wall with grout. You can see the baseboard pieces contrast the wall tile.
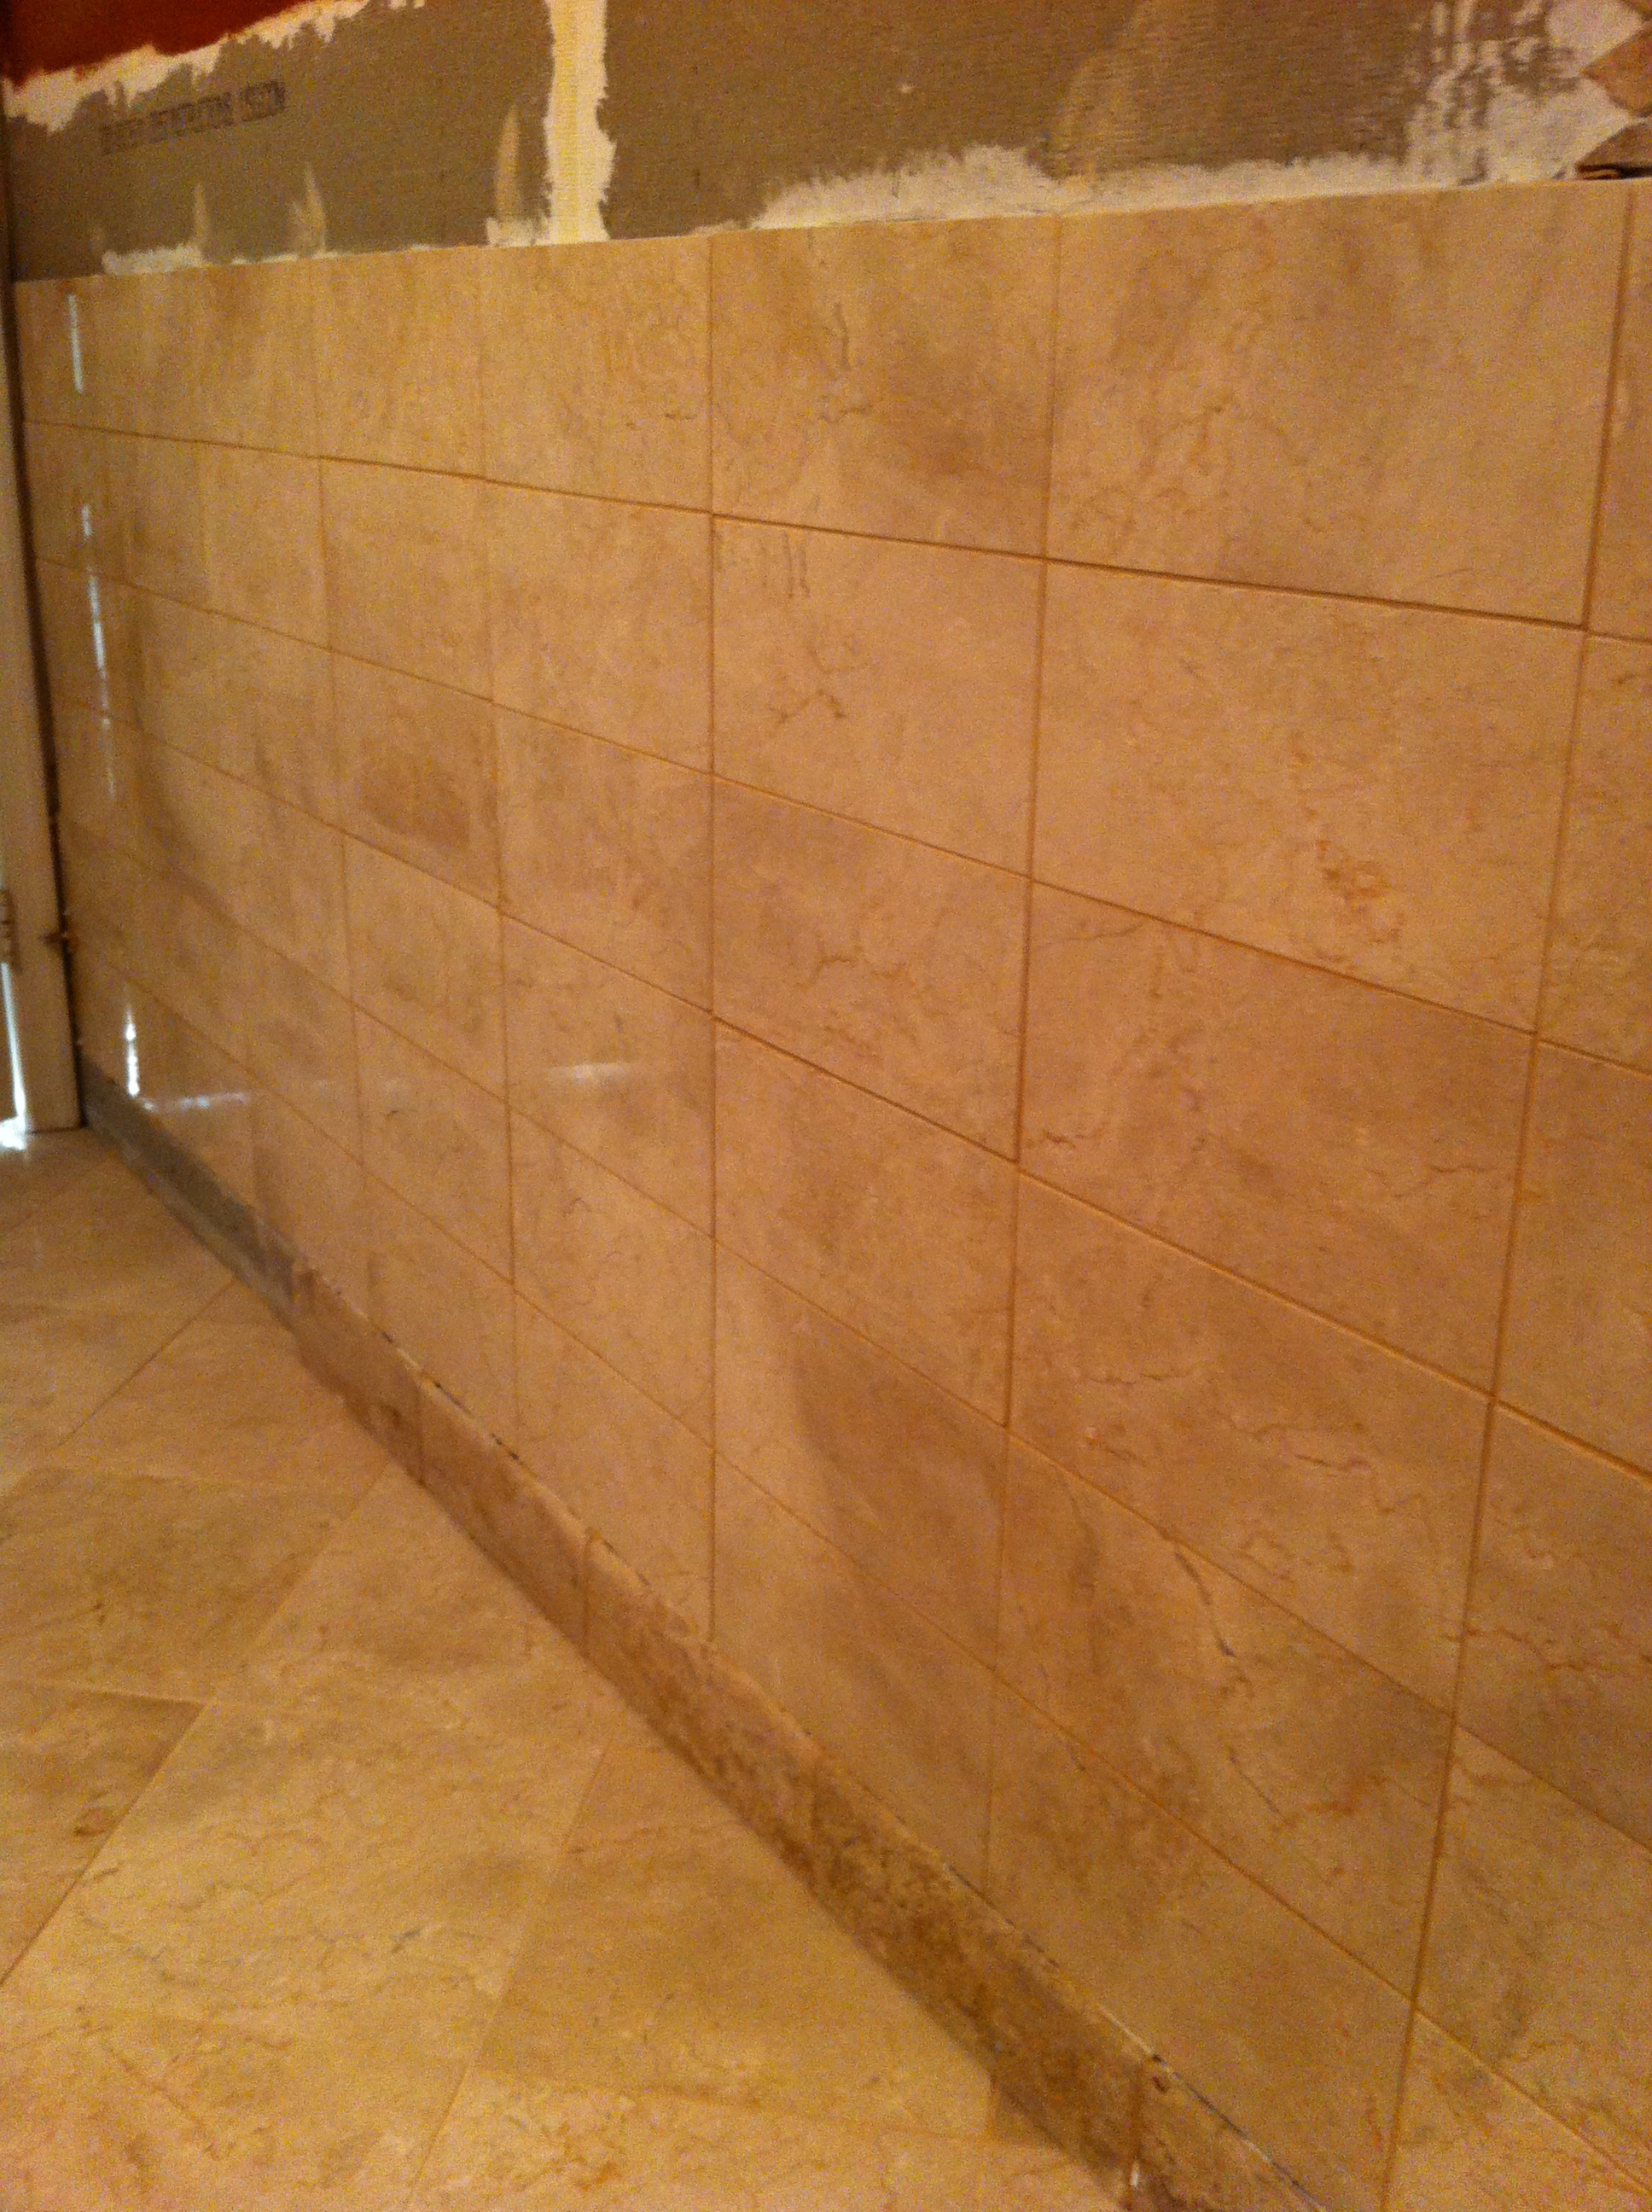
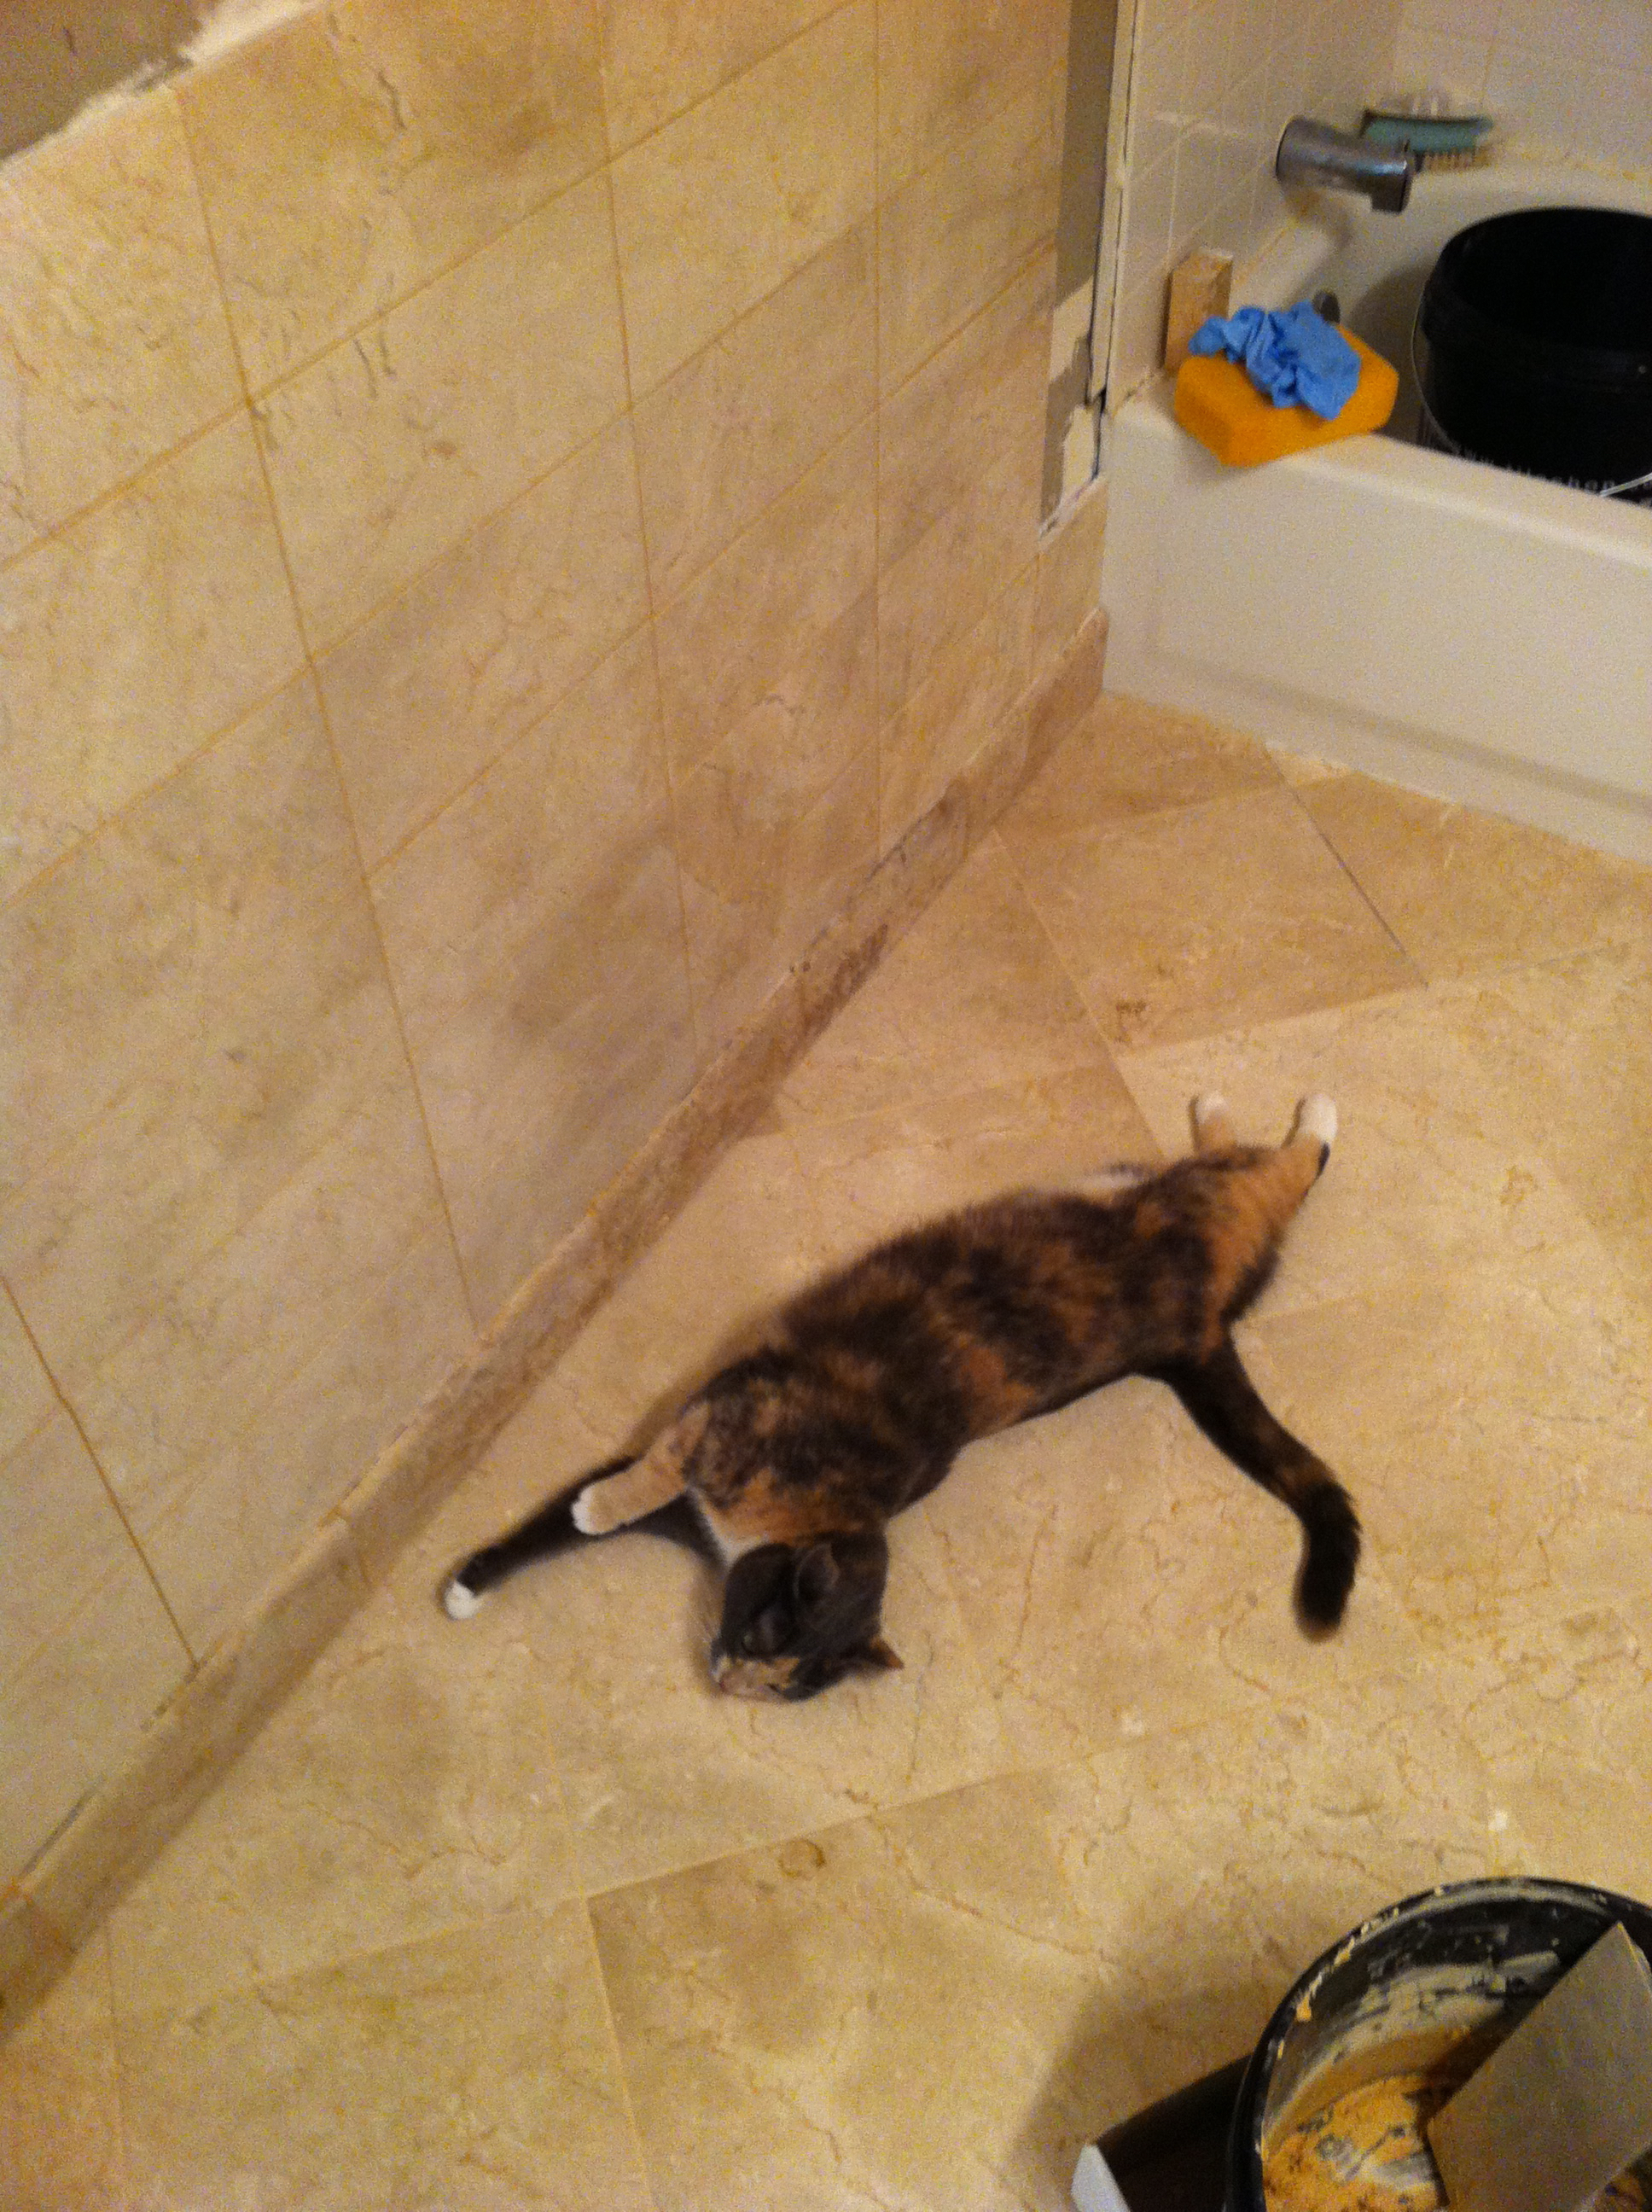
Adding grout to the floor really started to make the bathroom amazing. My cat agreed; especially since the tile was nice and cold in a warm summer.
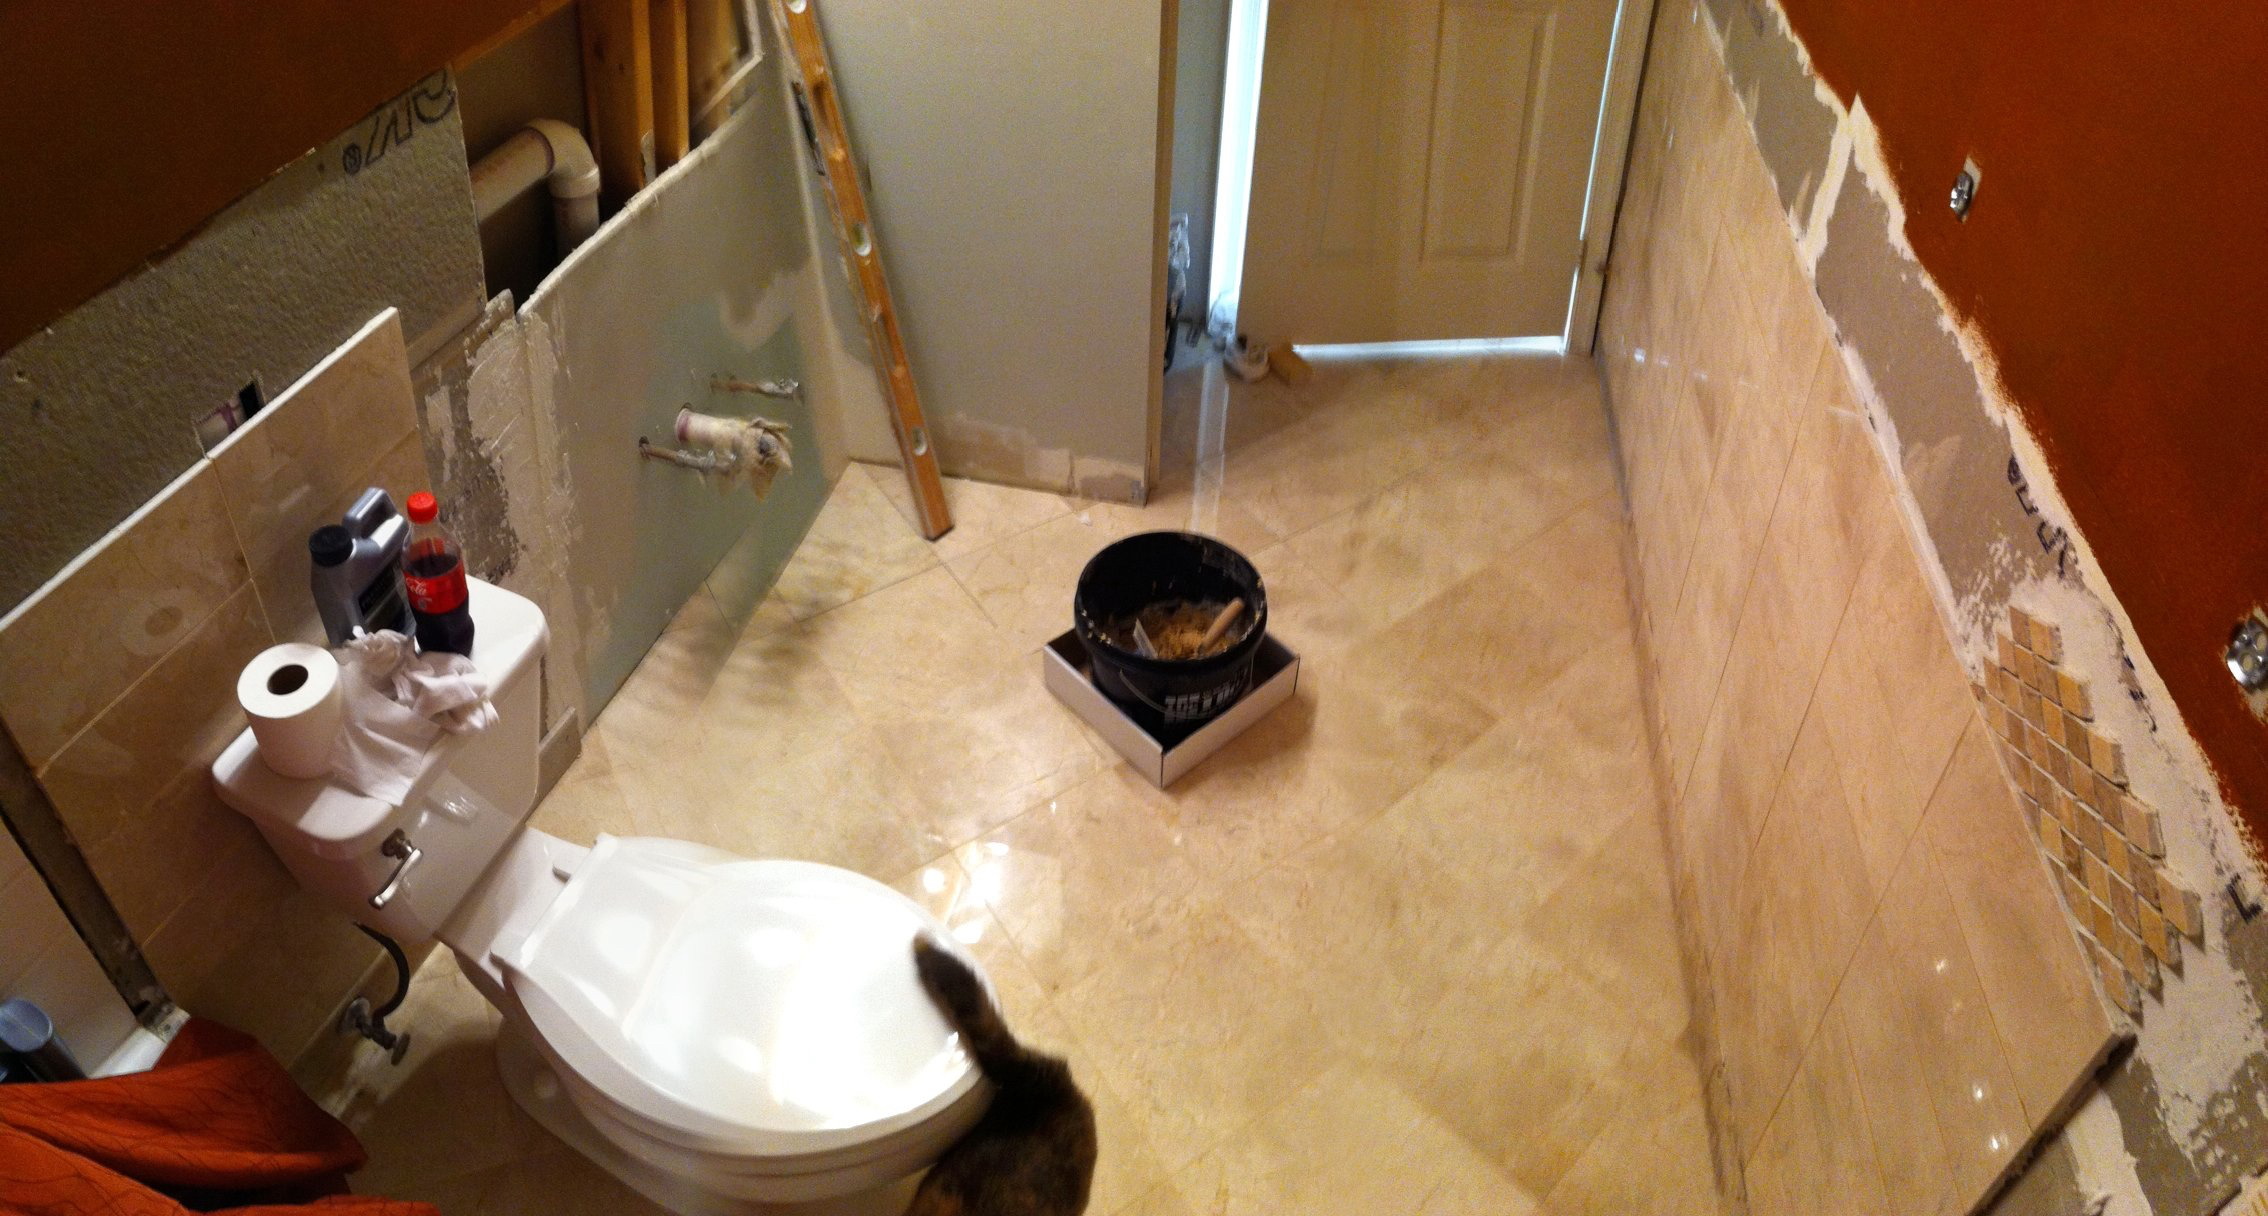
Here is the toilet installed, wall & floor grouted, and the first set of diamonds up.
Accents
Accent pieces can really add character to an otherwise boring wall. We decided we would put a strip of diamonds about 4” tall around the whole bathroom. It tied the wainscot into the shower area really nicely.
The downside to using diamonds meant that I needed to cut a half diamonds for the top and bottom of every inch of the bathroom. It took days to cut all of them, but it wasn’t hard, and the outcome was well worth the effort. I used cardboard to align the half diamonds so they were evenly spaced compared to the other diamonds.
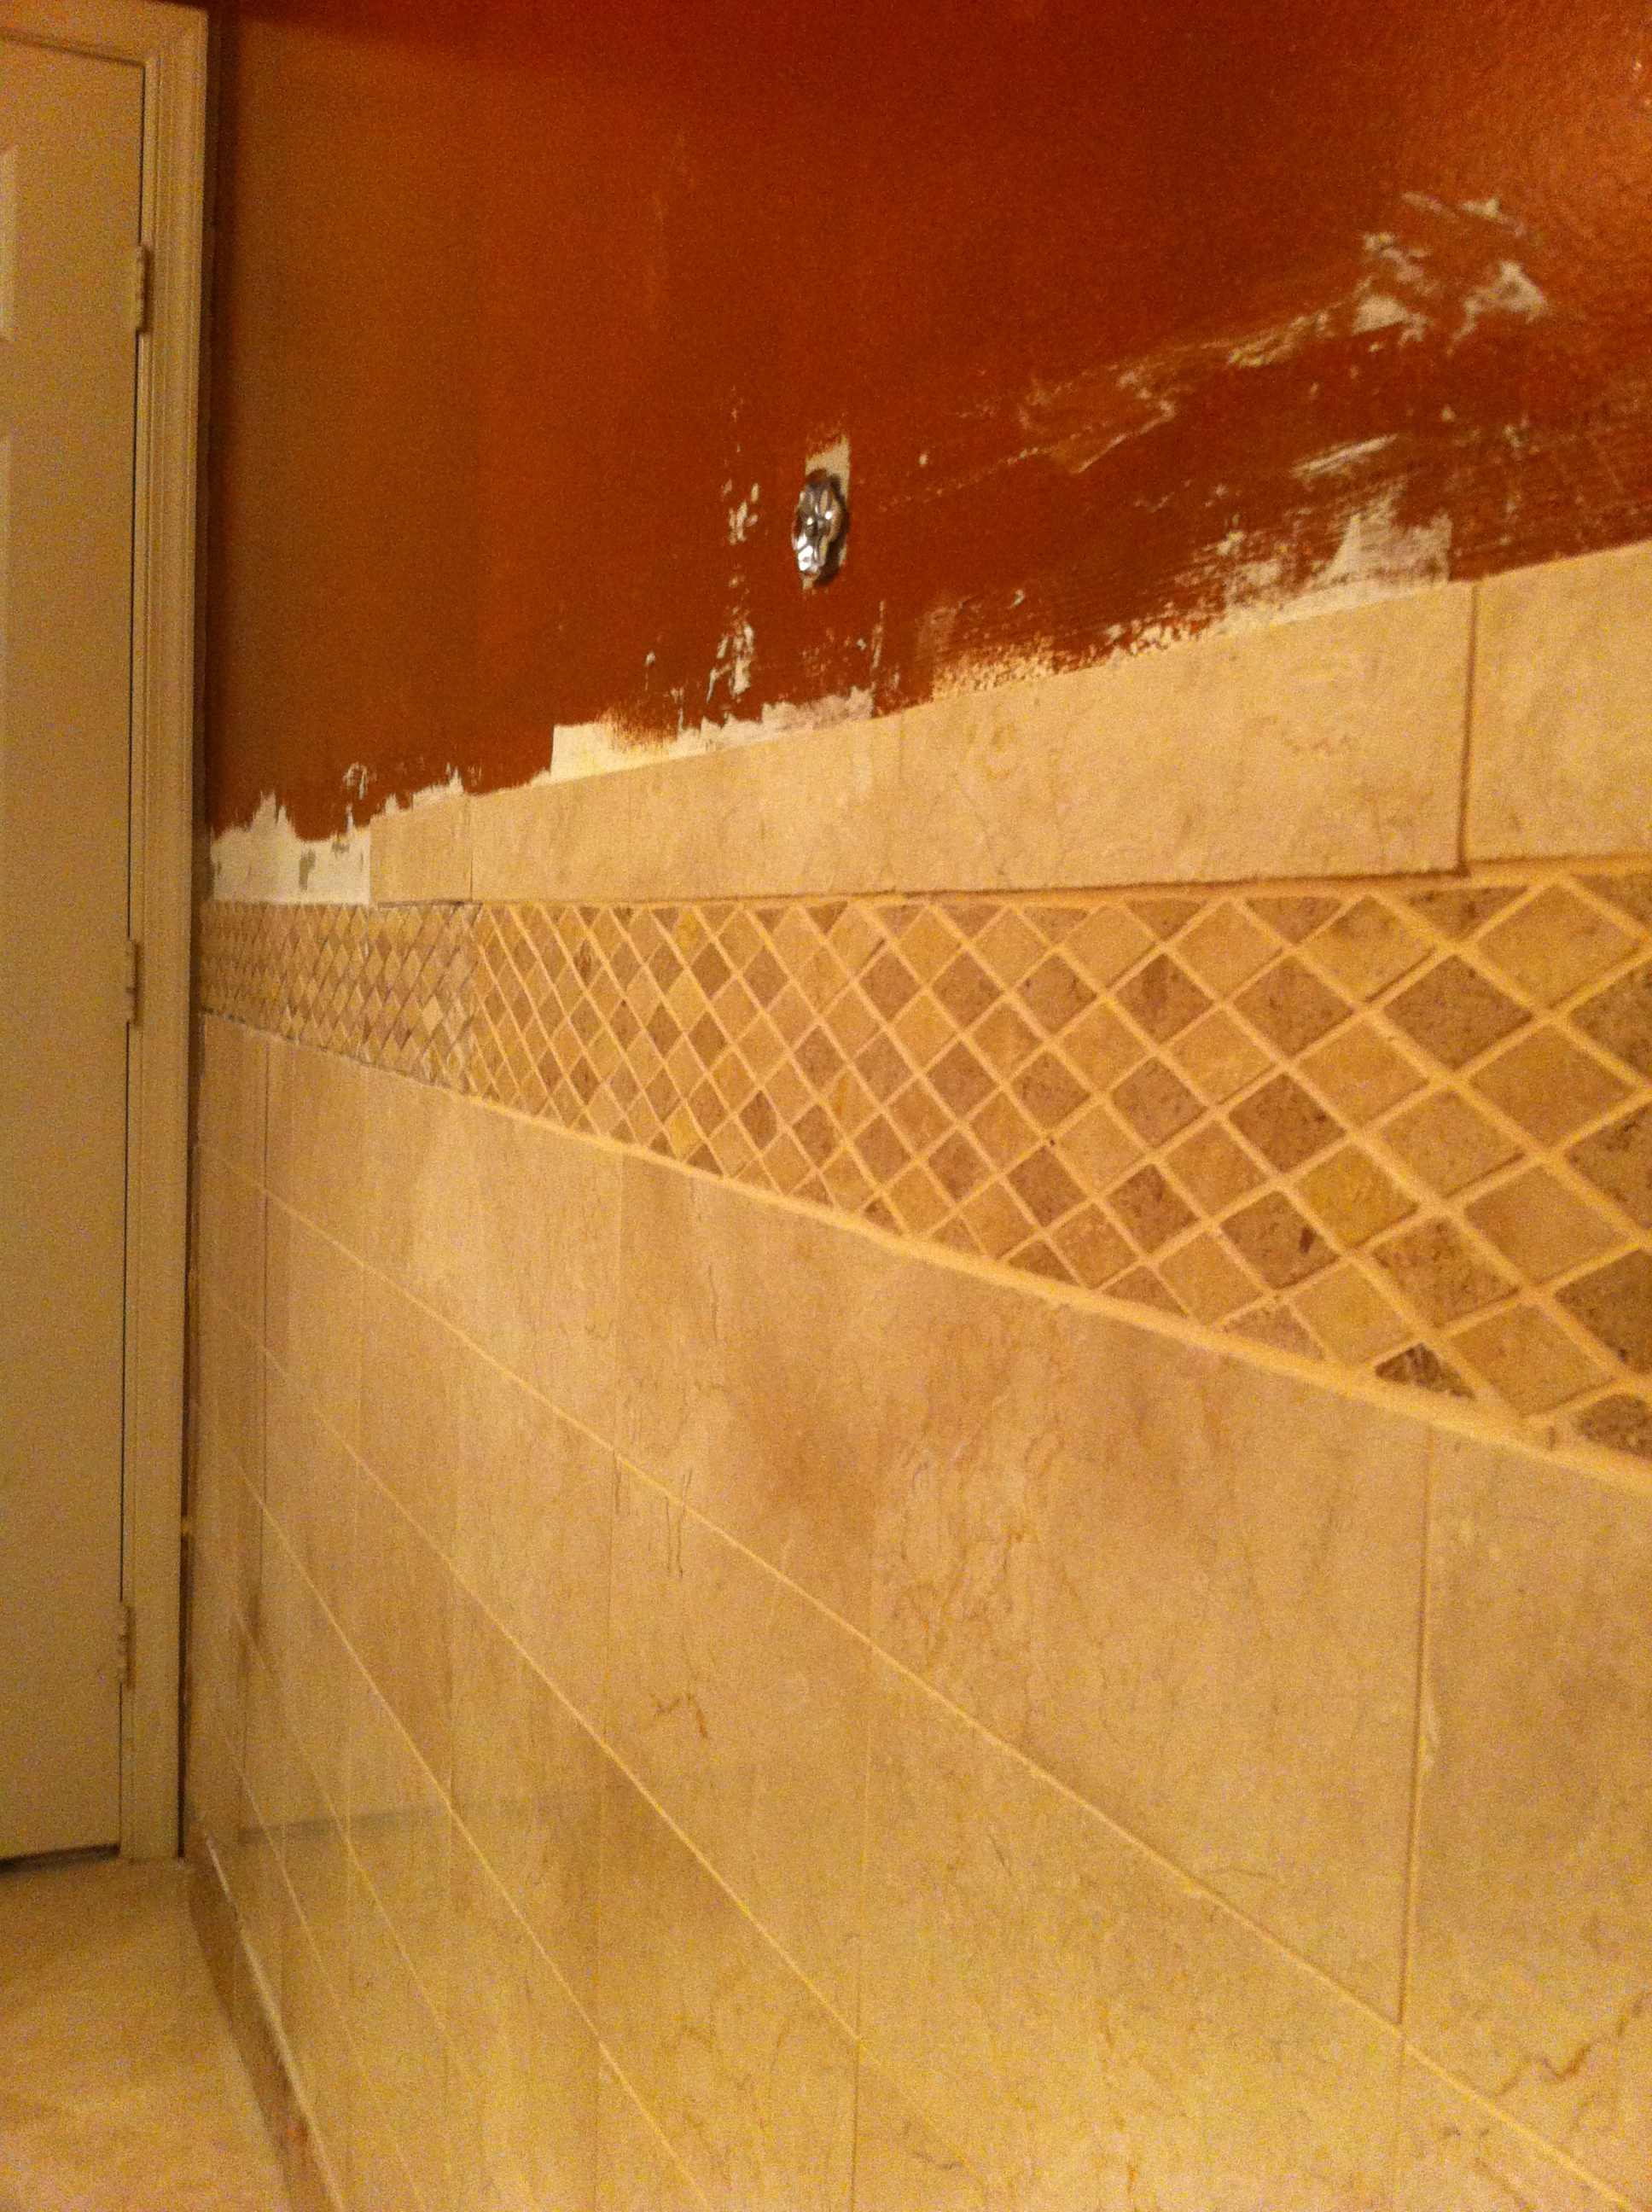
Next, I cut 2” strips out of the marble tile. Several of the wall tiles split along the marble veins (a common occurrence since that’s the weakest part of the tile). I took advantage of those split pieces and used them for these 2” pieces. Eventually, I installed another piece of decorative tile called a chair rail on top of the 2” pieces.
Here’s another shot of the diamonds with grout. They really add a sense of elegance:
With the chair rail installed:
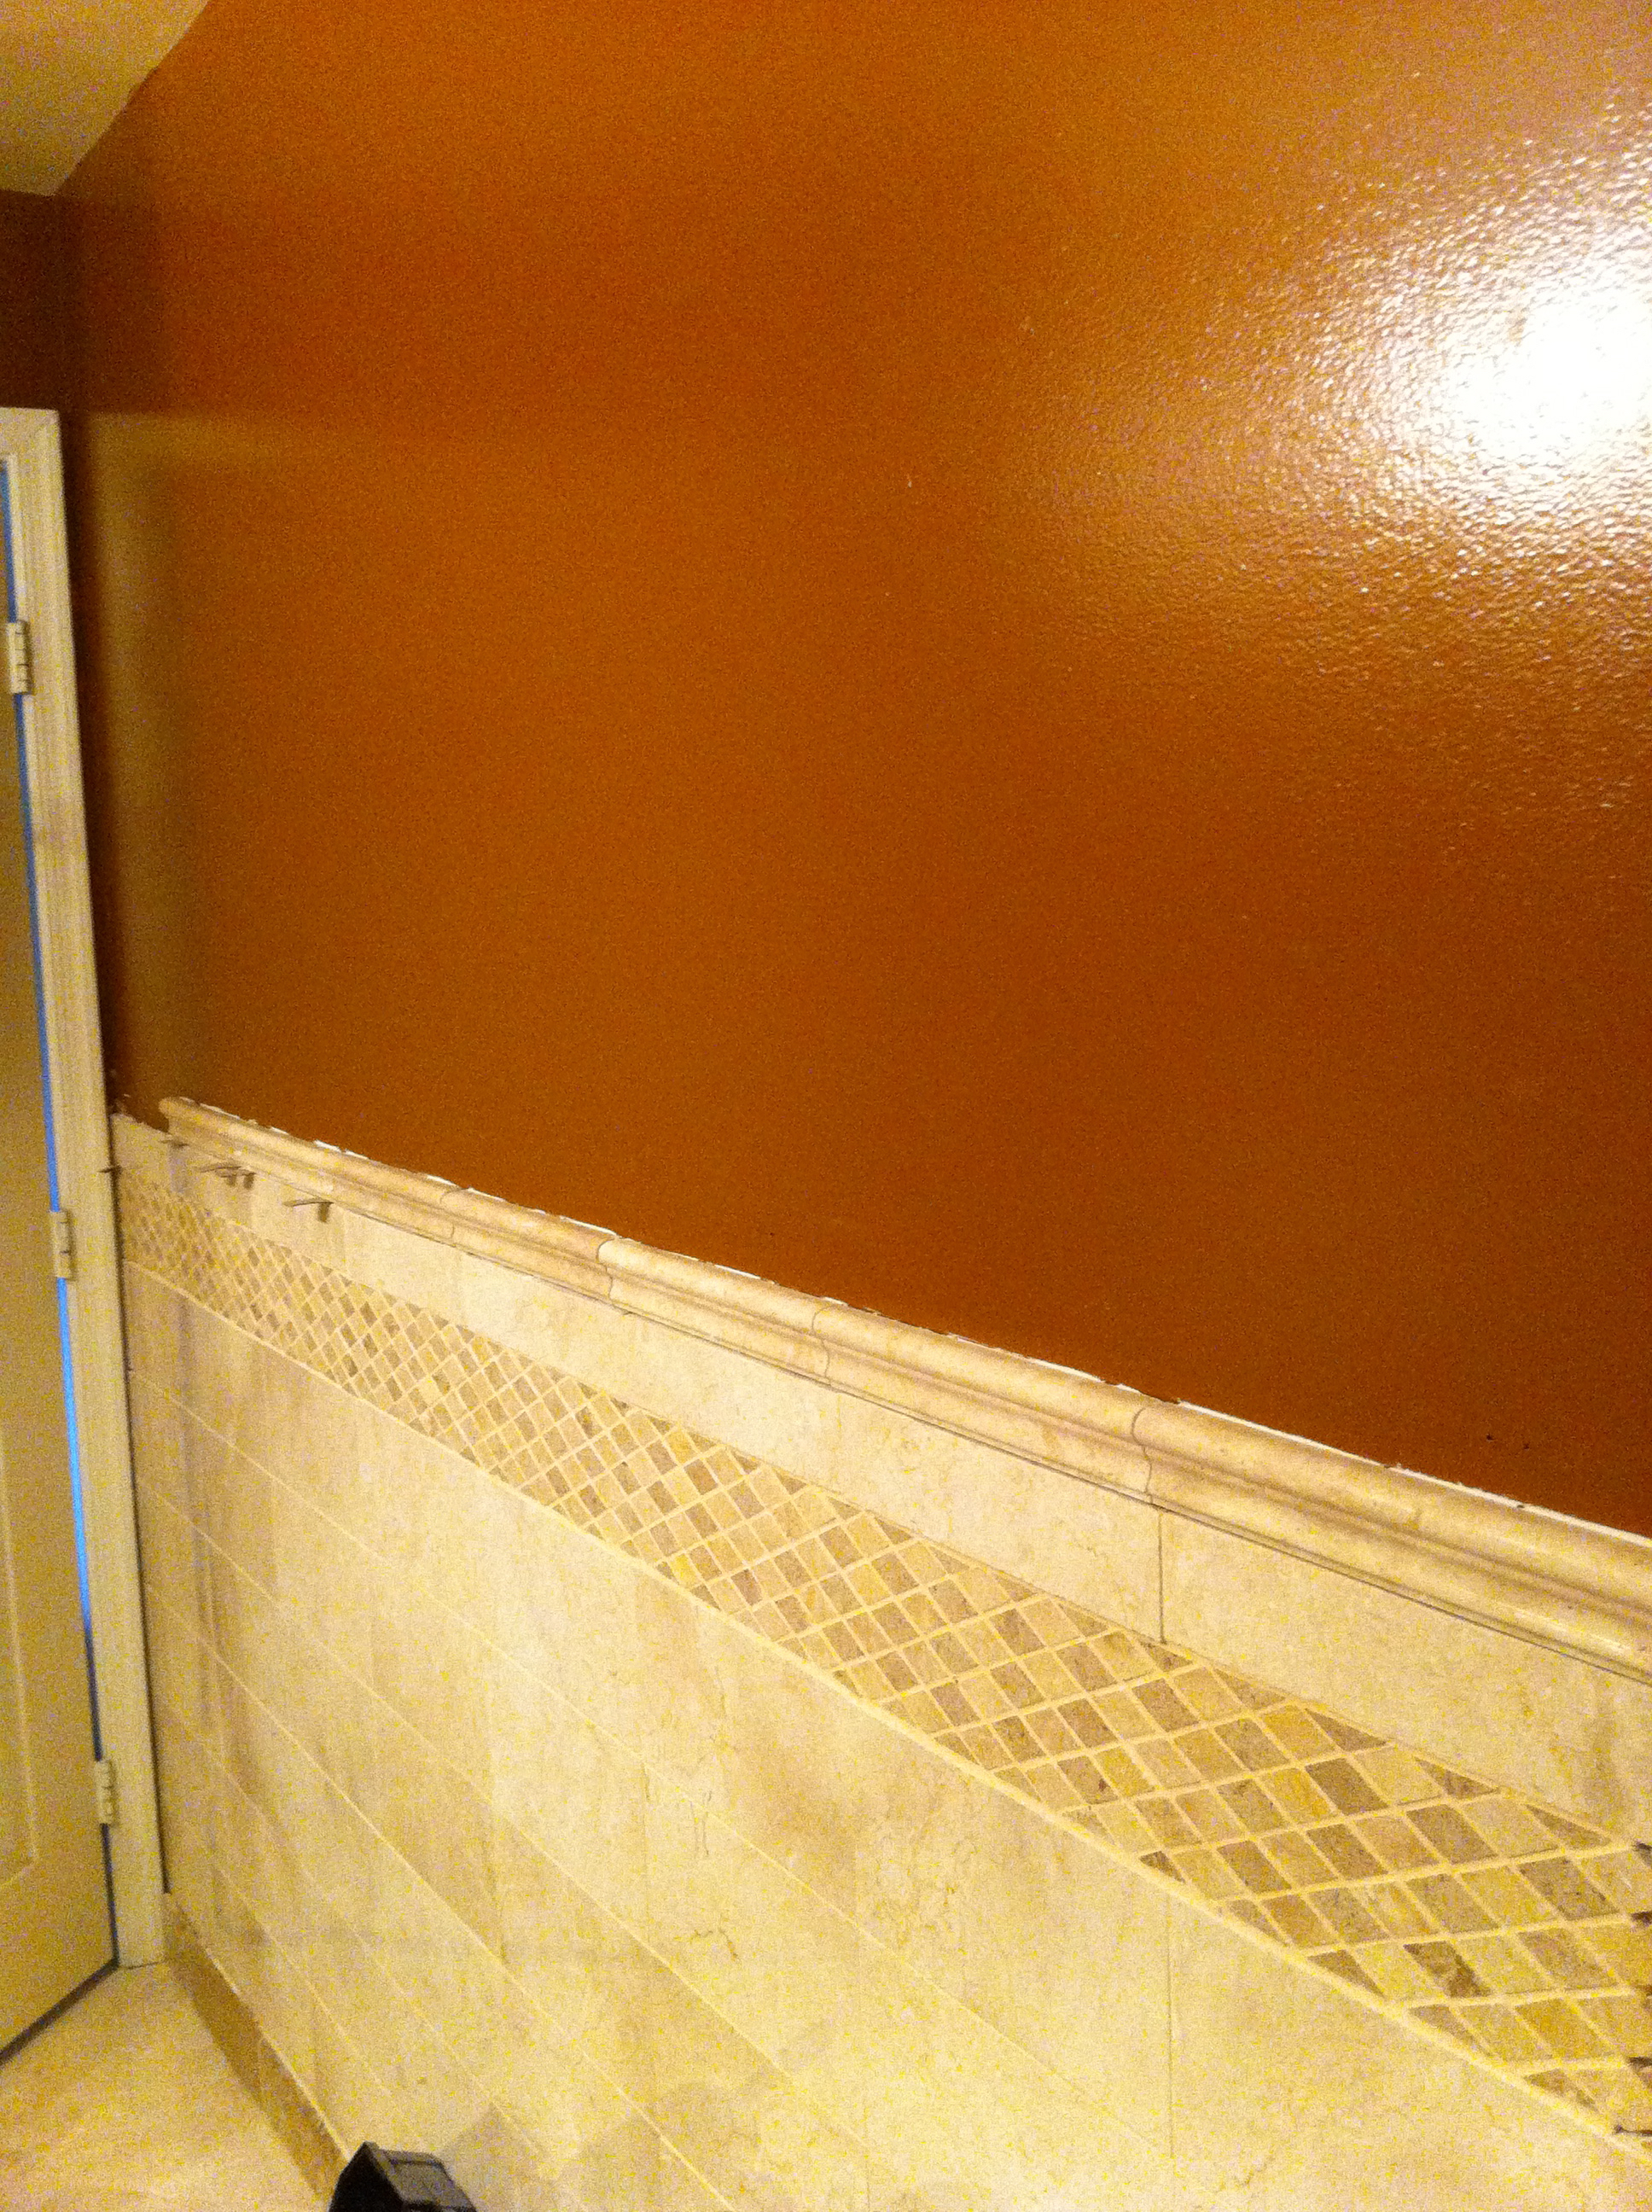
One thing to consider when doing a wainscot is you should continue the pattern all the way around the room (or at least to a corner). For us, this meant taking the diamonds, the 2” border on top and the chair rail all the way around the whole bathroom. This added to the price tag pretty quickly because 12” of chair rail tile was $15.
The Shower
Old tile, meet new tile..
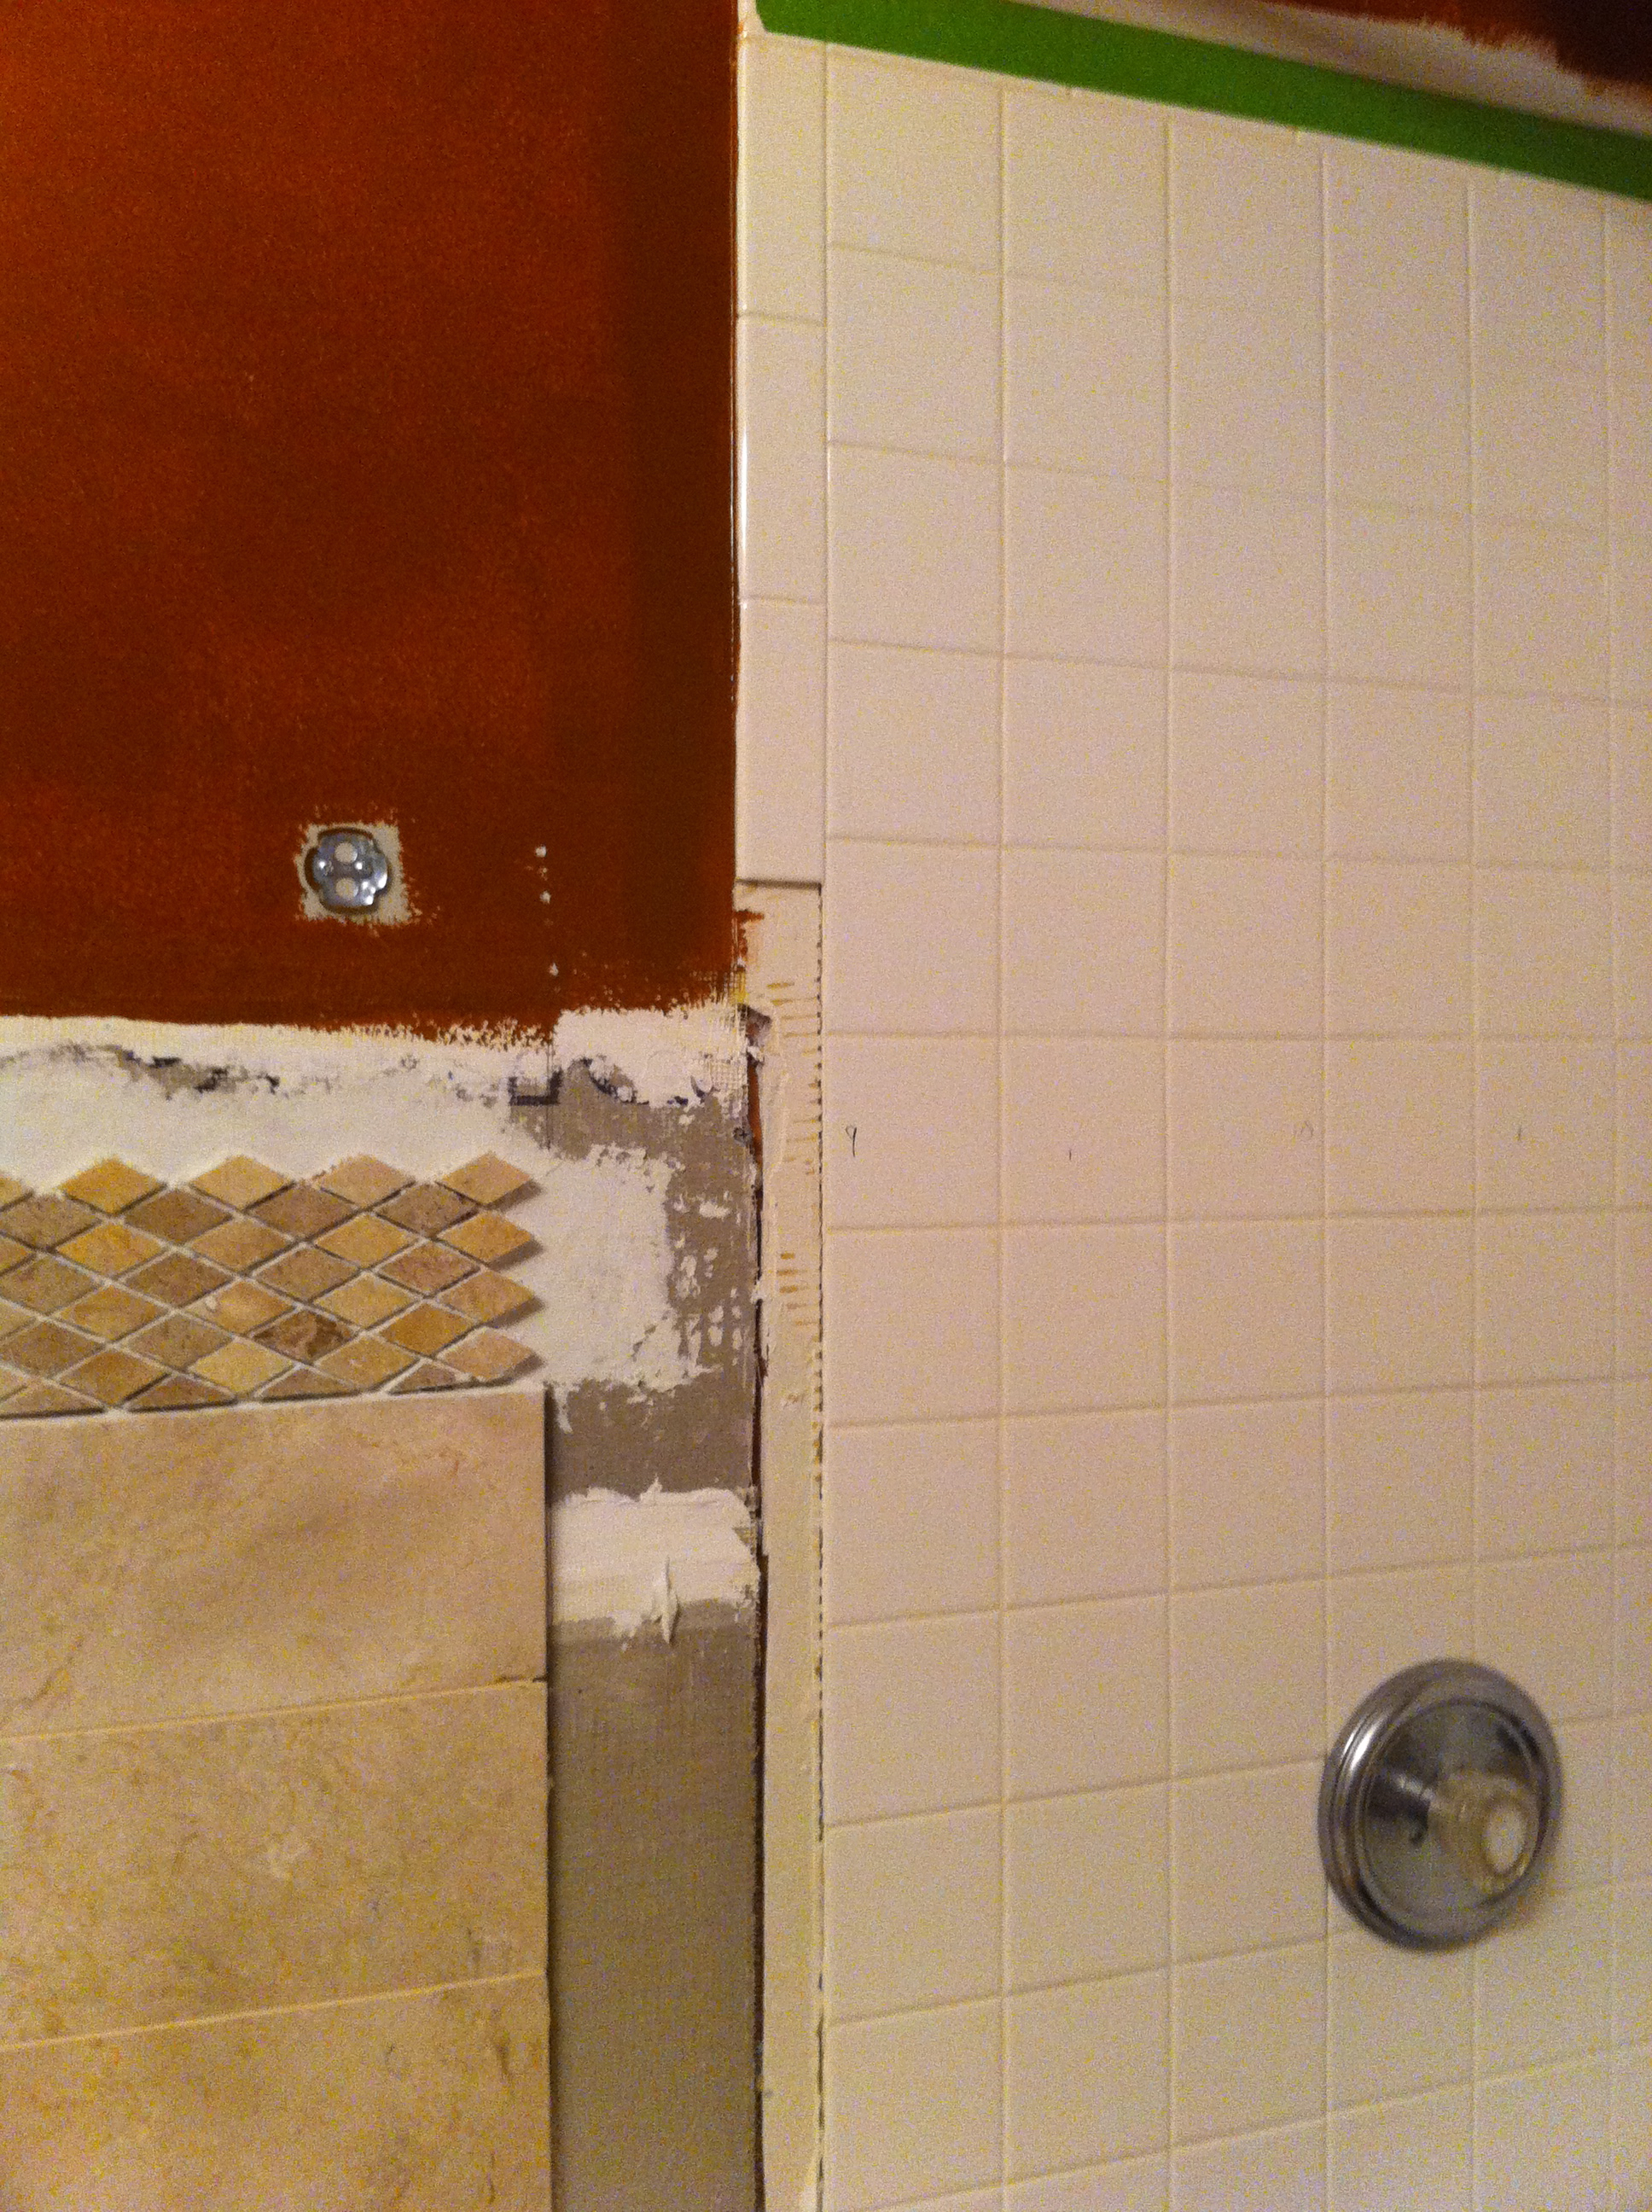
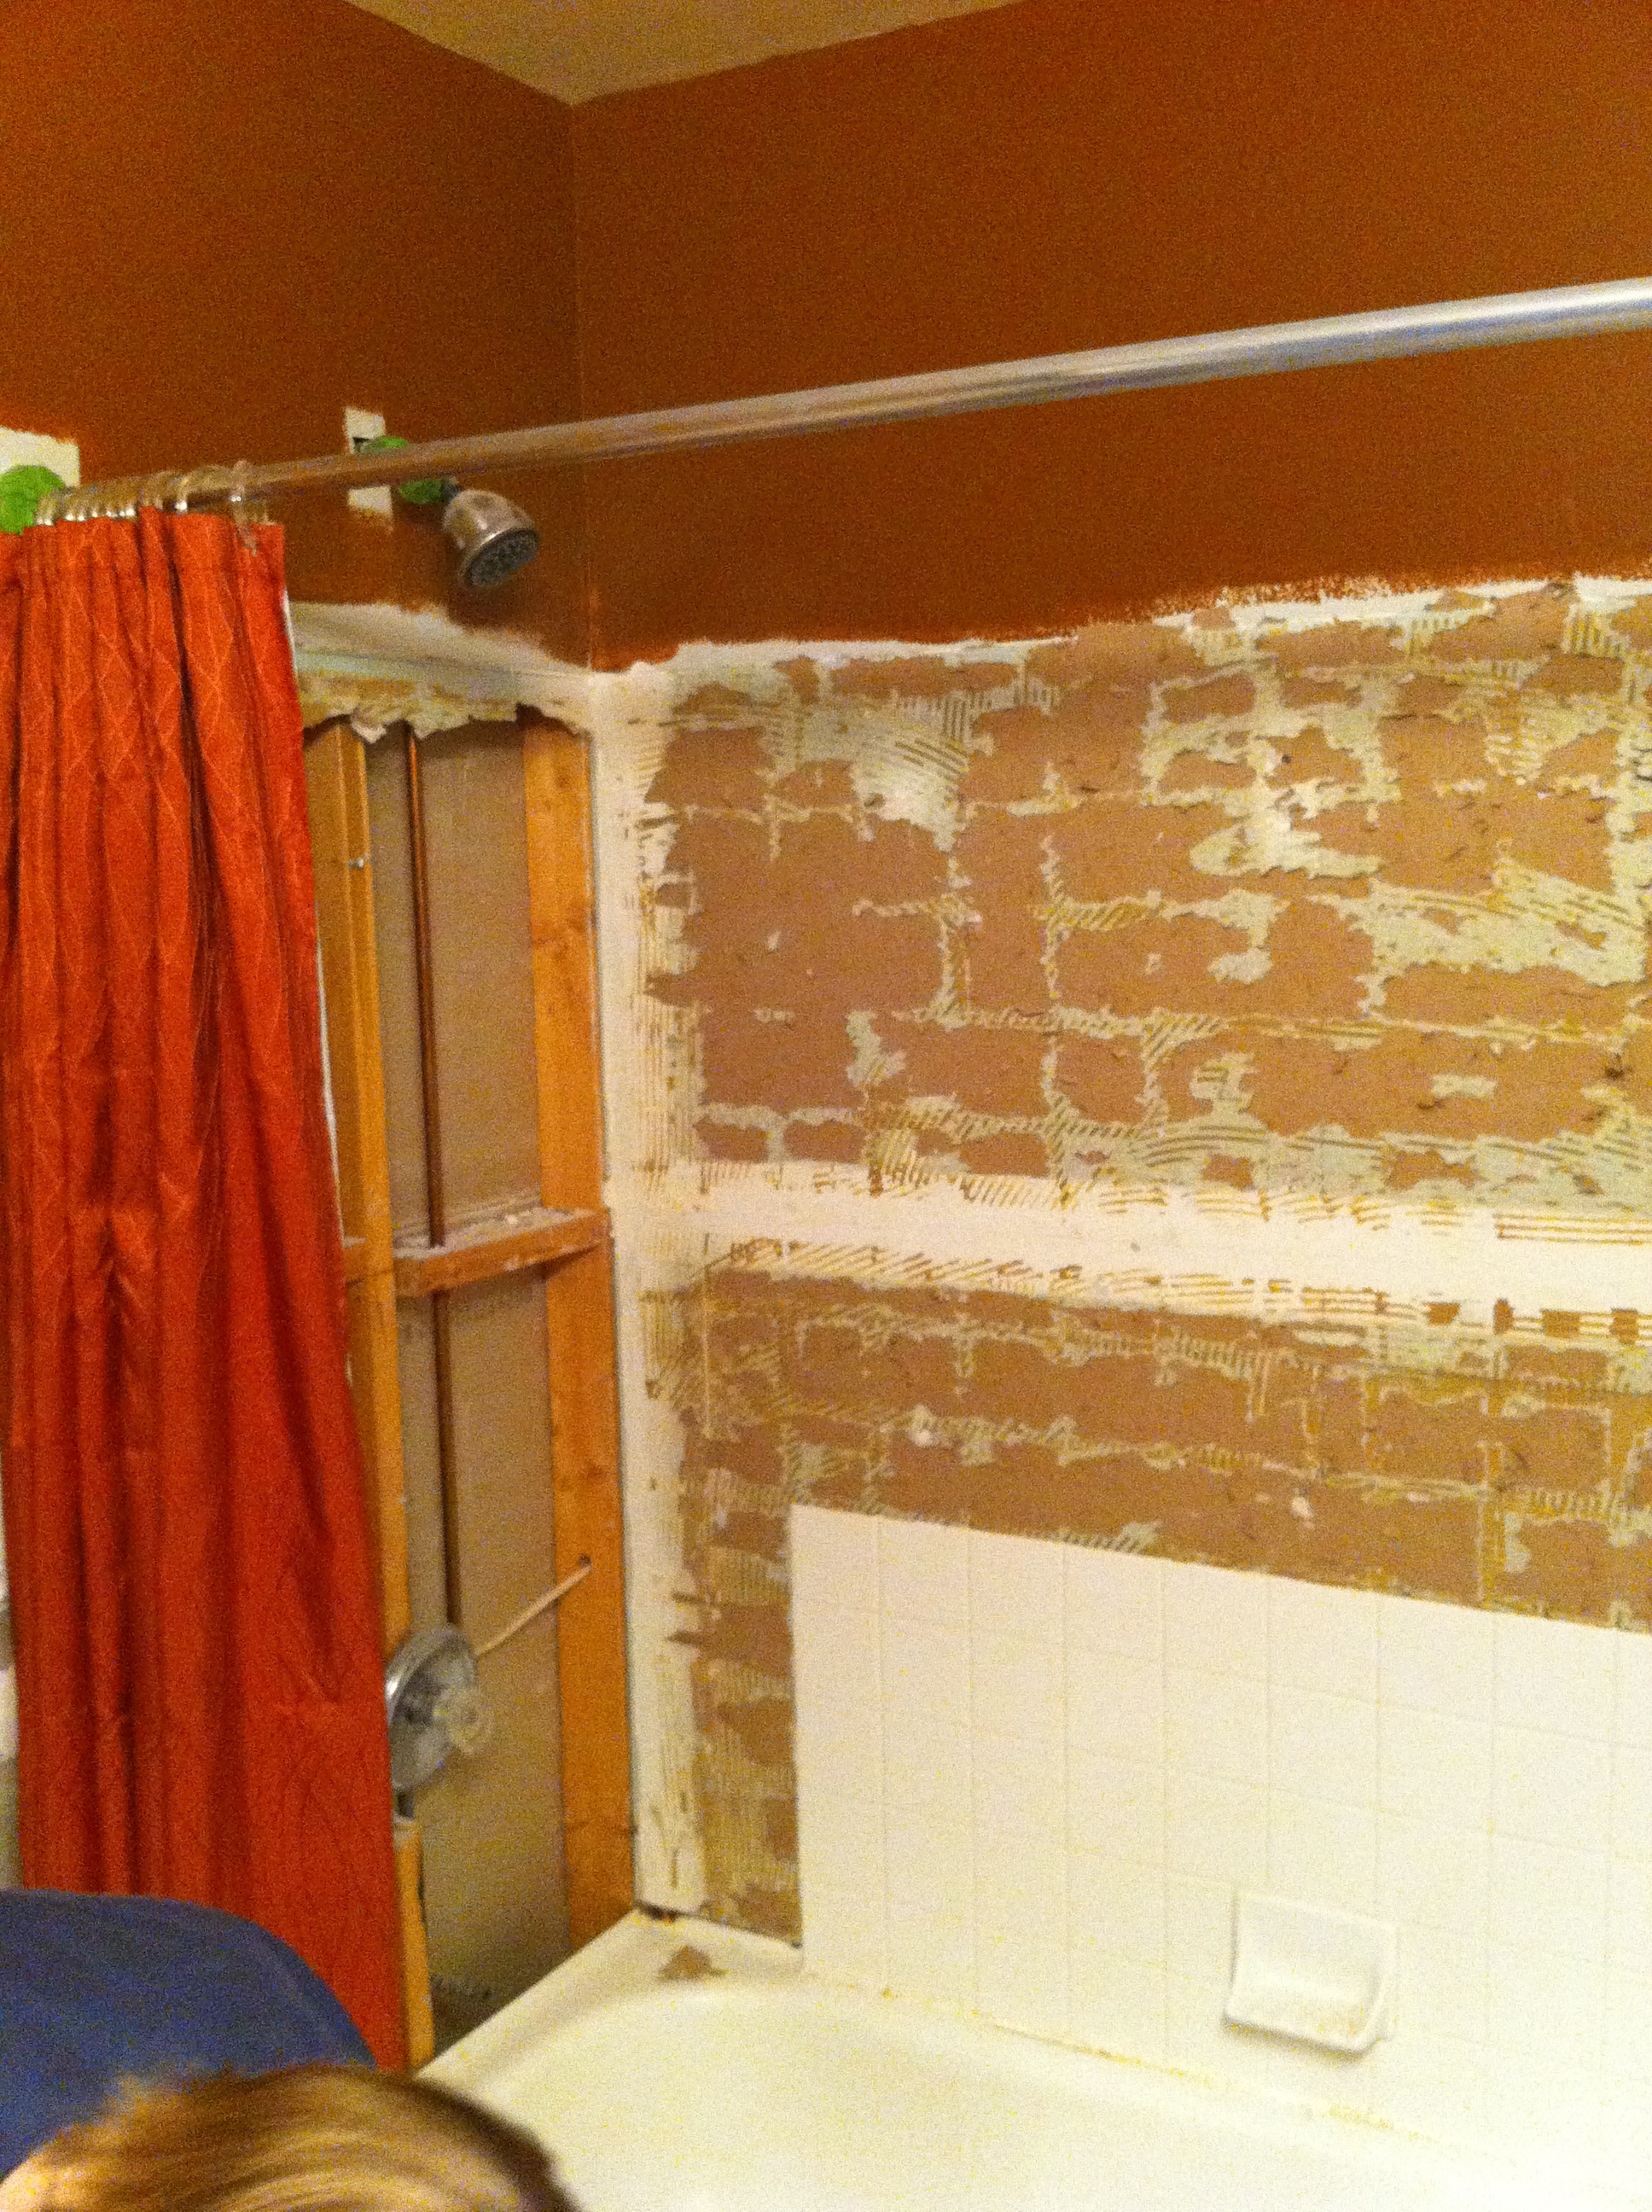
What came next was one of my biggest DIY growth opportunities. While tearing down the old white tile in the shower, I learned the builder used drywall. The drywall behind the tile had lost all structural integrity.
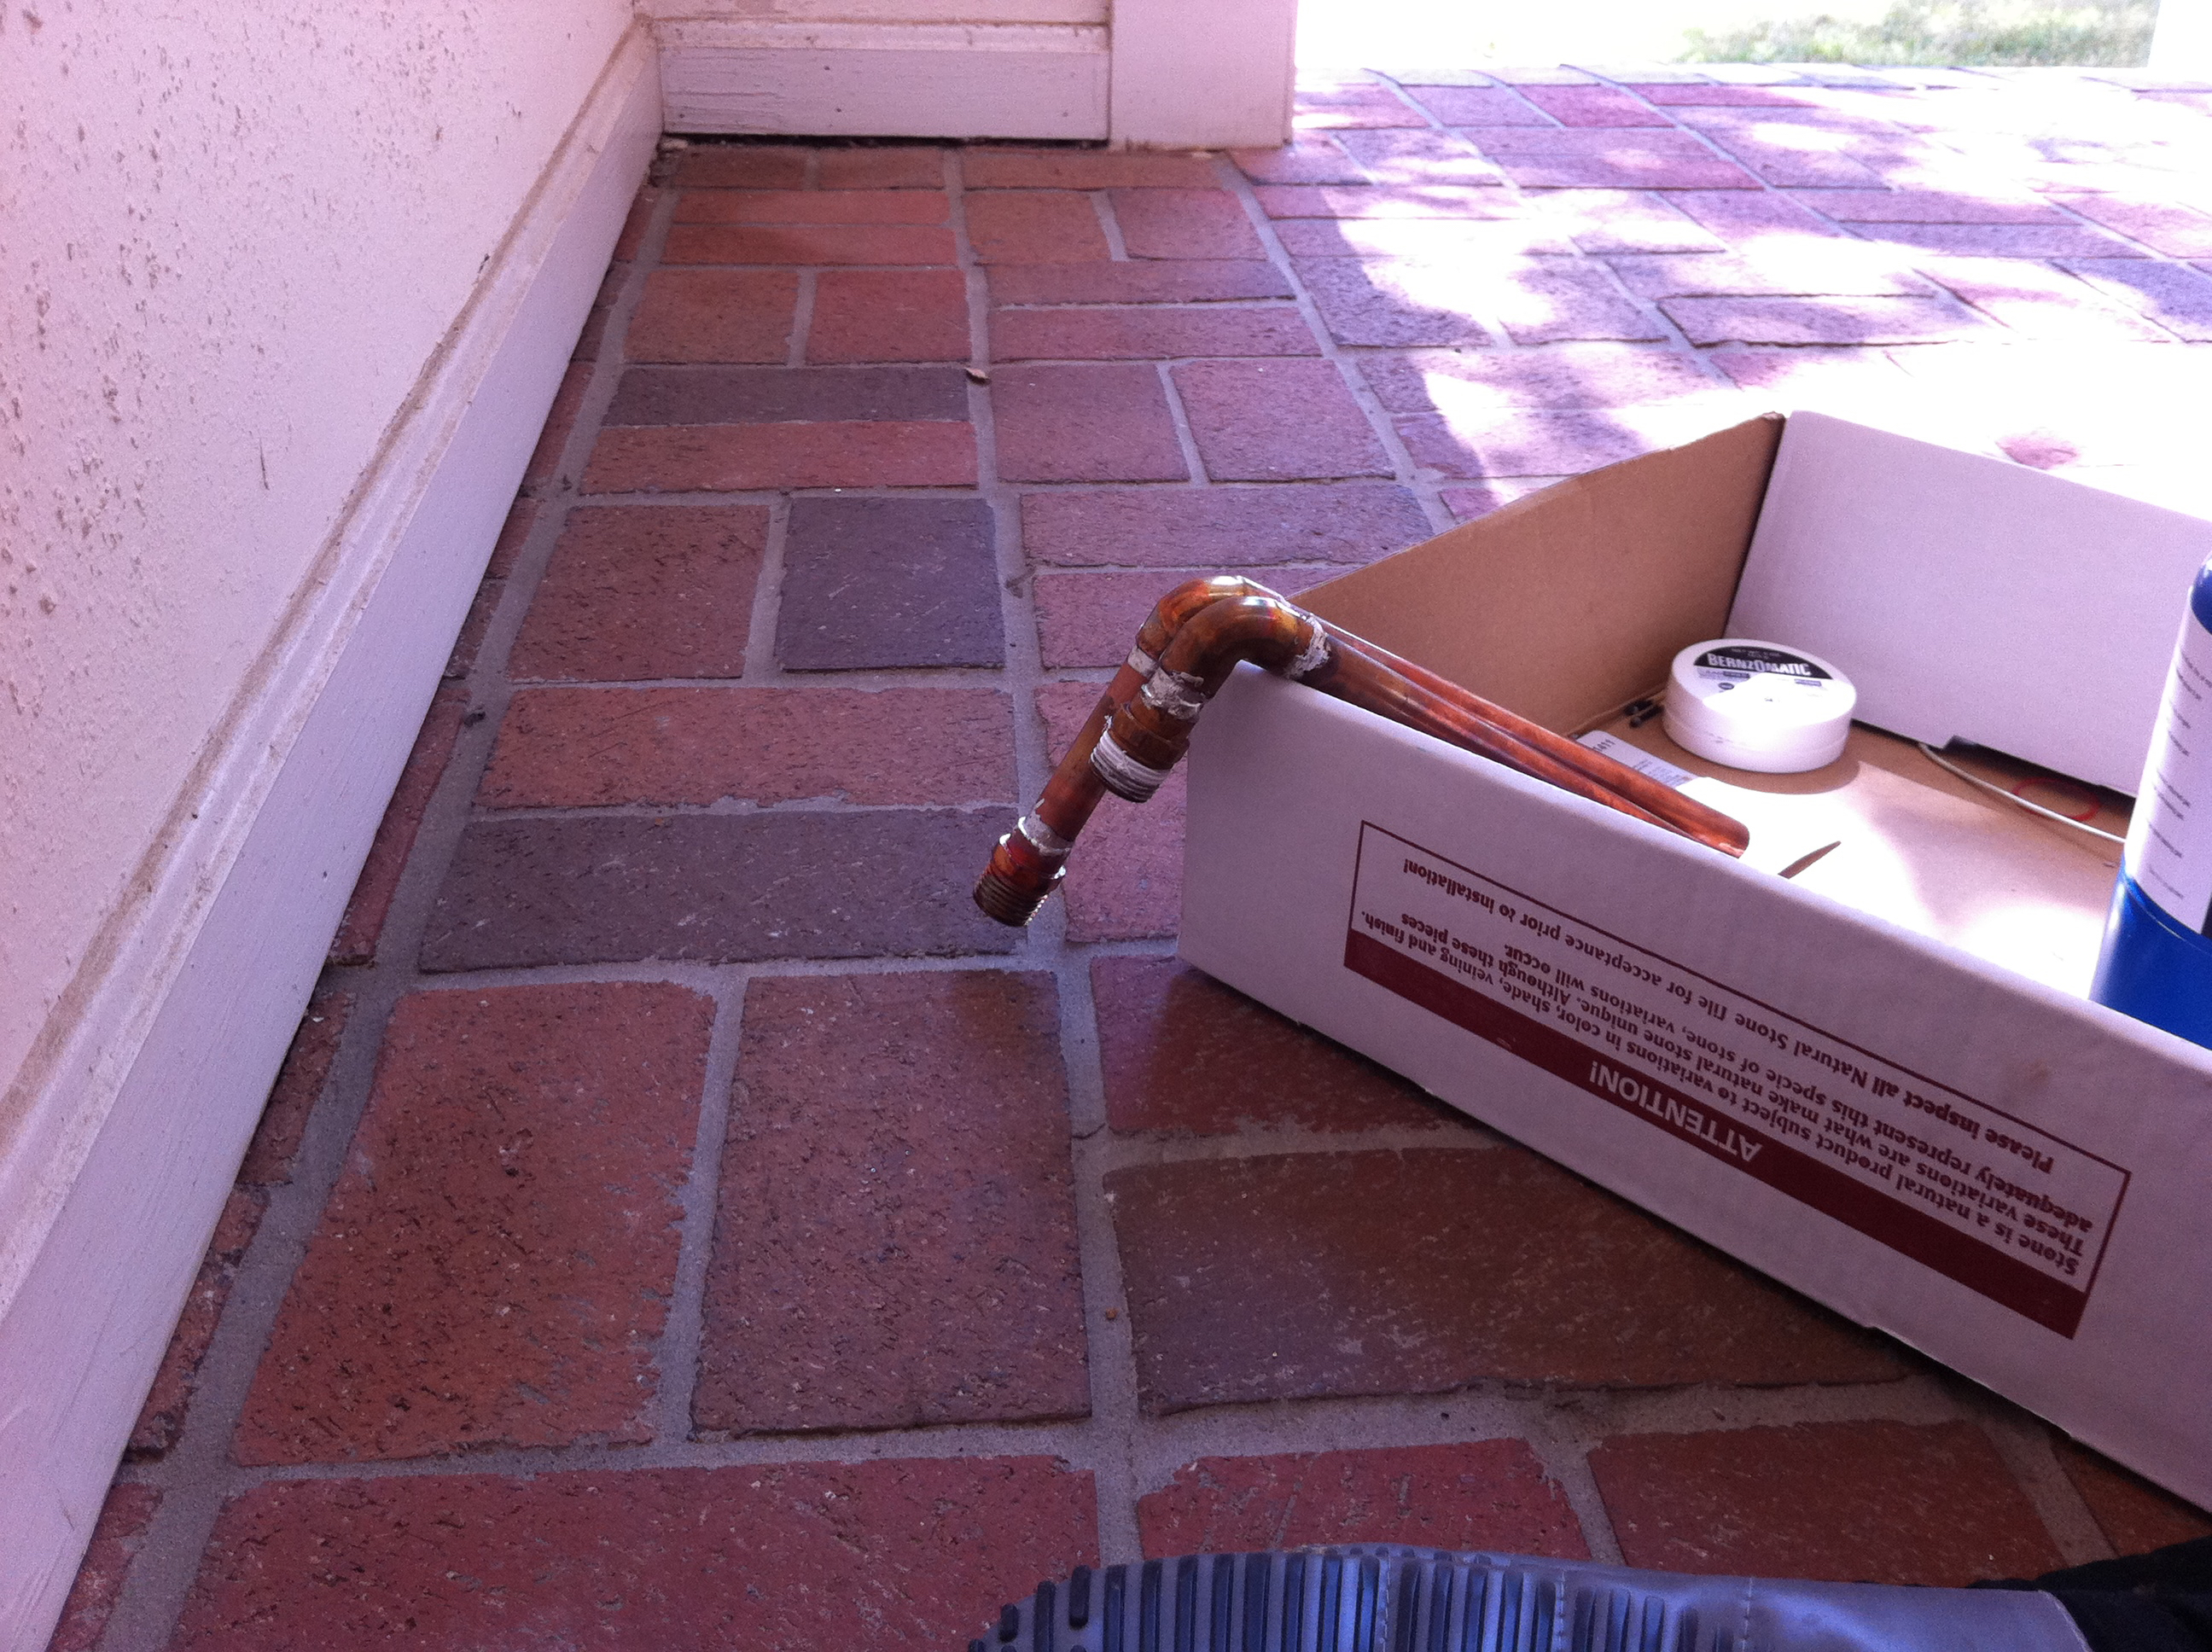
I decided I would replace the control valve for the shower seeing as how everything else was getting replaced. This lead to my first soldering (other than computer parts).
This is the tub spout:
I got the new module in place pretty easily (much easier than I expected):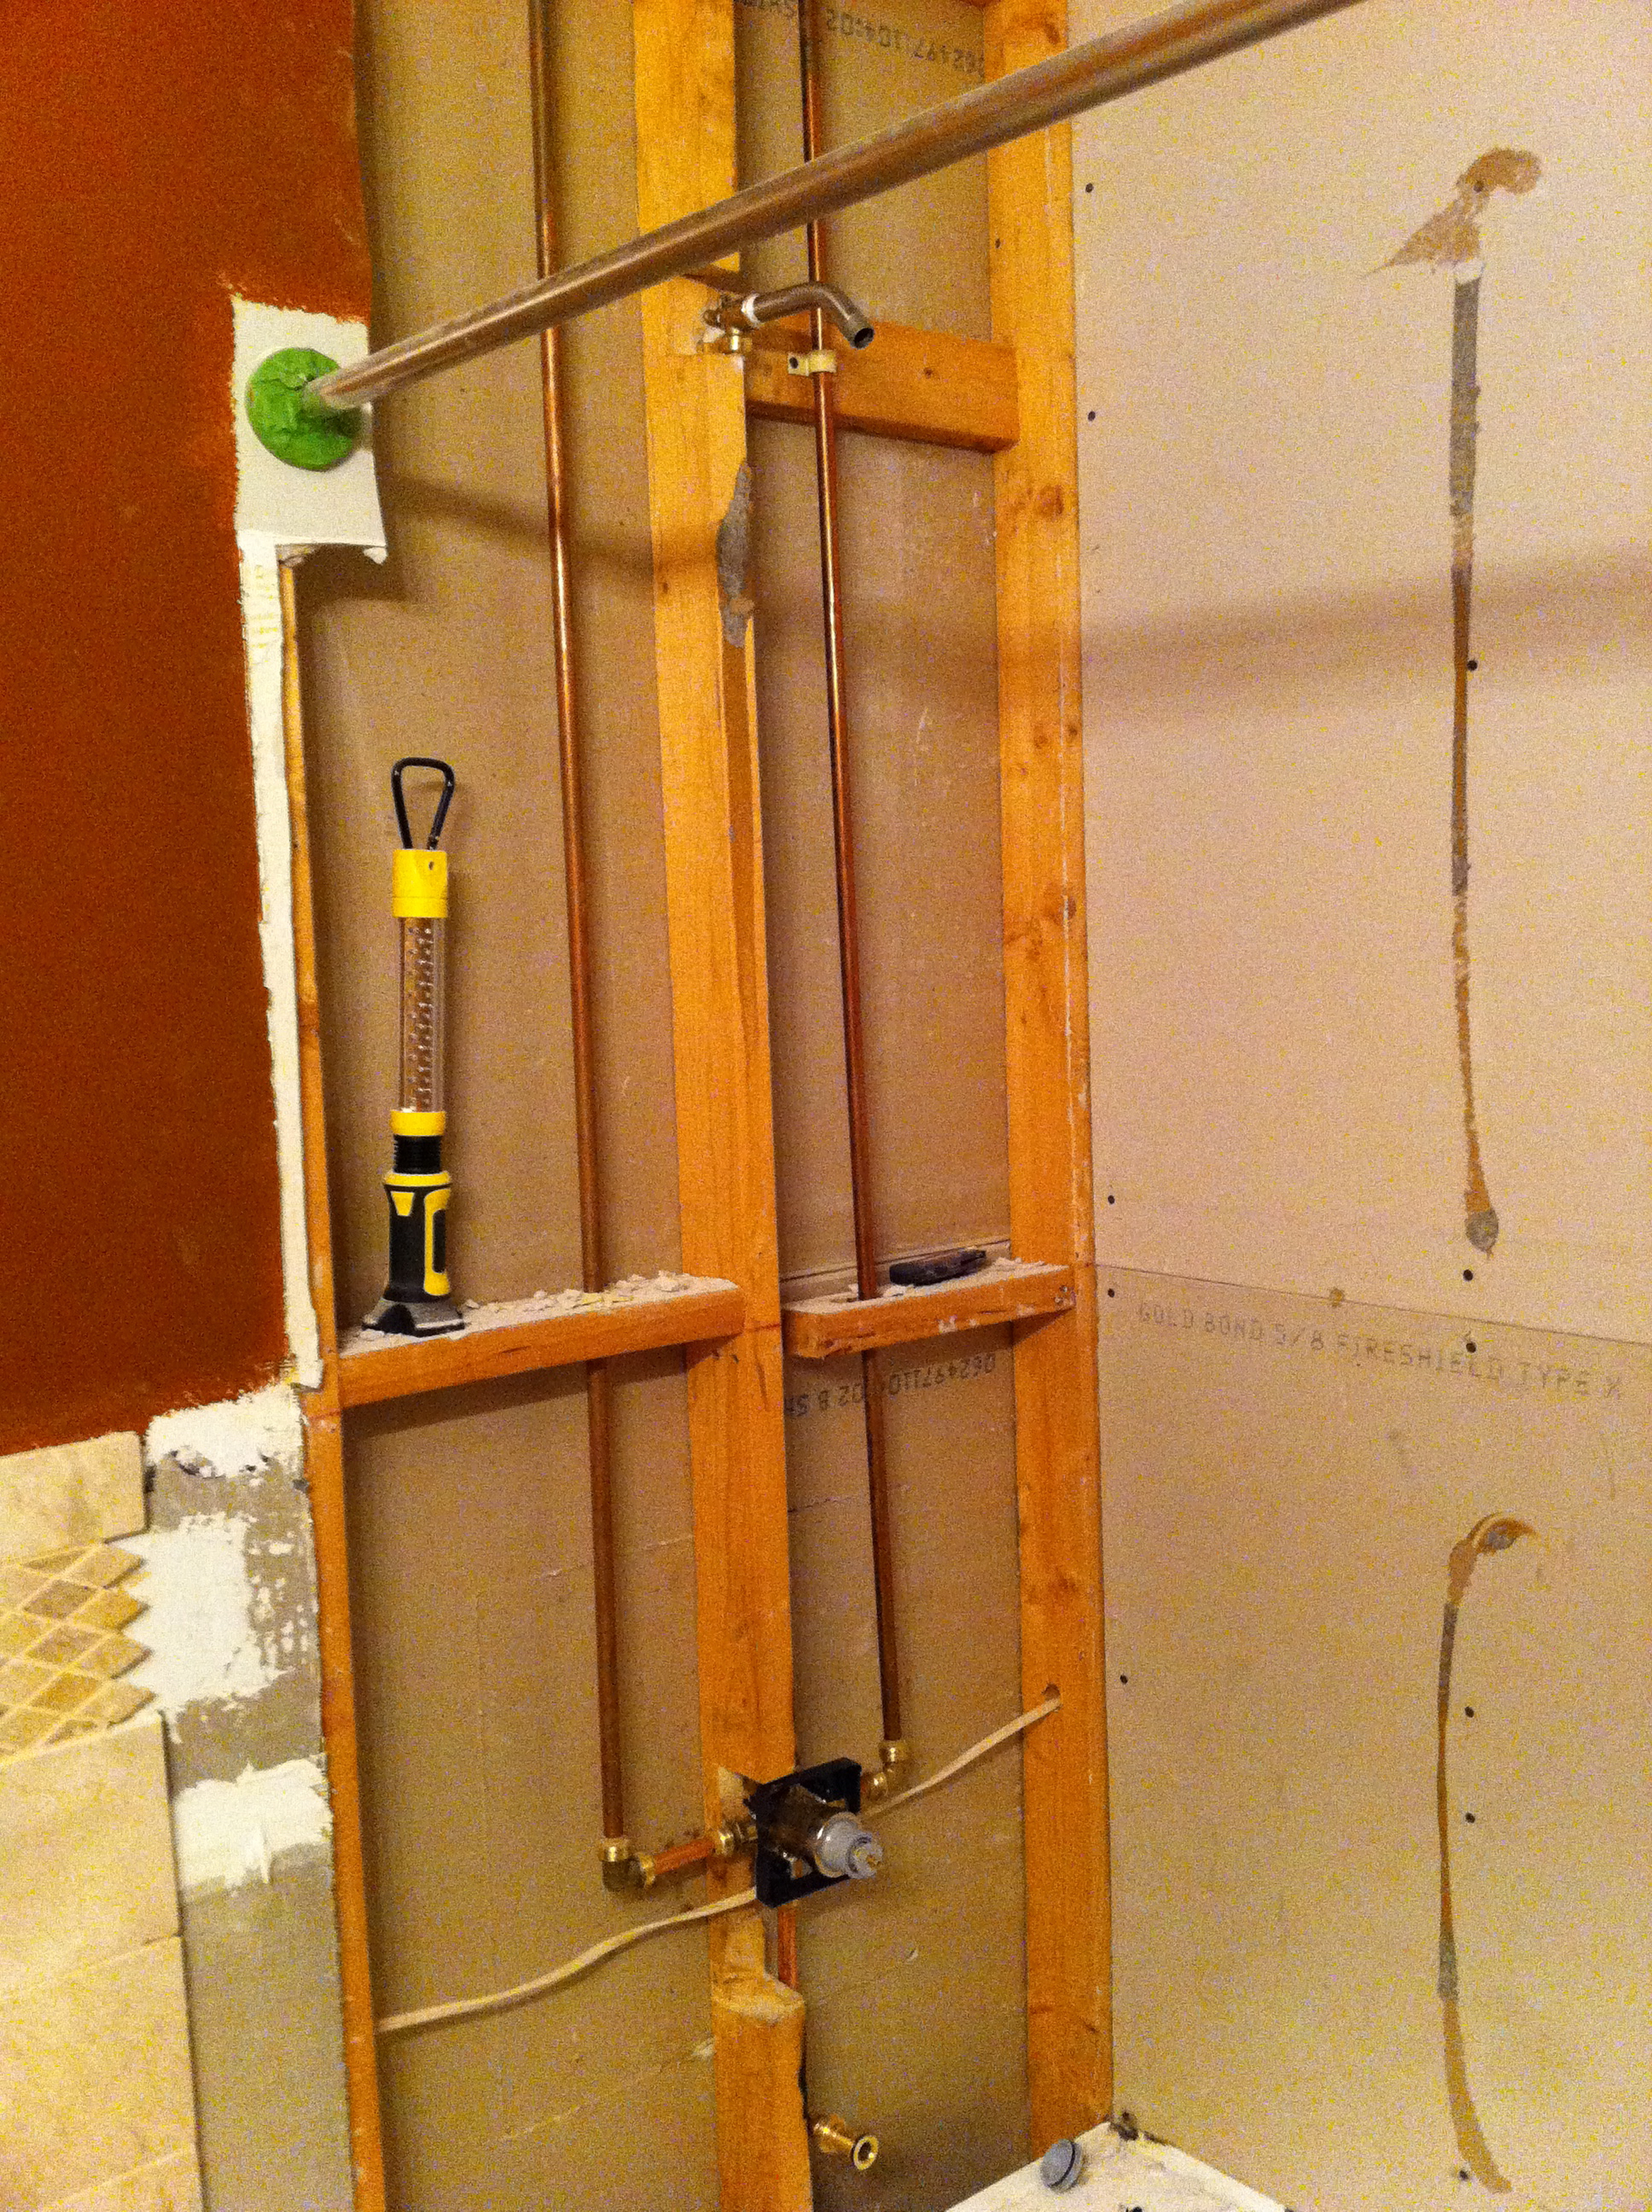
The backer board went on top of the fire-resistant barrier. This is an important component when installing heavy tile like marble. This backer board is made of cement held together by a thin mesh layer. It is very stiff, and messy to cut. I had to cut every board to get it home because it wouldn’t fit in on on my car otherwise.
At this point, the shower replumbing was good because you can see the white cap on the shower head pipe.
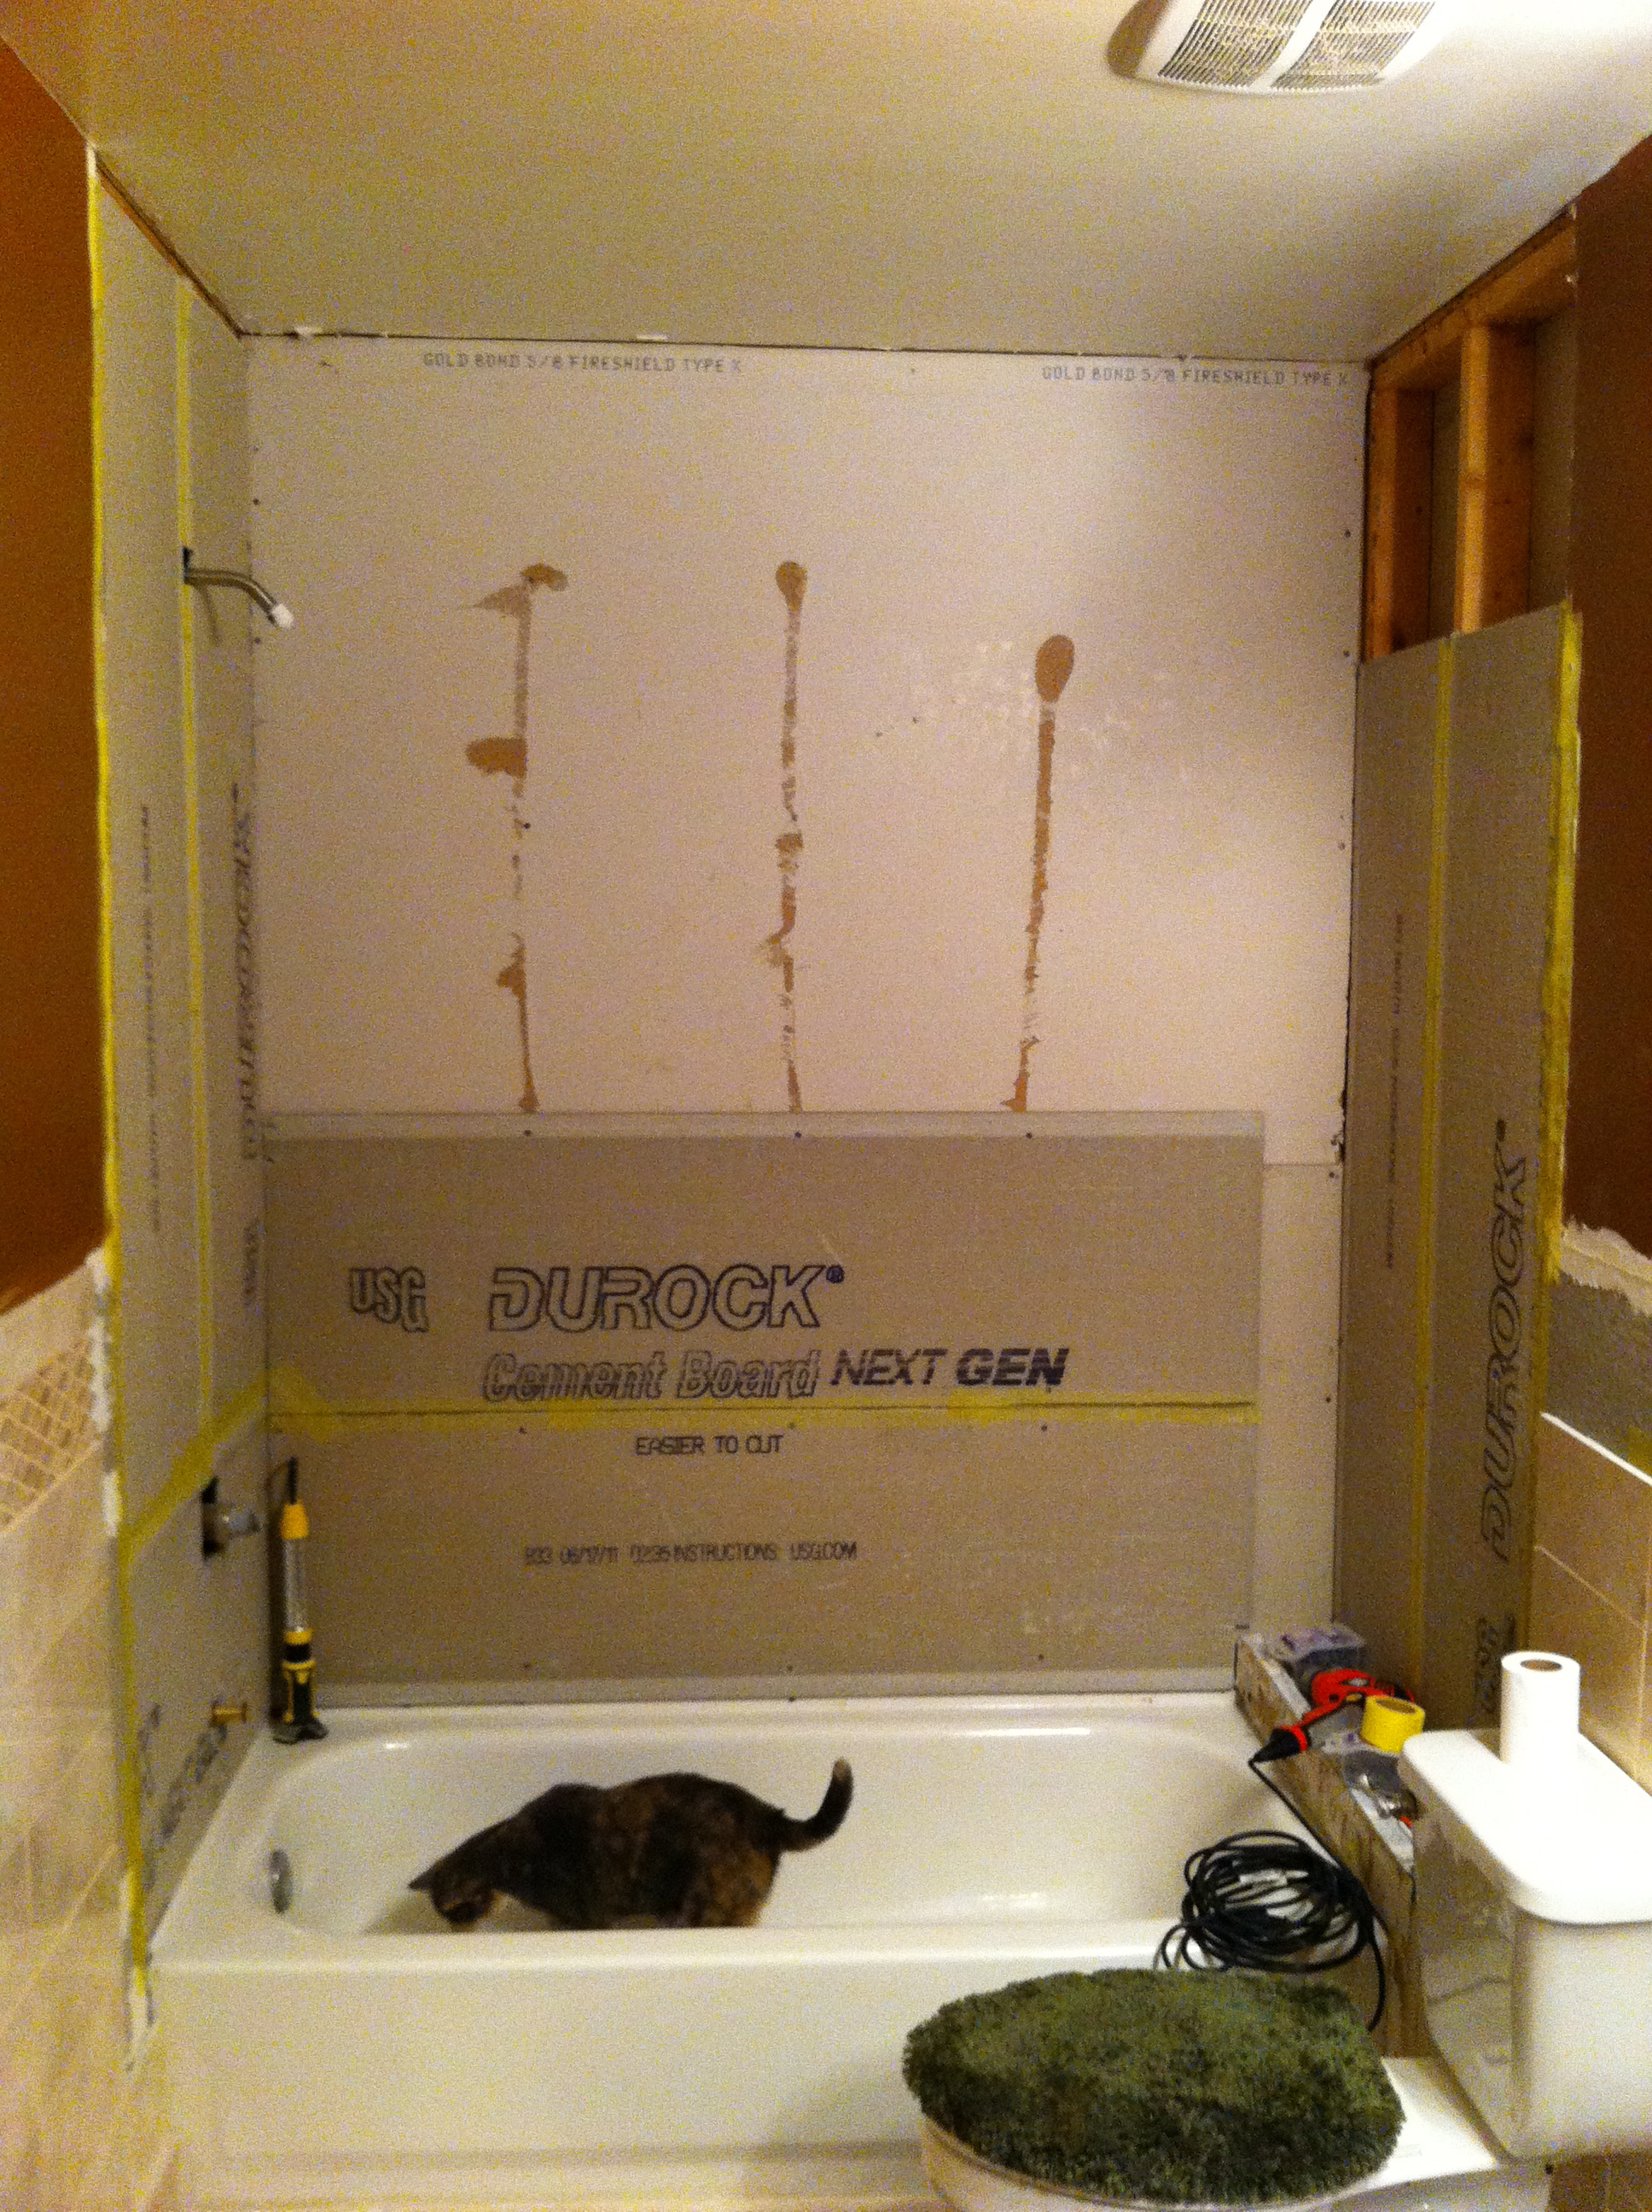
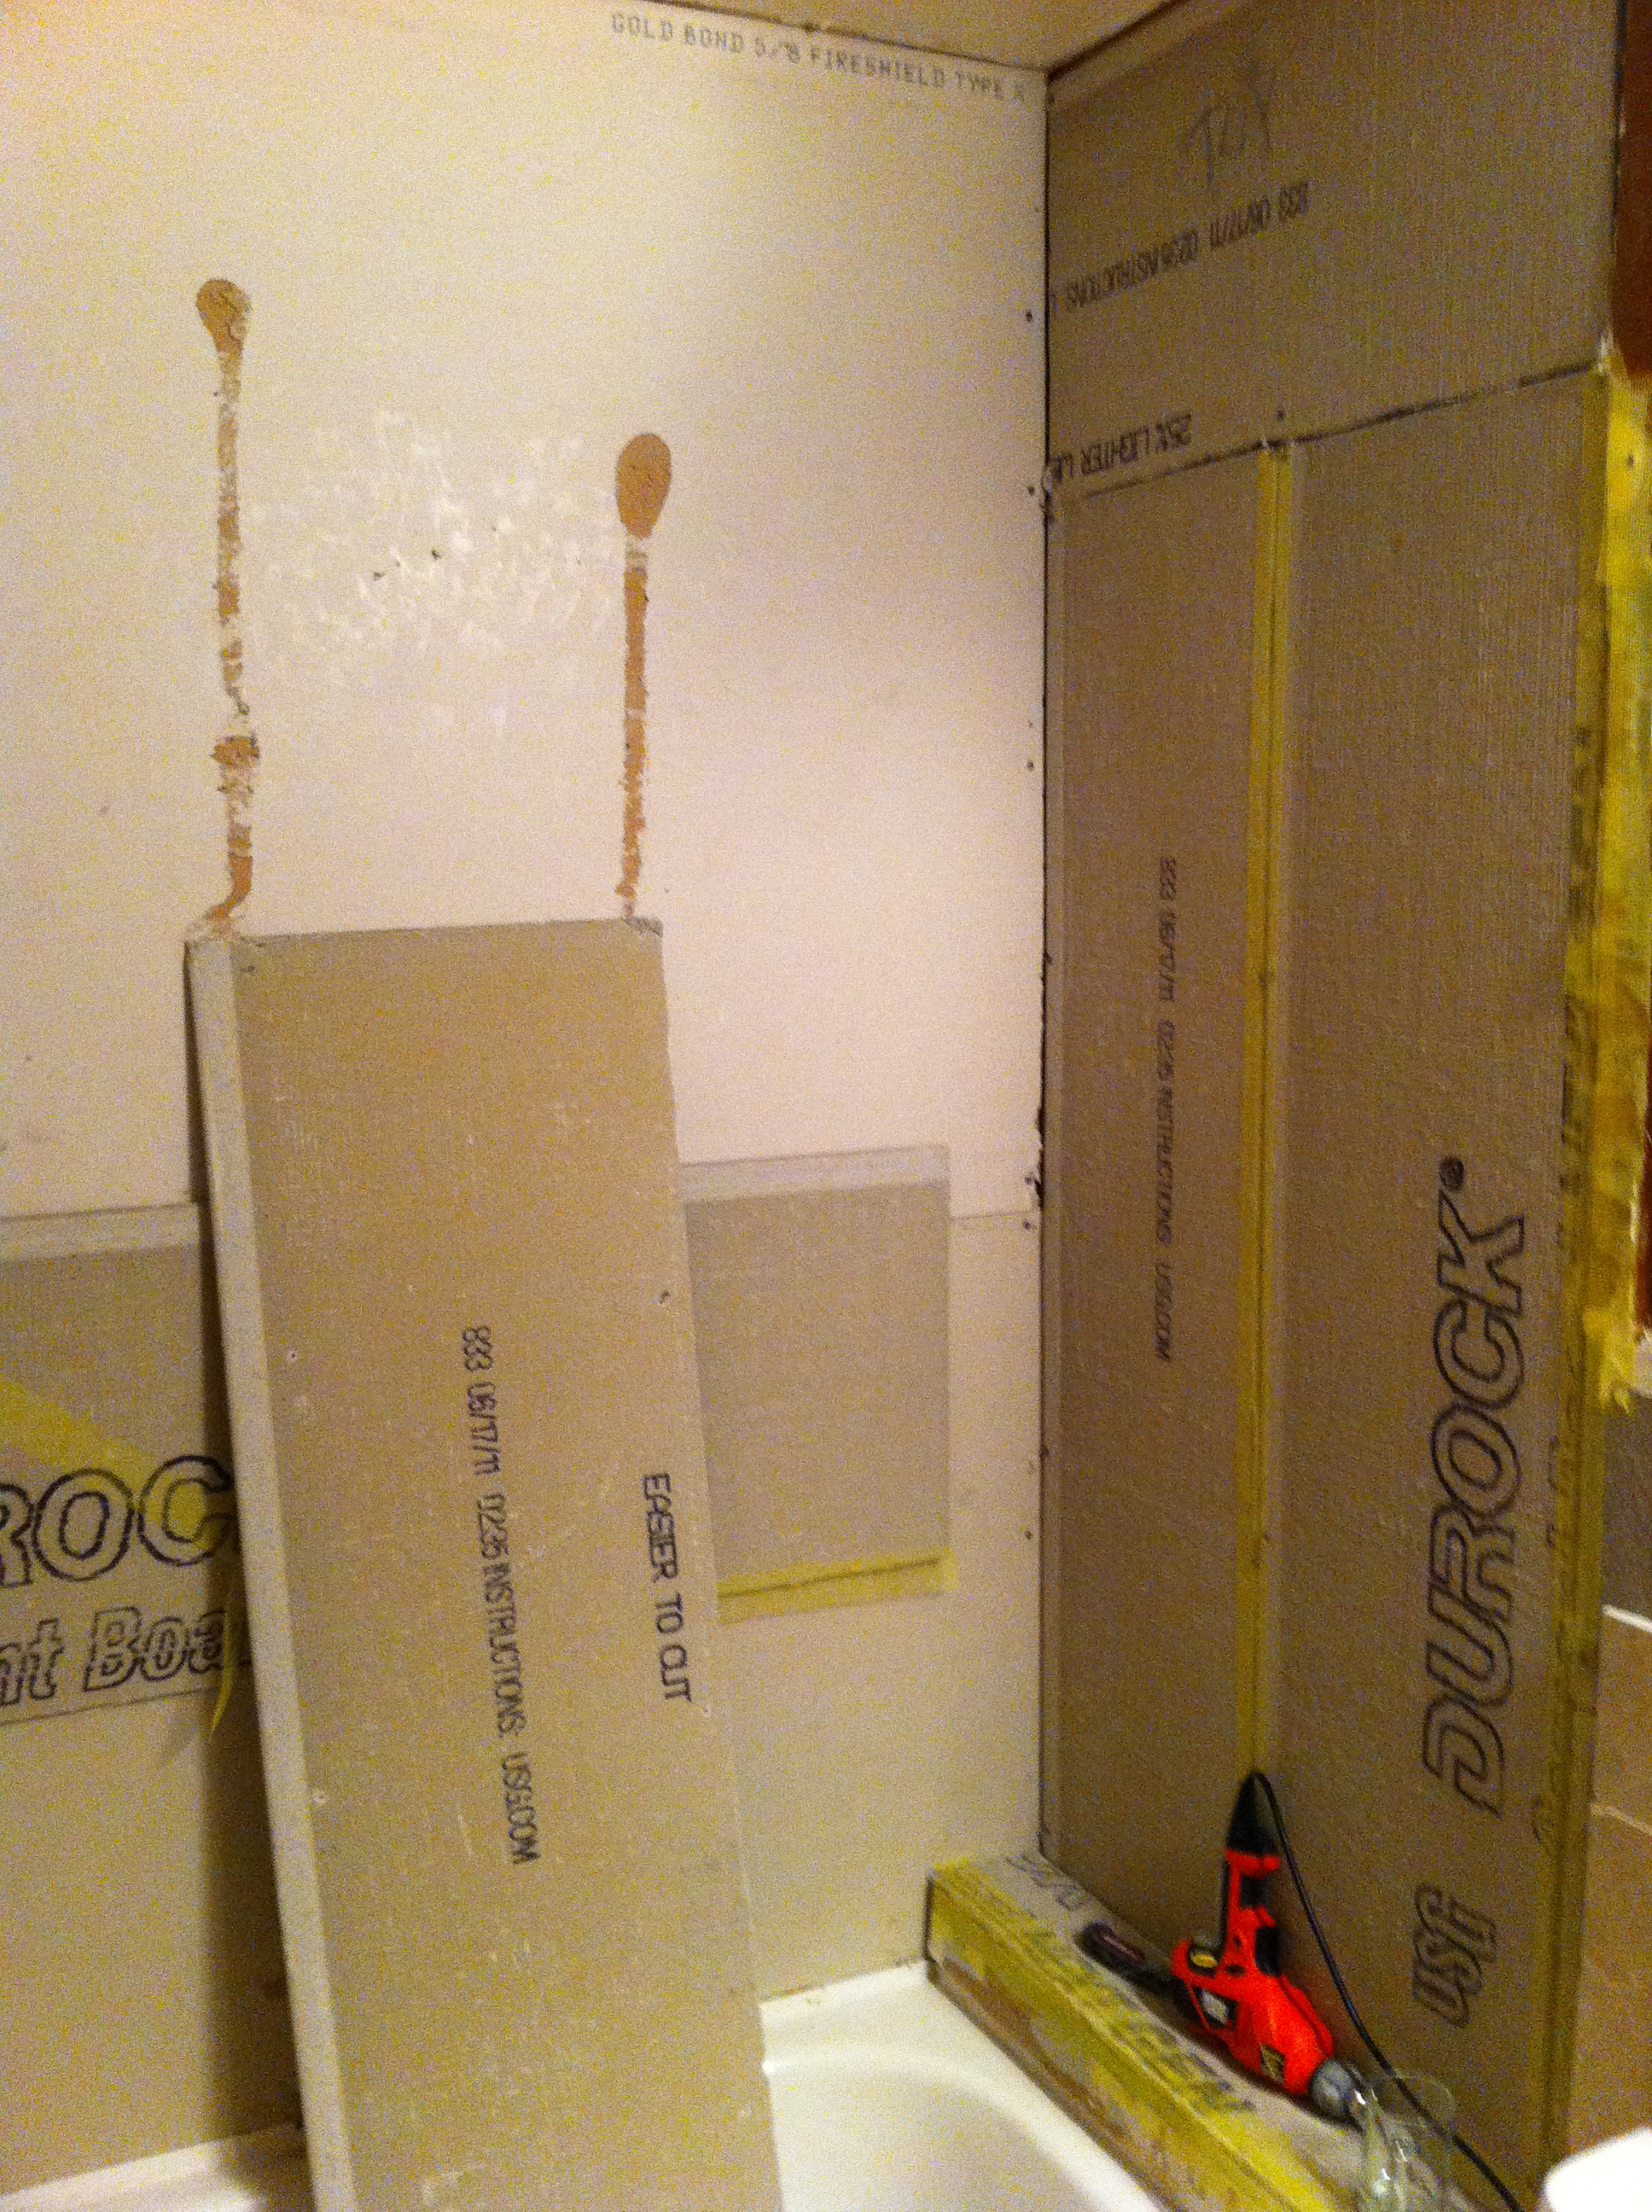
In the bottom right hand corner of the picture above, you’ll notice a small shelf. It existed before I ripped things apart, but the old tile didn’t separate from the shelf easily because it was installed with chicken wire. I have no idea why. I cut a few 2x4s, stood them vertically & put the backer board on top of it. Because the backer board is so stiff, it had no problem supporting the weight.
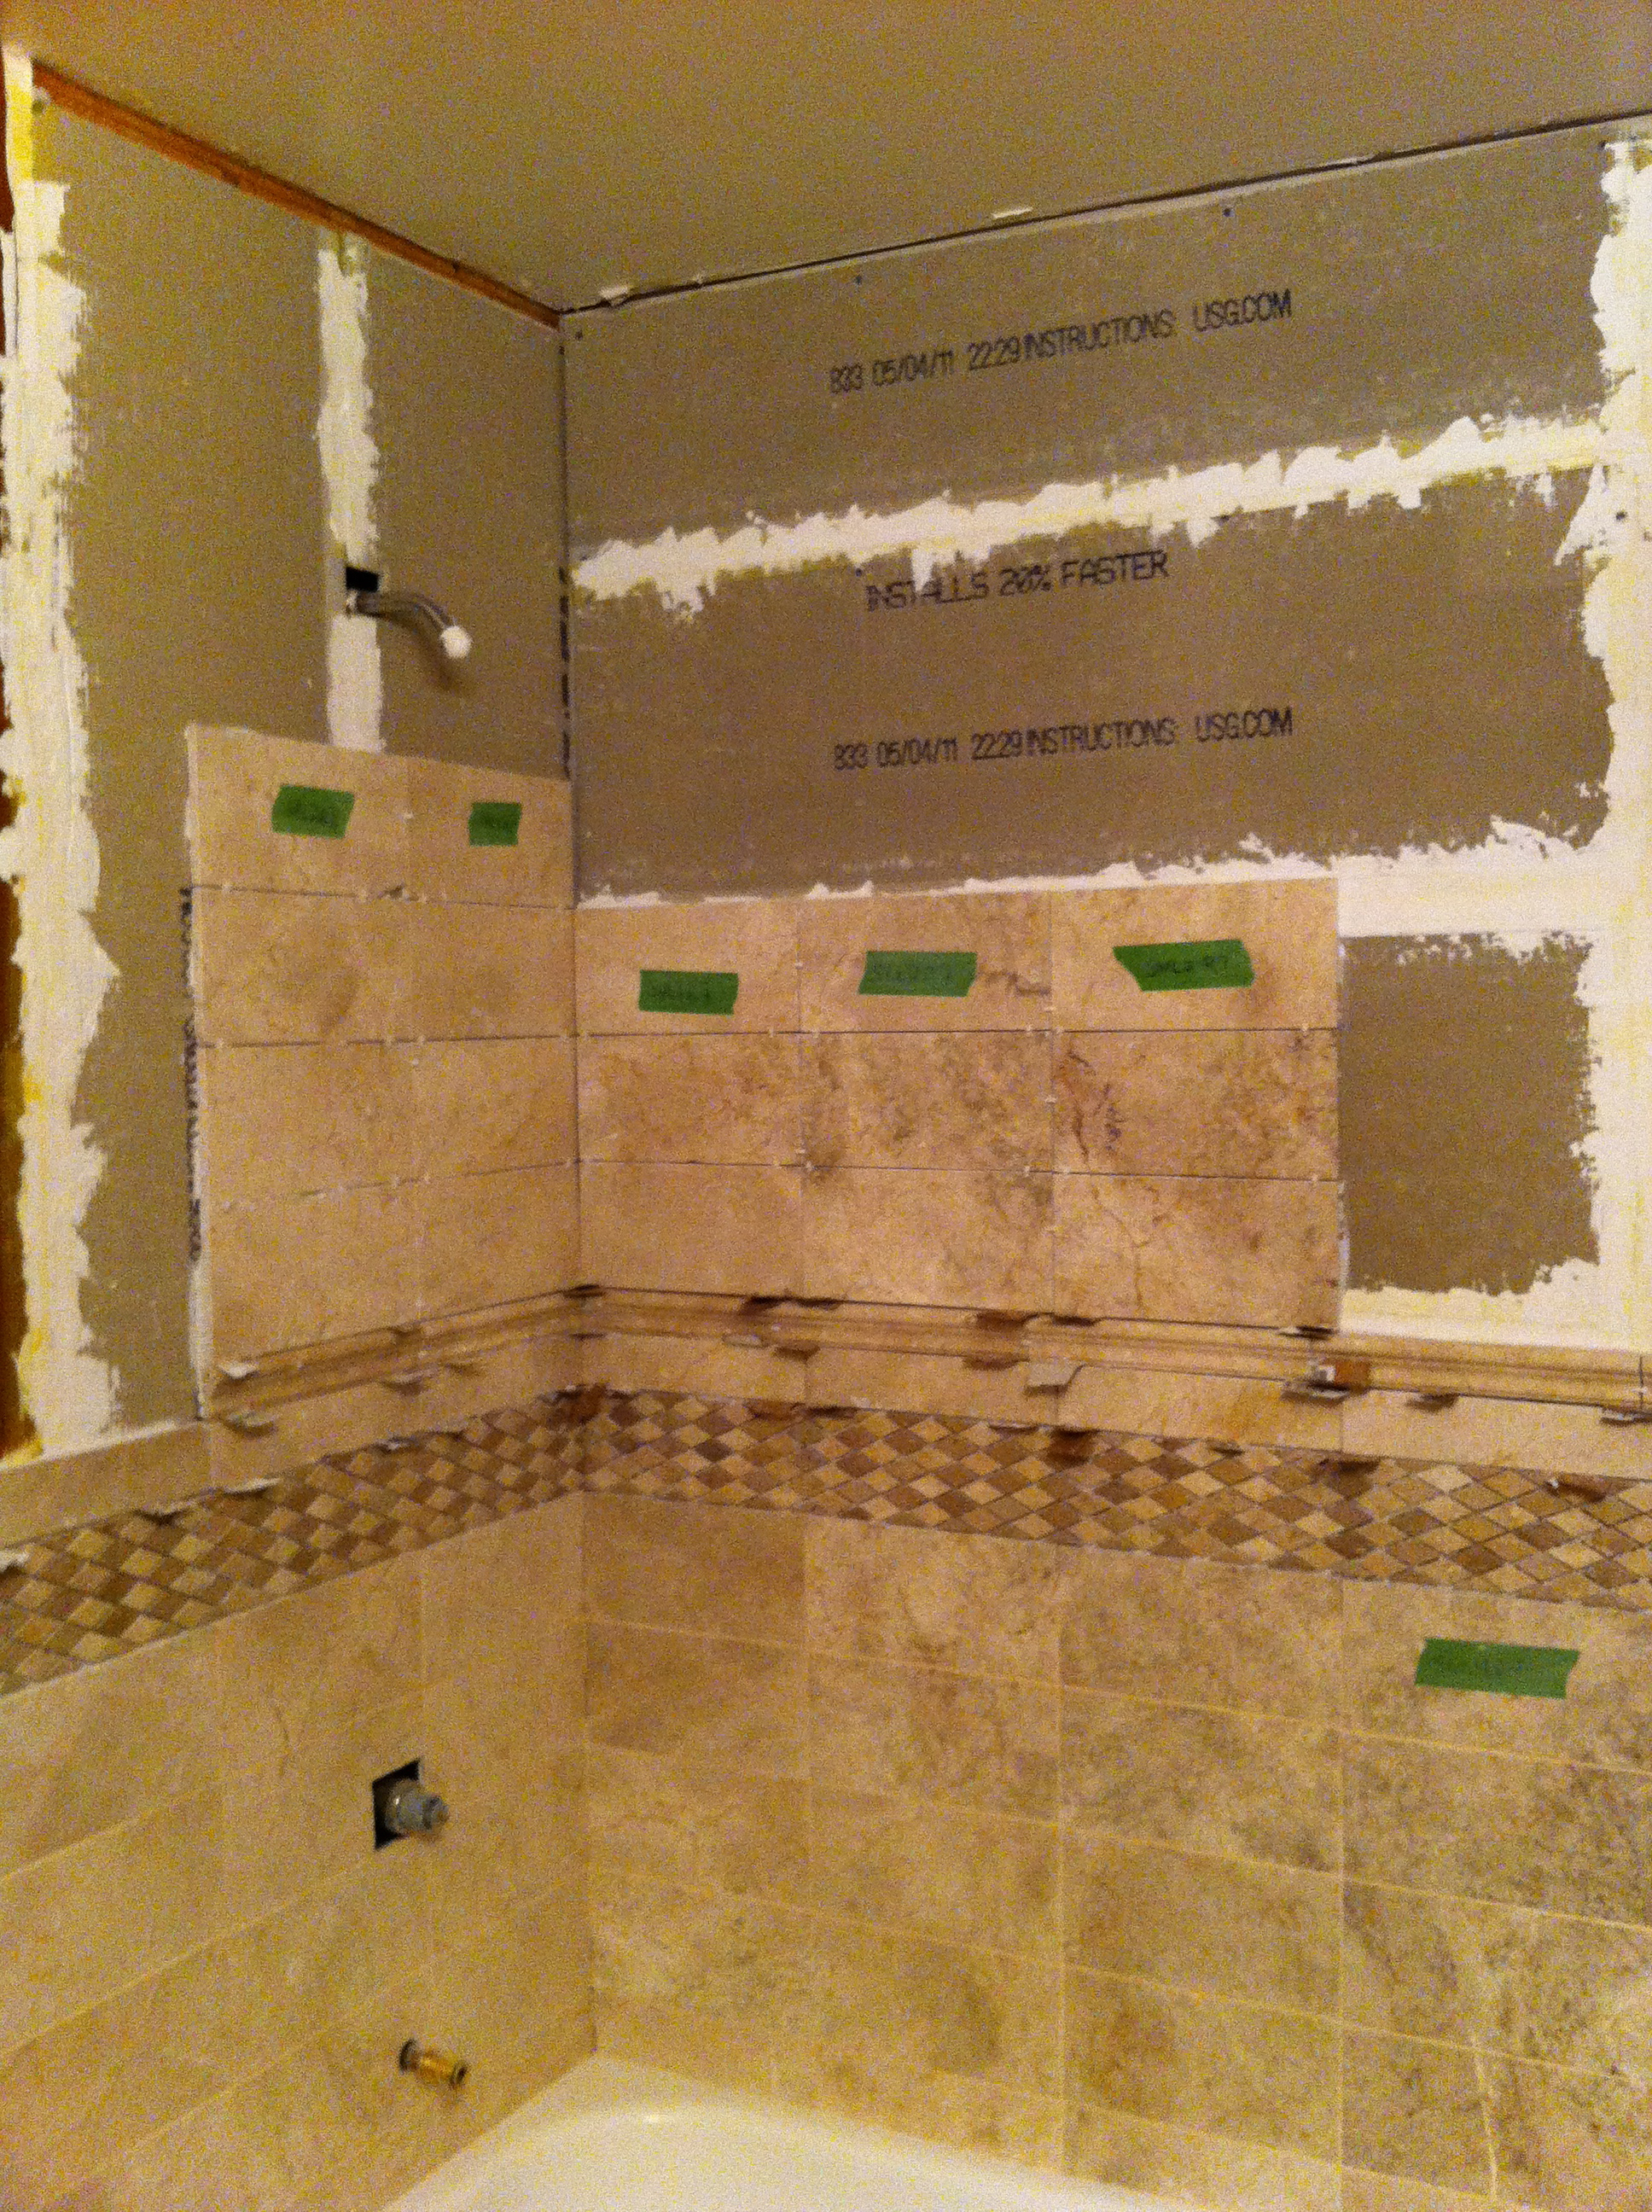
Installing the shower tile was pretty easy, but it took forever because I only had a couple hours a day to cut tile & hang it. I used a similar methodology for labeling the wall tile as I did the floor tile. I labeled them with with the wall name, the row number, and a column number. This made sure the veins in the tile would match exactly how I wanted before & after cutting each tile.
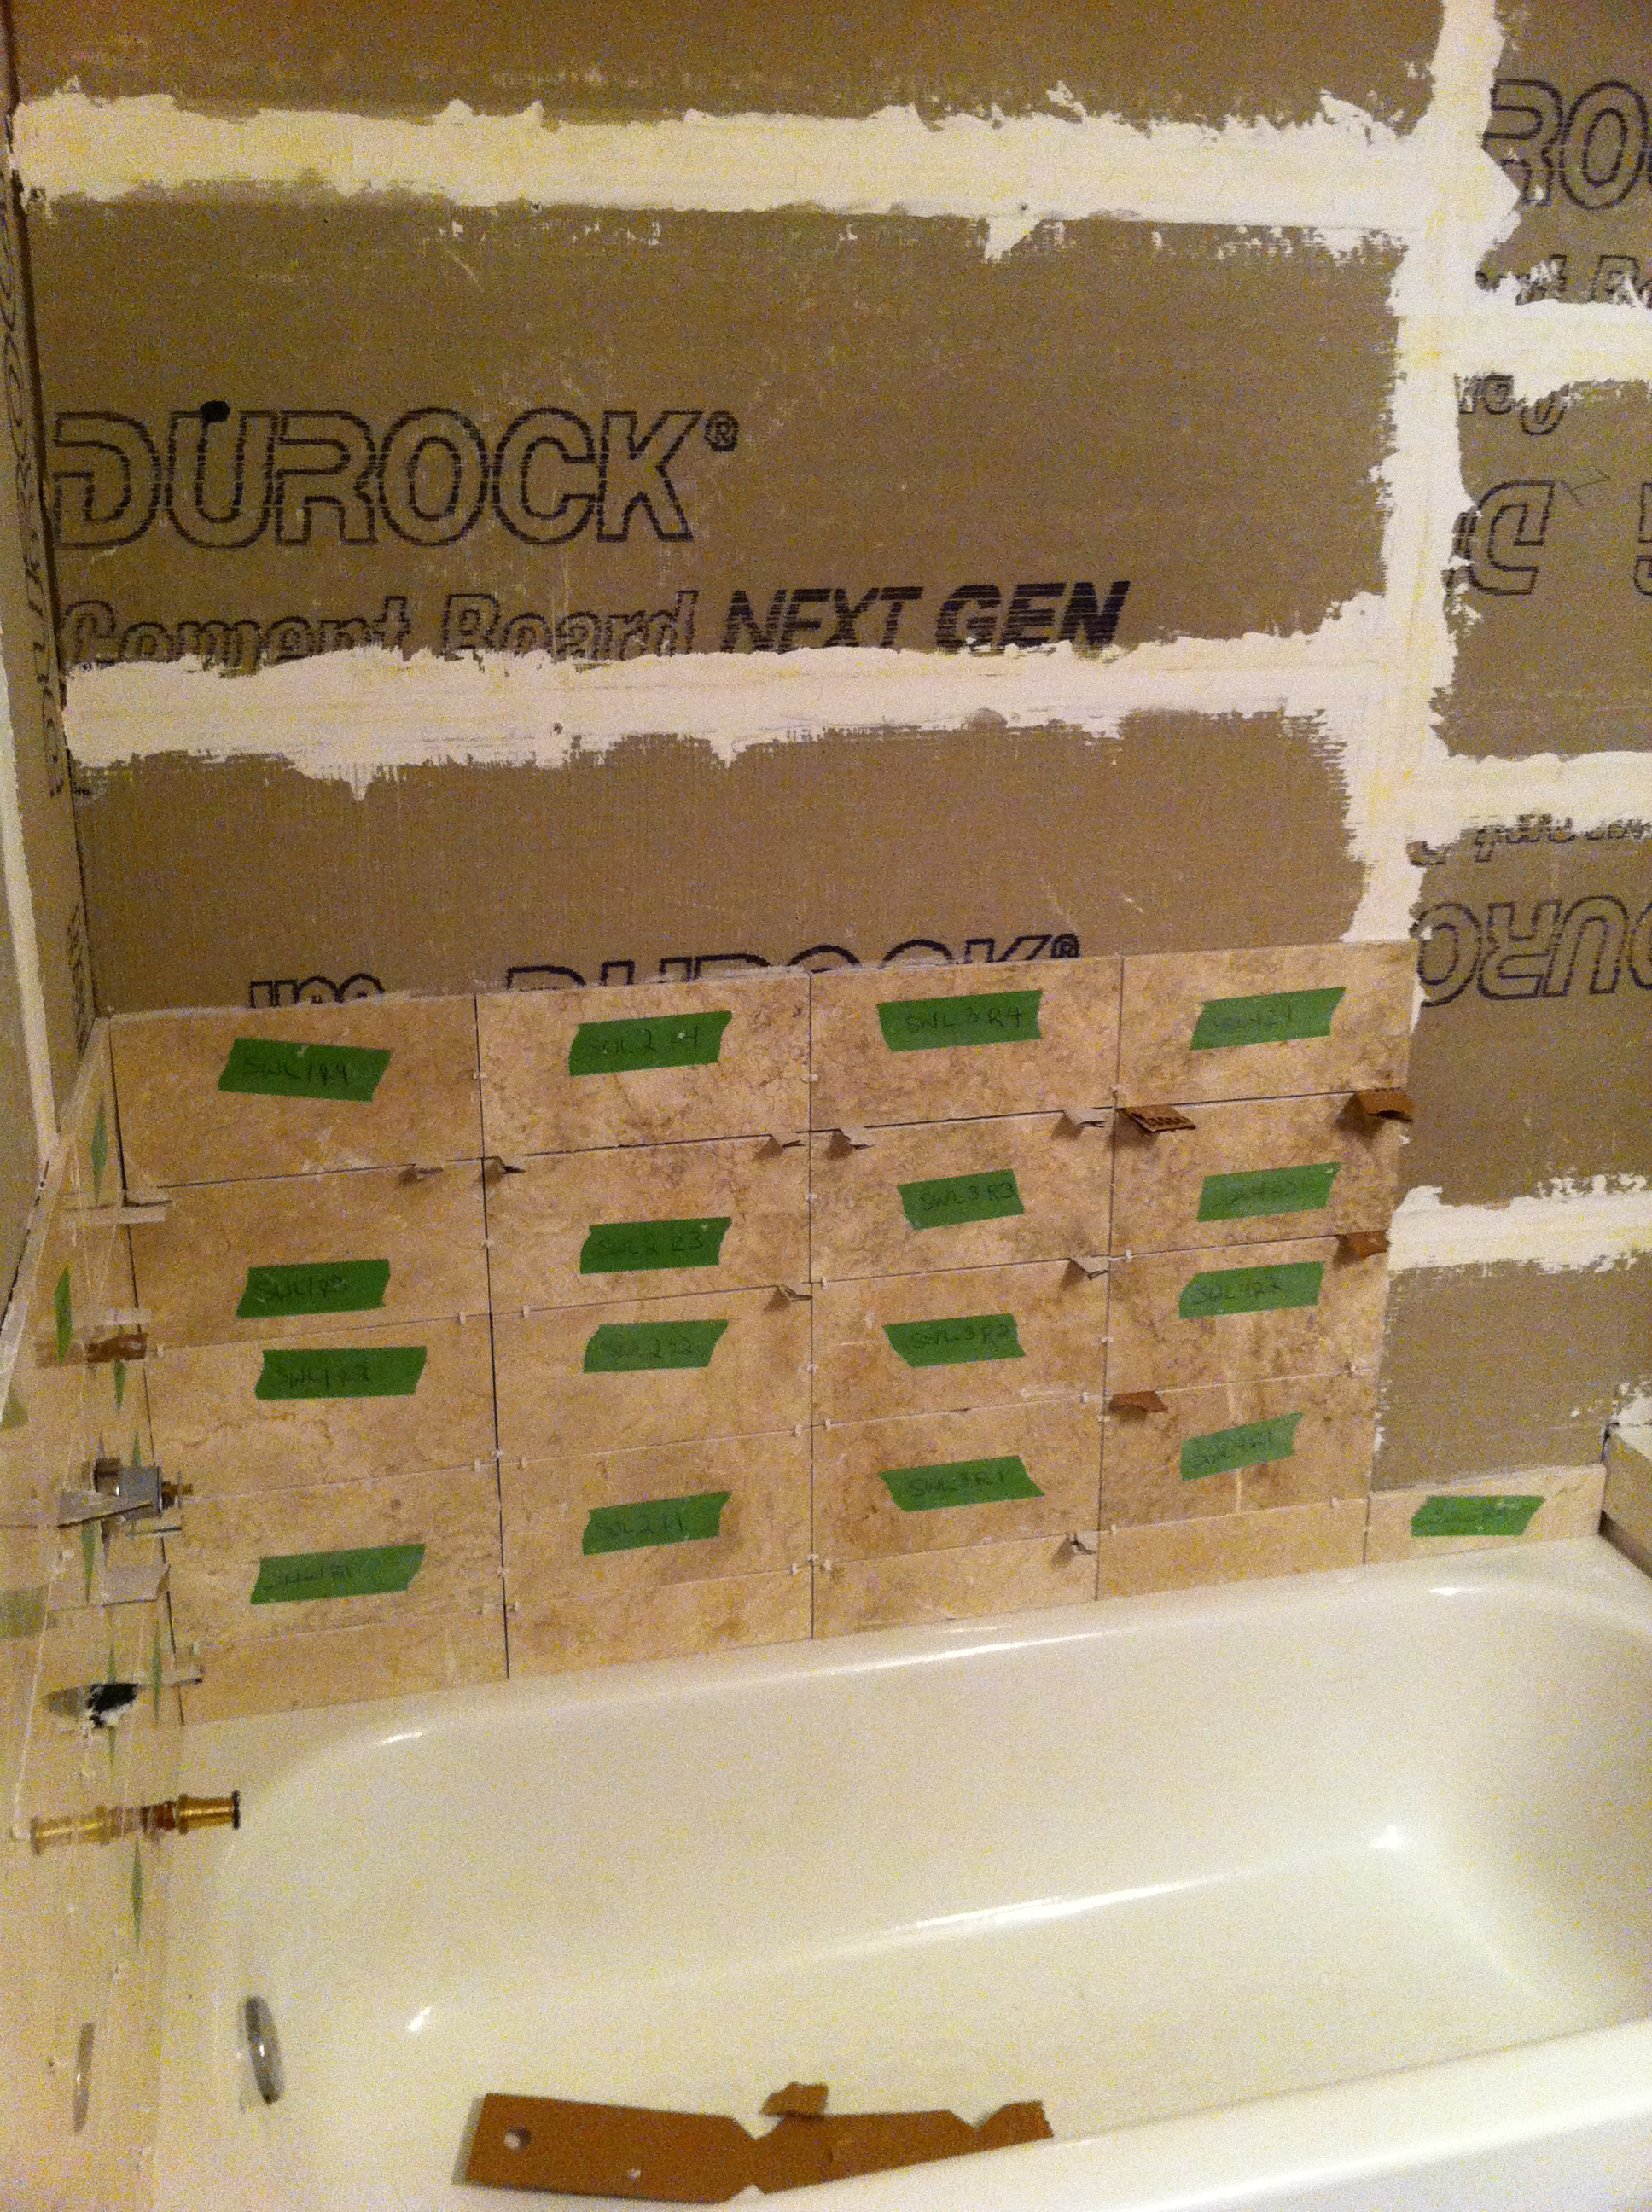
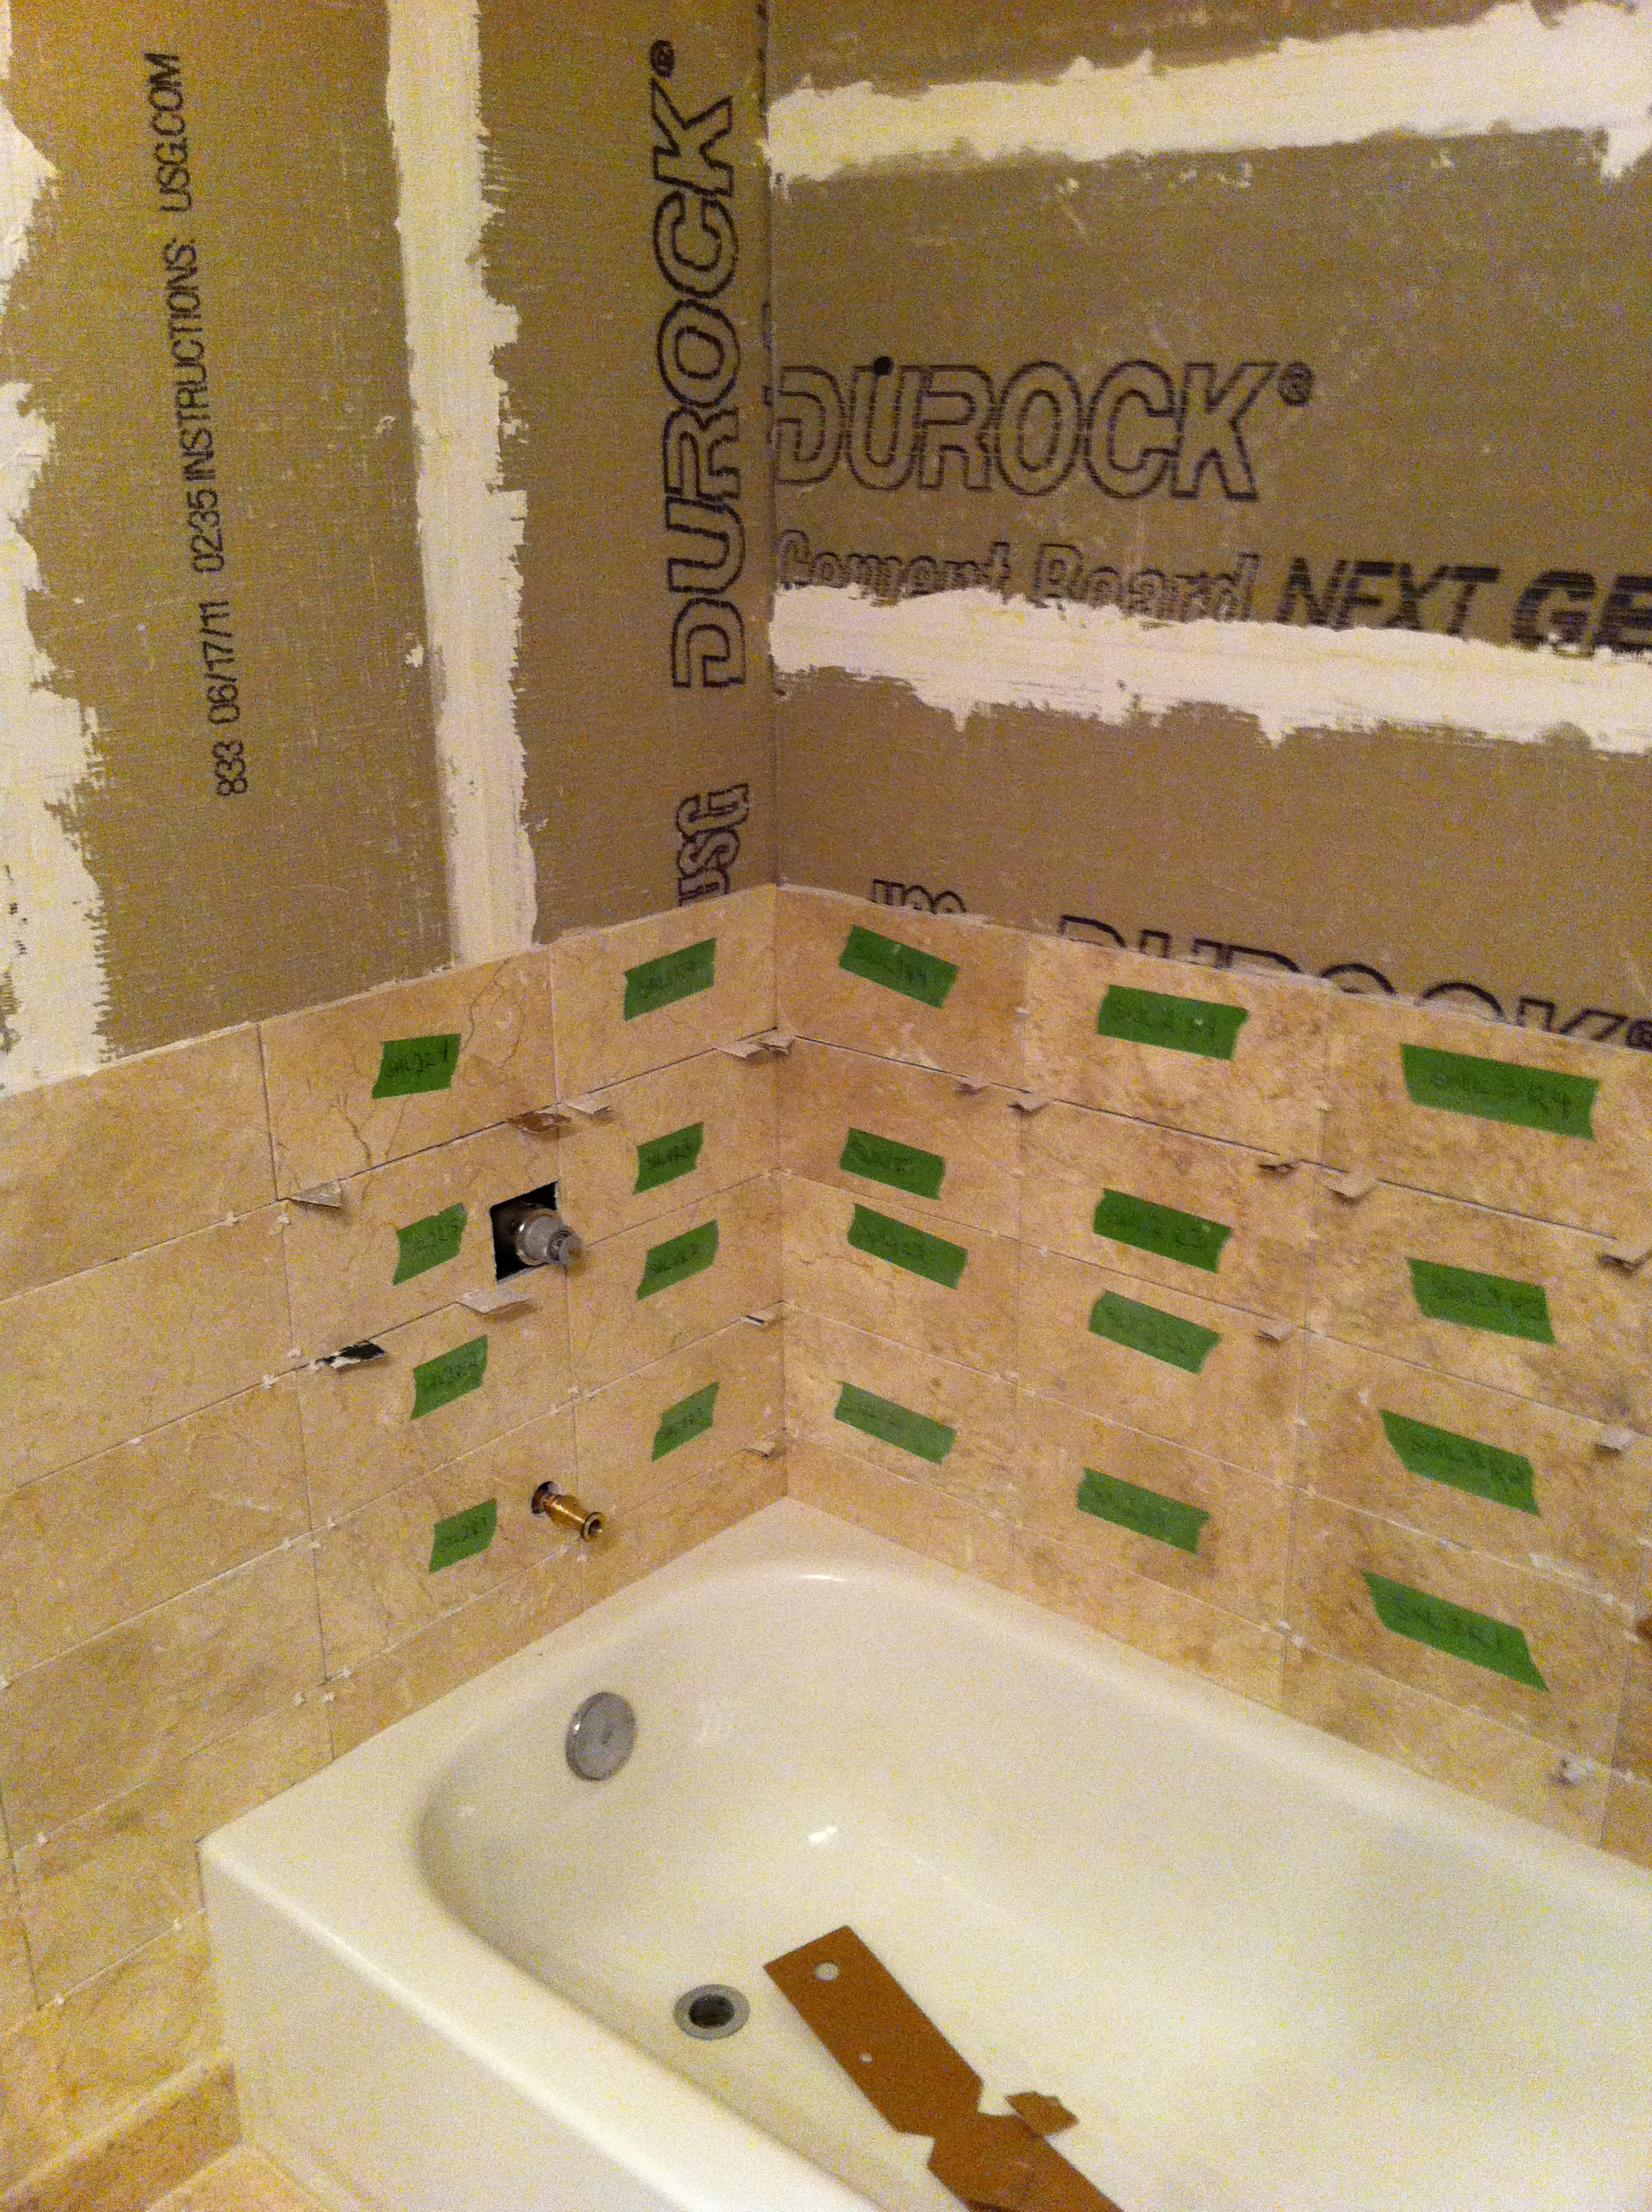
In the picture above, you’ll notice the tile that sits on the tub is half the height of the tile to the left of the tub. I paid close attention to how the tiles lined up transitioning from the wainscot to the wall. Planning ahead makes a huge difference in the quality of work. I didn’t have enough tile spacers to space all the tiles, so I used cardboard from the tile boxes. I also used the tile to clear thin set that leaked out from the gaps between the tiles (I didn’t realize at the time that meant I was putting too much thin set on).
My wife would get home late at night and see how much progress occurred. I think I usually cut & installed about 8 12x12 tiles per day. The wet saw that I used was hilariously under-powered for cutting marble, but it got the job done.
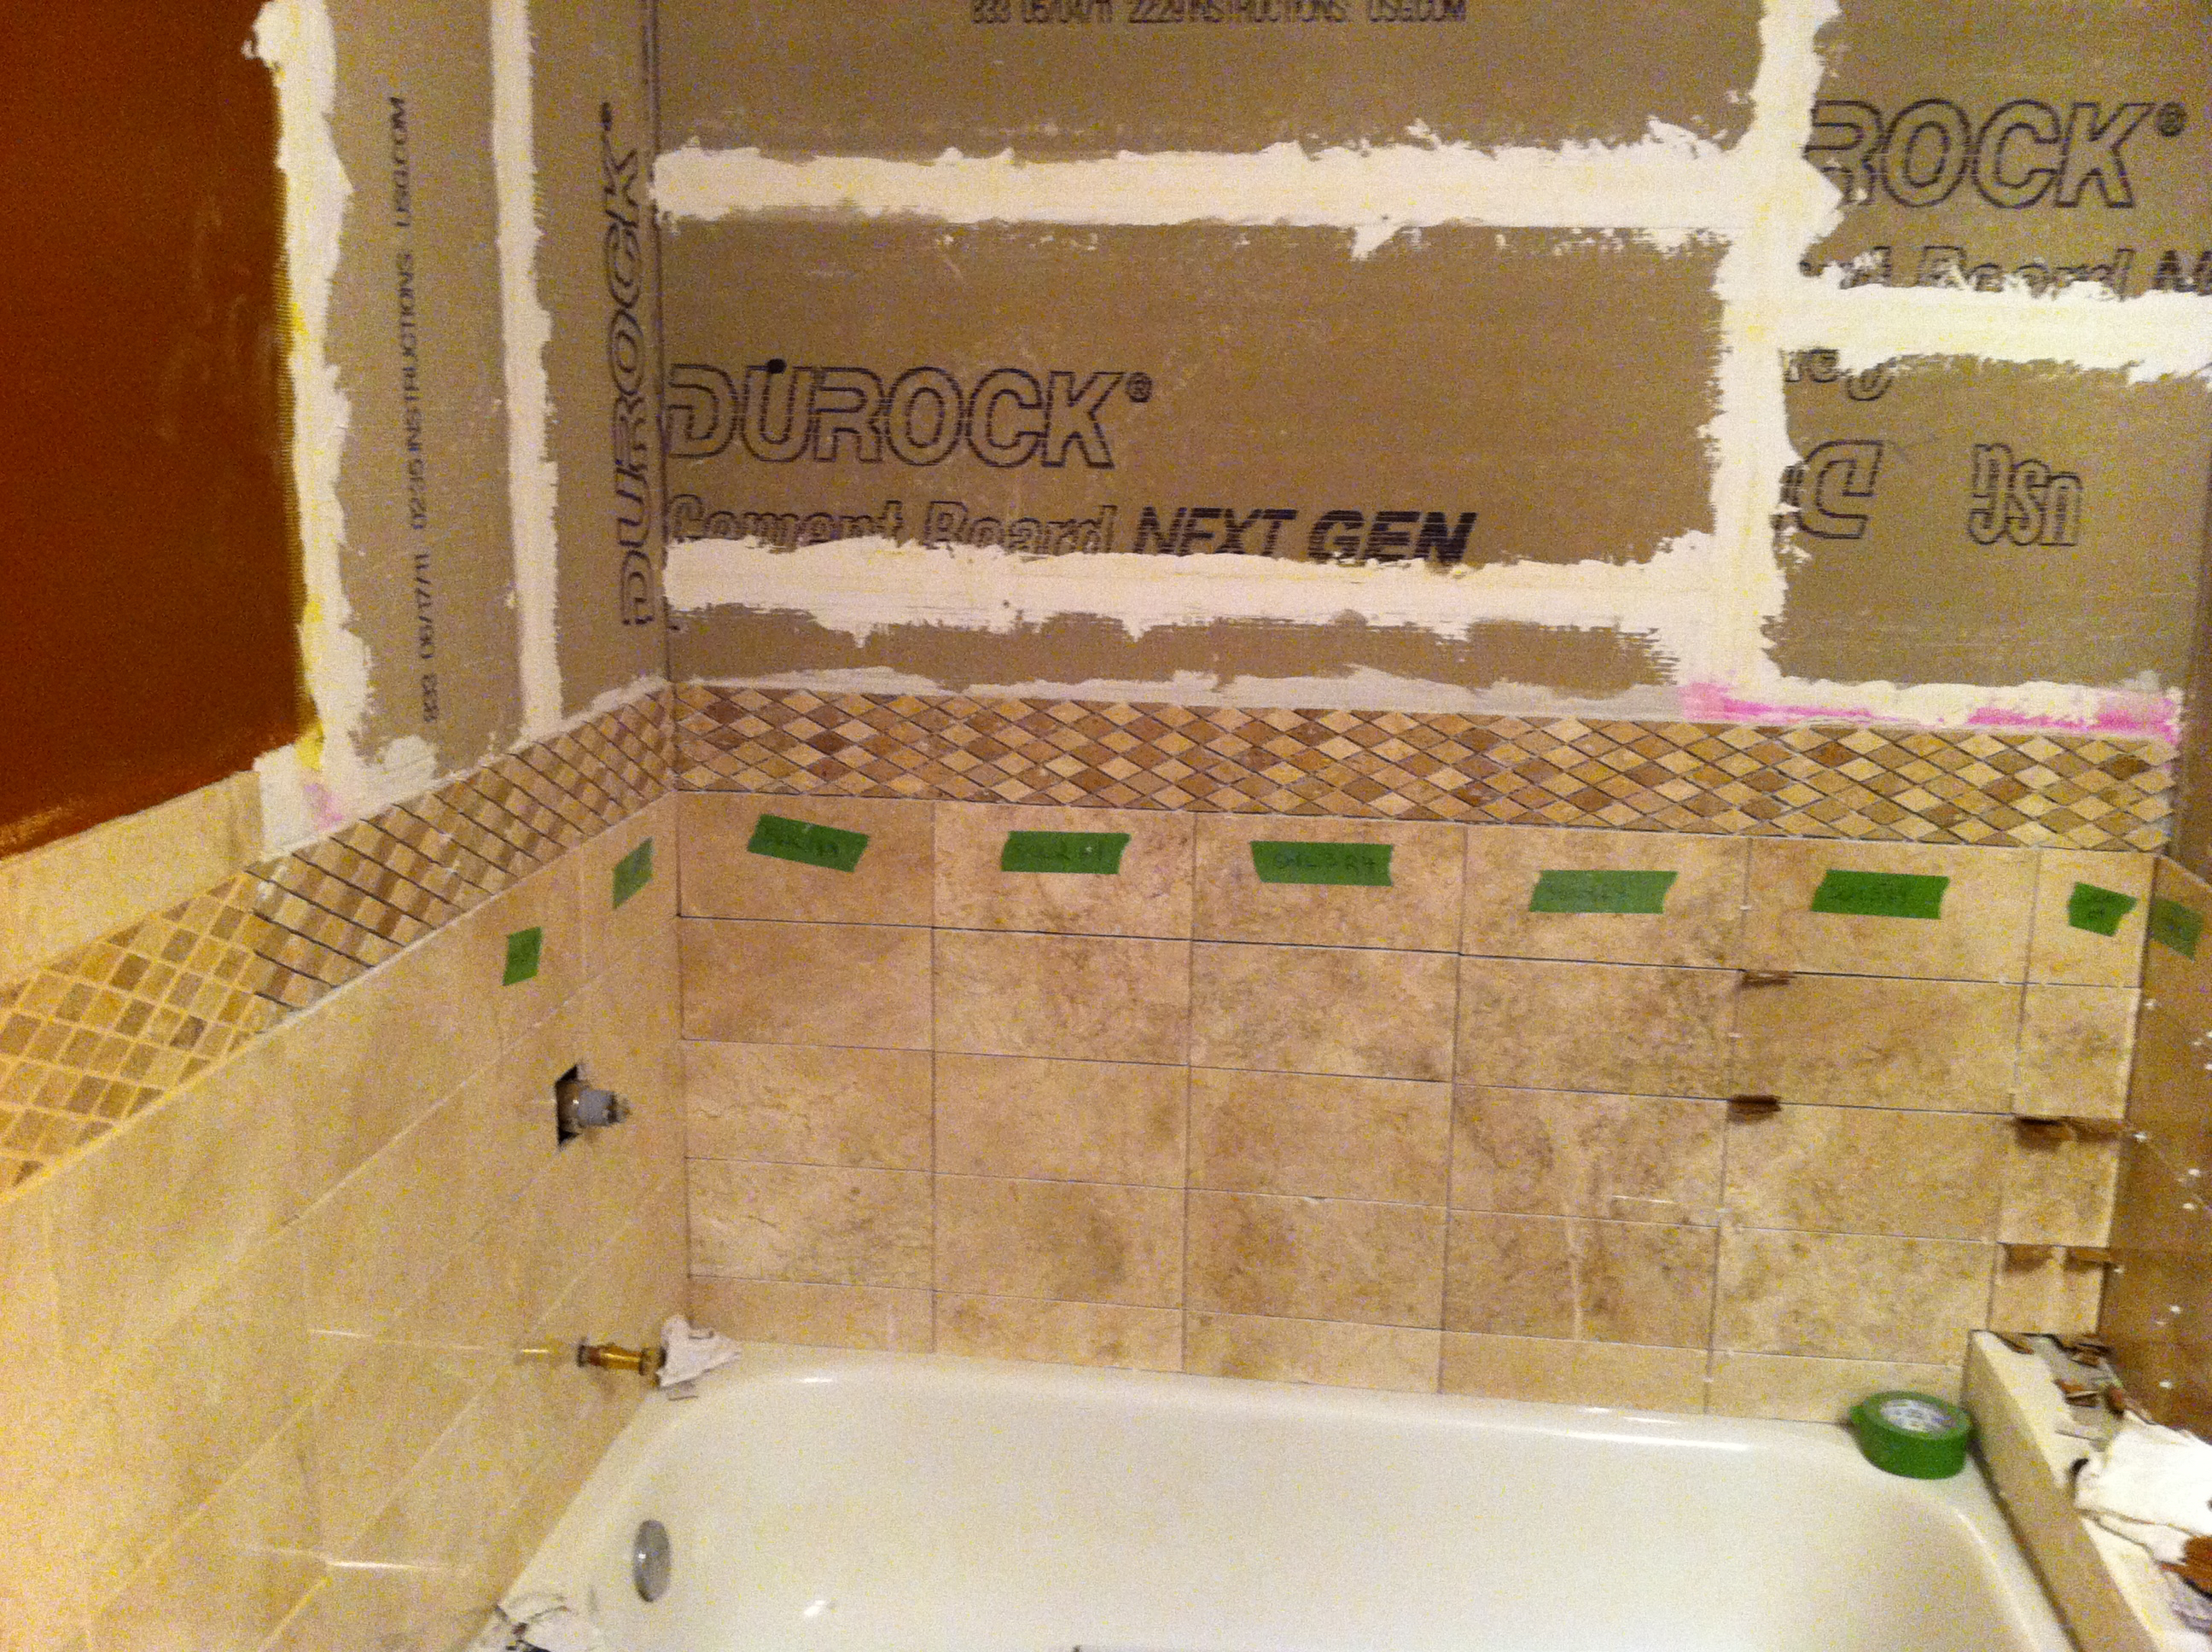
Finally, the three walls were connected by a contiguous set of tiles. The diamonds were also making their way around the wall, as if by magic (where magic is really lots of fingers burnt against the wet saw shaving down diamonds to half diamonds for the top & bottom).
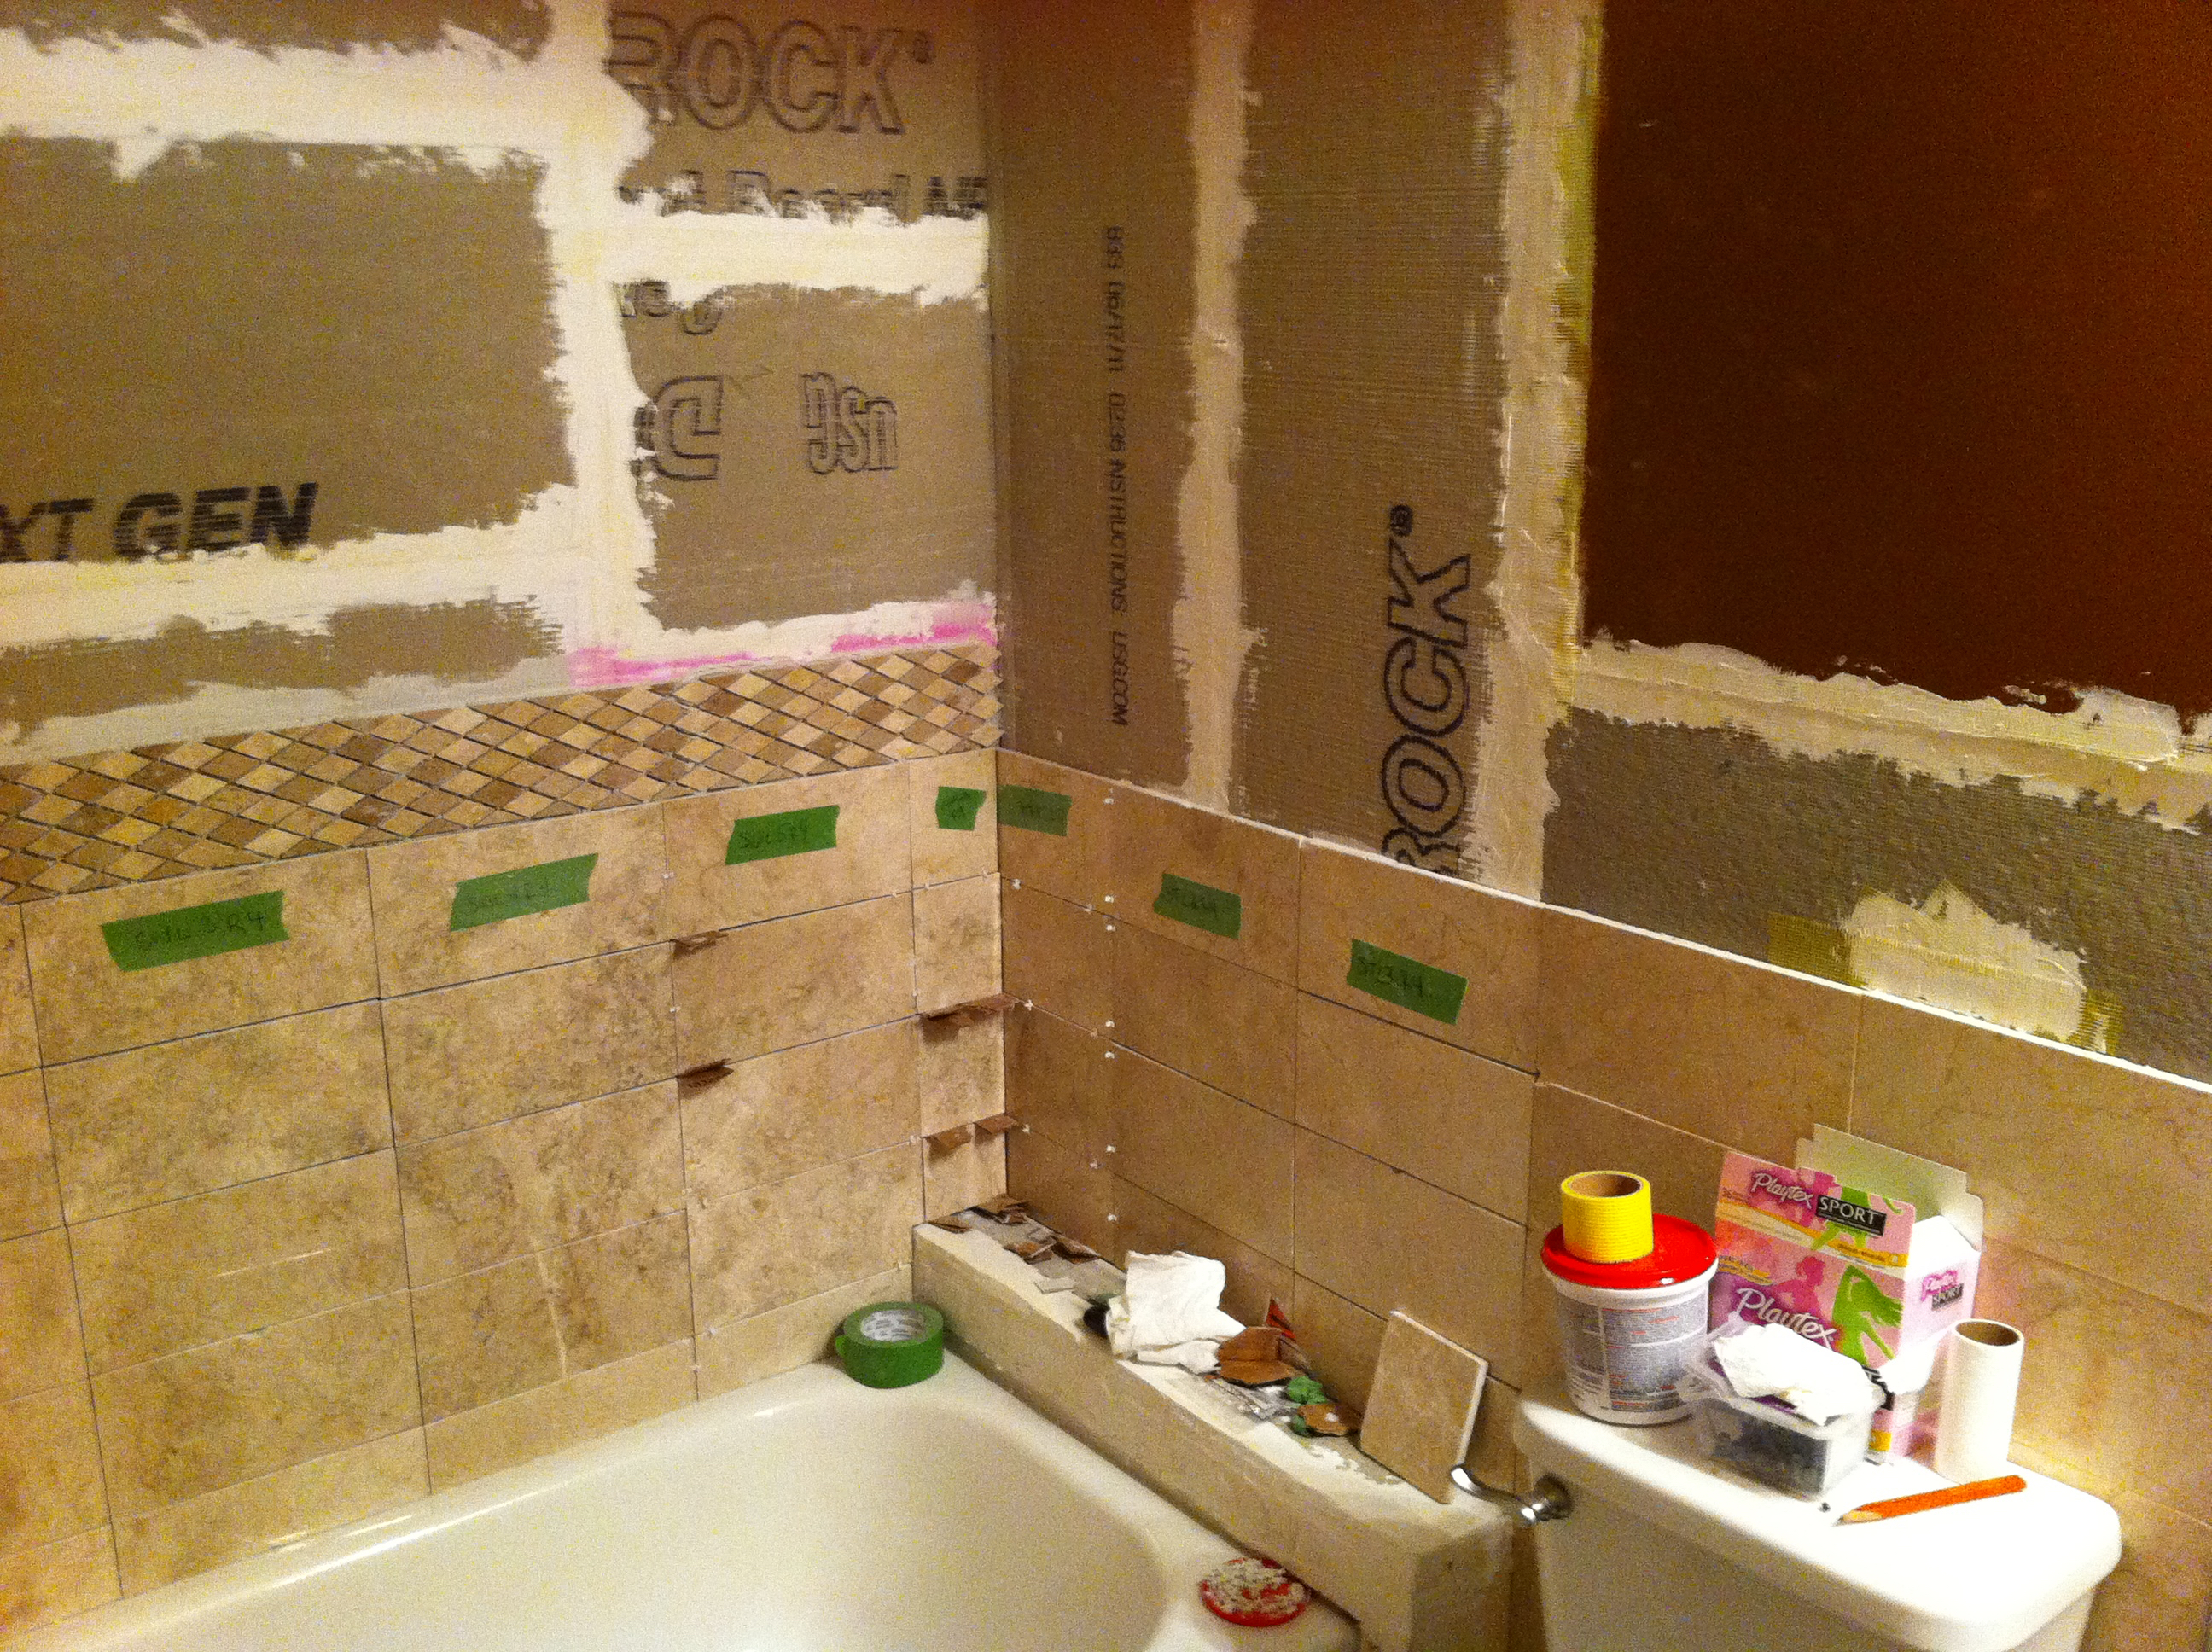
Rebuilding the shower shelf was a challenge when it came to the tile. The pencil pieces formed the edge of the shelf. They were very nice looking, but they hung precariously while the thin set dried. At least one of them fell & shattered in the tub. They are very fragile pieces. 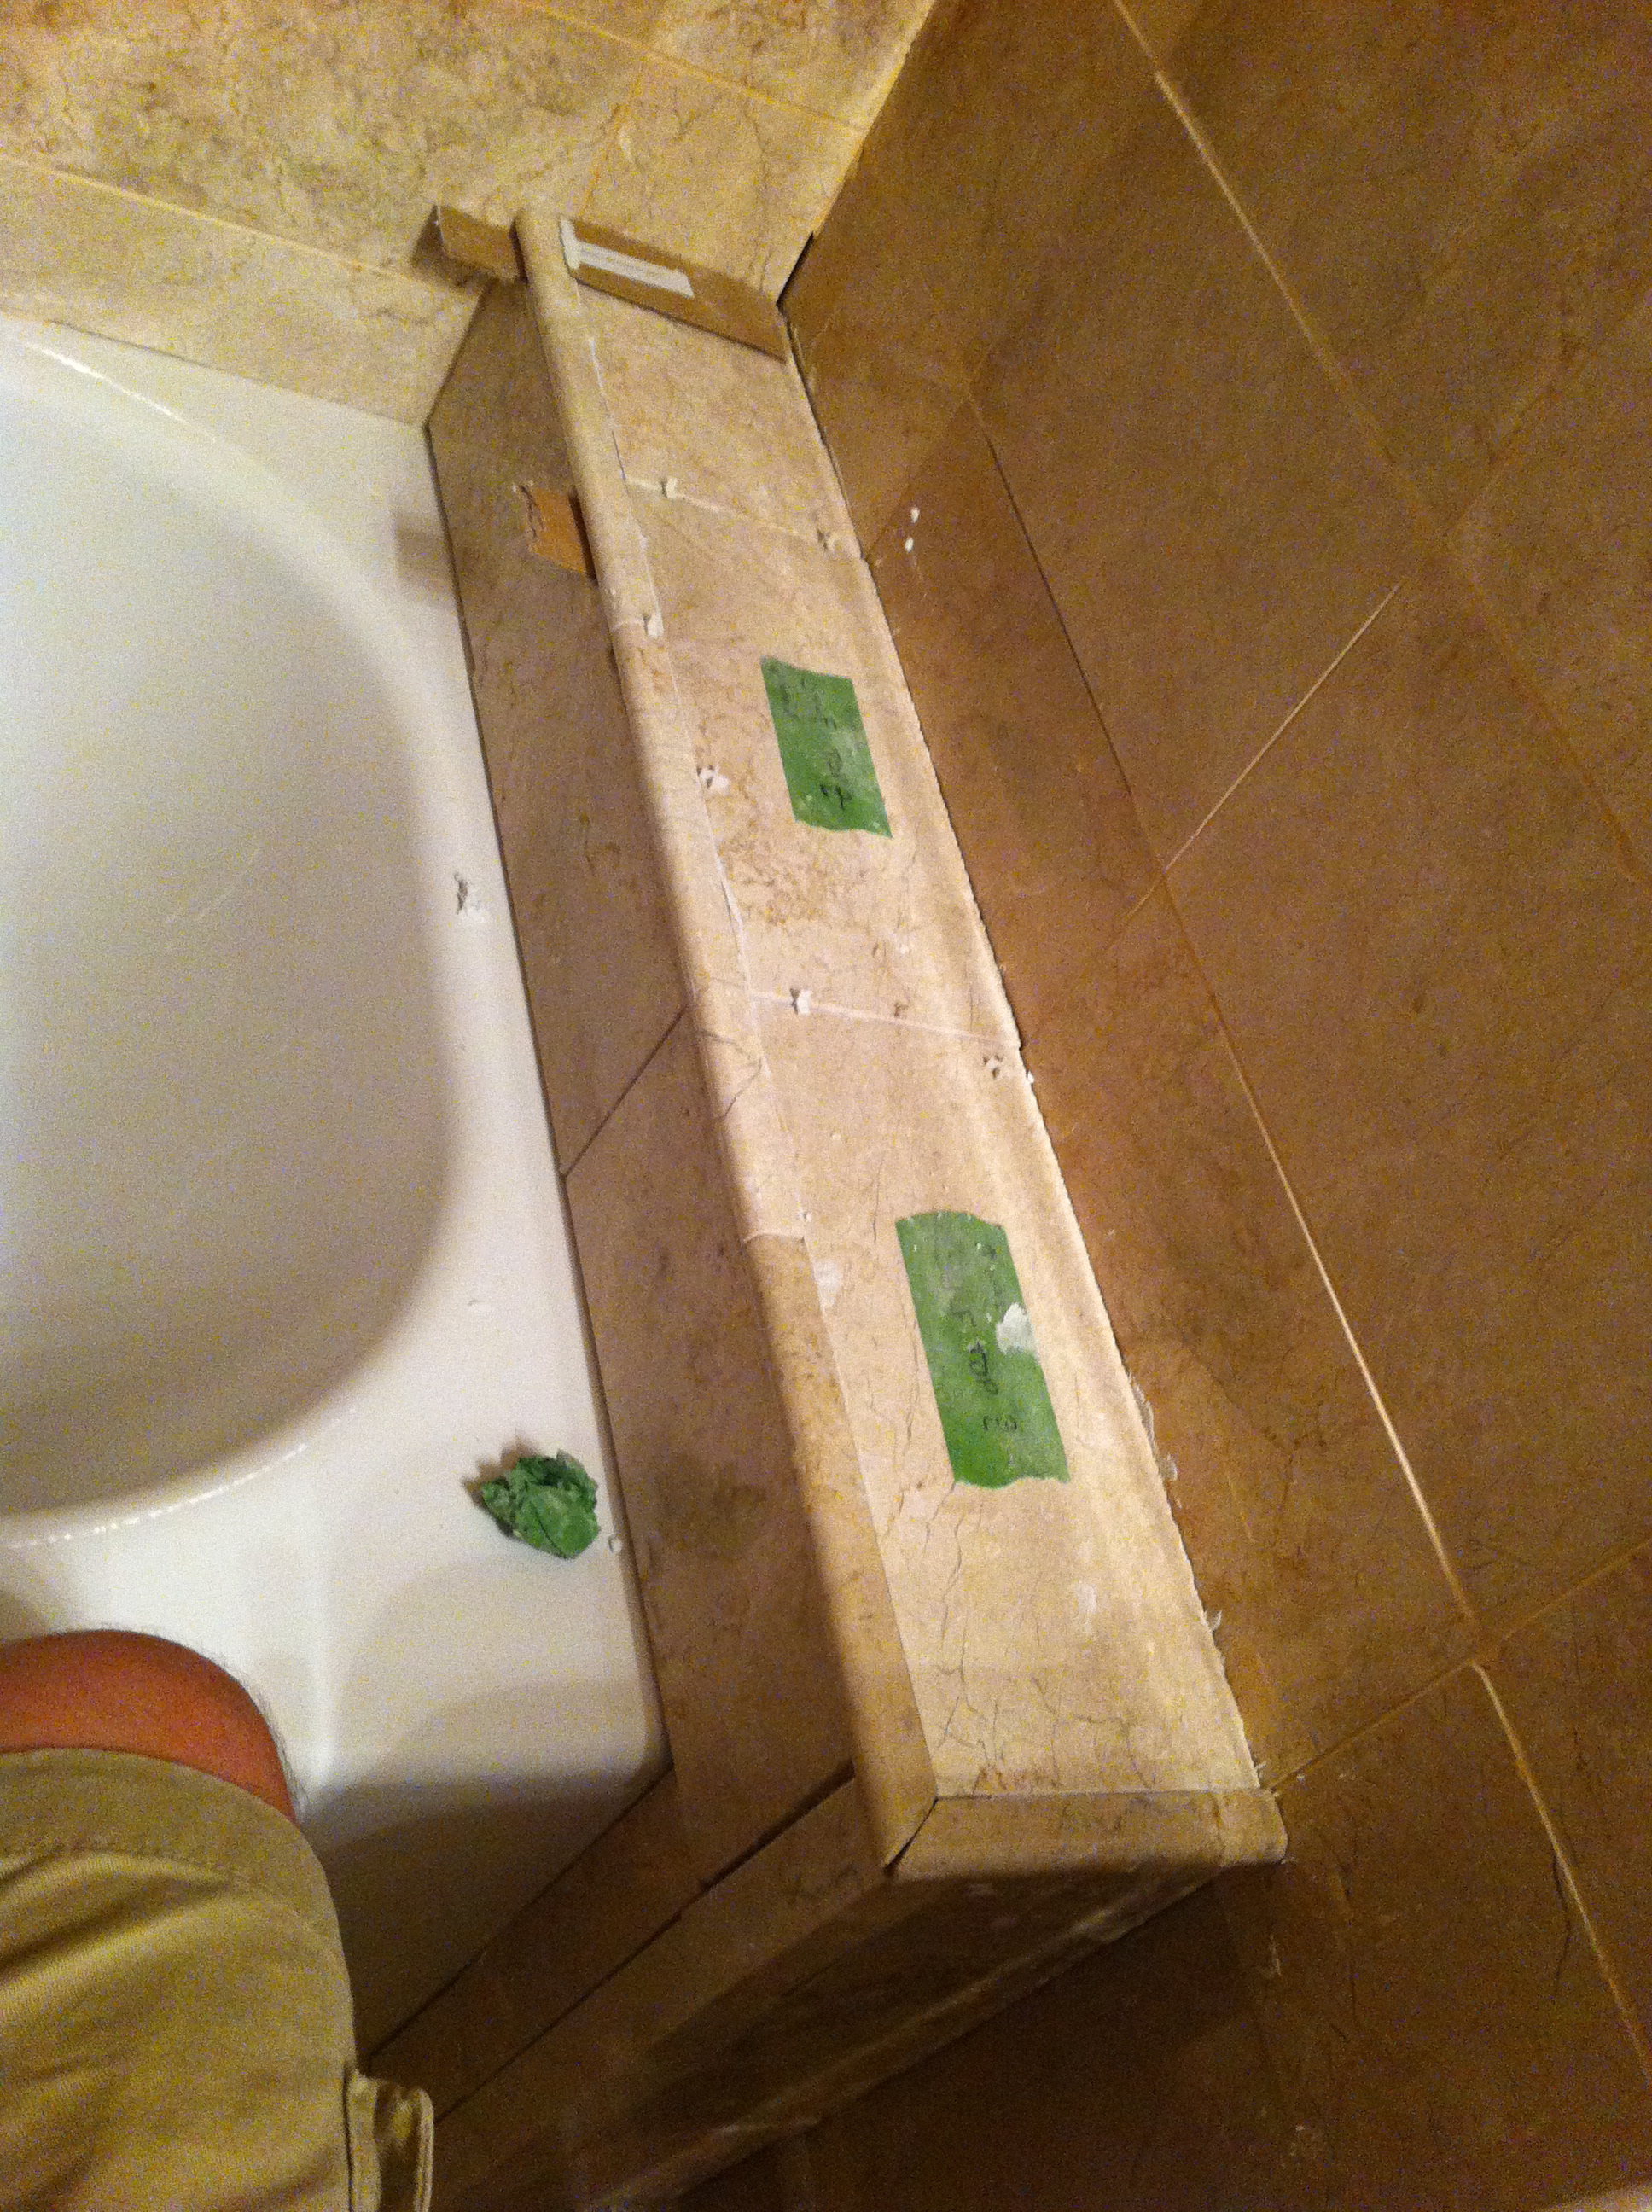
And the 2” border, chair rail made its way around the bend..
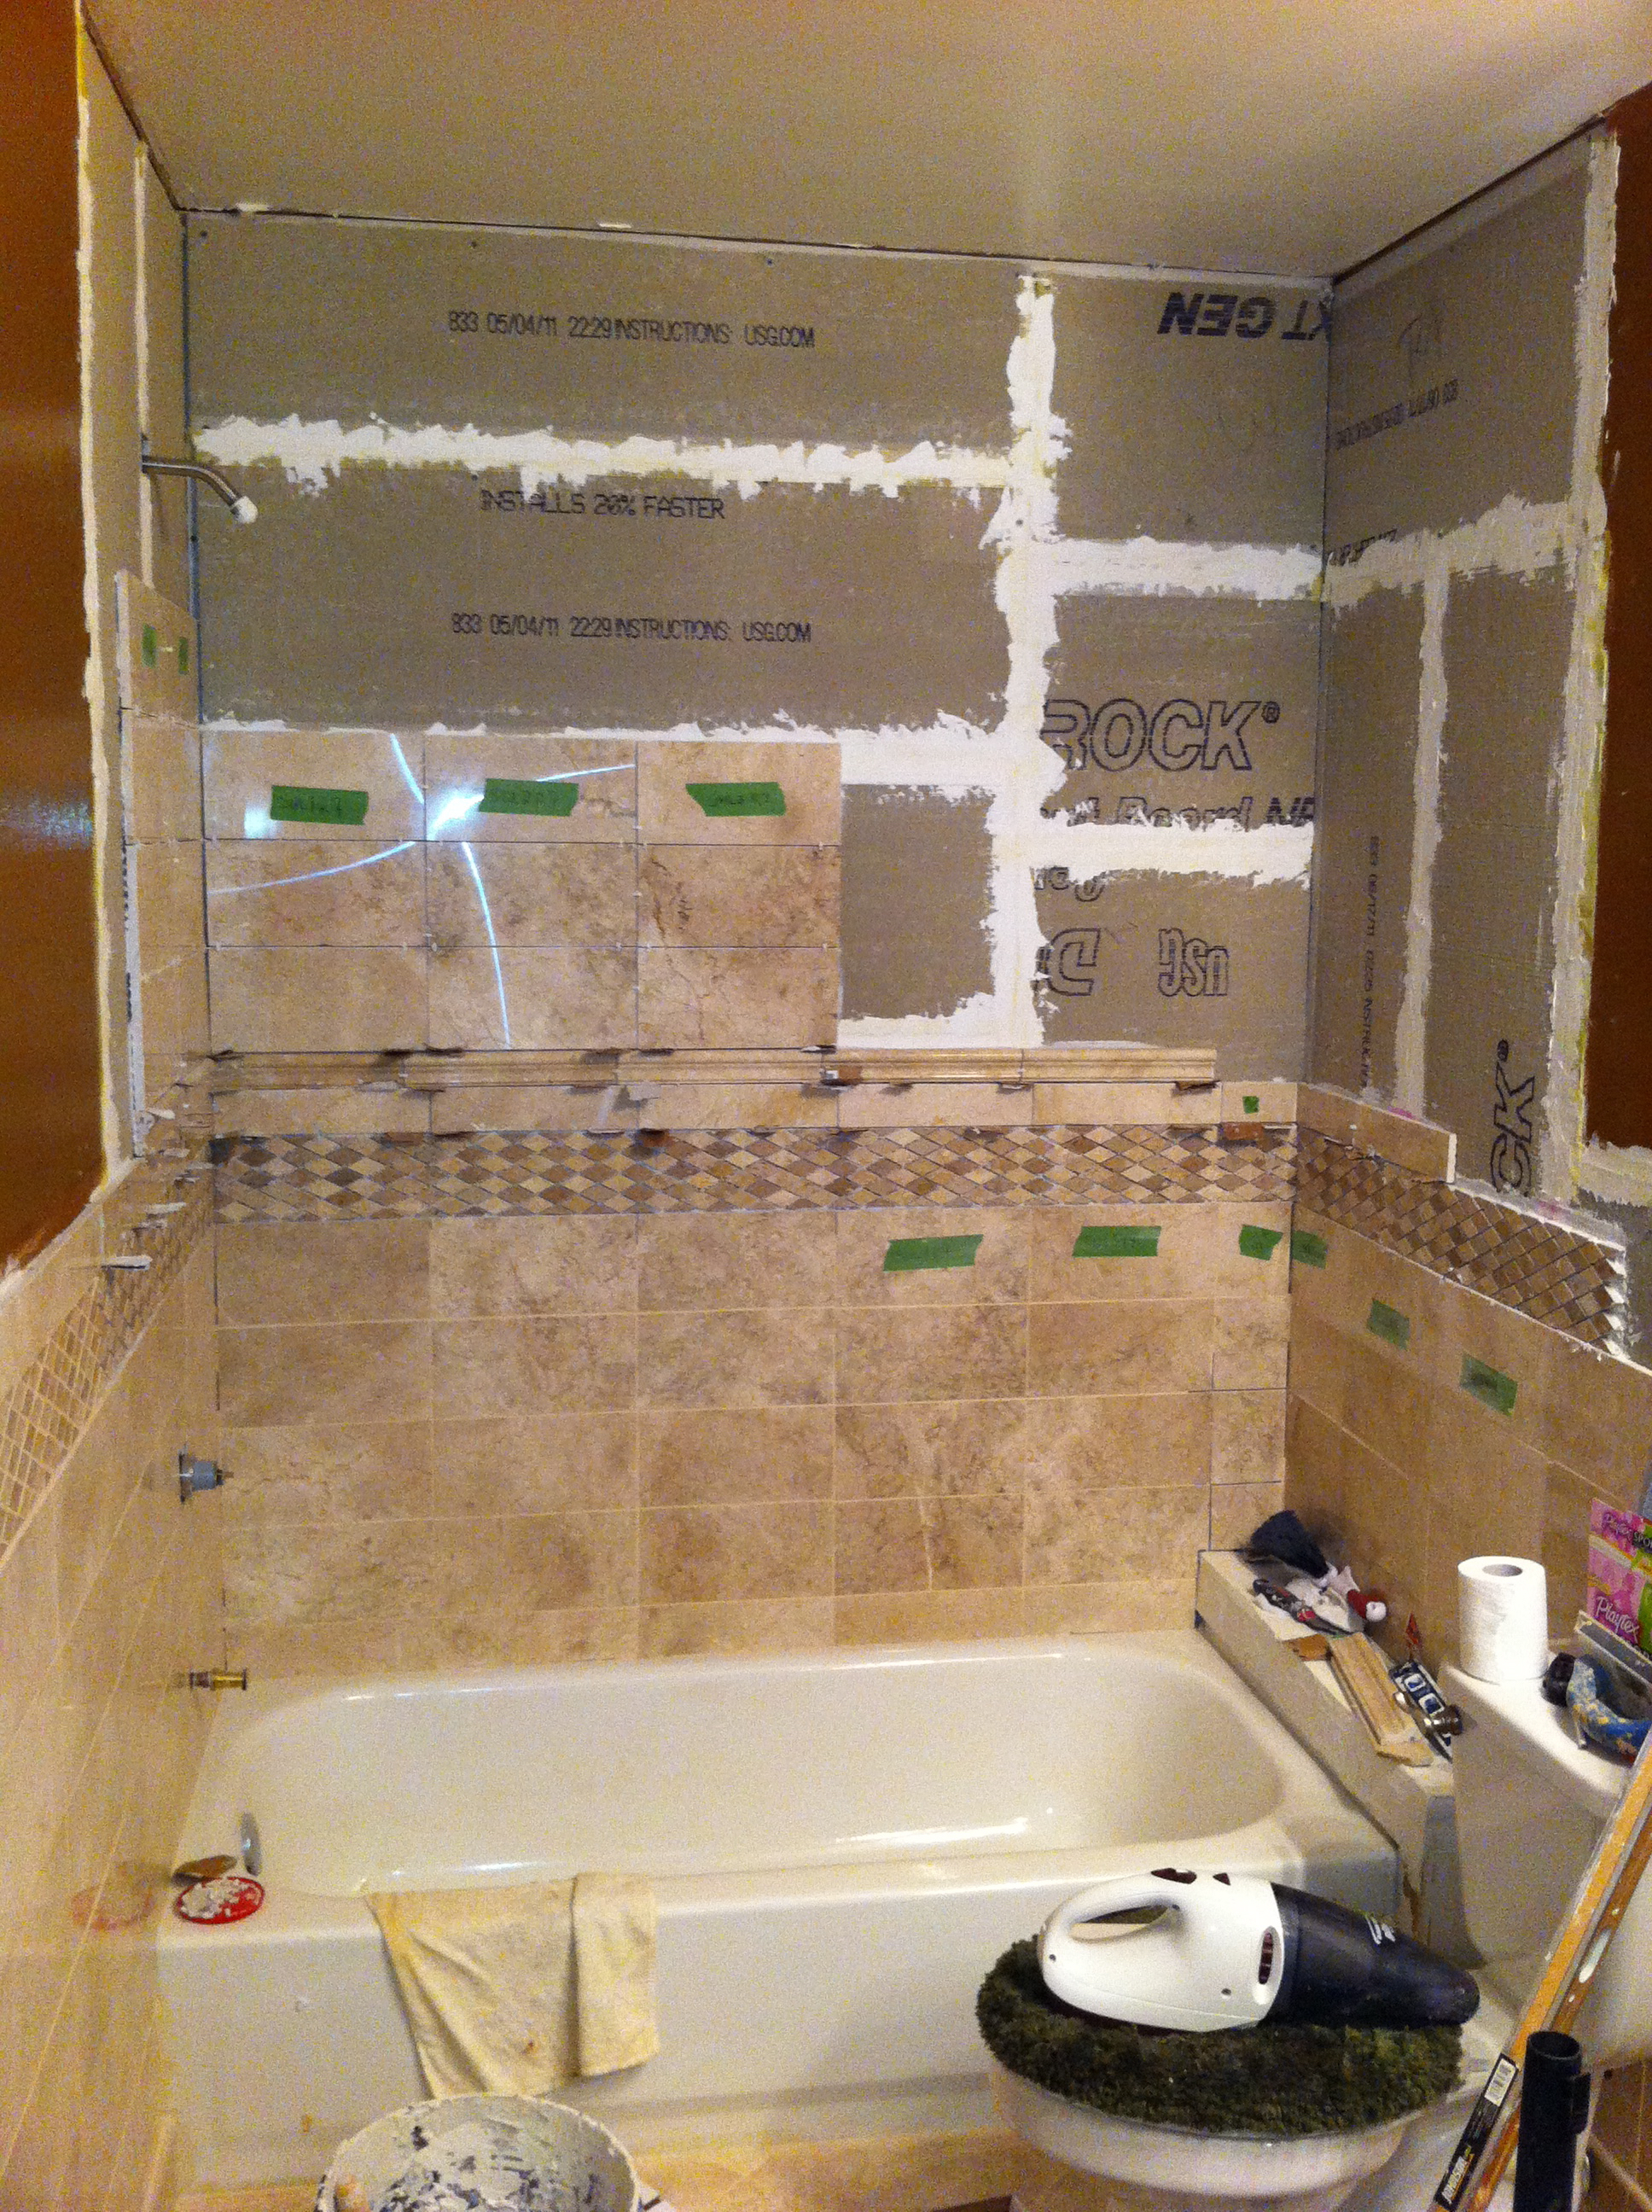
When I got to this part of the project, the tiles began to change. They got darker, with deeper veins that had more contrast. The ever-changing patterns & colors kept my interest focused on the tiles. I wanted to see more of it on the wall, and that pushed me to spend more time on it every day.
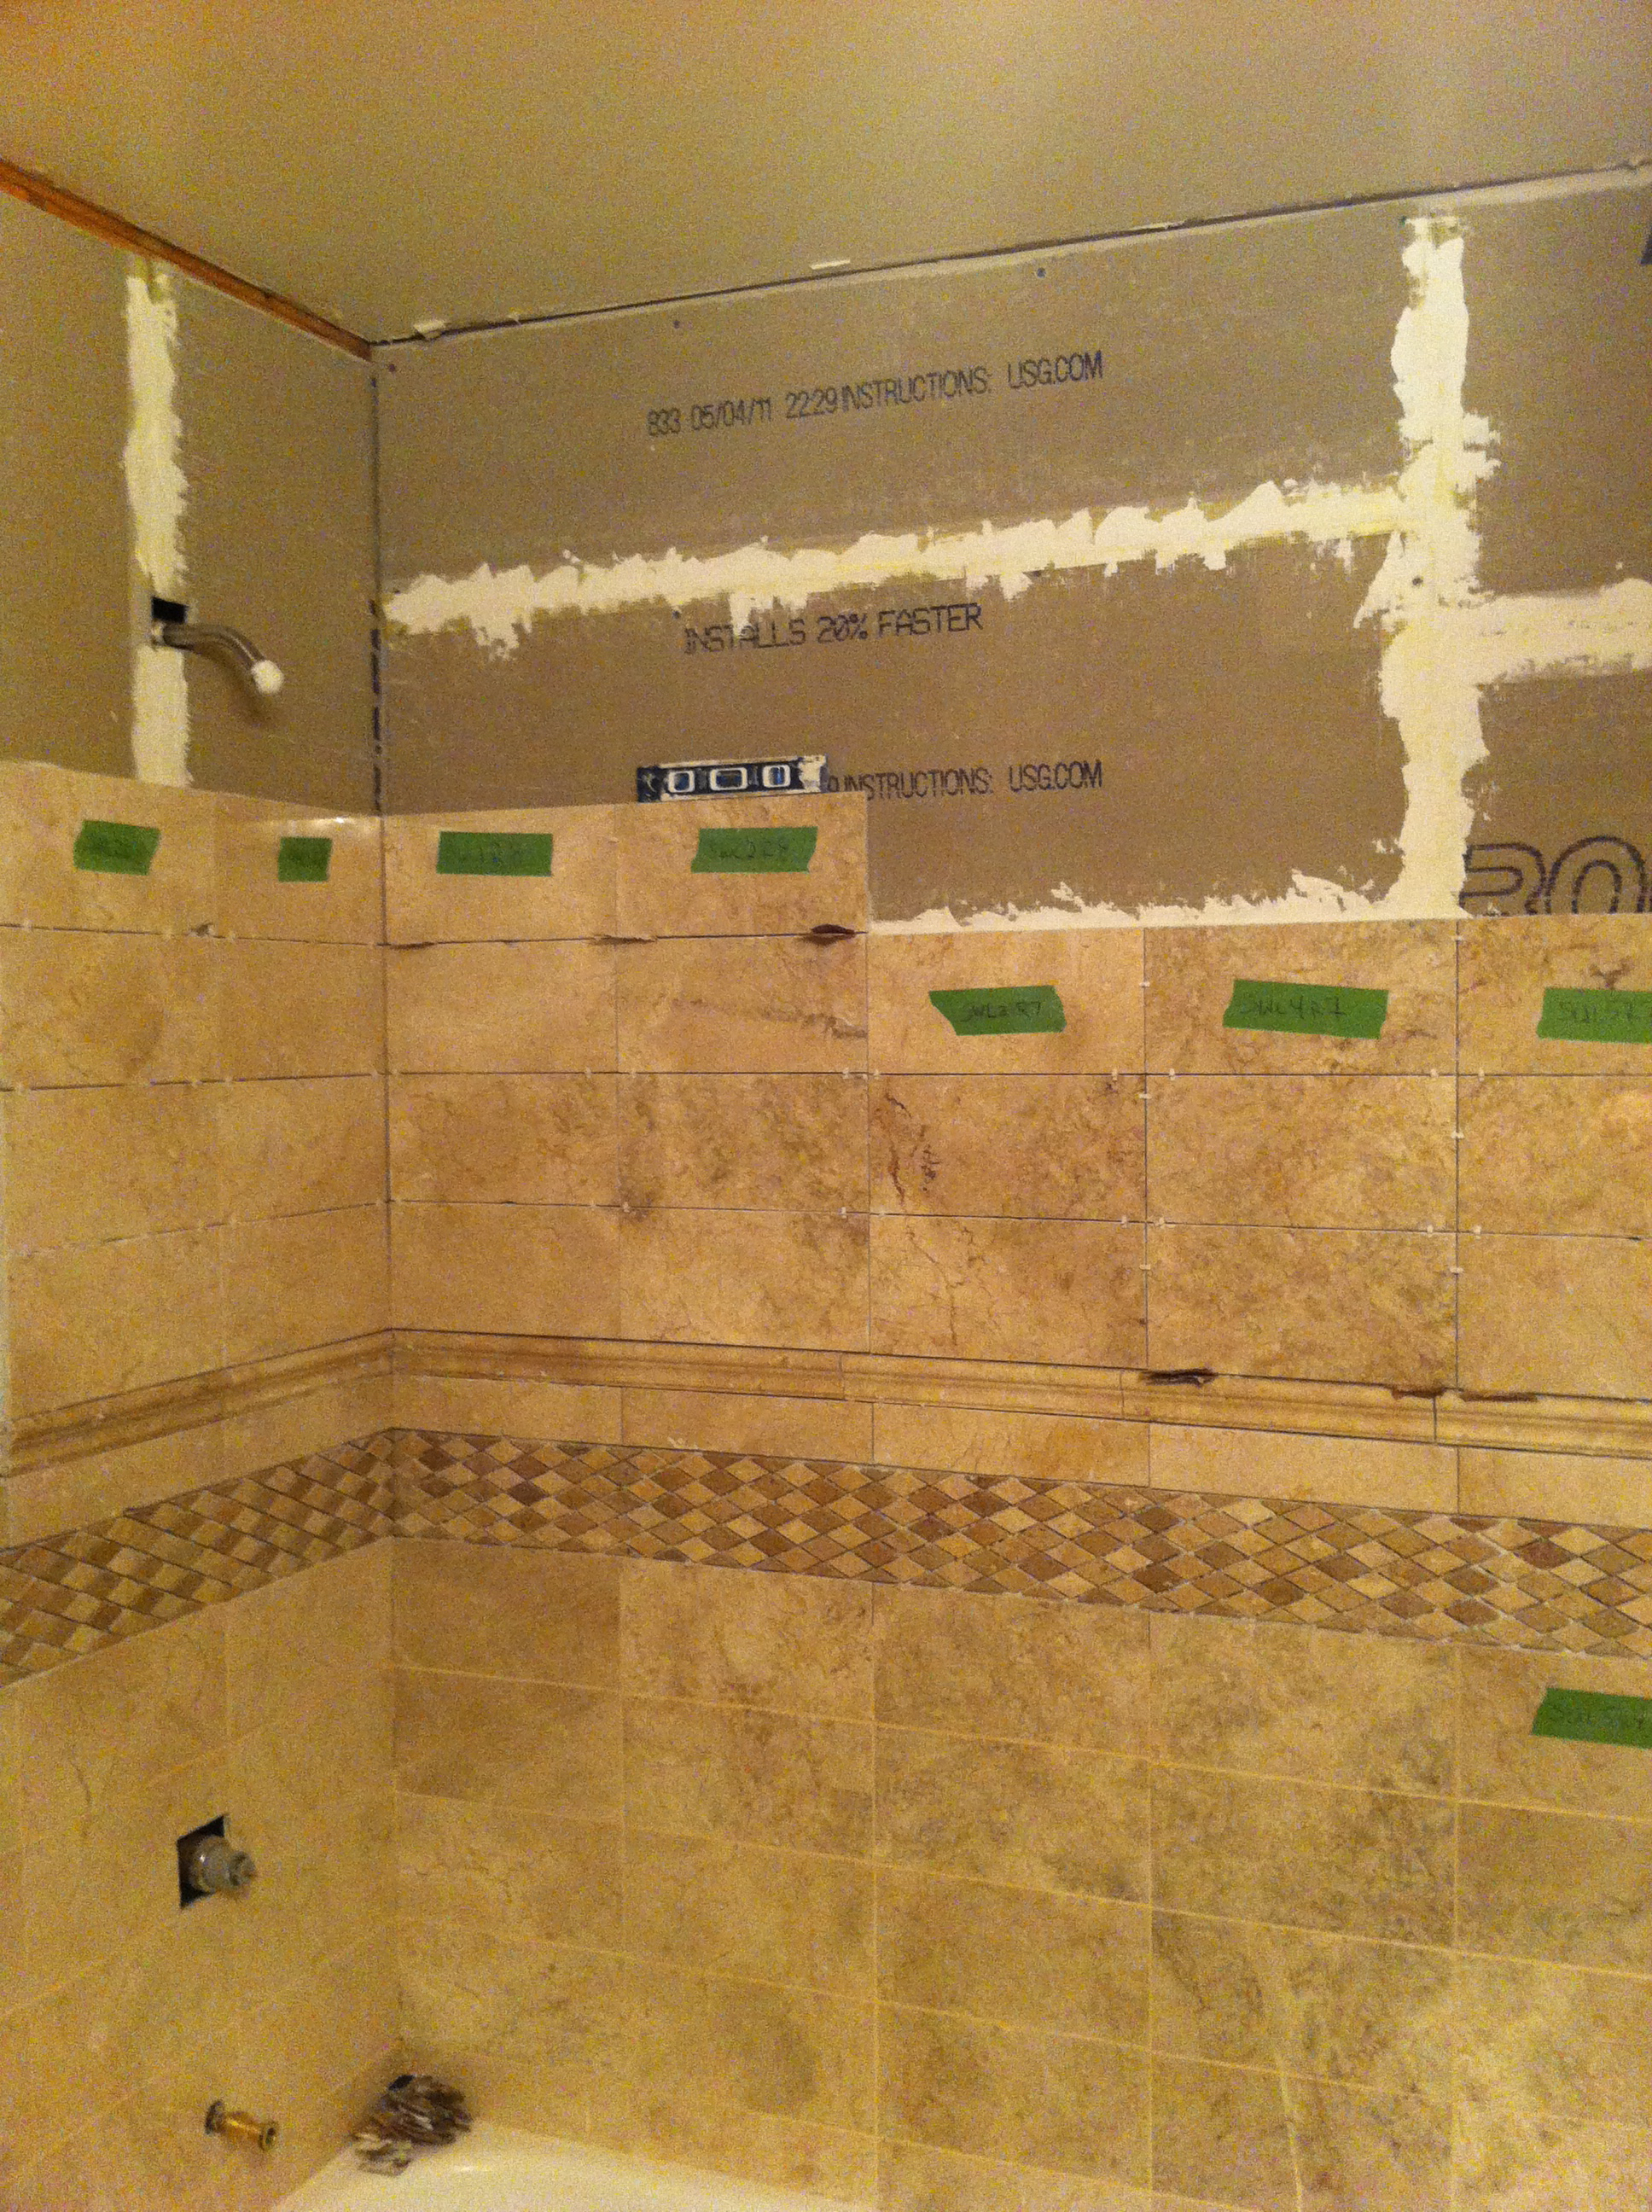
Tip: It’s really important to use a torpedo level to make sure every single tile is level.
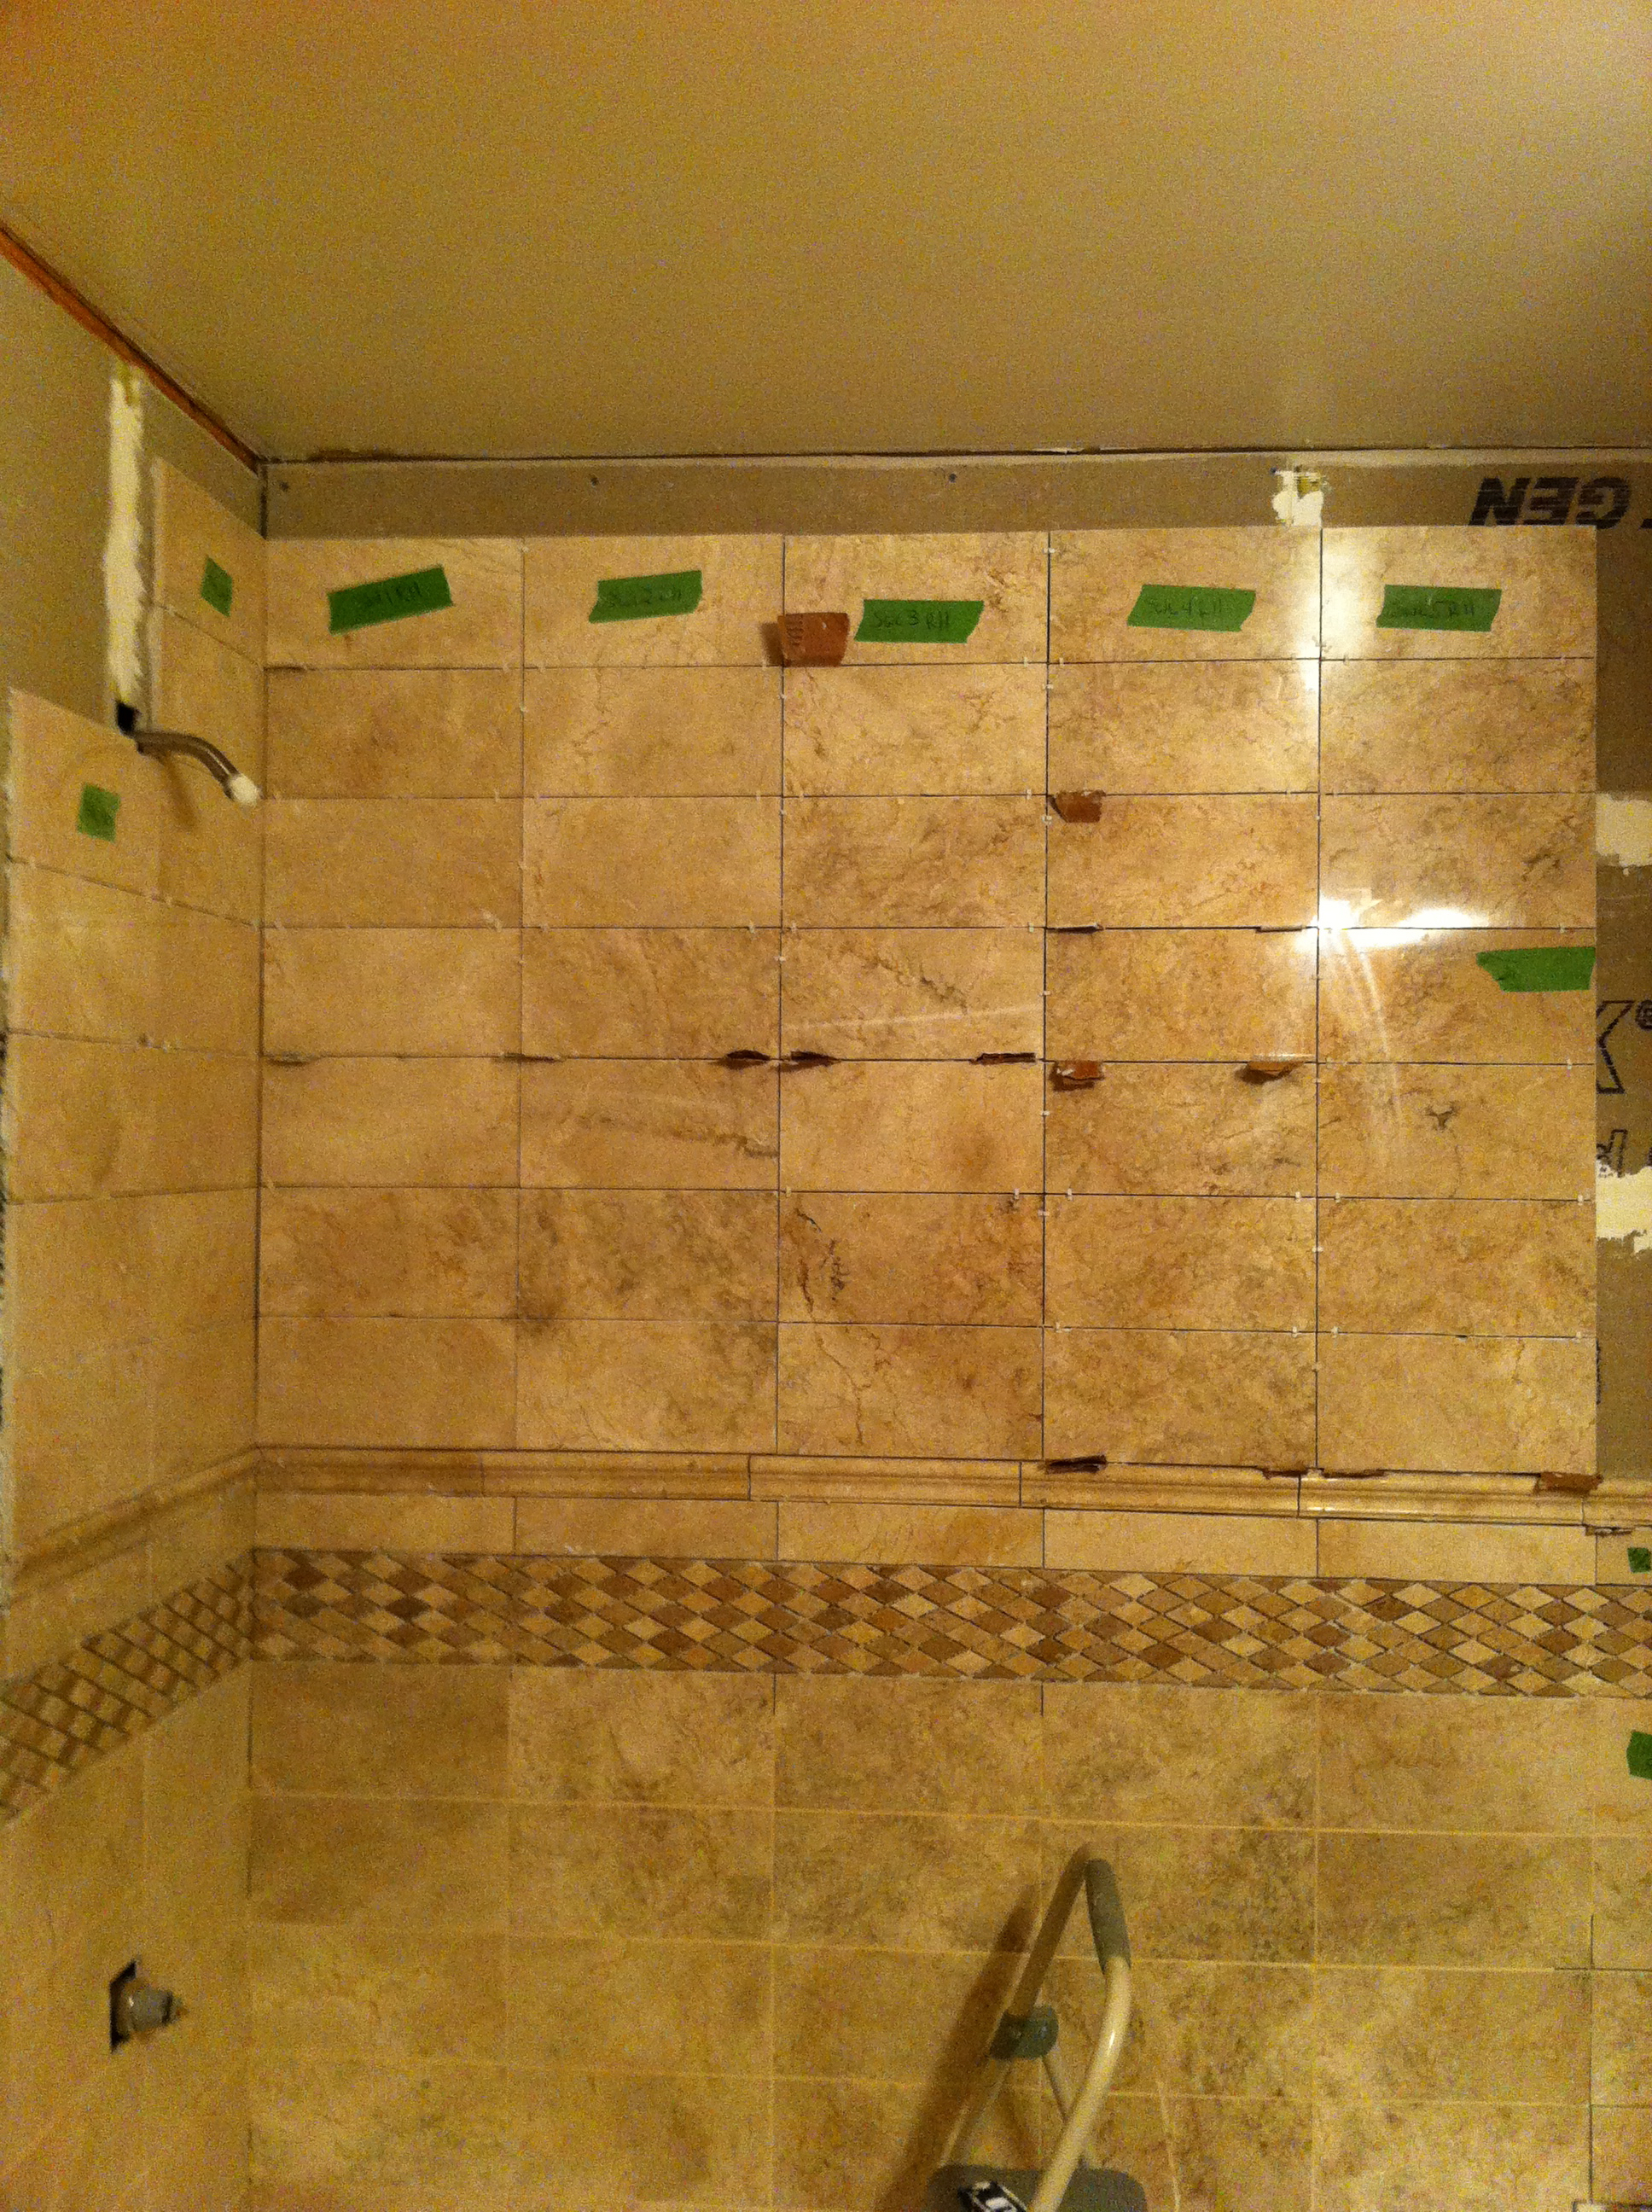
Do you see what I mean about how every tile is unique?
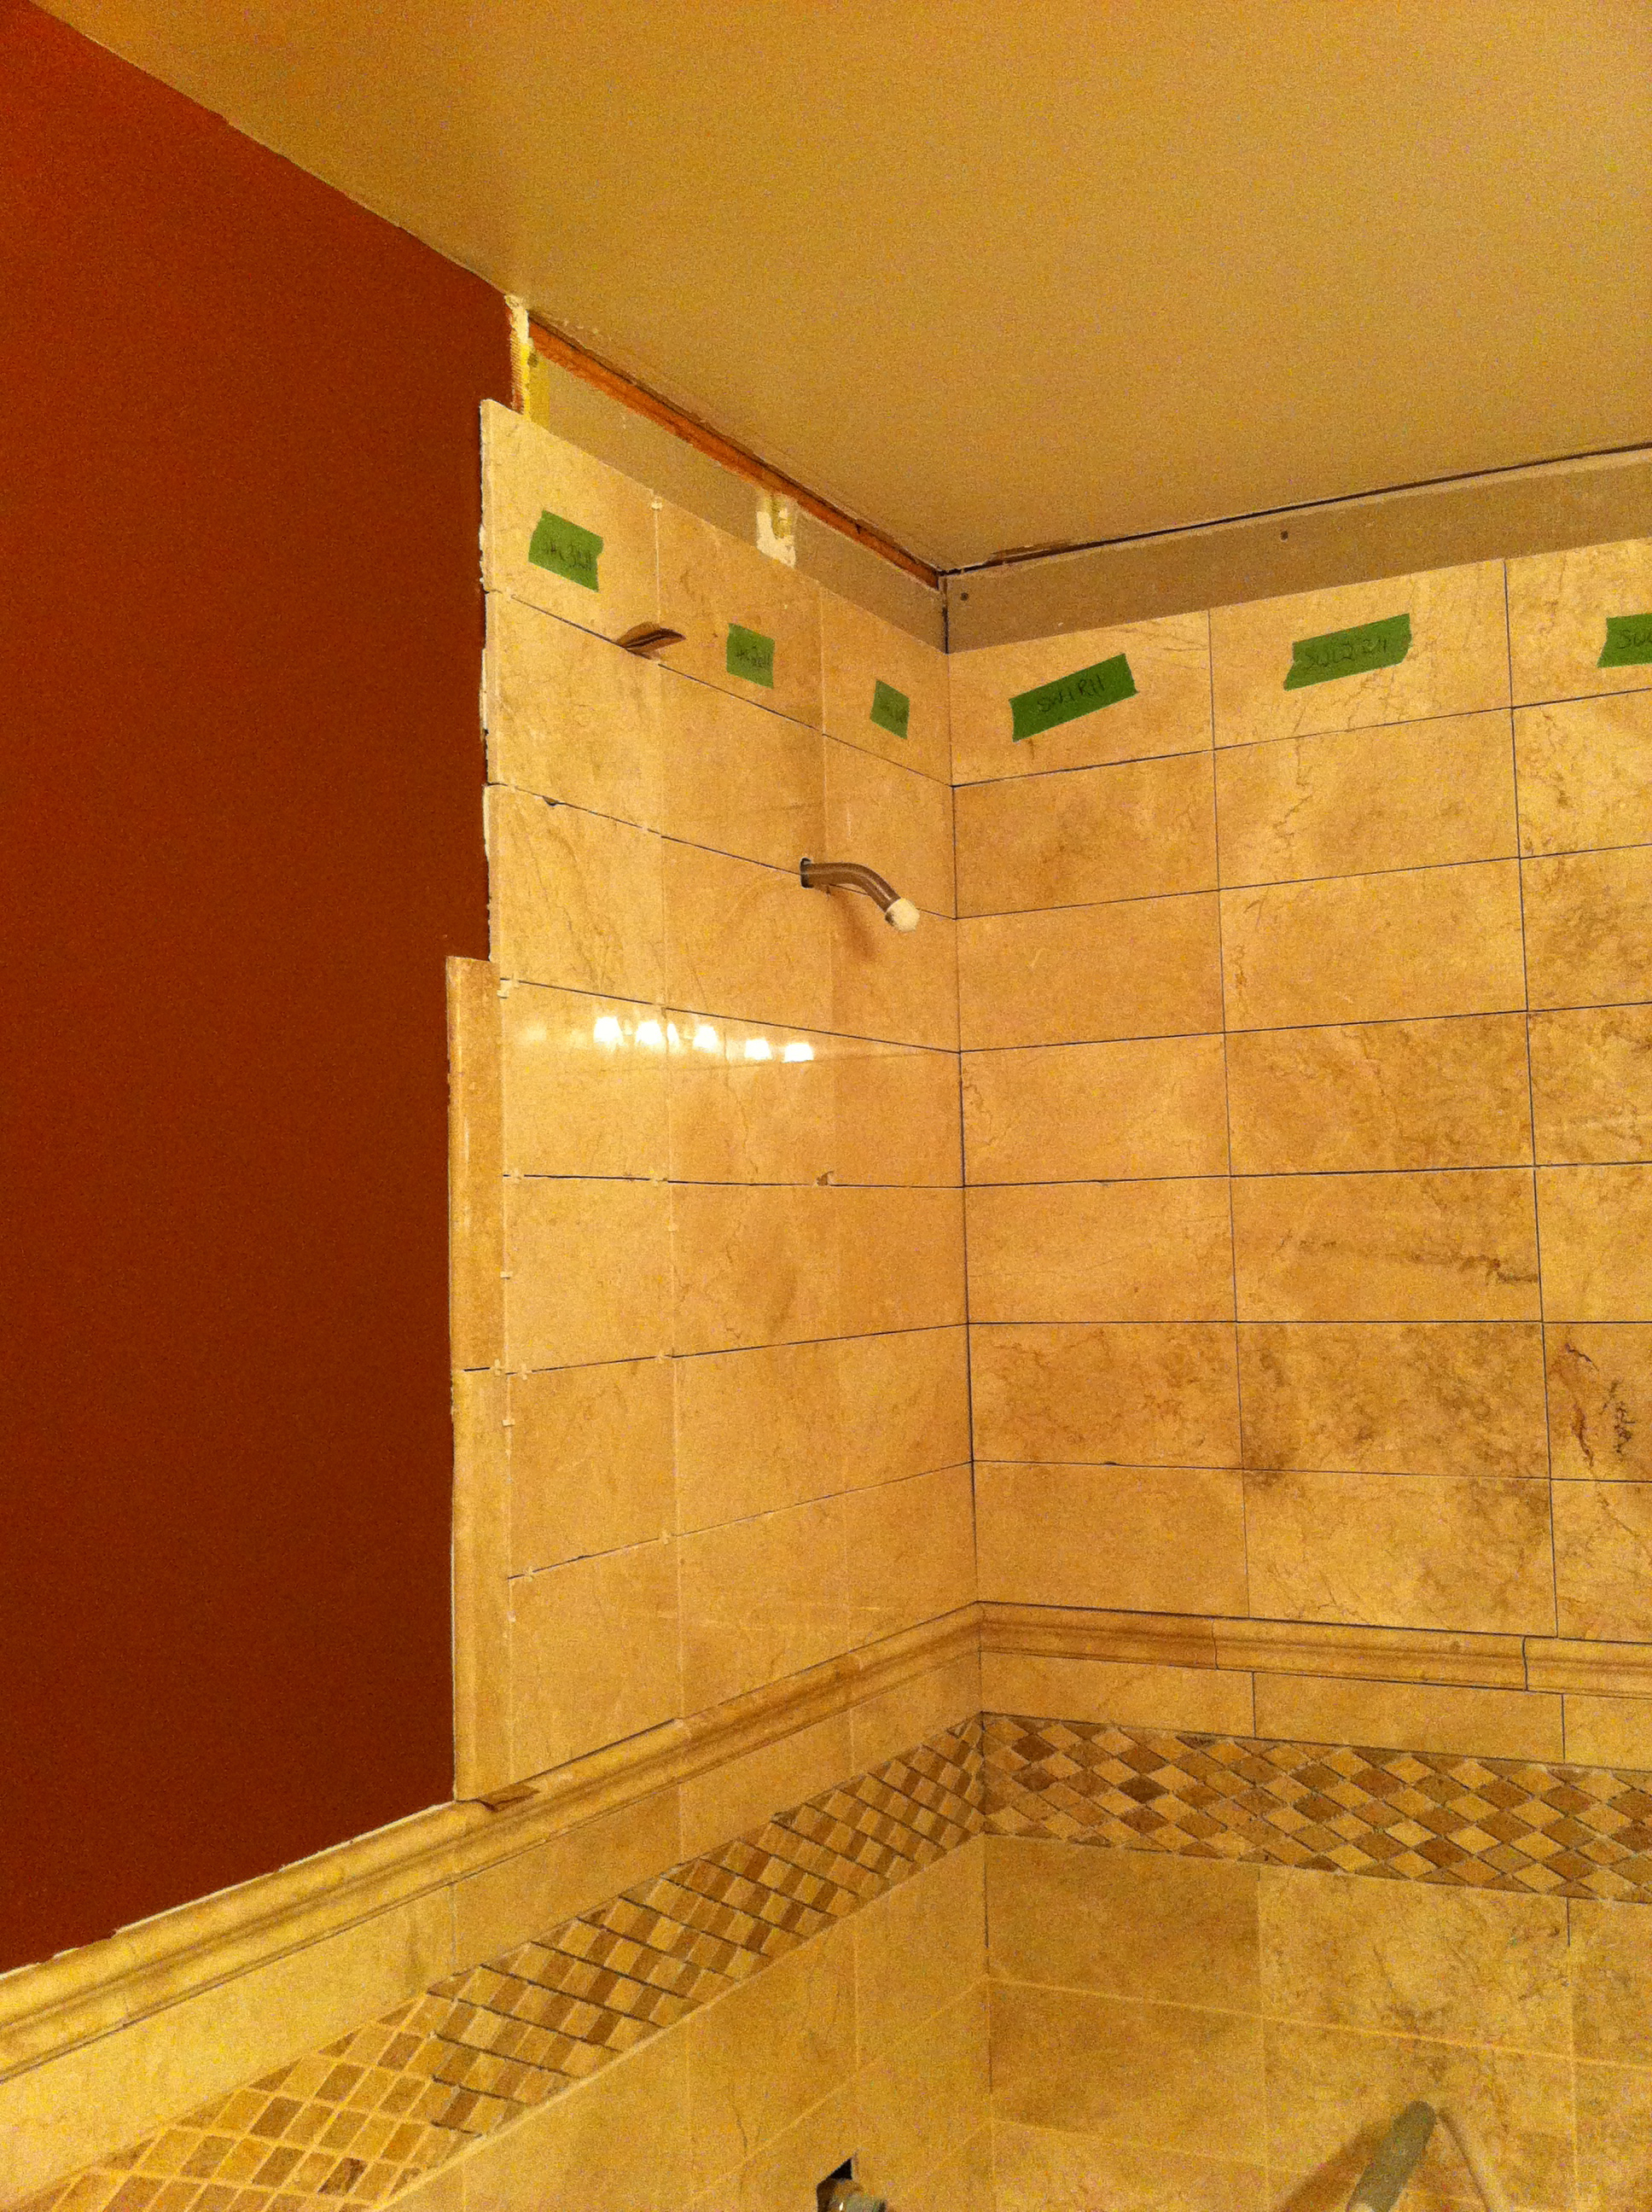
In the picture above, we have the chair rail going horizontally across the room, and bullnose pieces going vertically up the wall to finish the edge against the shower tile.
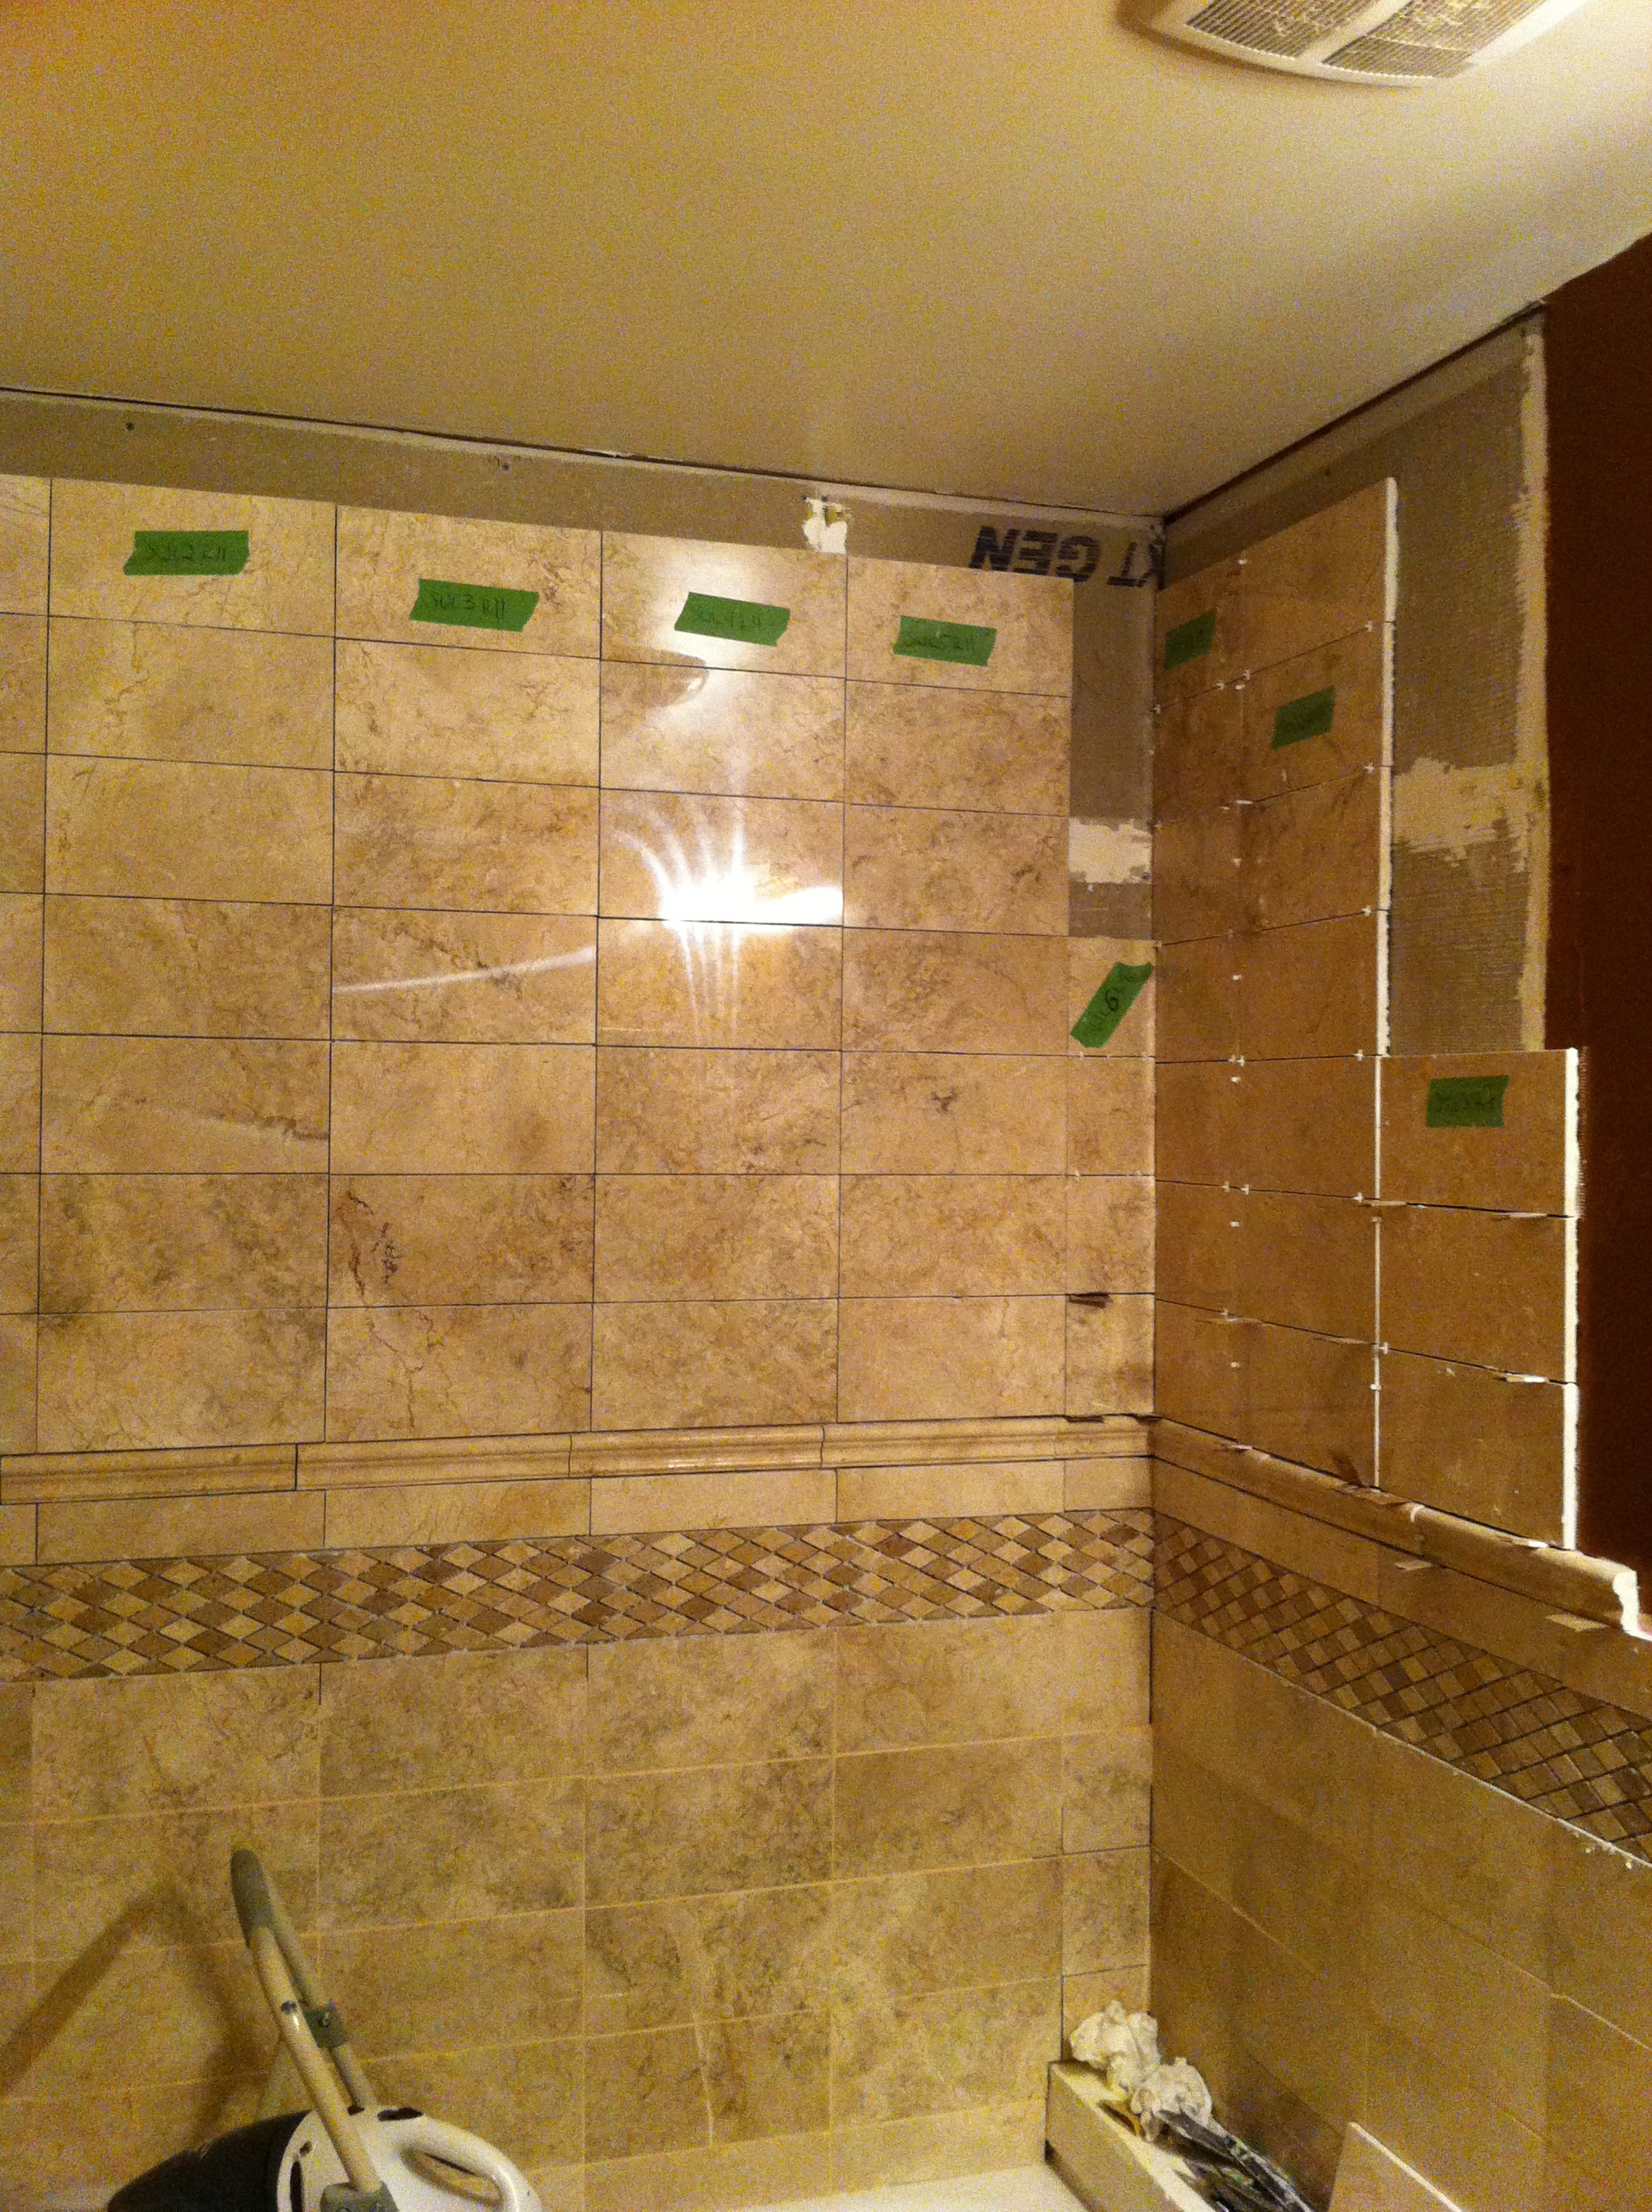
If you look closely in the picture above, you’ll notice veins connecting pieces of tile. It adds a certain elegant aesthetic.
Soap Holder
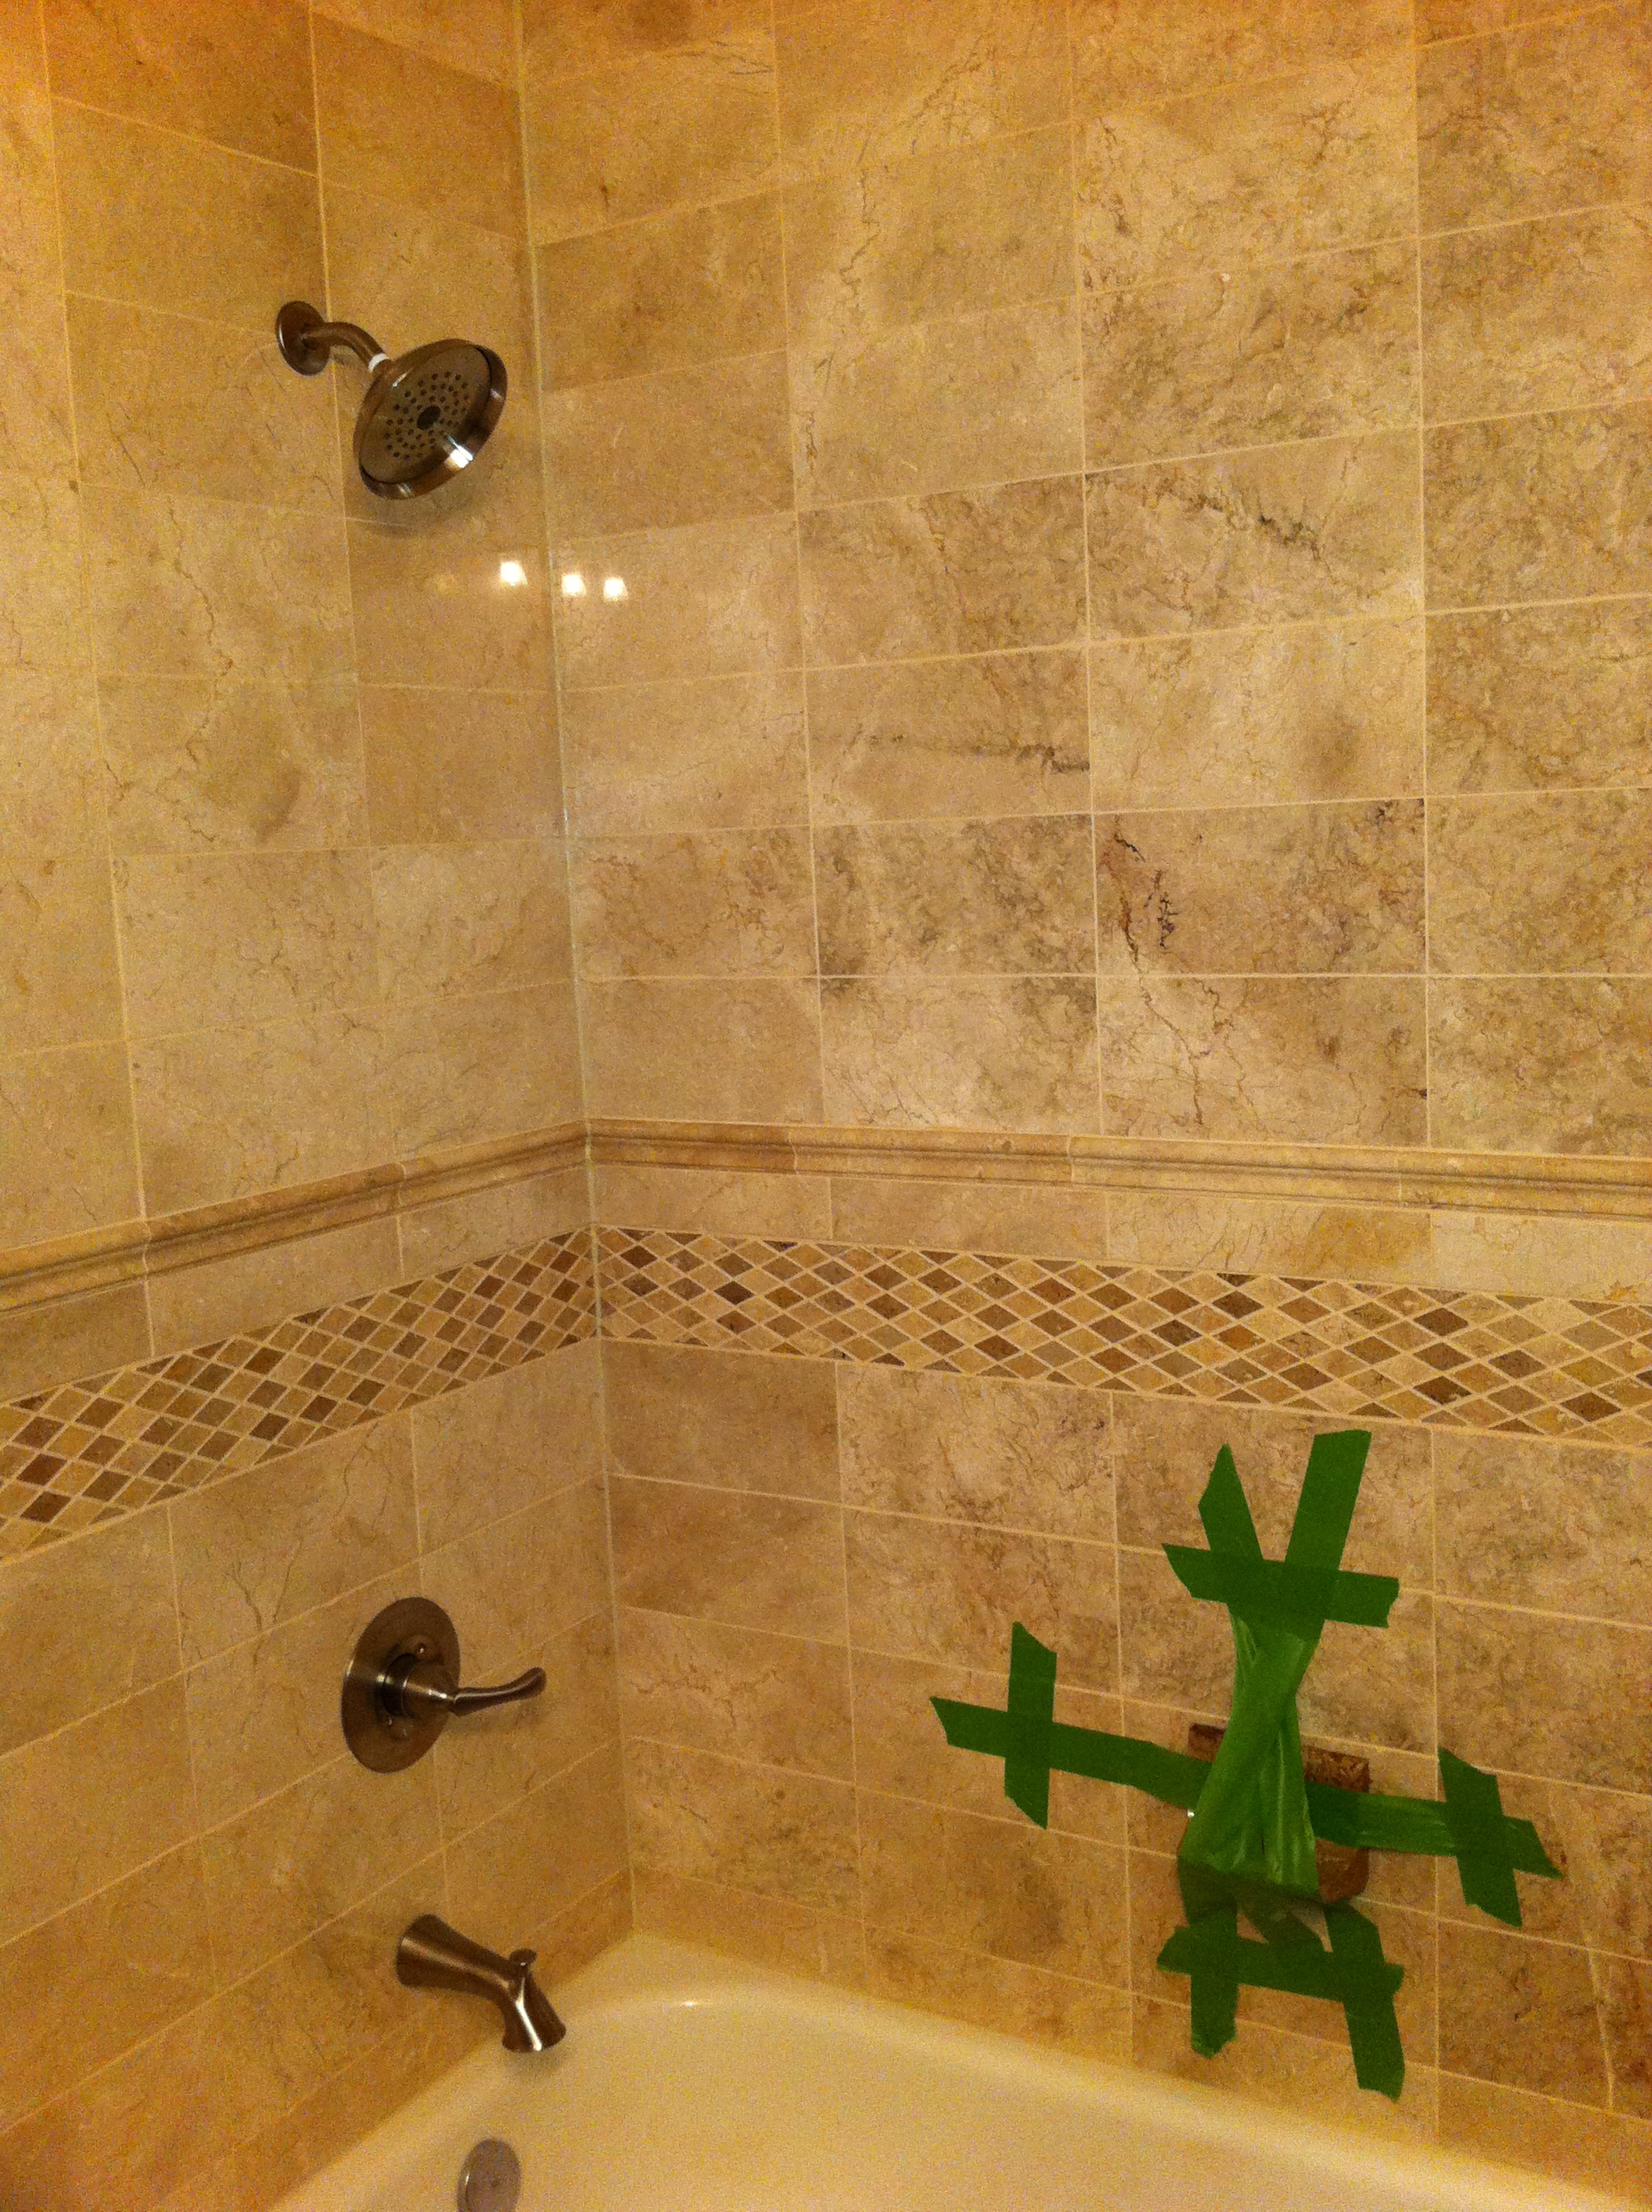
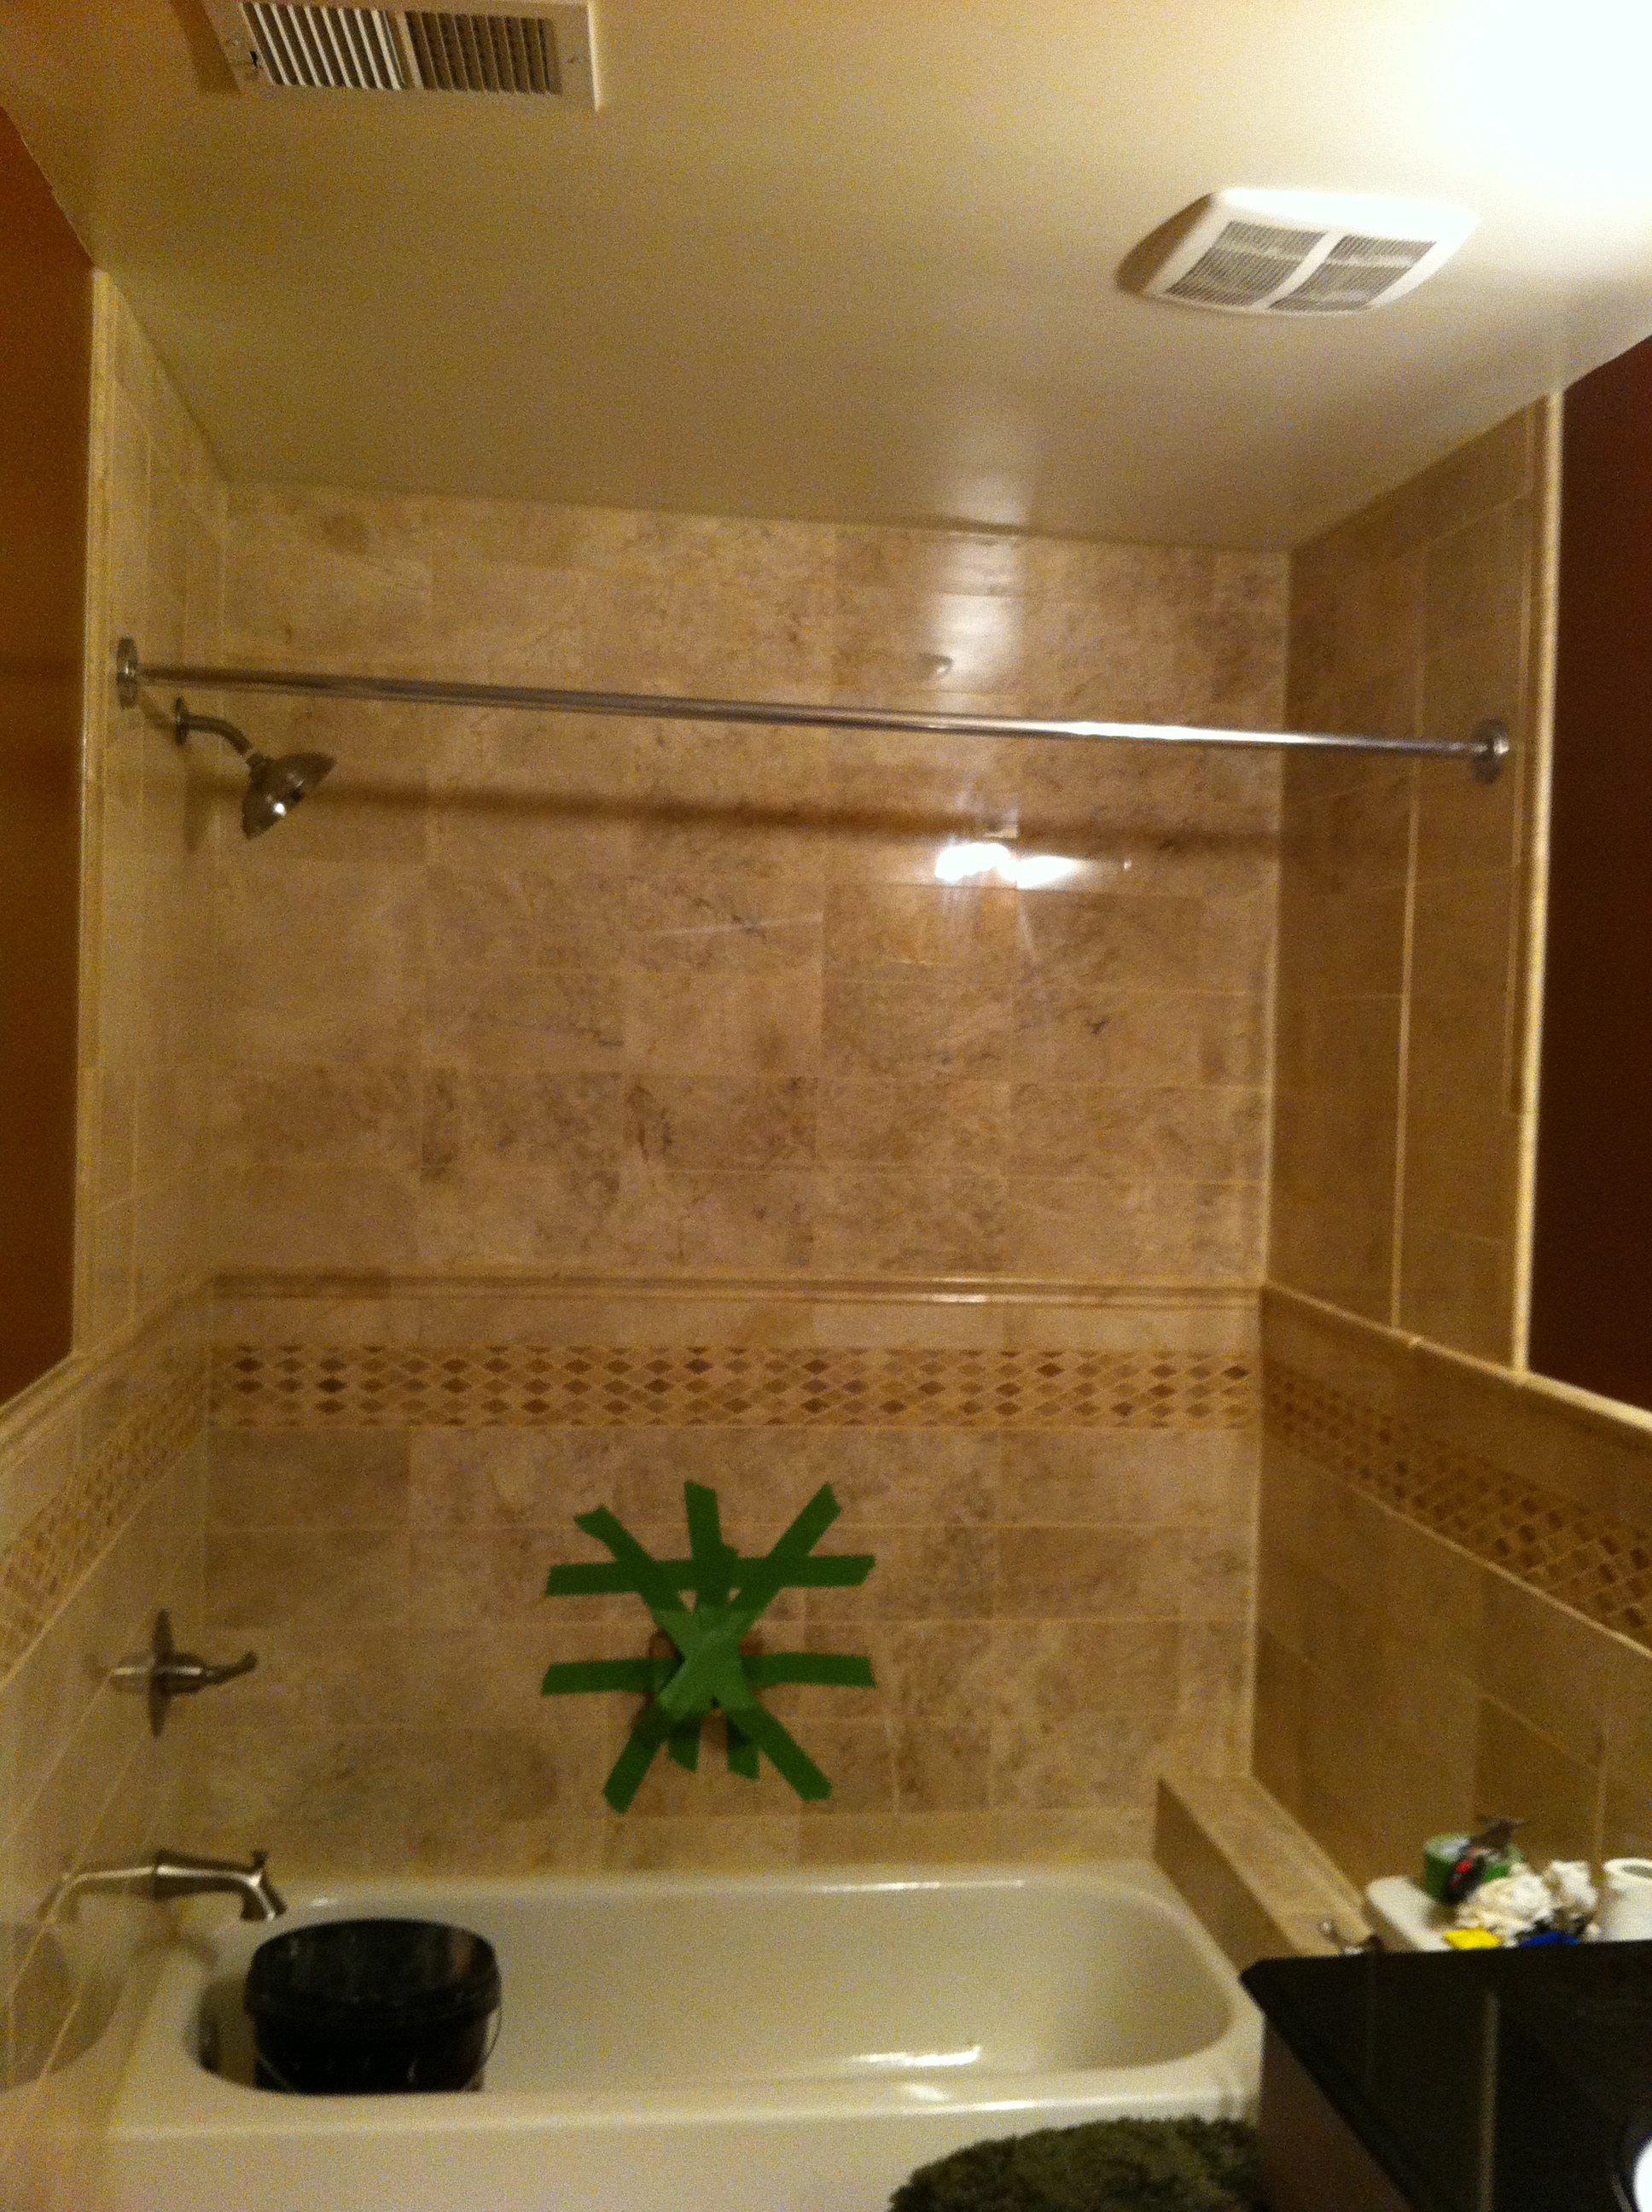
Attaching a soap holder to tile in a wet area requires special adhesive. It’s generically referred to as construction adhesive. Manufacturers keep advancing how quickly the adhesive sets. When we did this project, it took 30 minutes and was fully set after 24 hours. There was no way I was going to hold a soap holder for that long. We used painter’s tape to hold the holder while the adhesive set.
The Sink
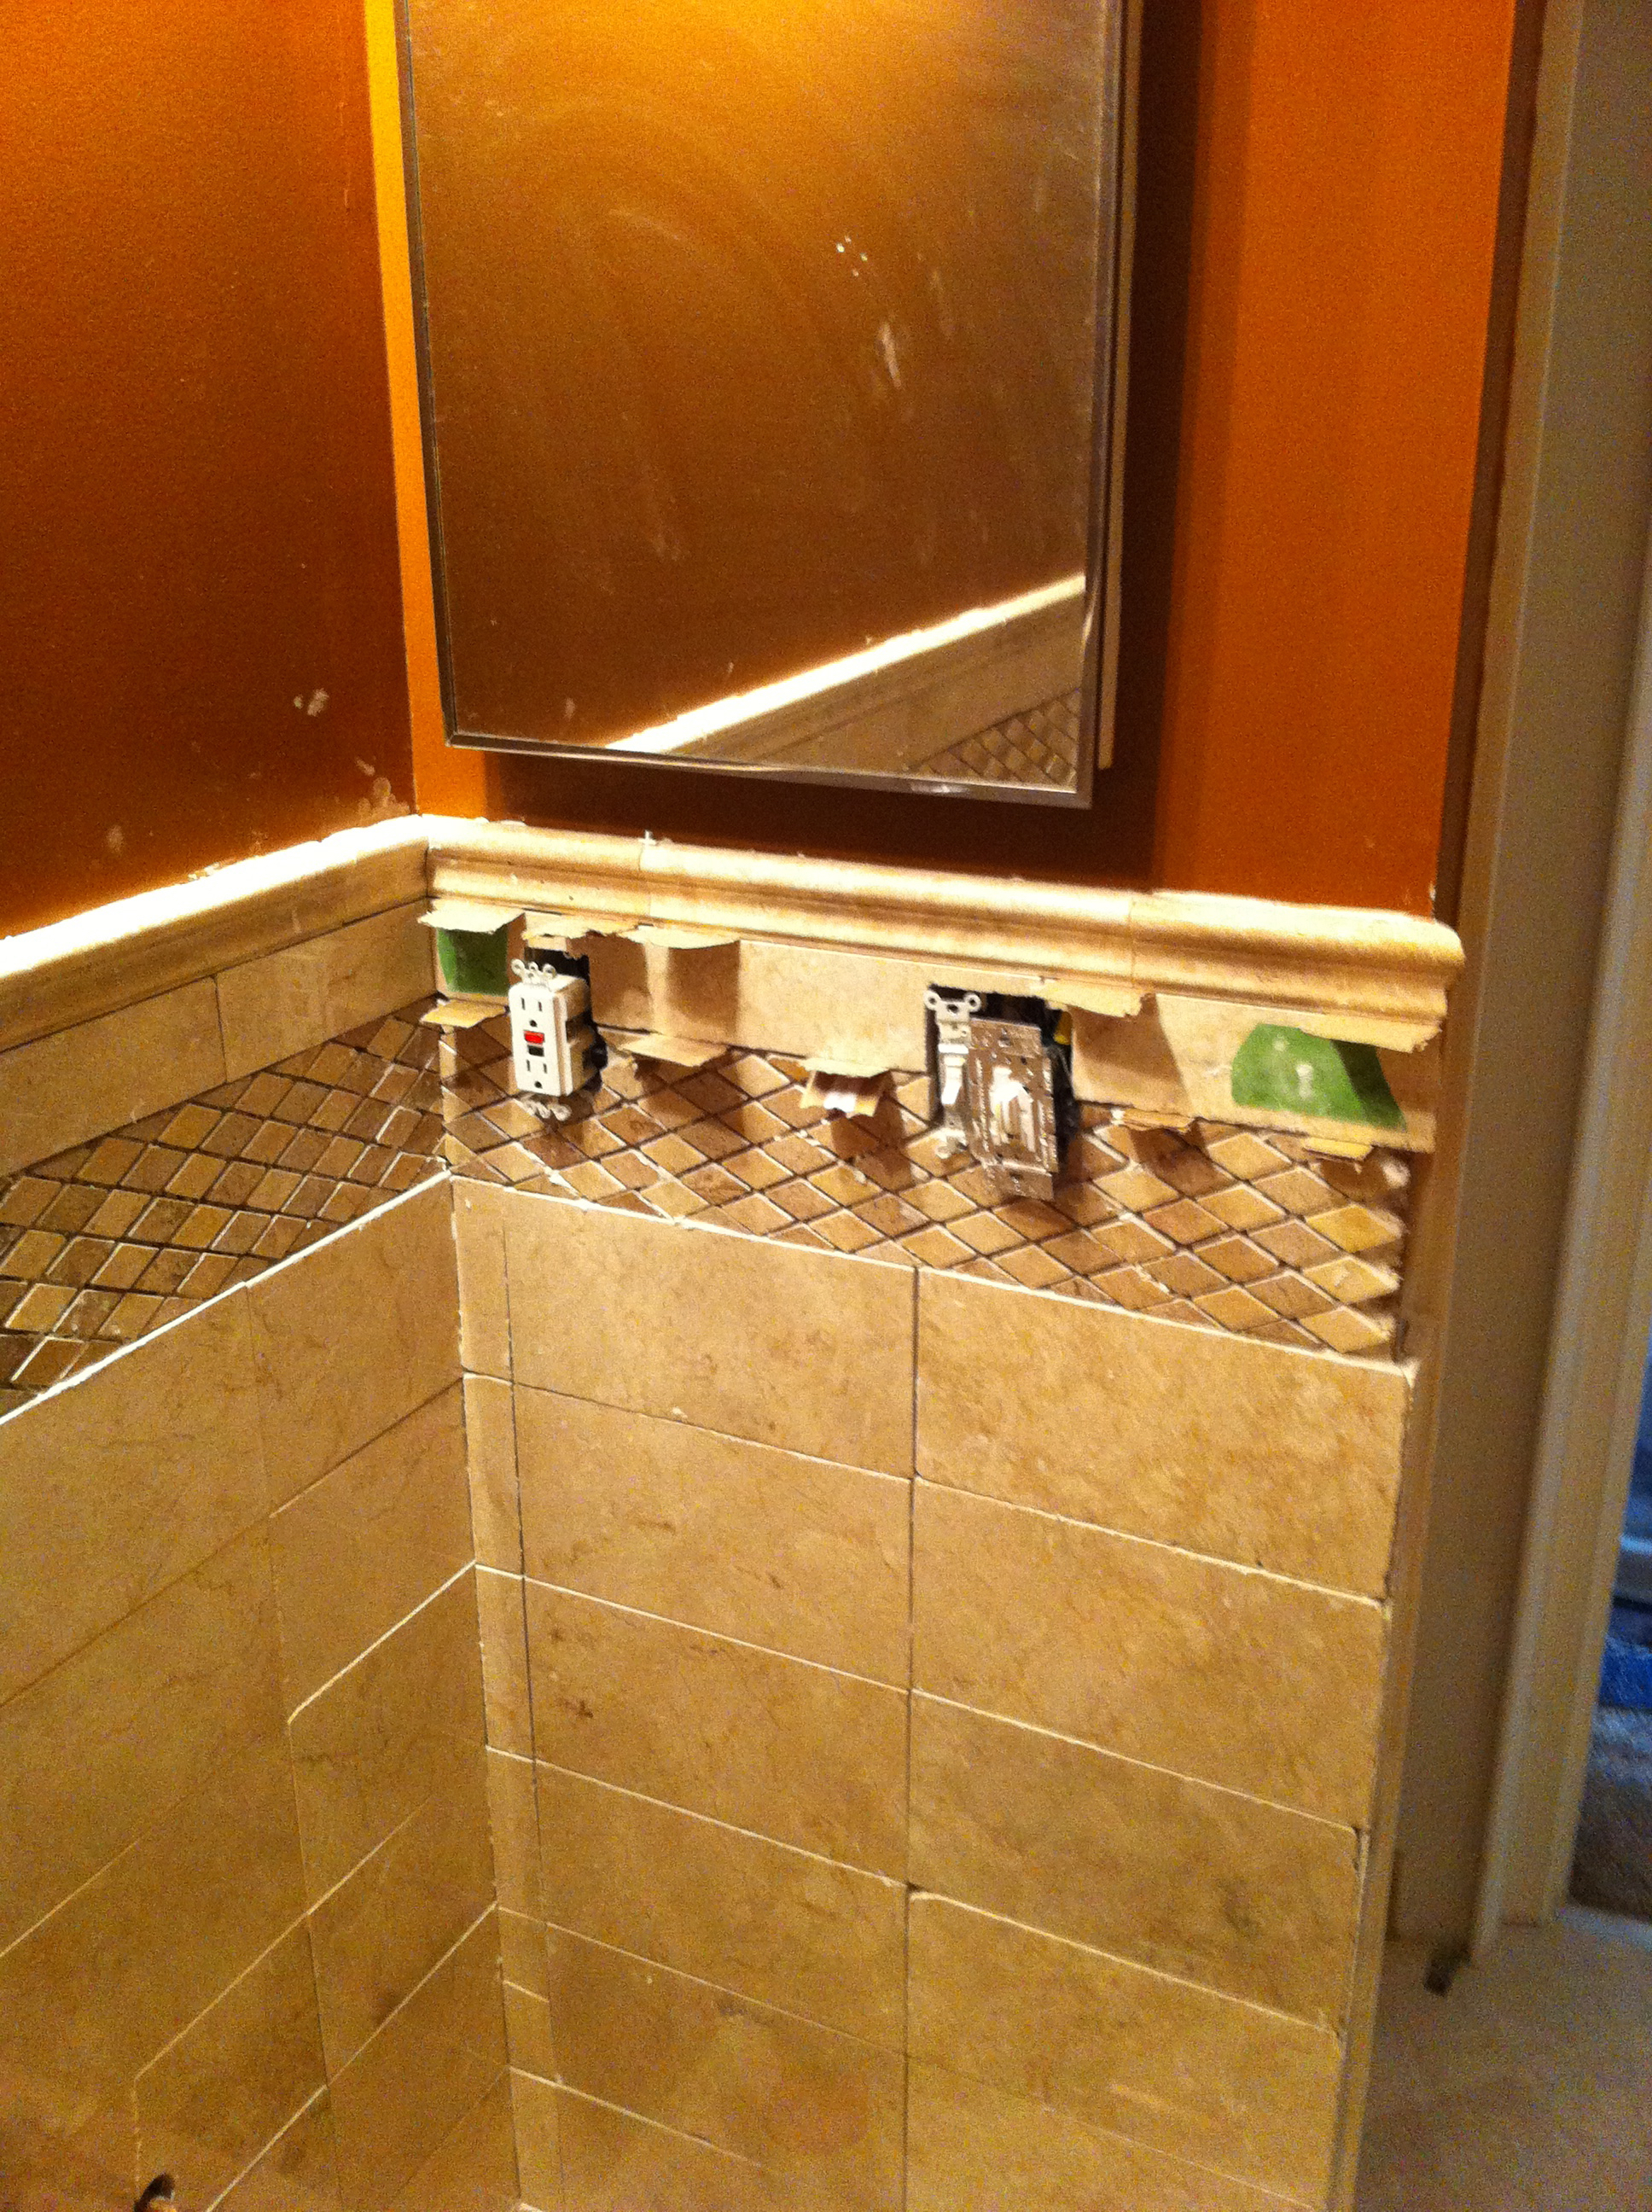
After finishing the tile in the shower, I turned my attention to the sink area. This was challenging because I hadn’t put tile around an electrical outlet before. It wasn’t terribly hard. It just took some extra planning, measuring & cutting.
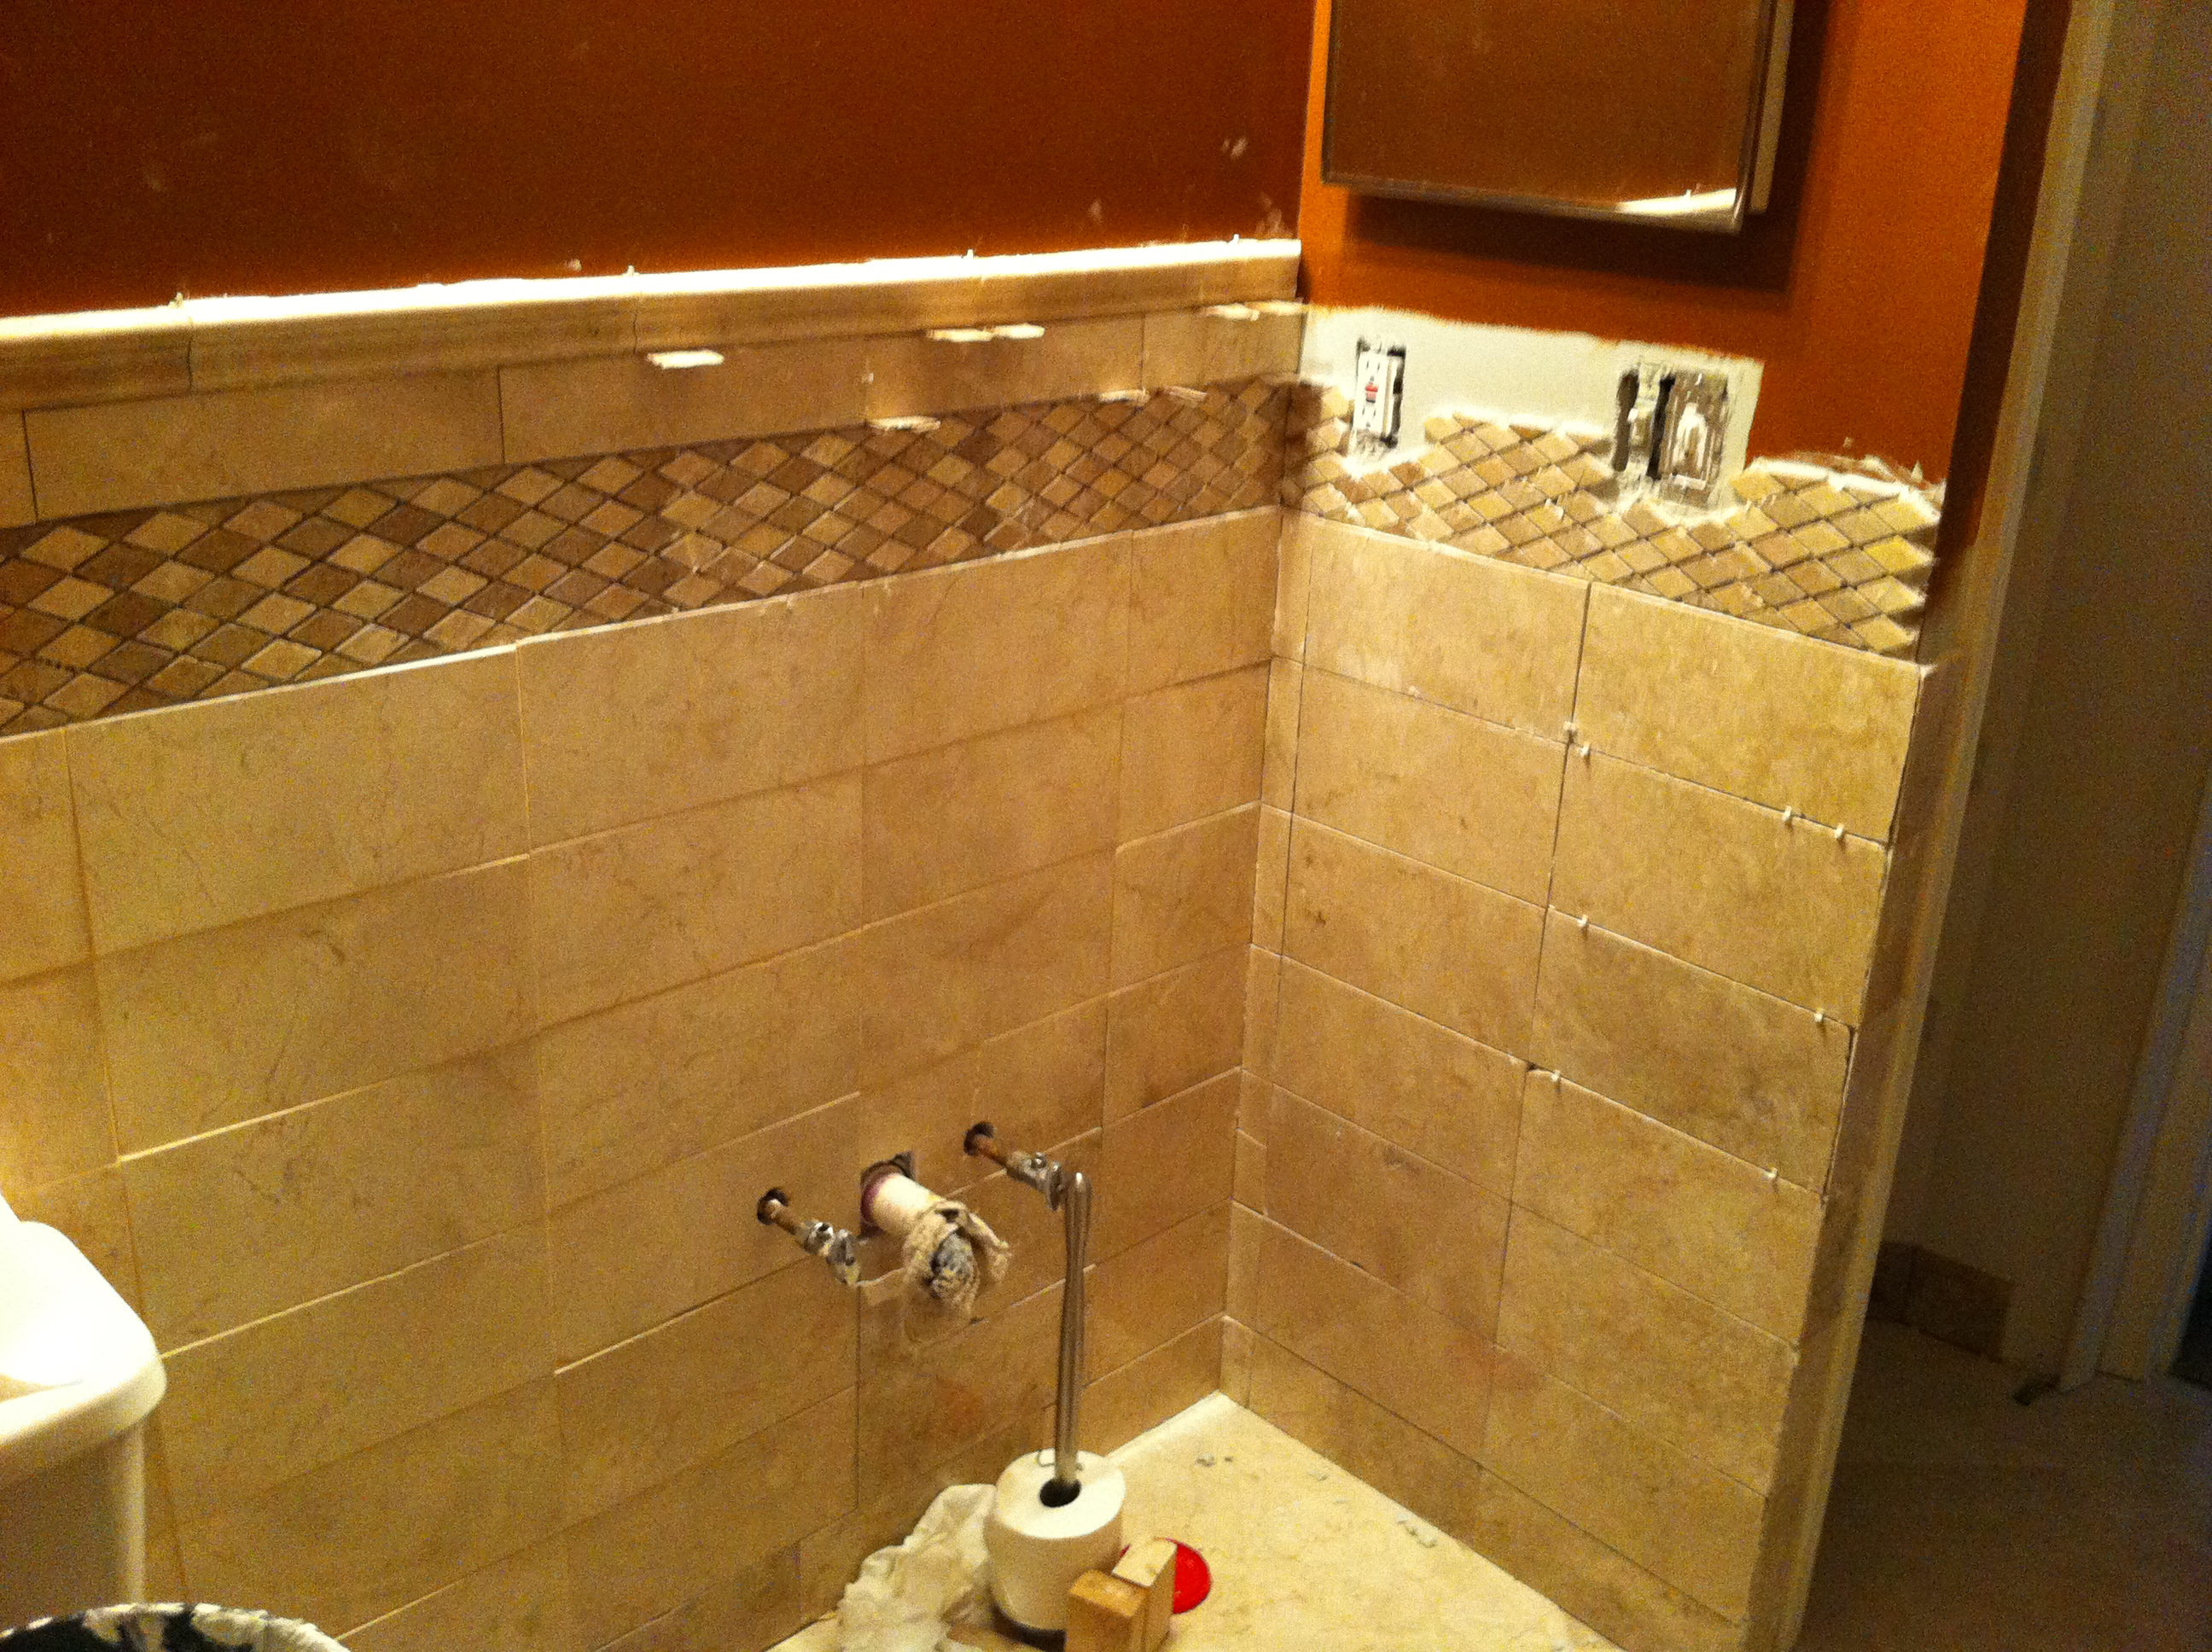
Tip: be sure to apply tile sealer after the grout. This helps avoid mildew & discoloration.
We ultimately decided to destroy the vanity I built & bought one.
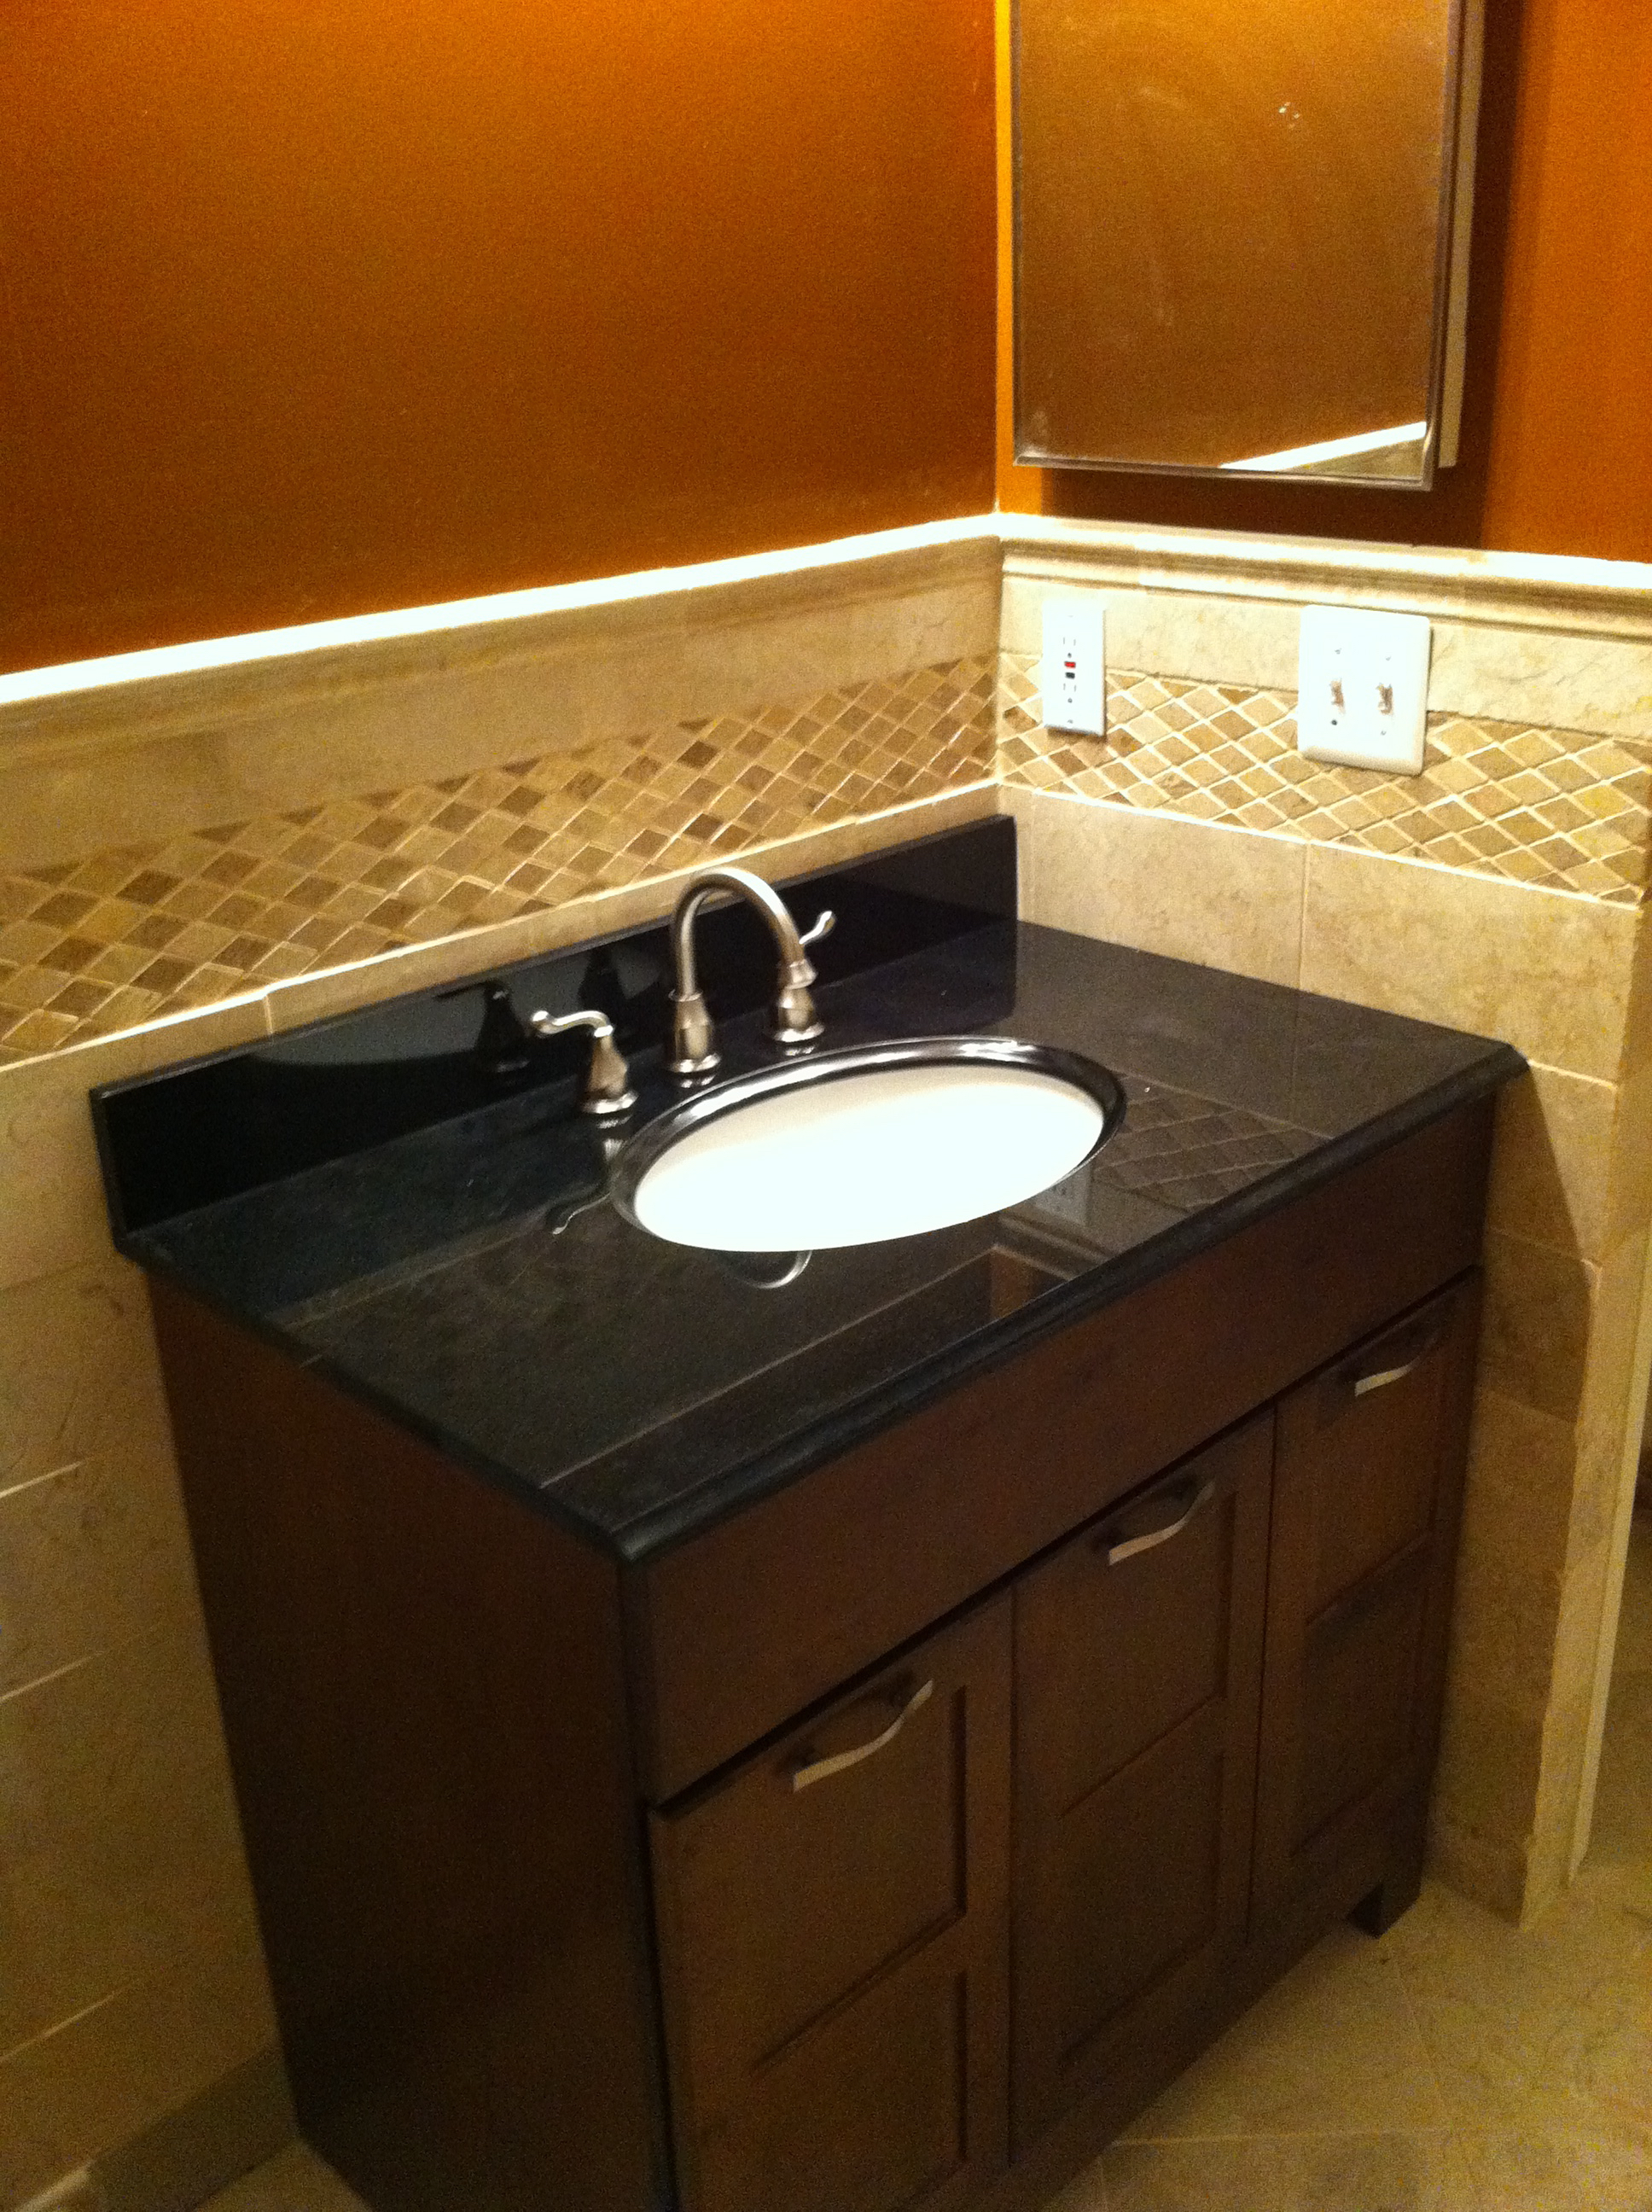
Final Images
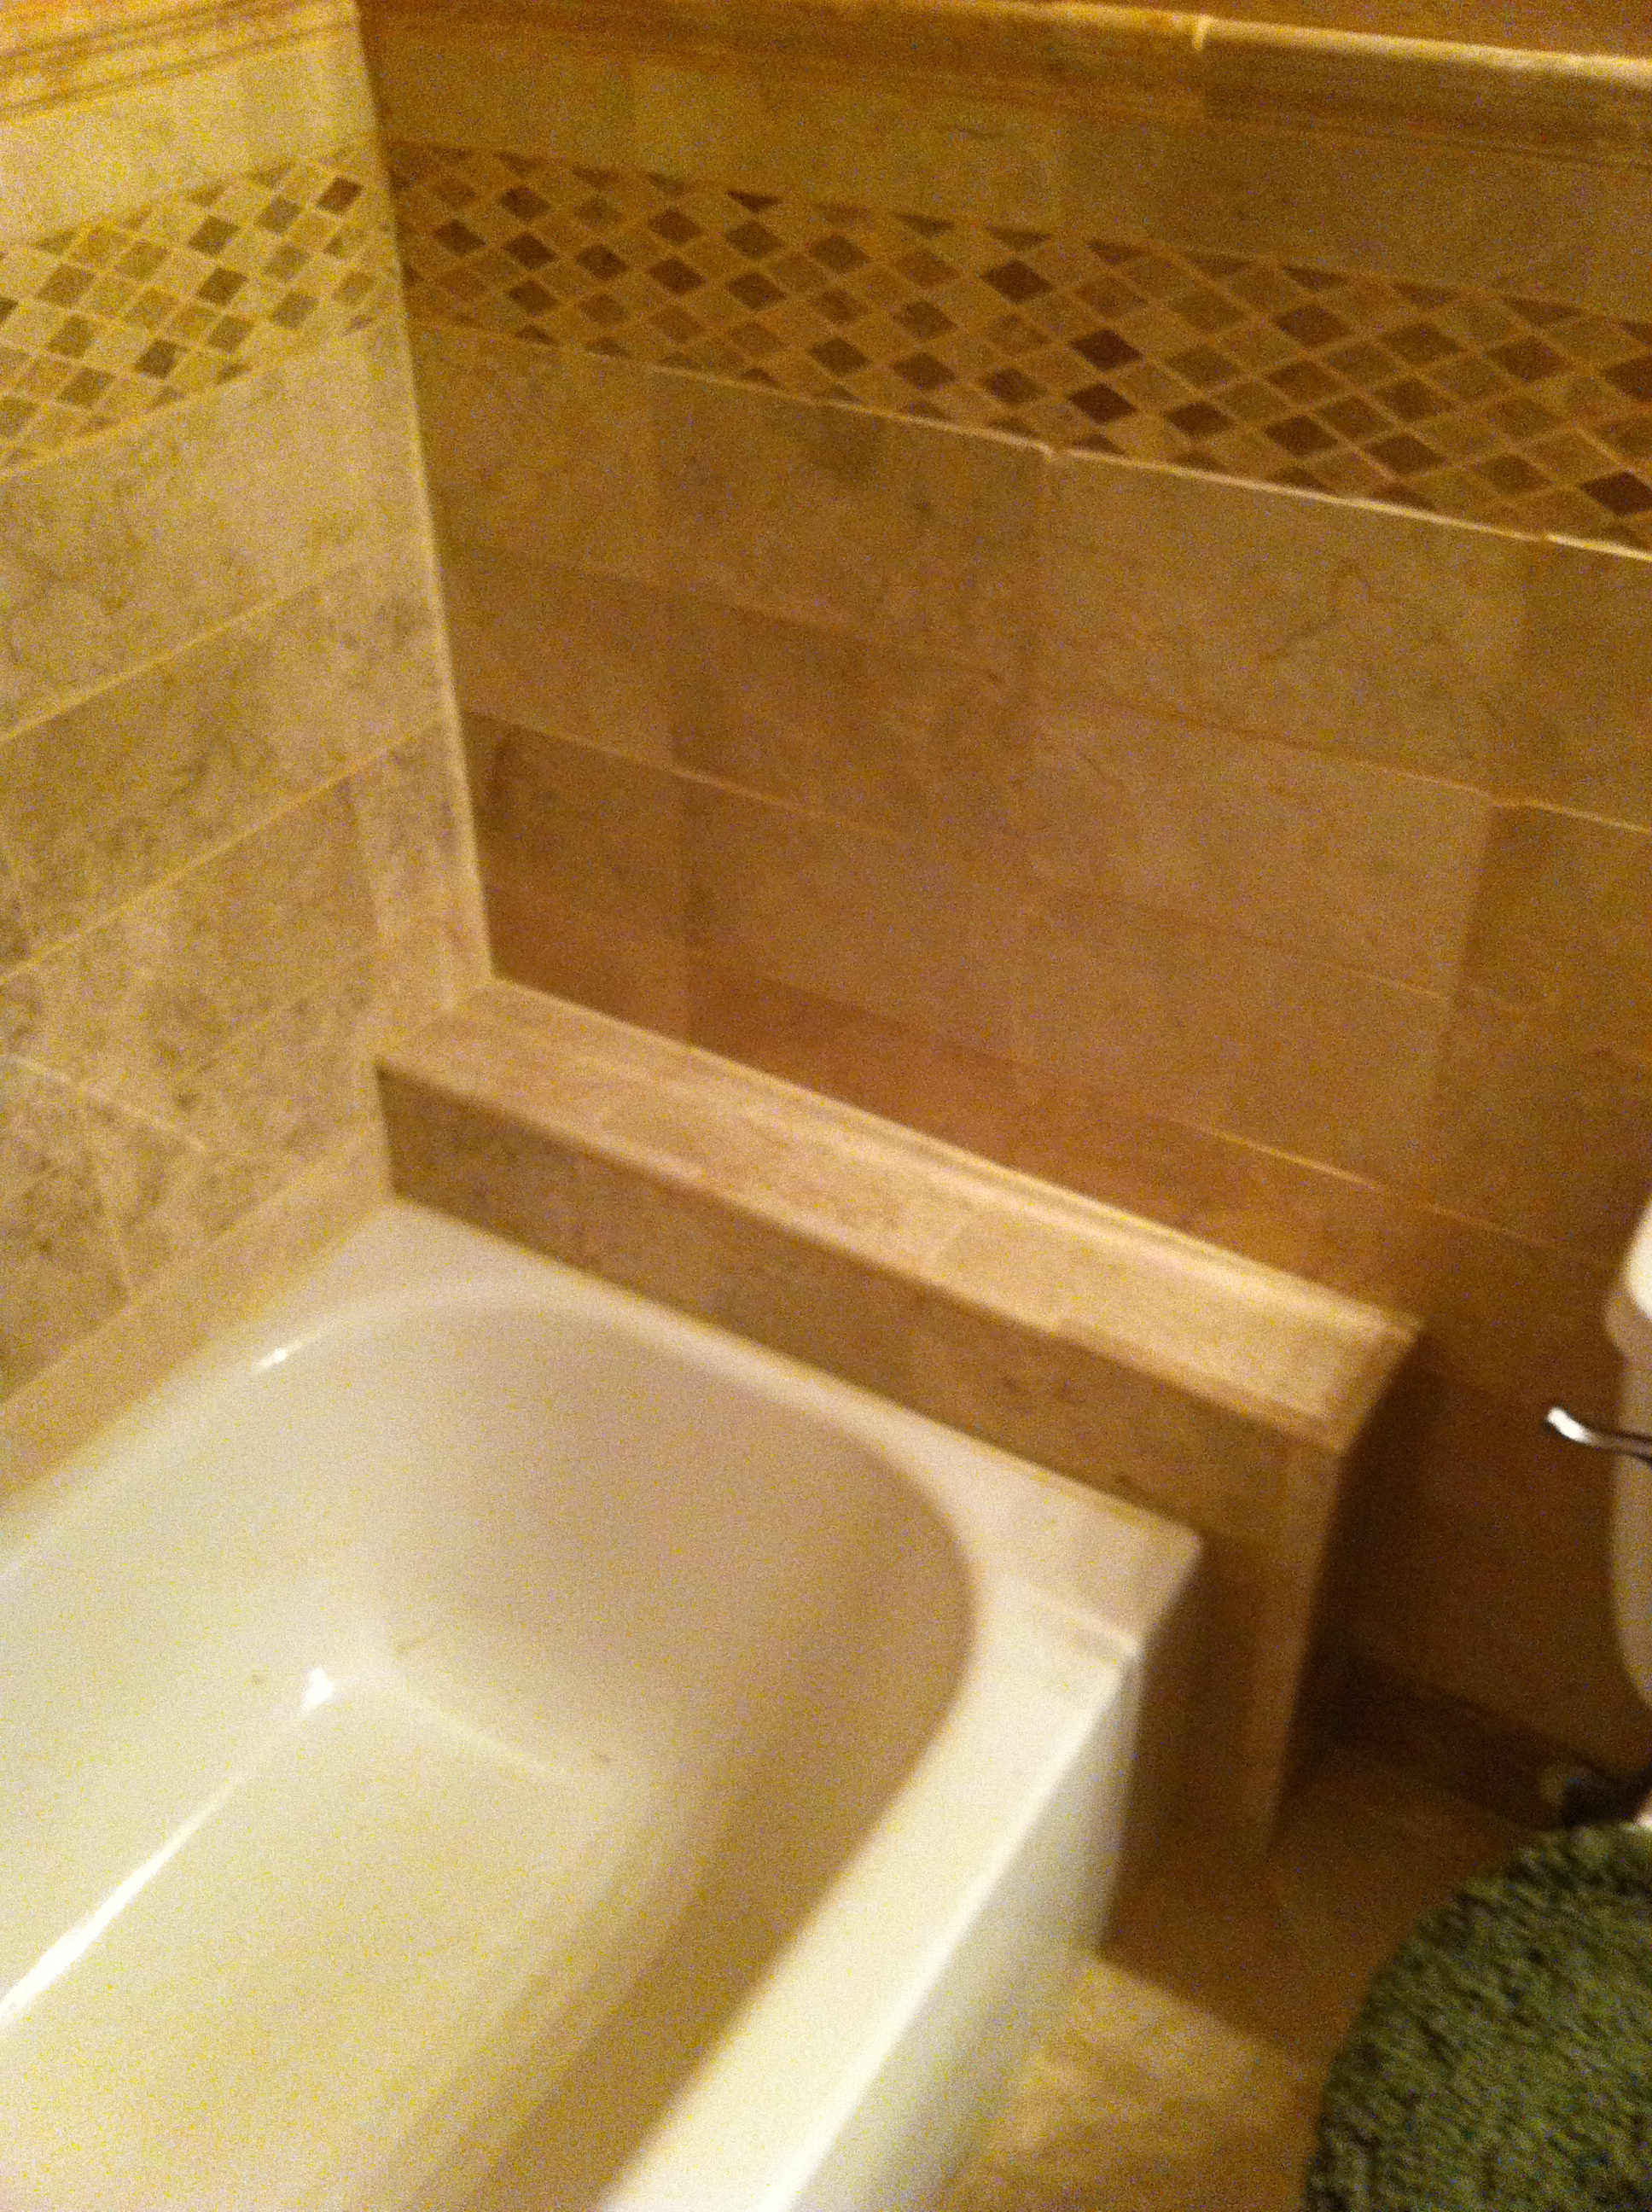
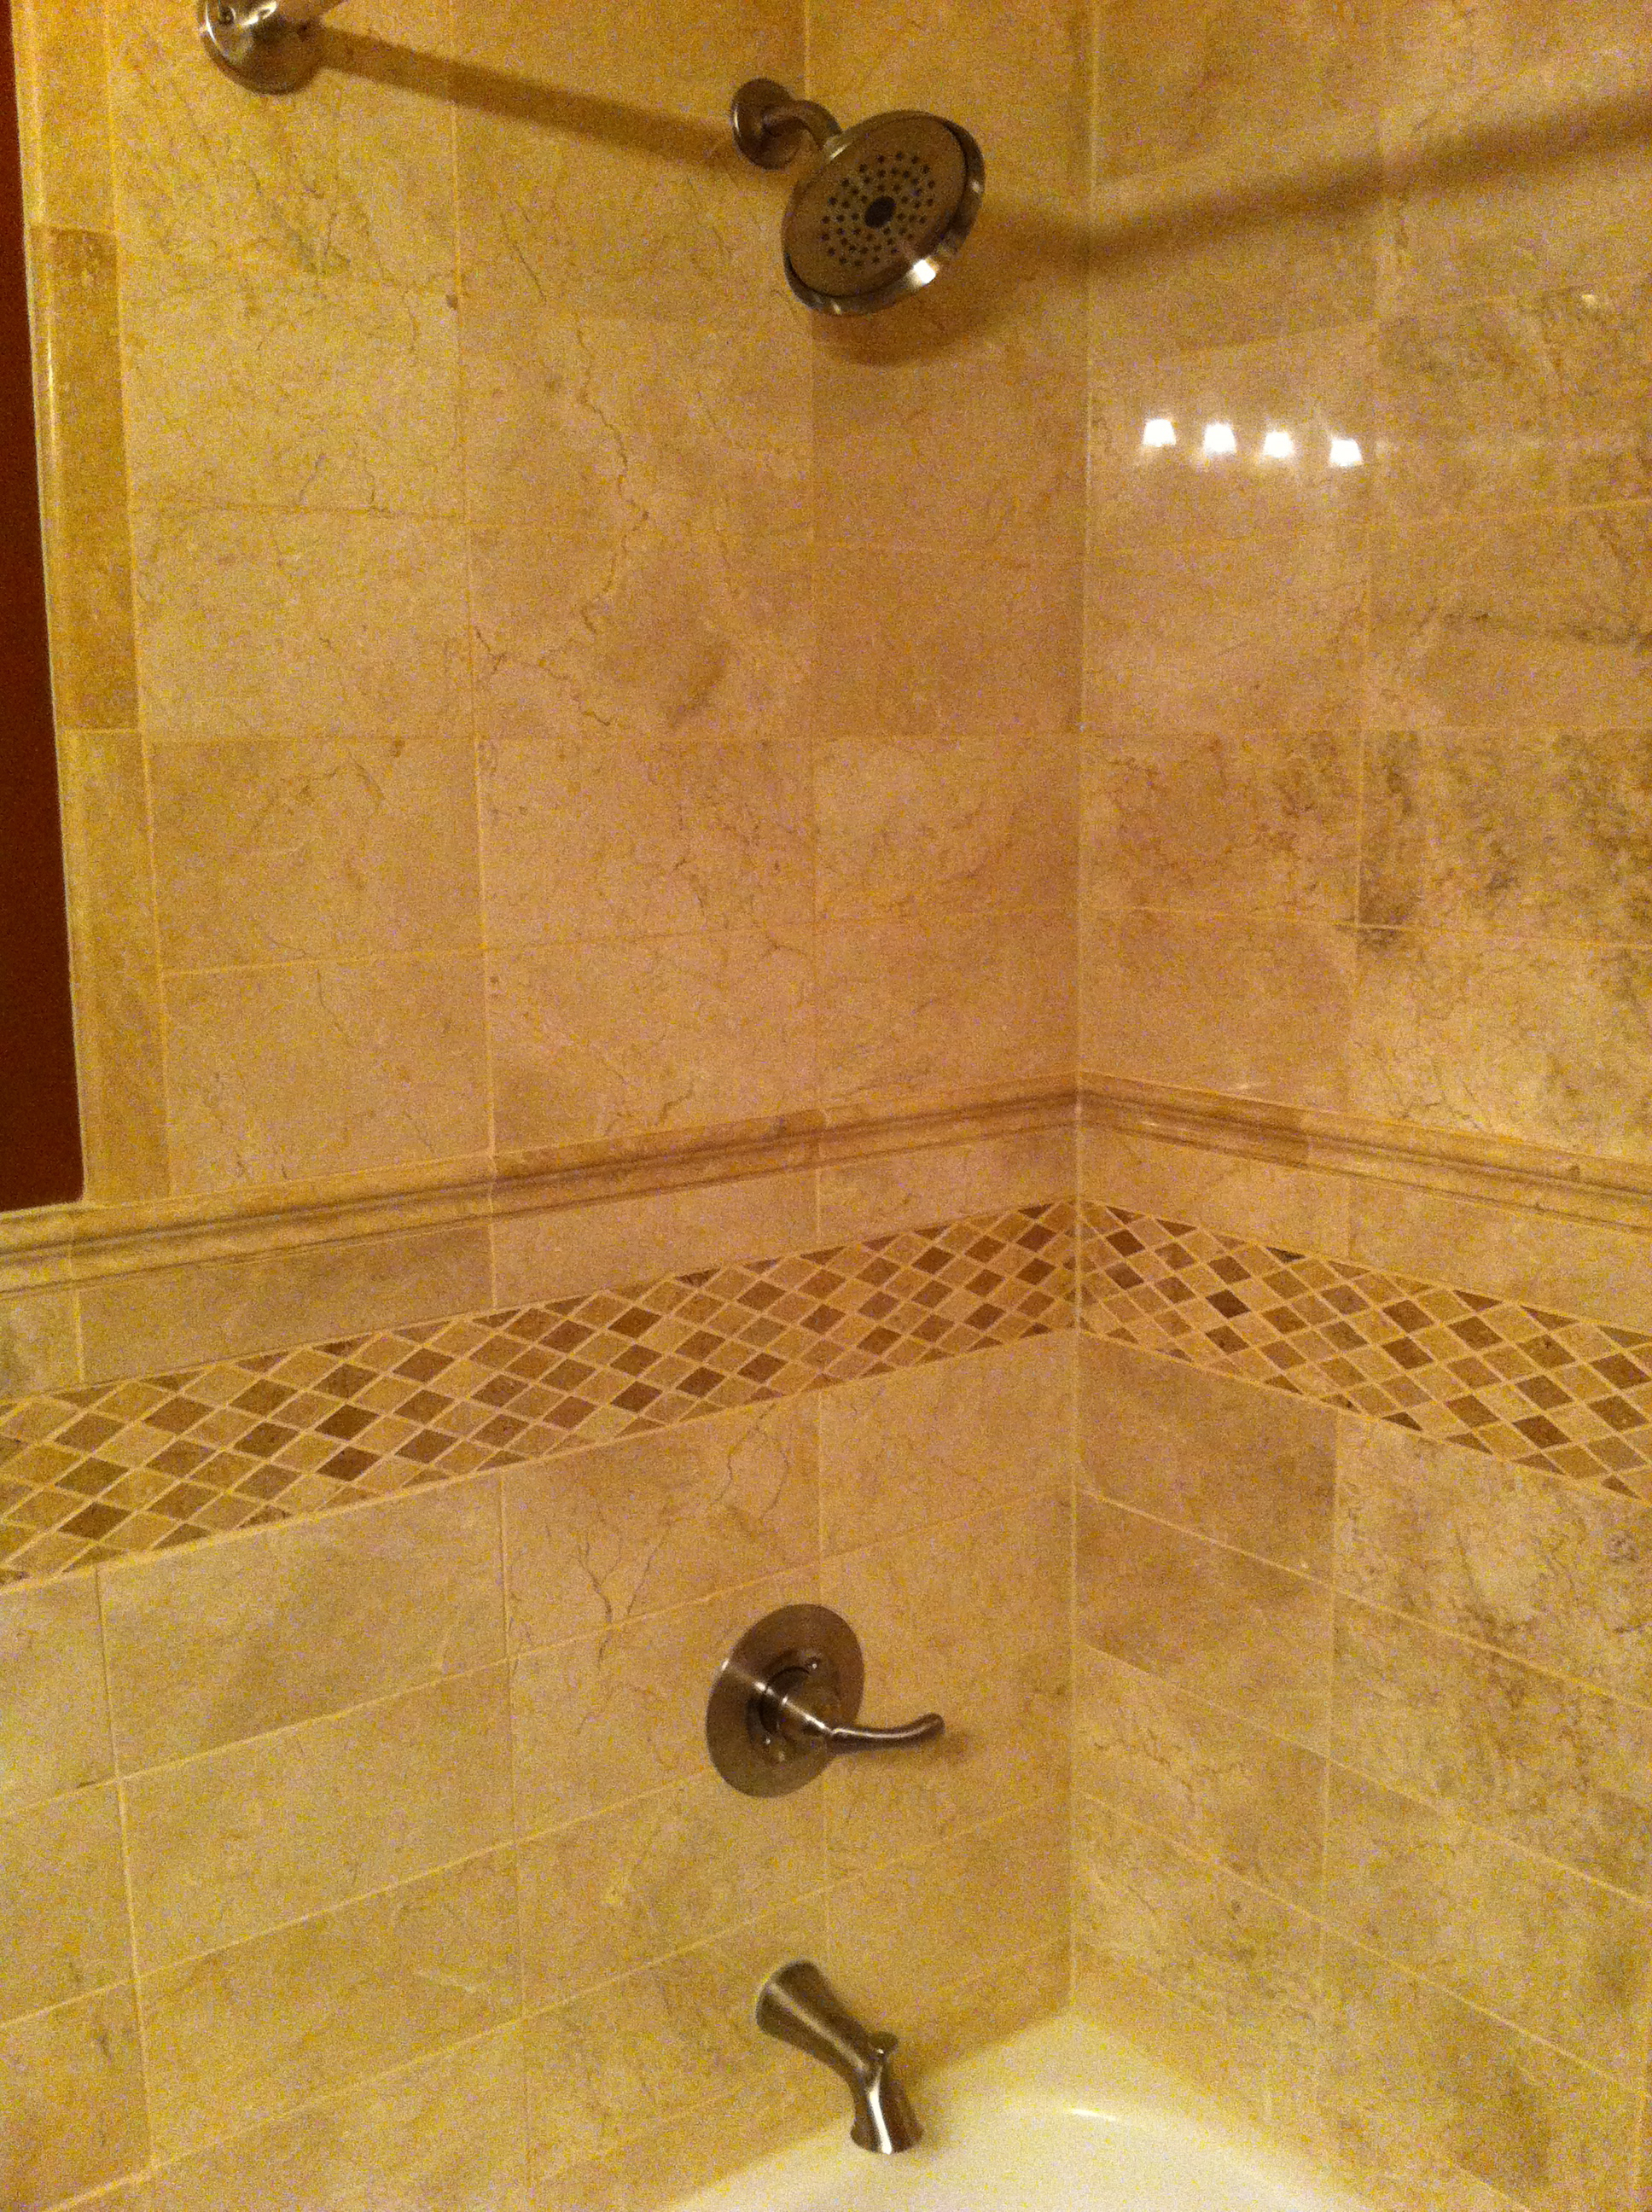

This was a great learning experience for me. I hope you enjoyed the photos & can take some of my experiences to learn something for your own project!
