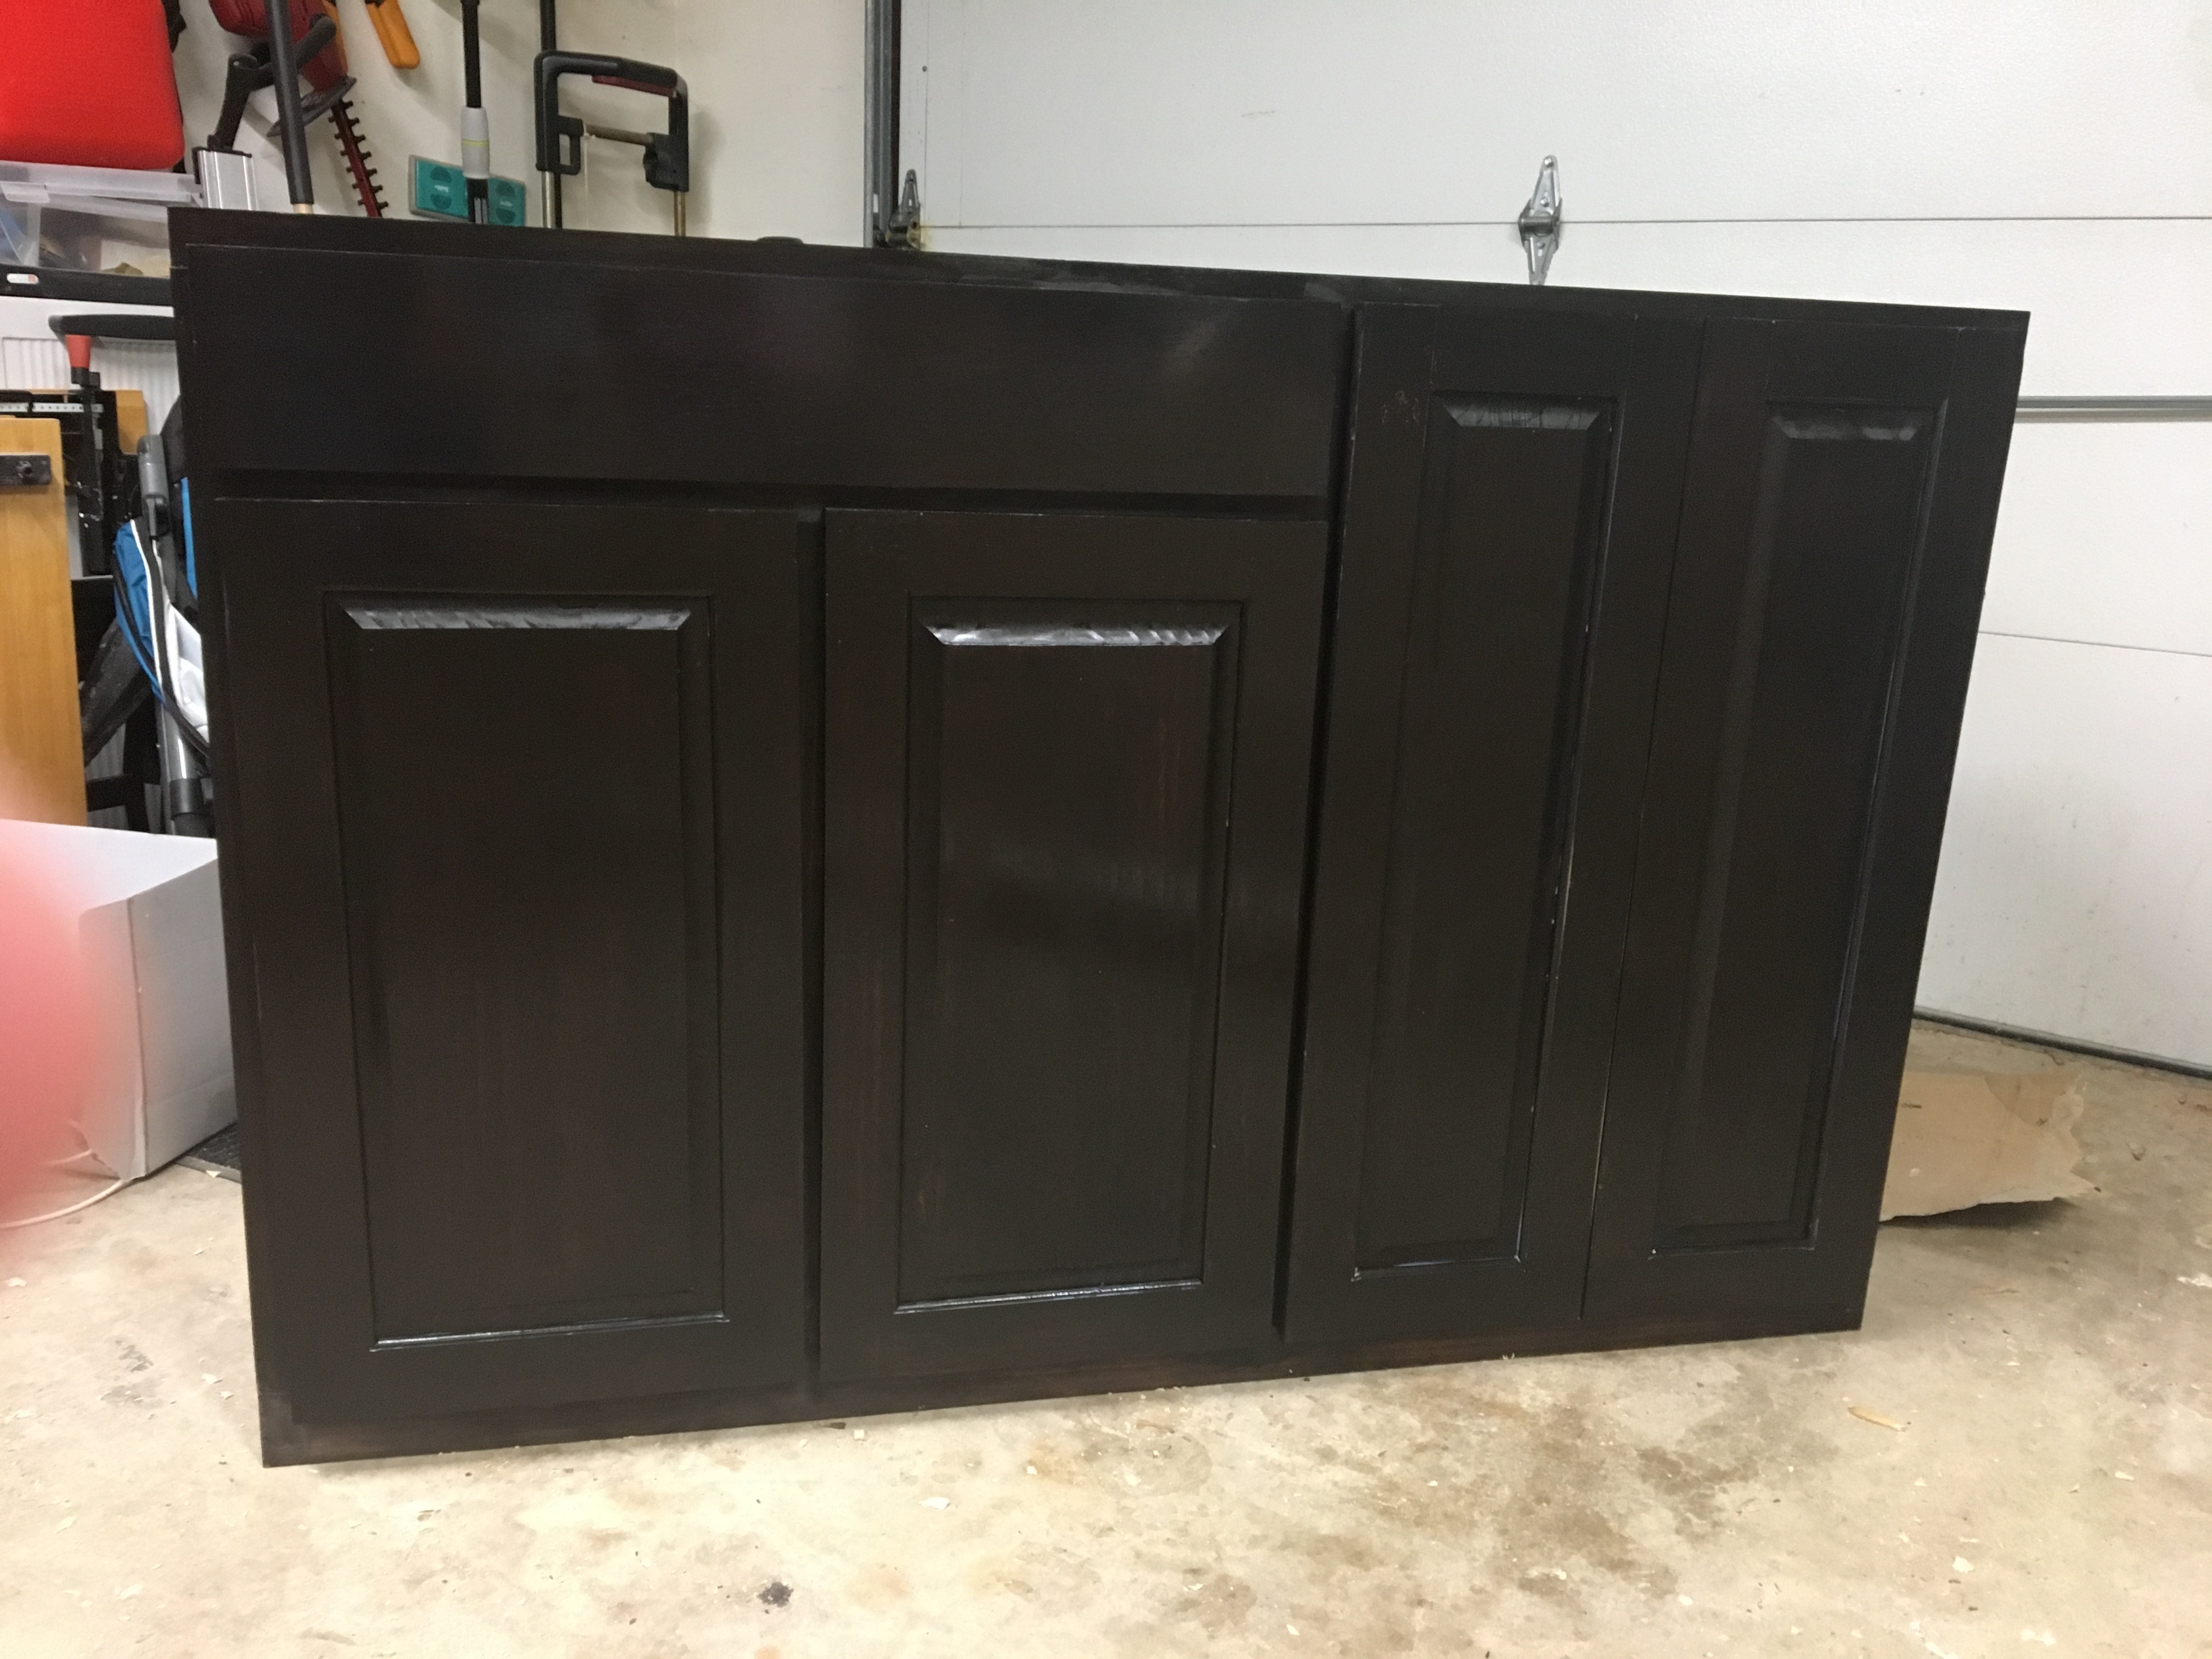
When we renovated our kitchen, we built a homemade cabinet.
Our requirements were:
- Cabinet for a 13 gallon trash can
- Cabinet for a 13 gallon recycling container
- A drawer for utensils
- A shelf for a bread maker
- A shelf for an air fryer
- Soft-close drawer & doors
- Had to match our new cabinets (Kitchen Remodel)
We bought the trash cans & had the small appliances, so we knew all the dimensions. 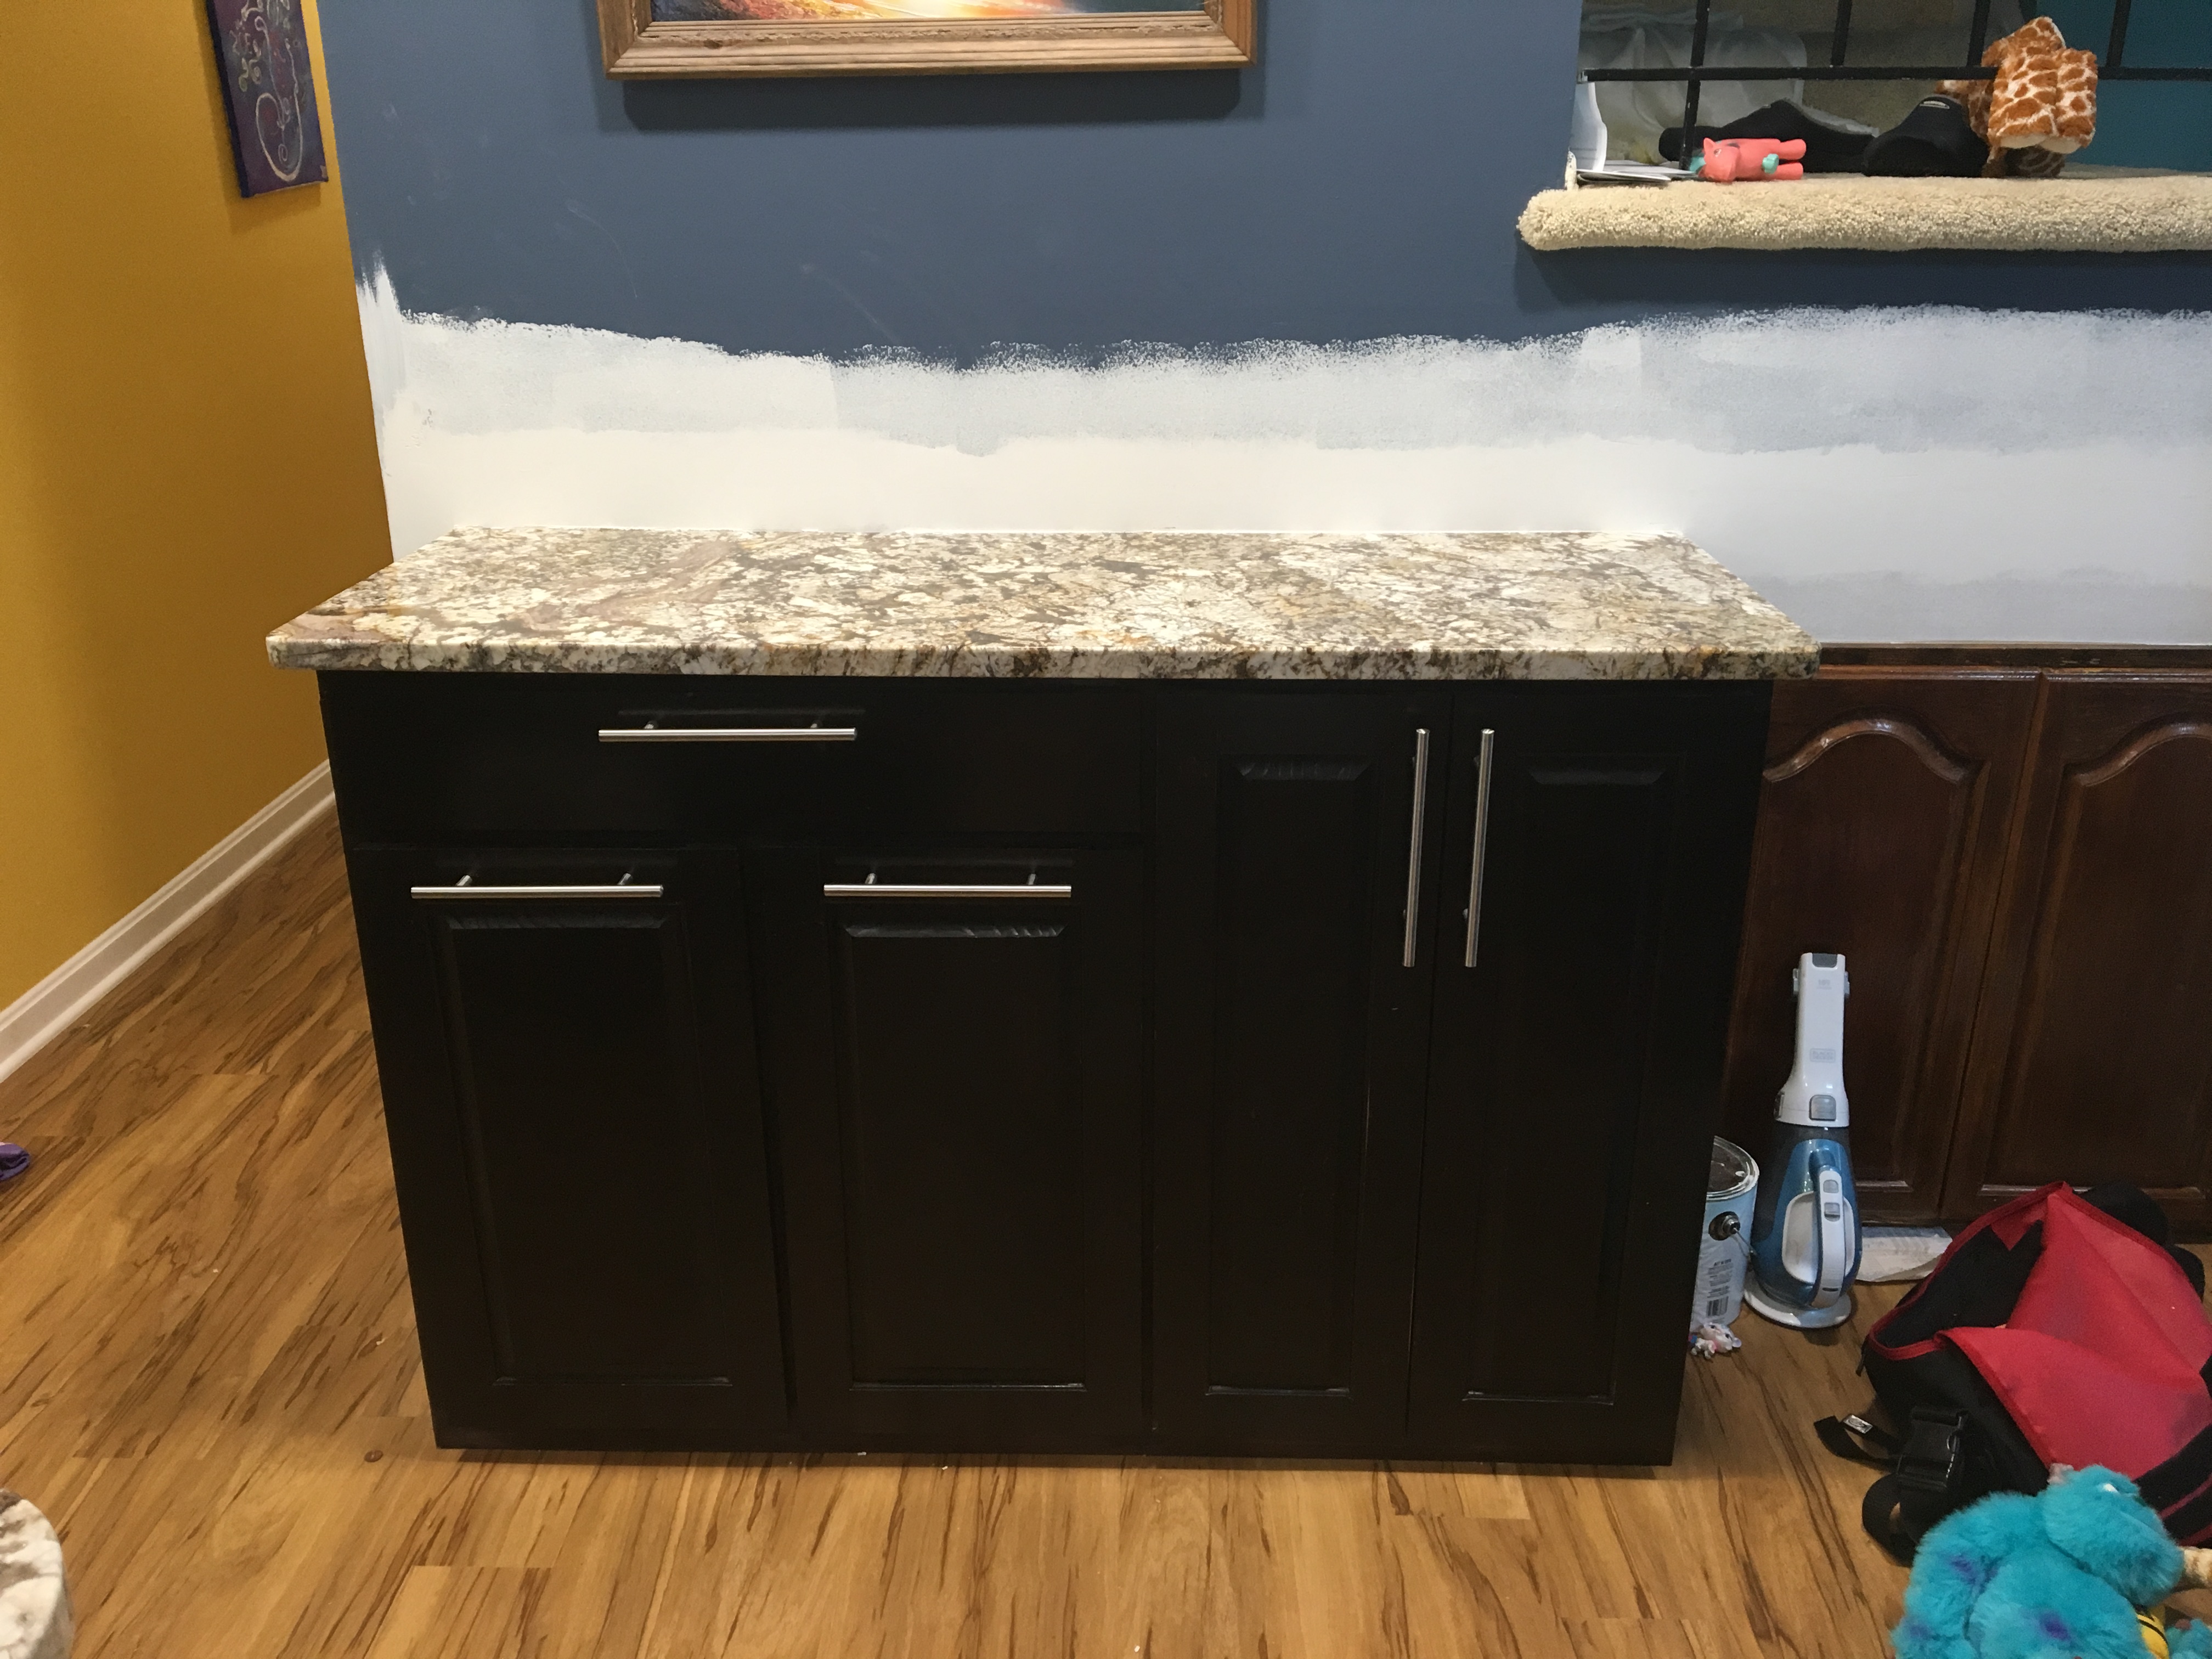
Read on for the plans & more photos...
The Plans
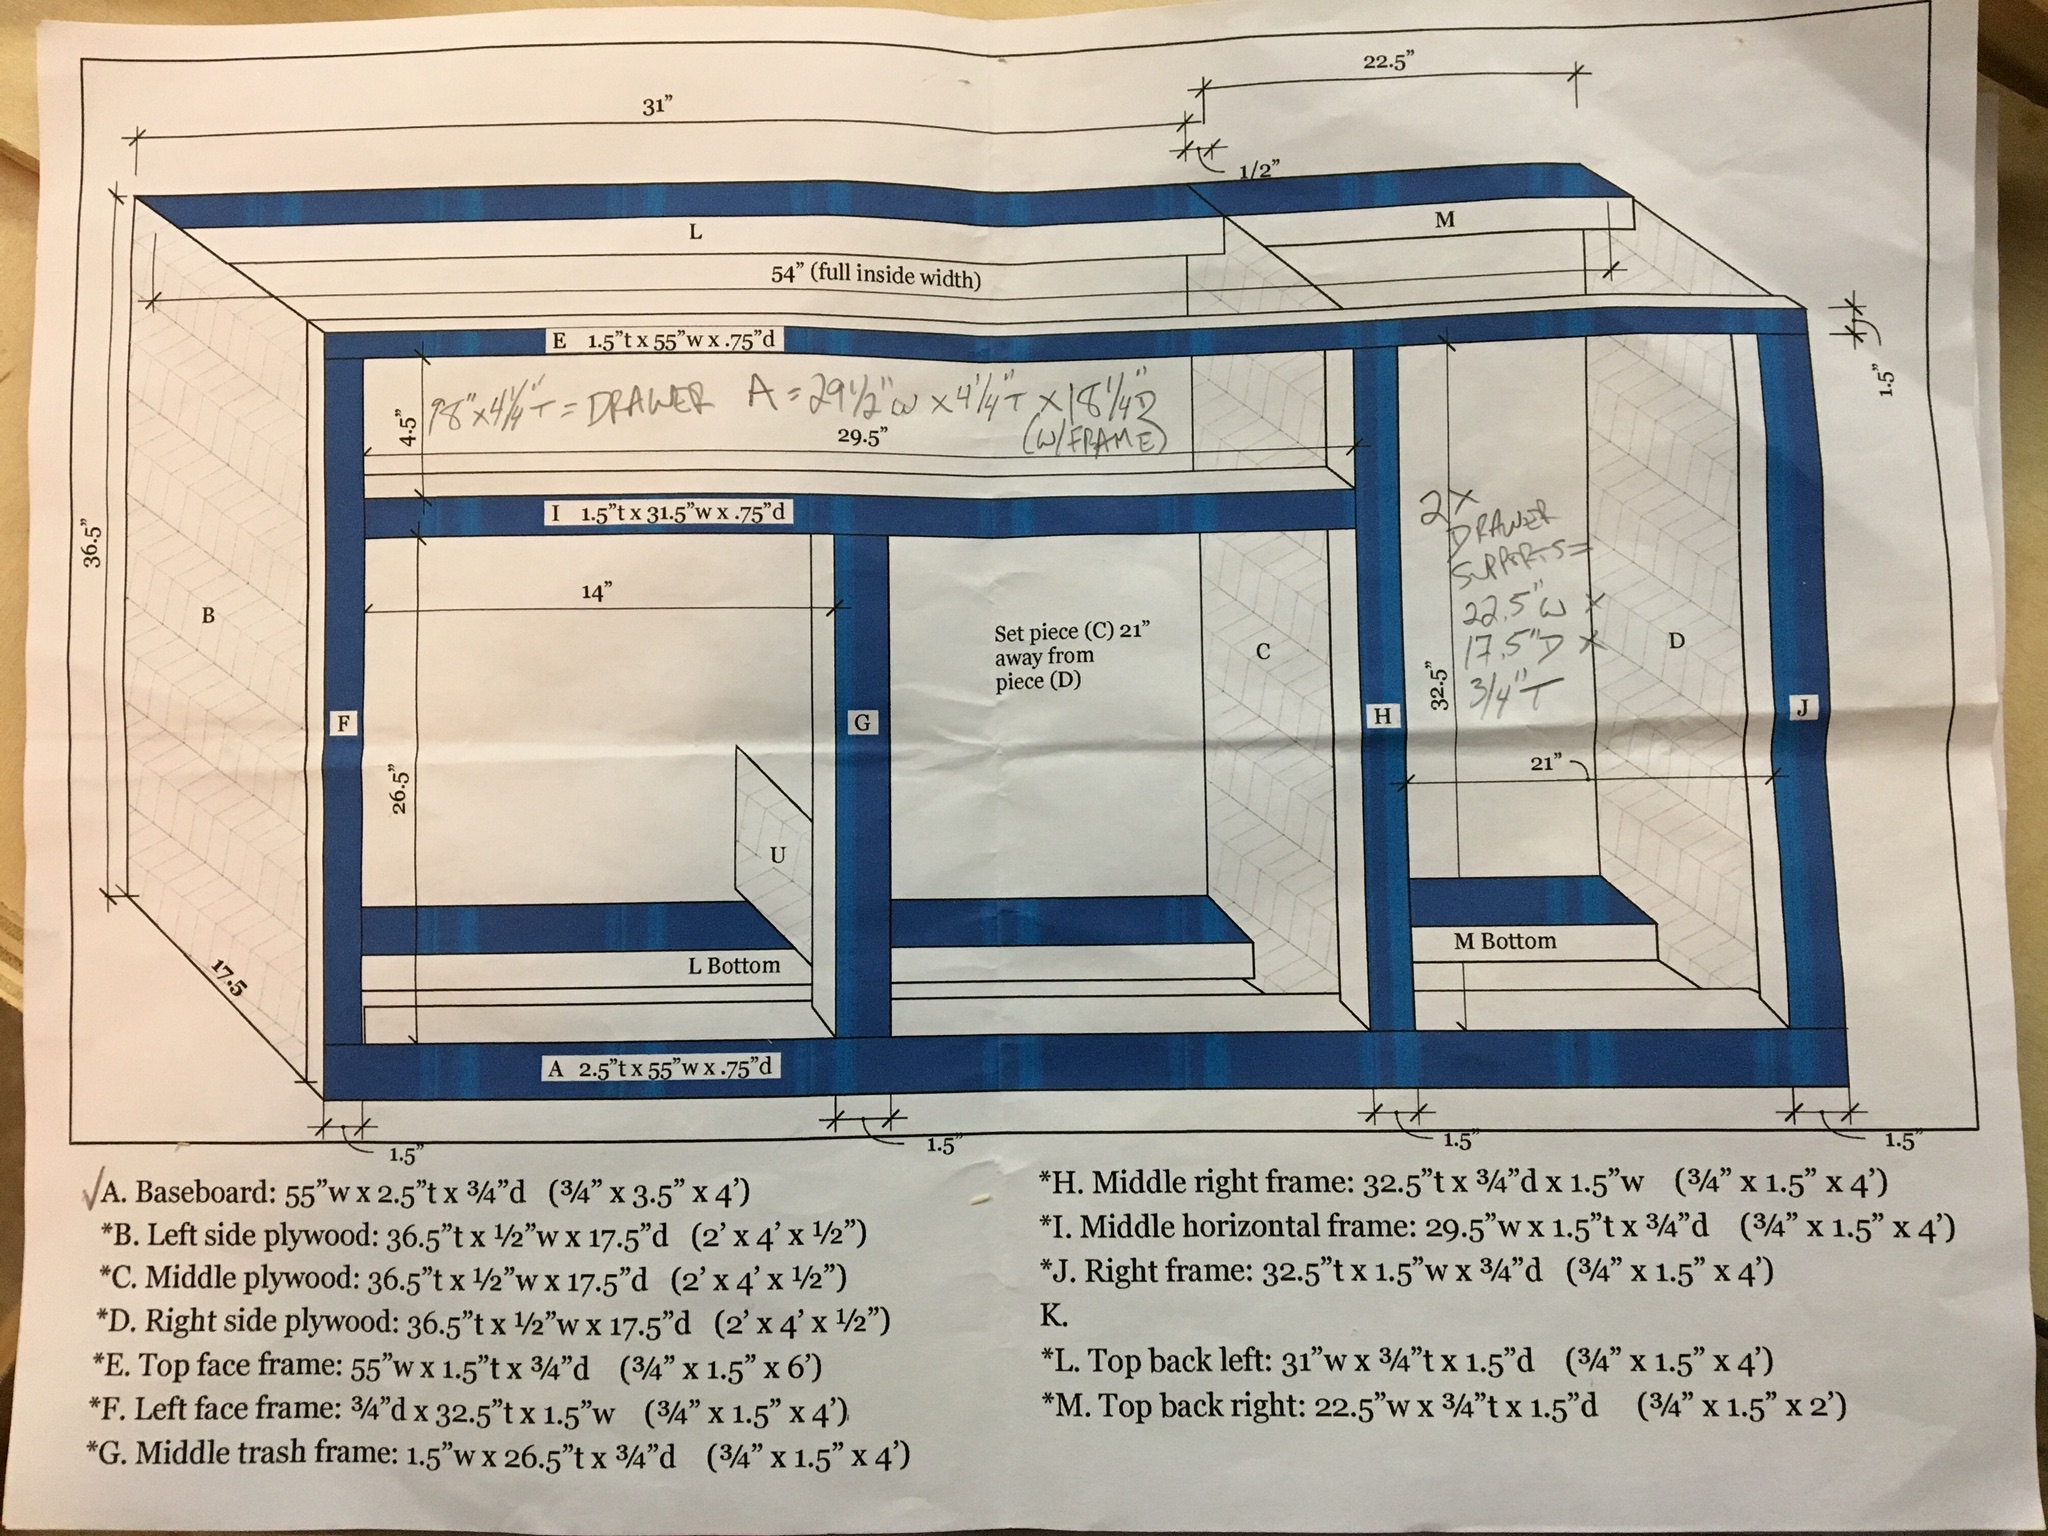
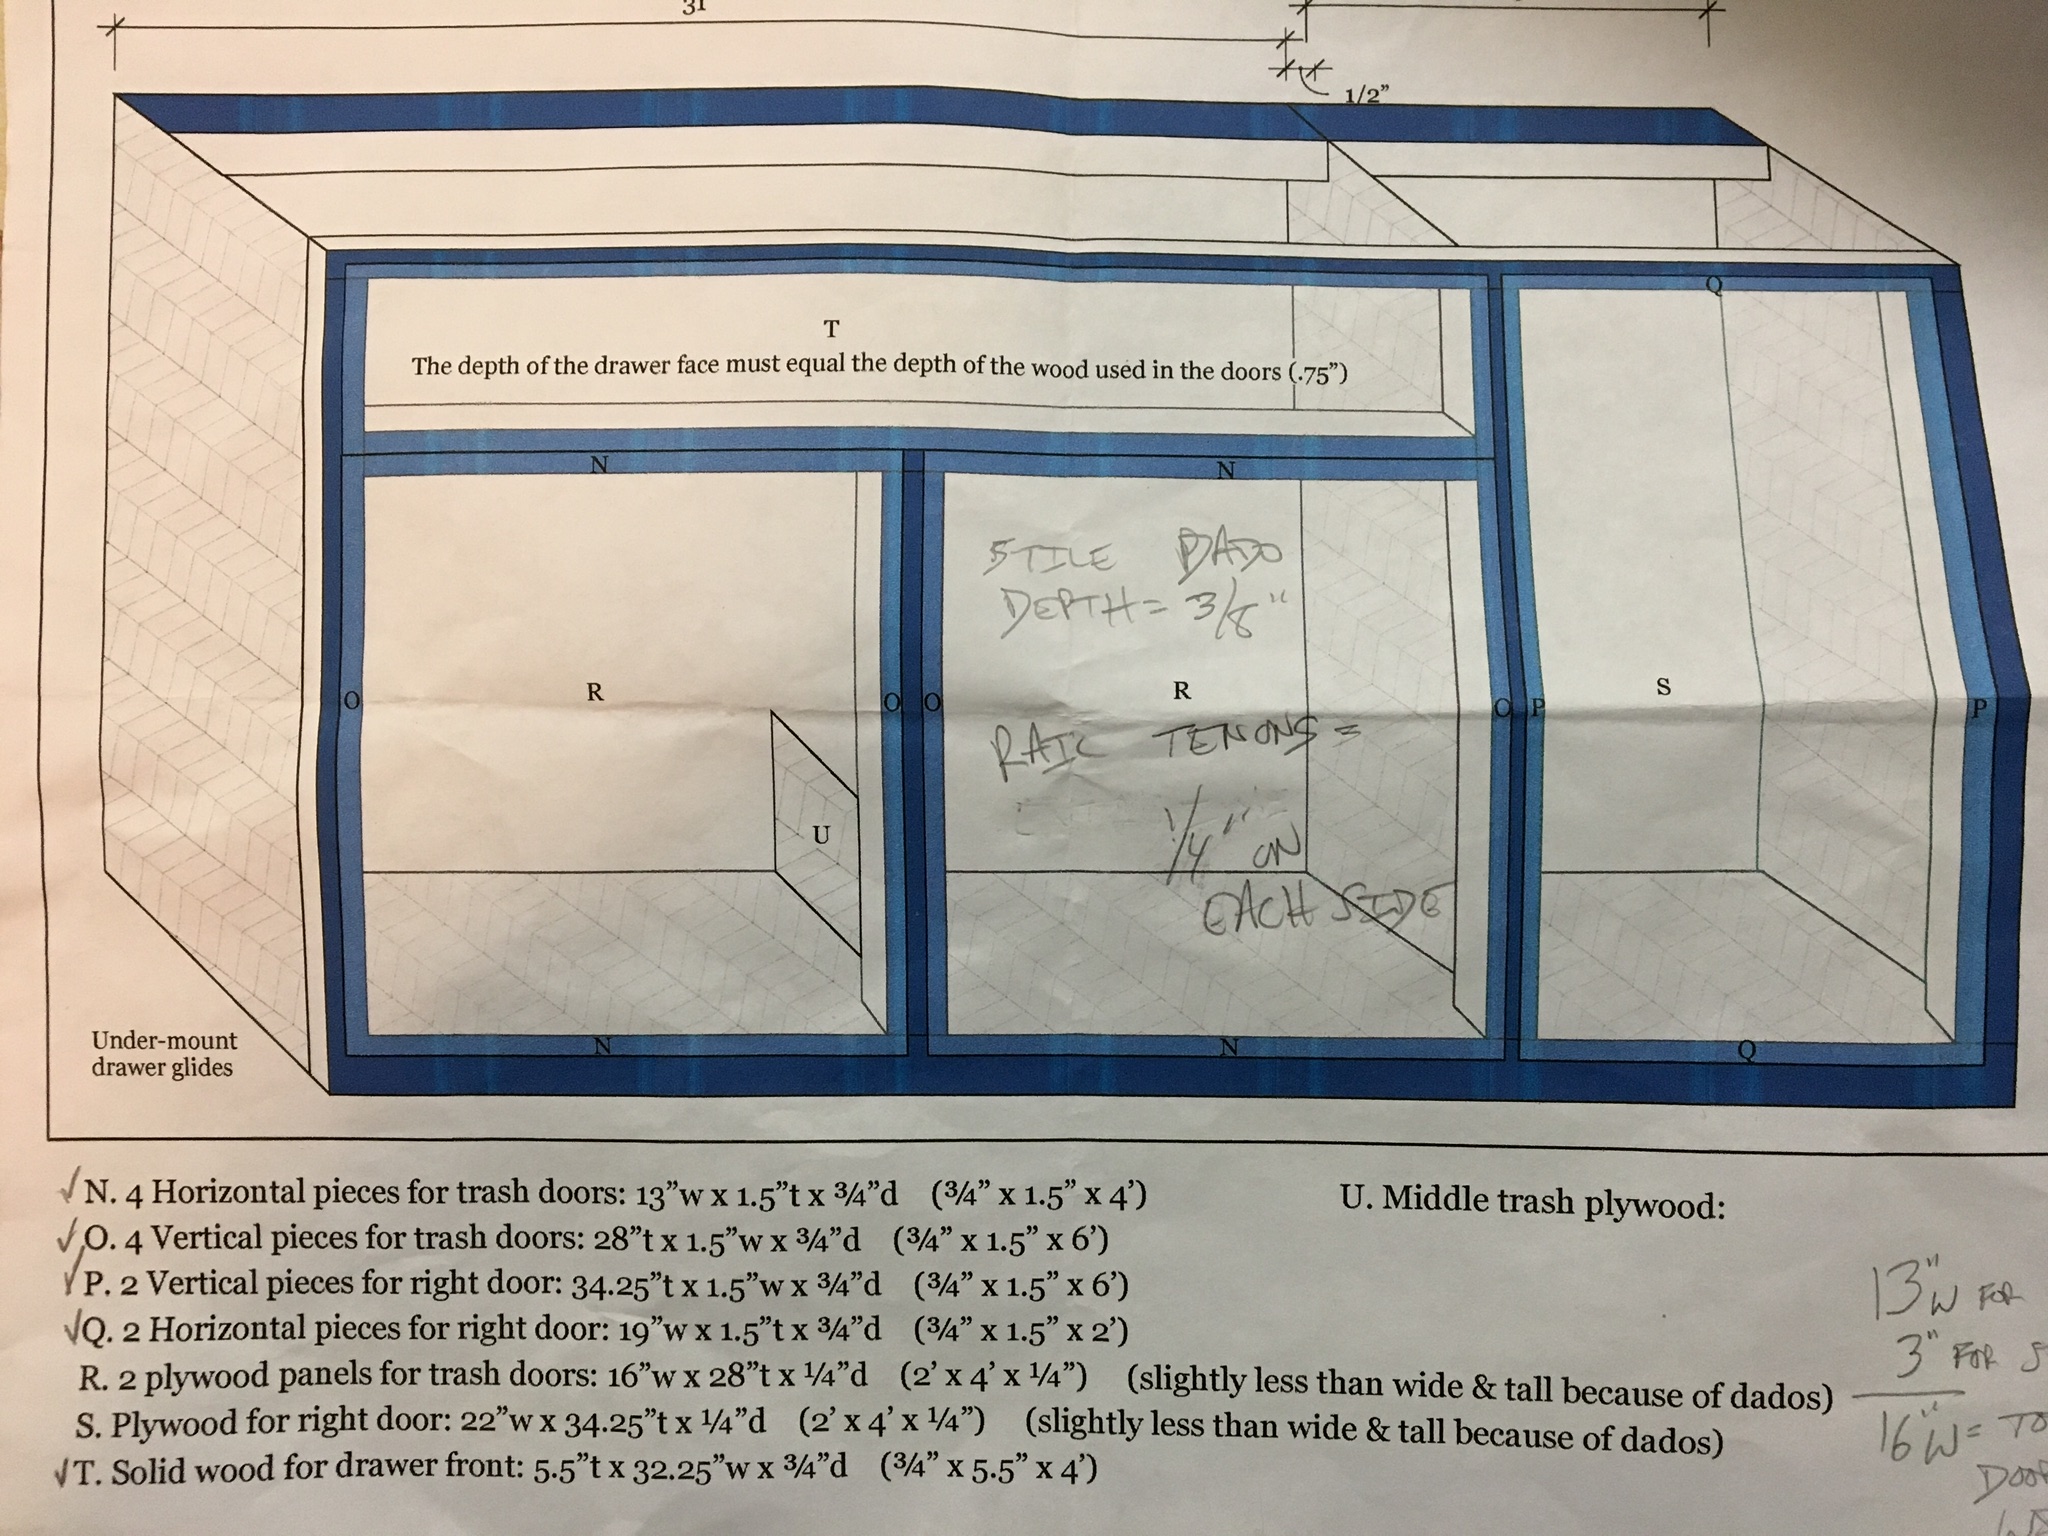
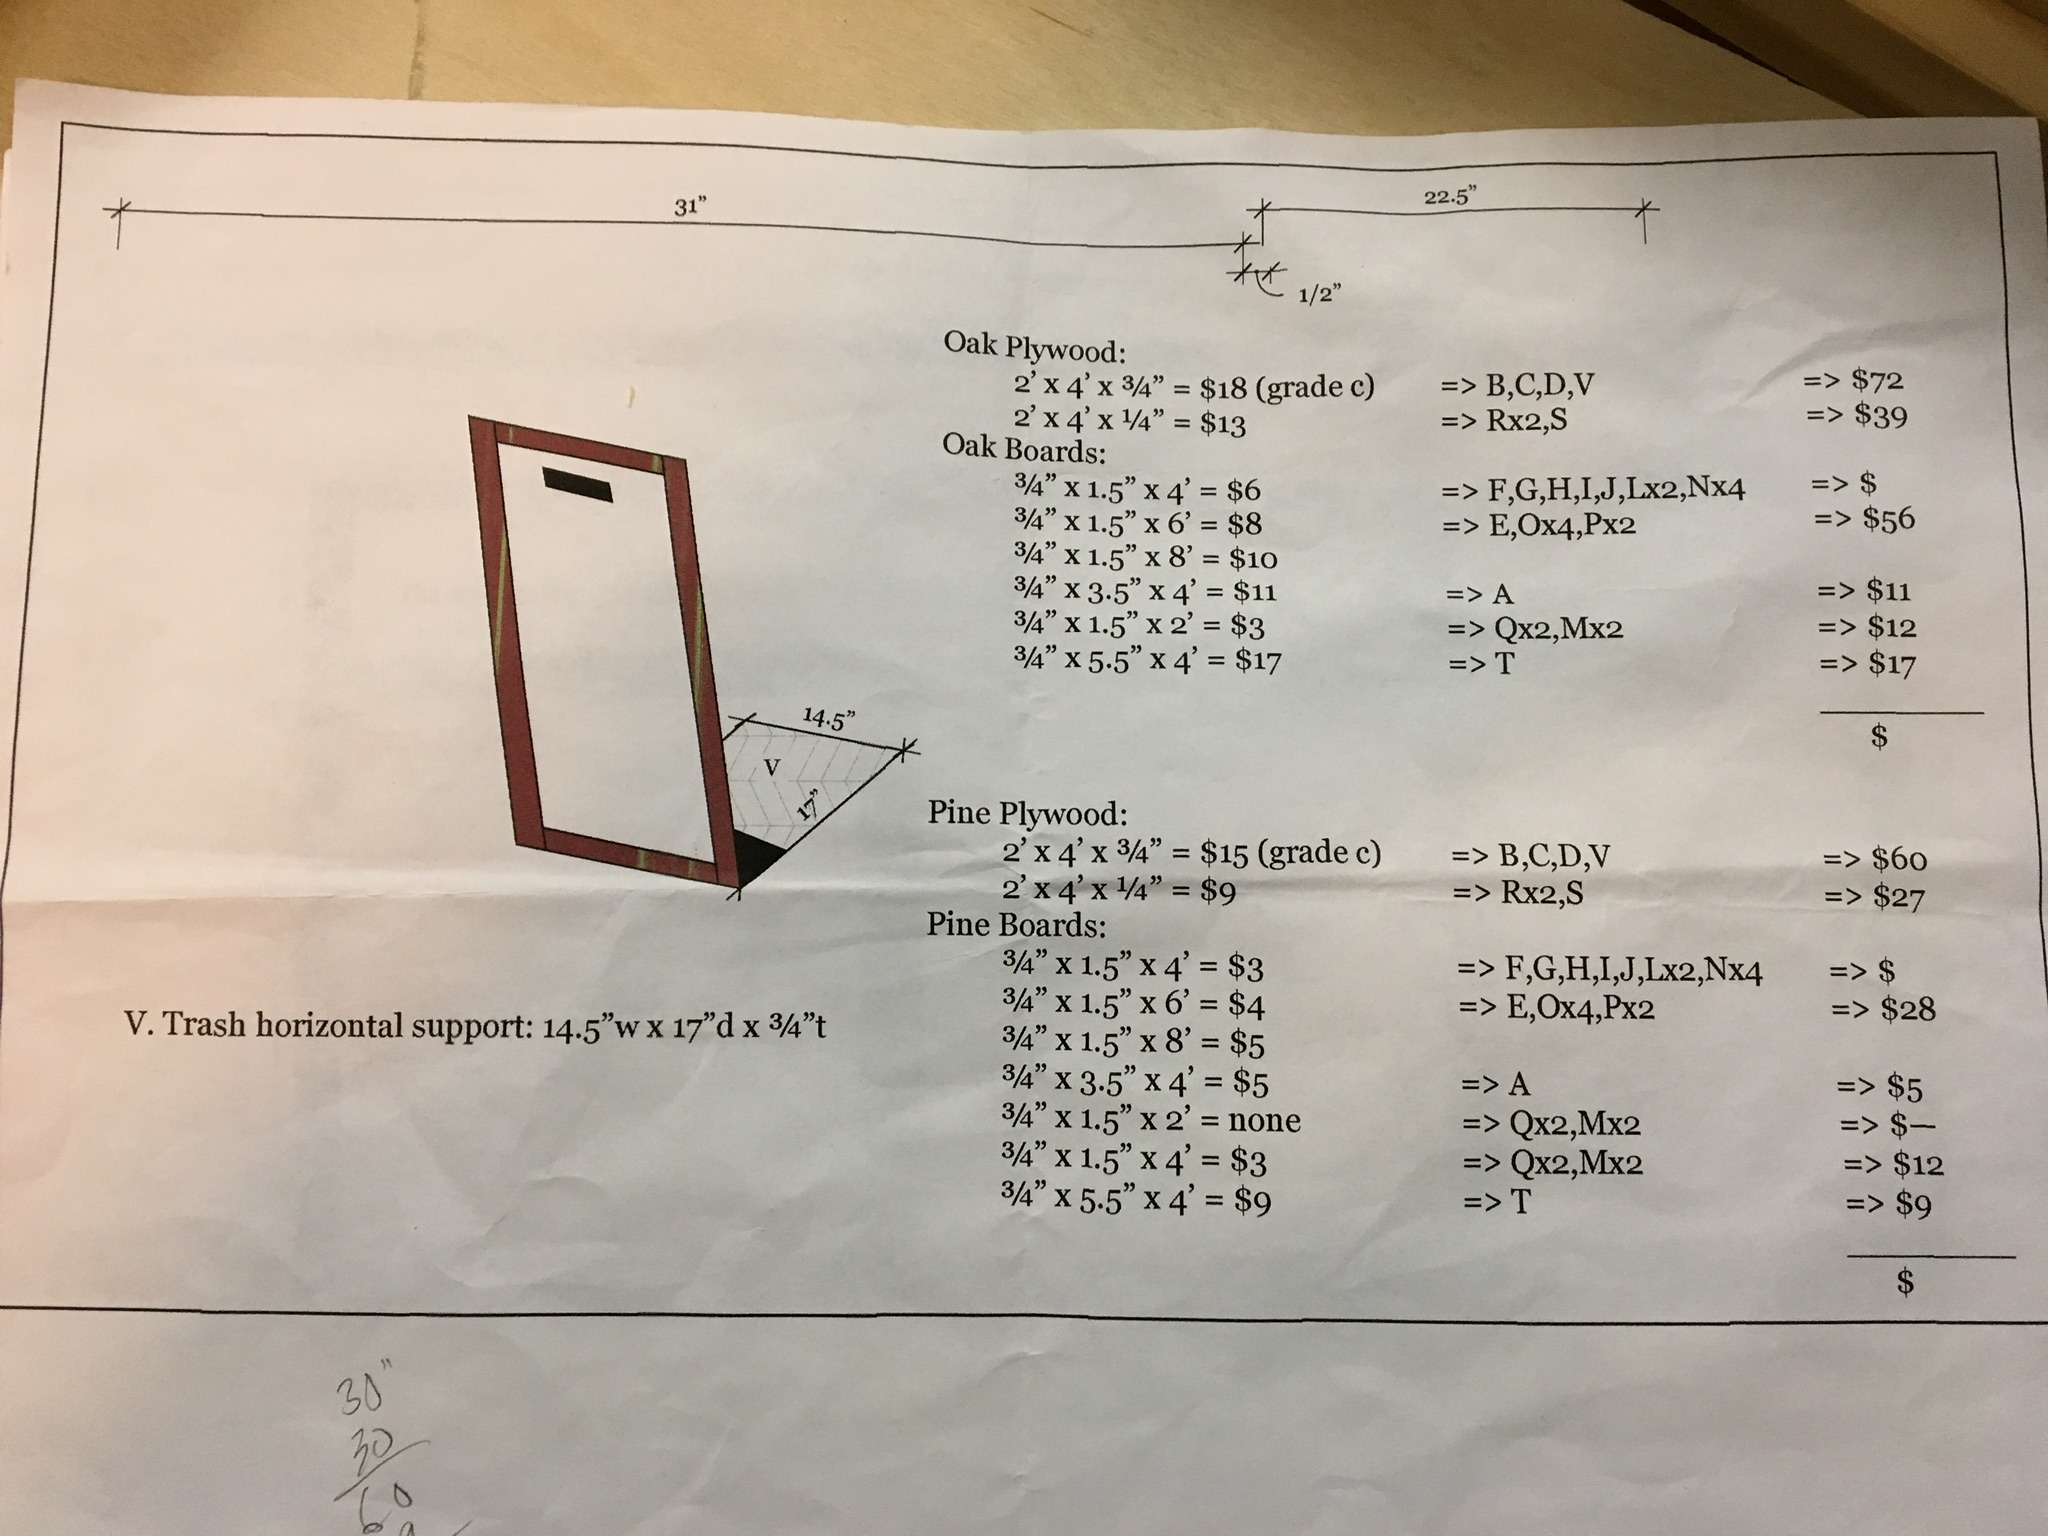
While planning, I did some cost comparison of pine to oak. Considering the cabinet was going to be stained dark, I chose pine. To further reduce cost, I used plywood for the panels and solid wood for the doors & face frame. Including the granite countertop, the whole cabinet cost under $1,000. That may seem like a lot for a cabinet, but the granite was most of that cost.
Big Doors
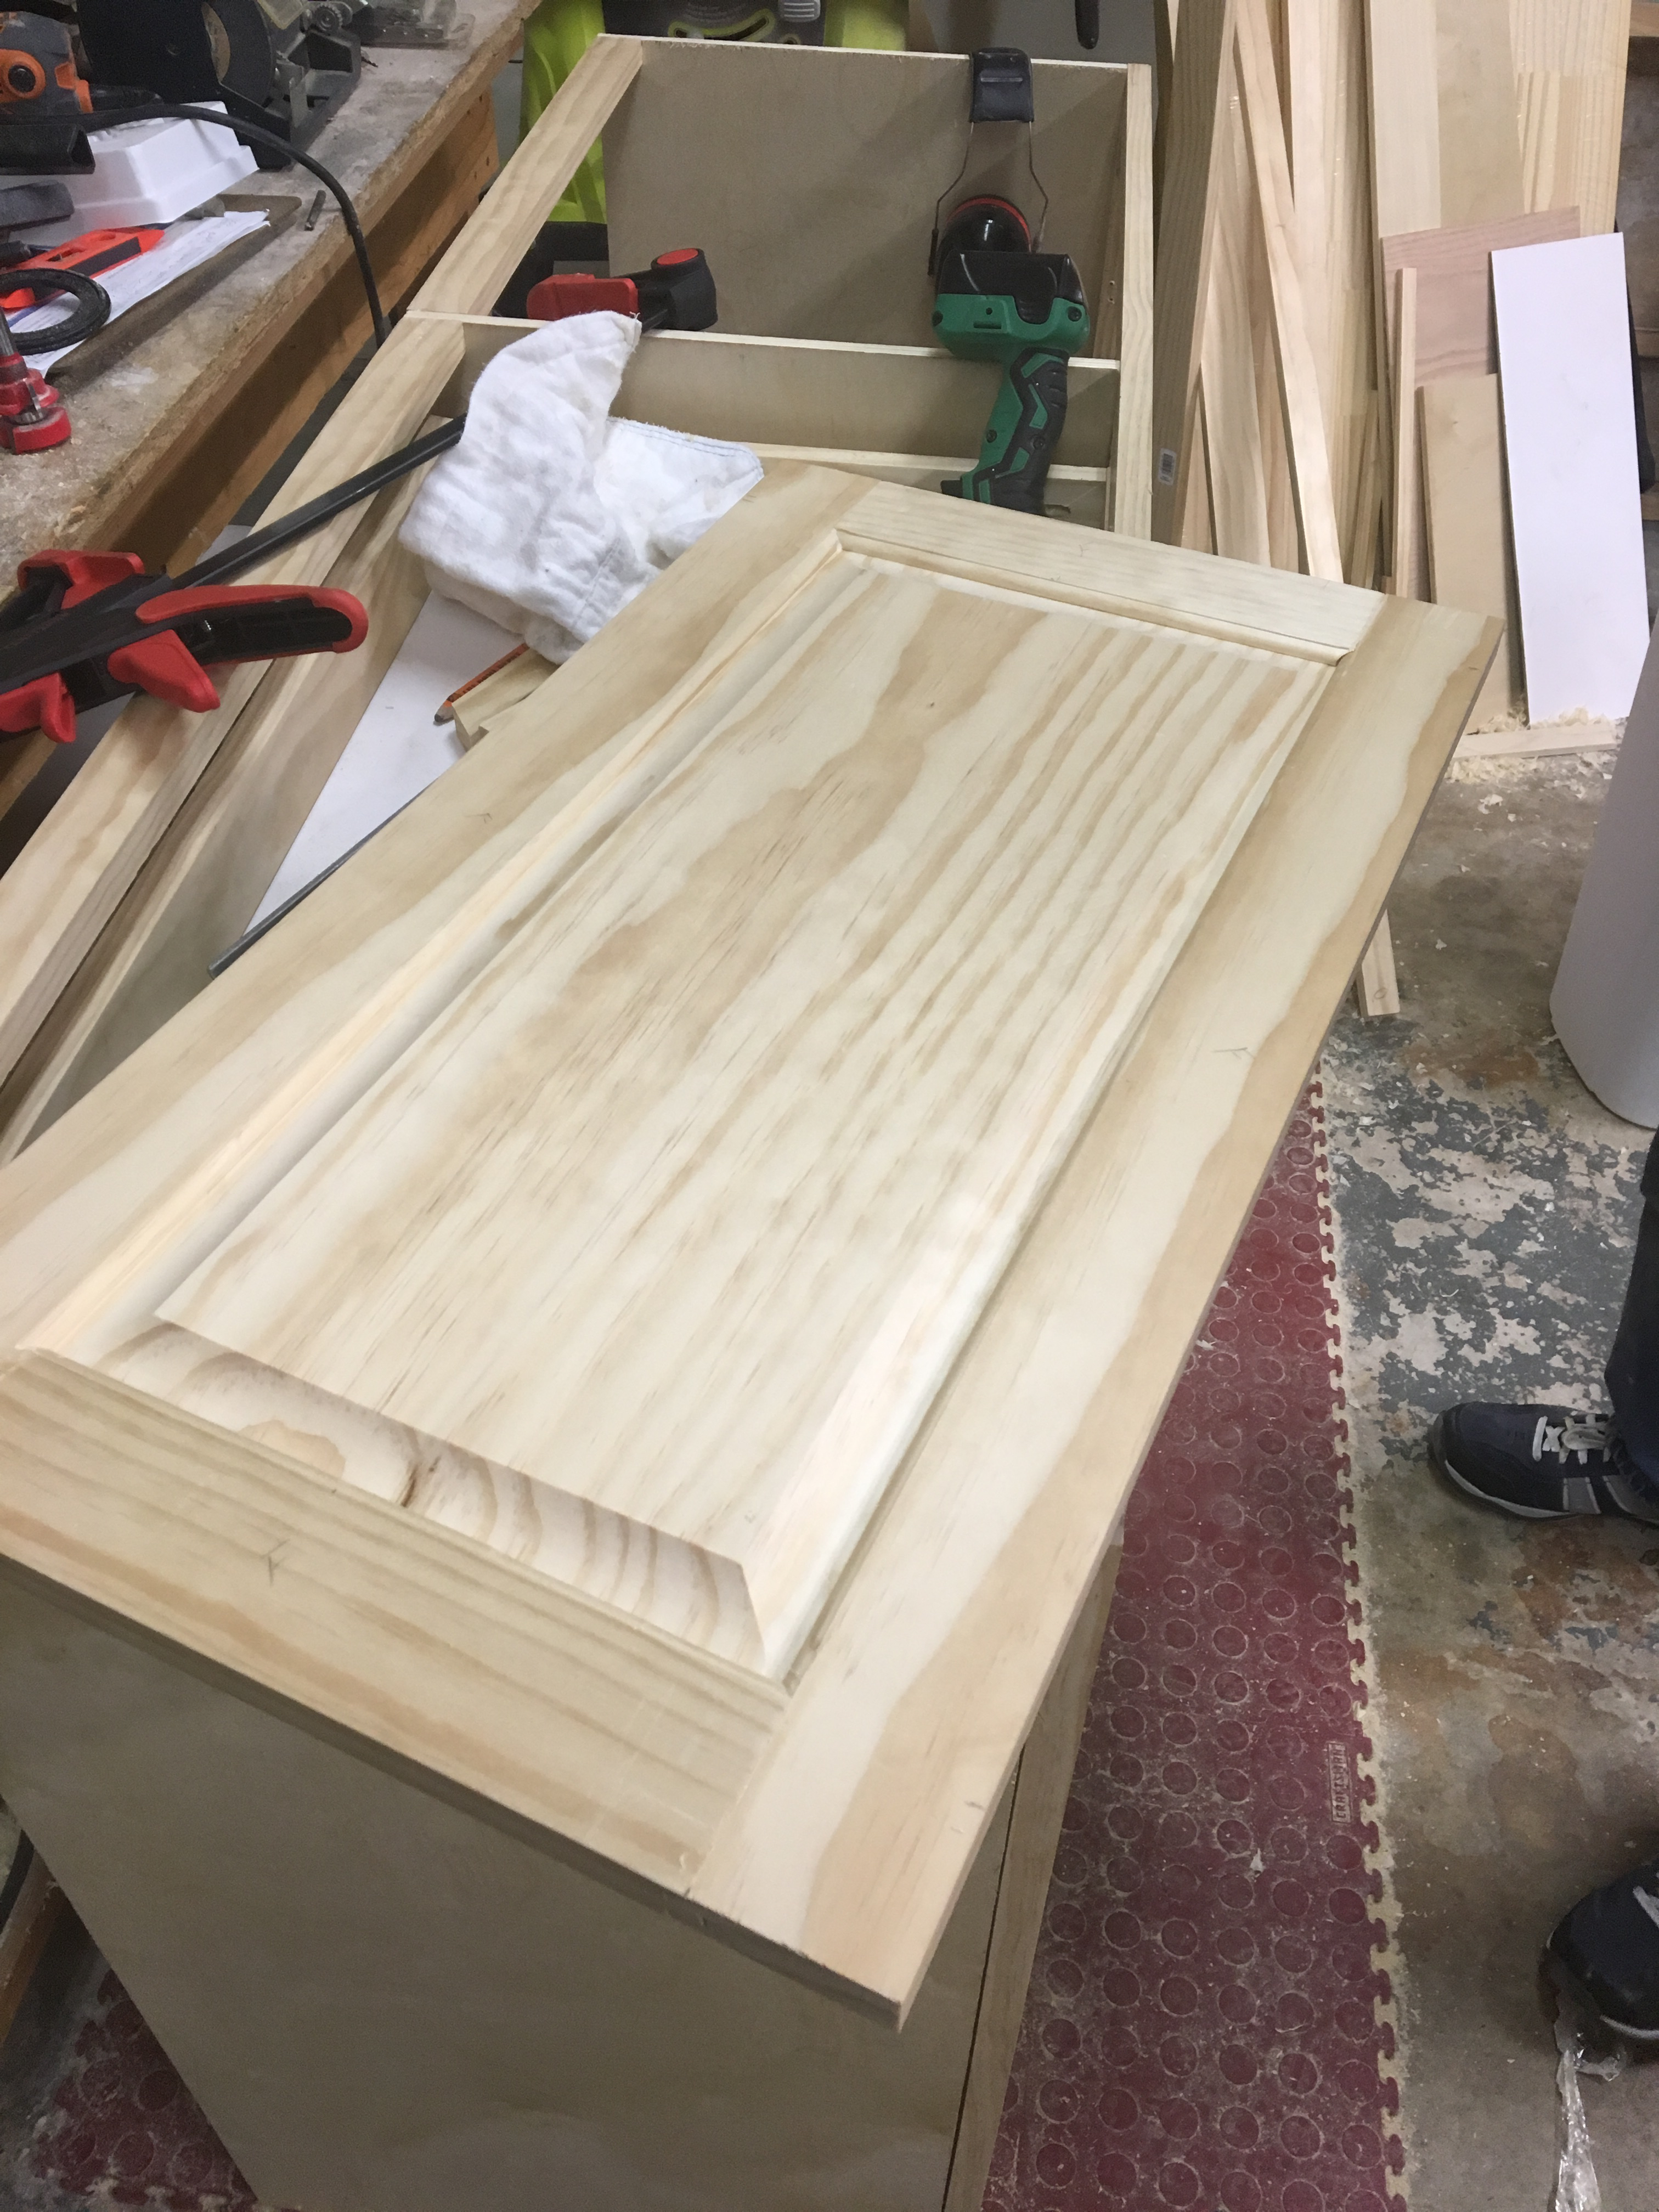
The doors are pine. I used my router to make a simple eased edge to slide into the door frame:
Trash & Recycling
We designed the trash cabinets to tilt open so the bottom front of the door was the pivot point. It was a little challenging because I didn't consider that the back of the trash can would be higher as the door was pivoting open. In the plans above, you can see I intended to have a flat piece of wood supporting the canister. We had to adjust the design so the canister was lower & sat on a frame.
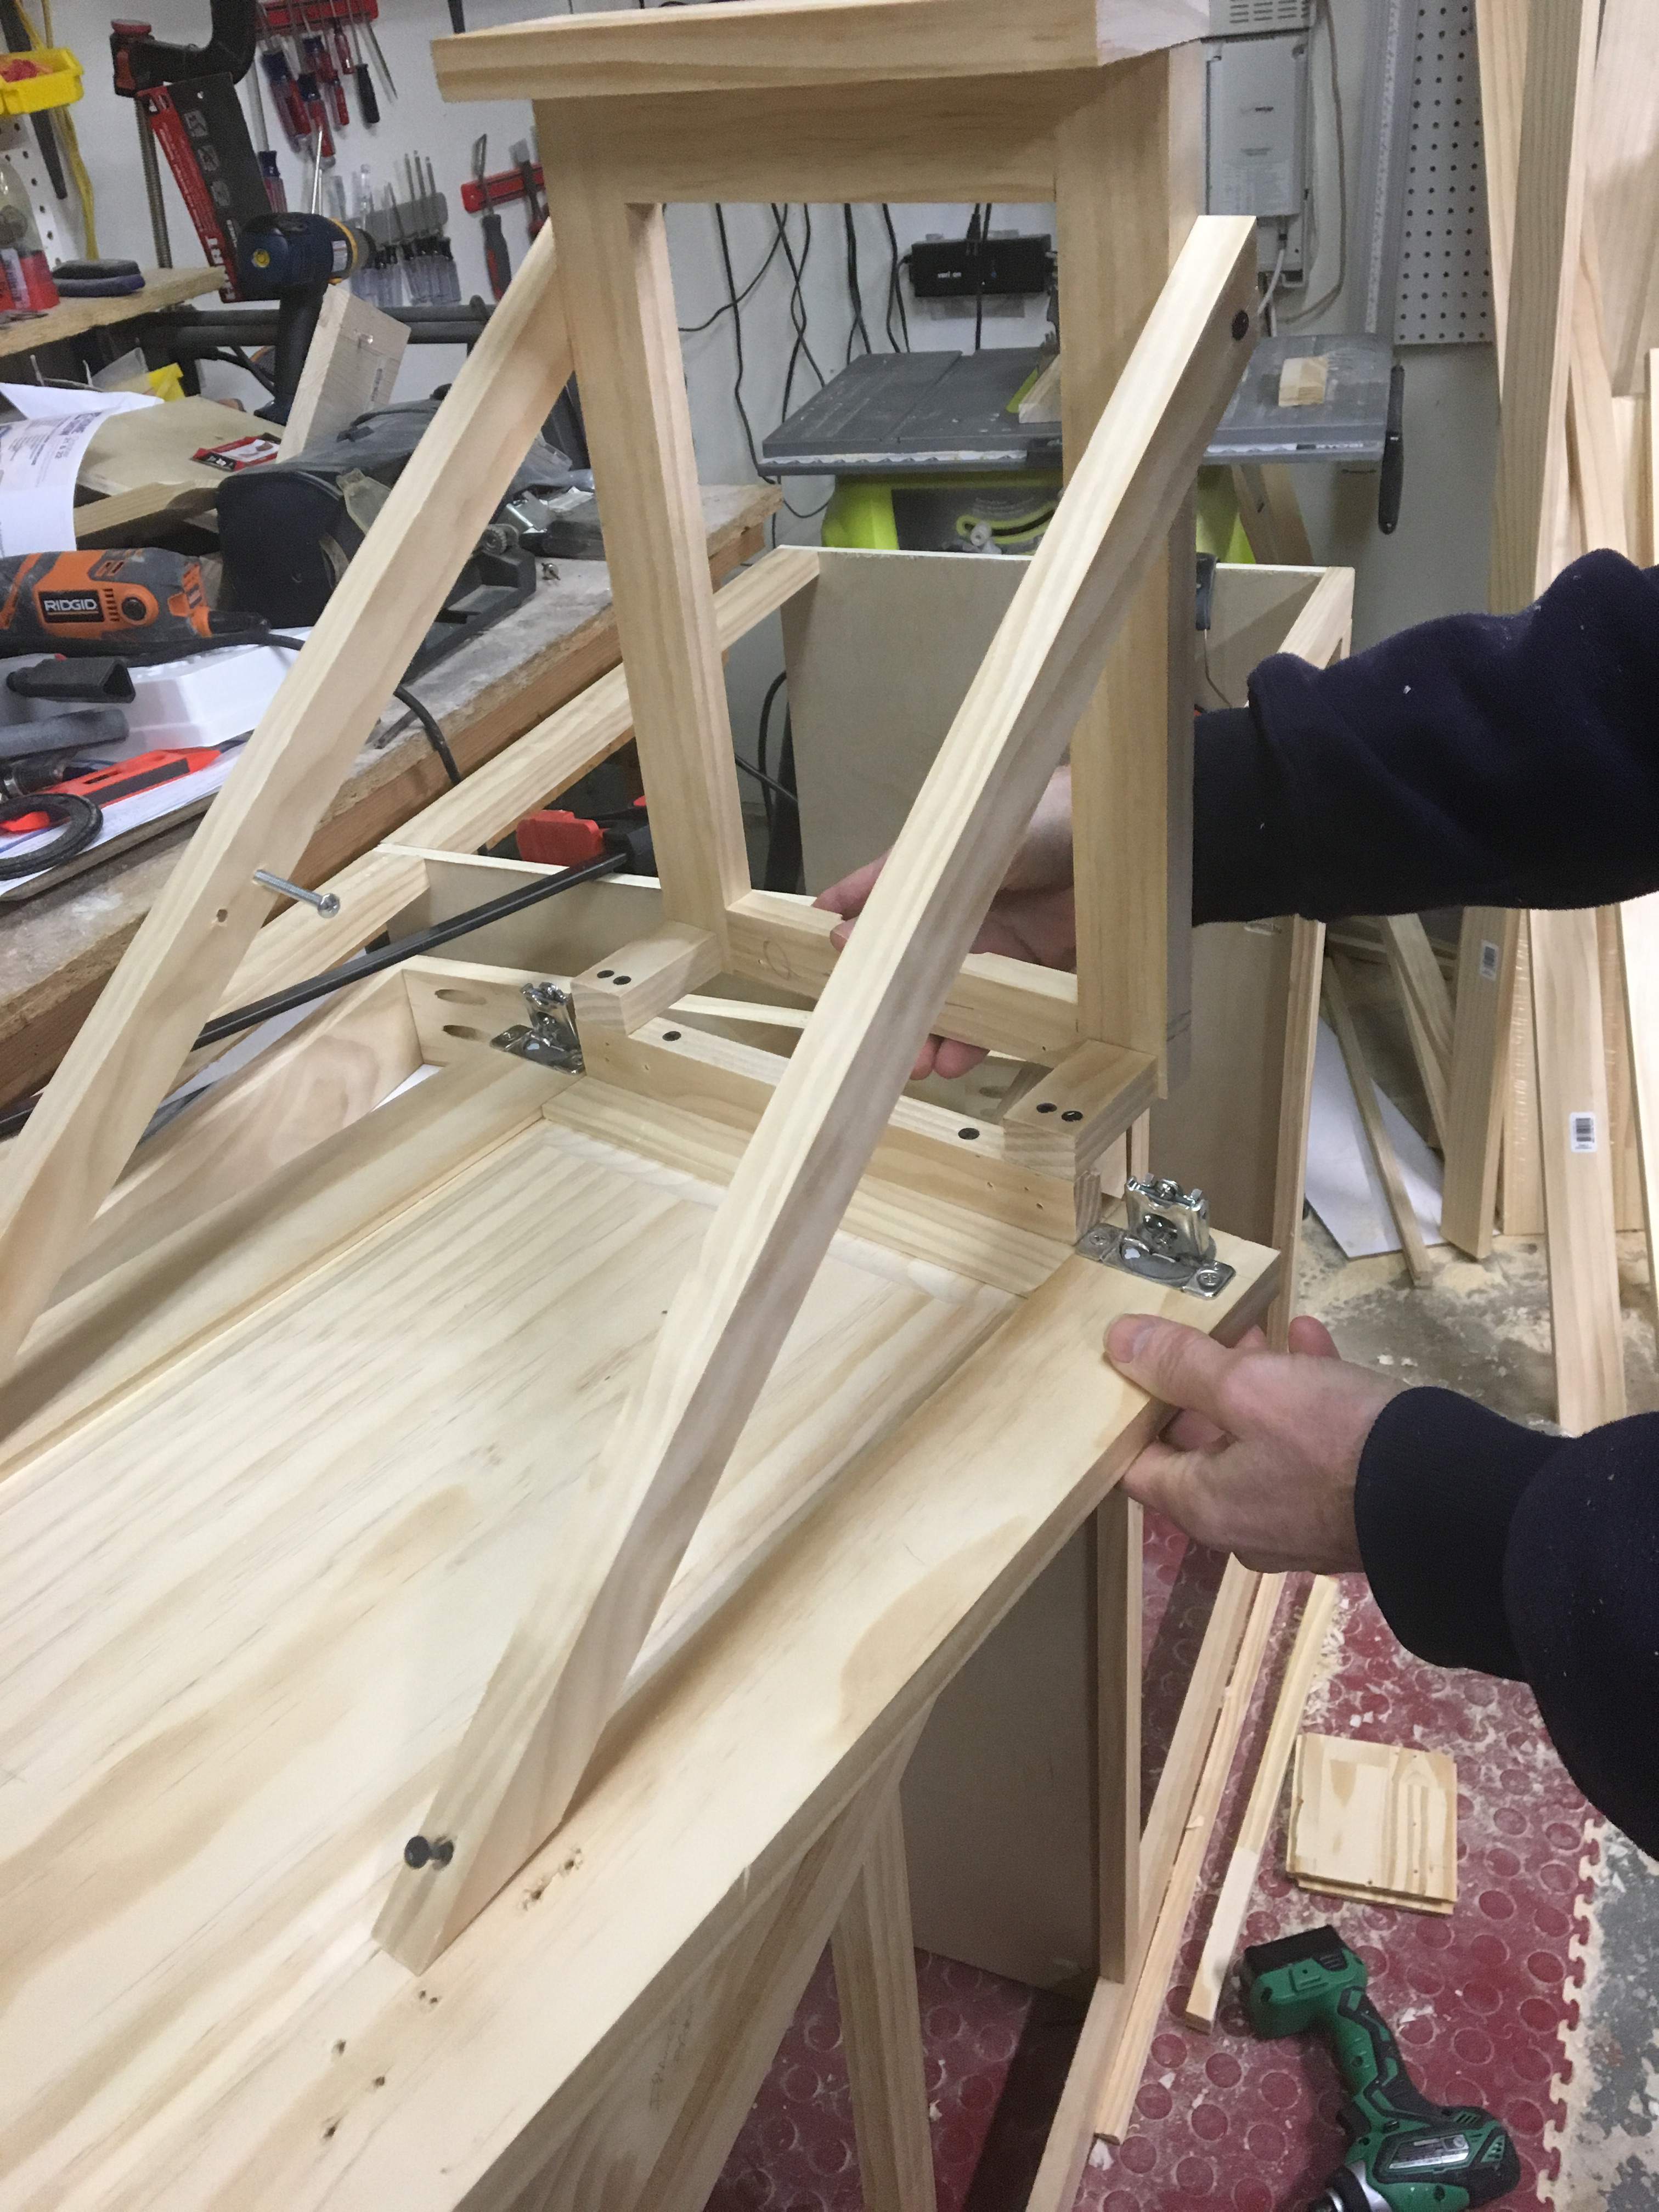
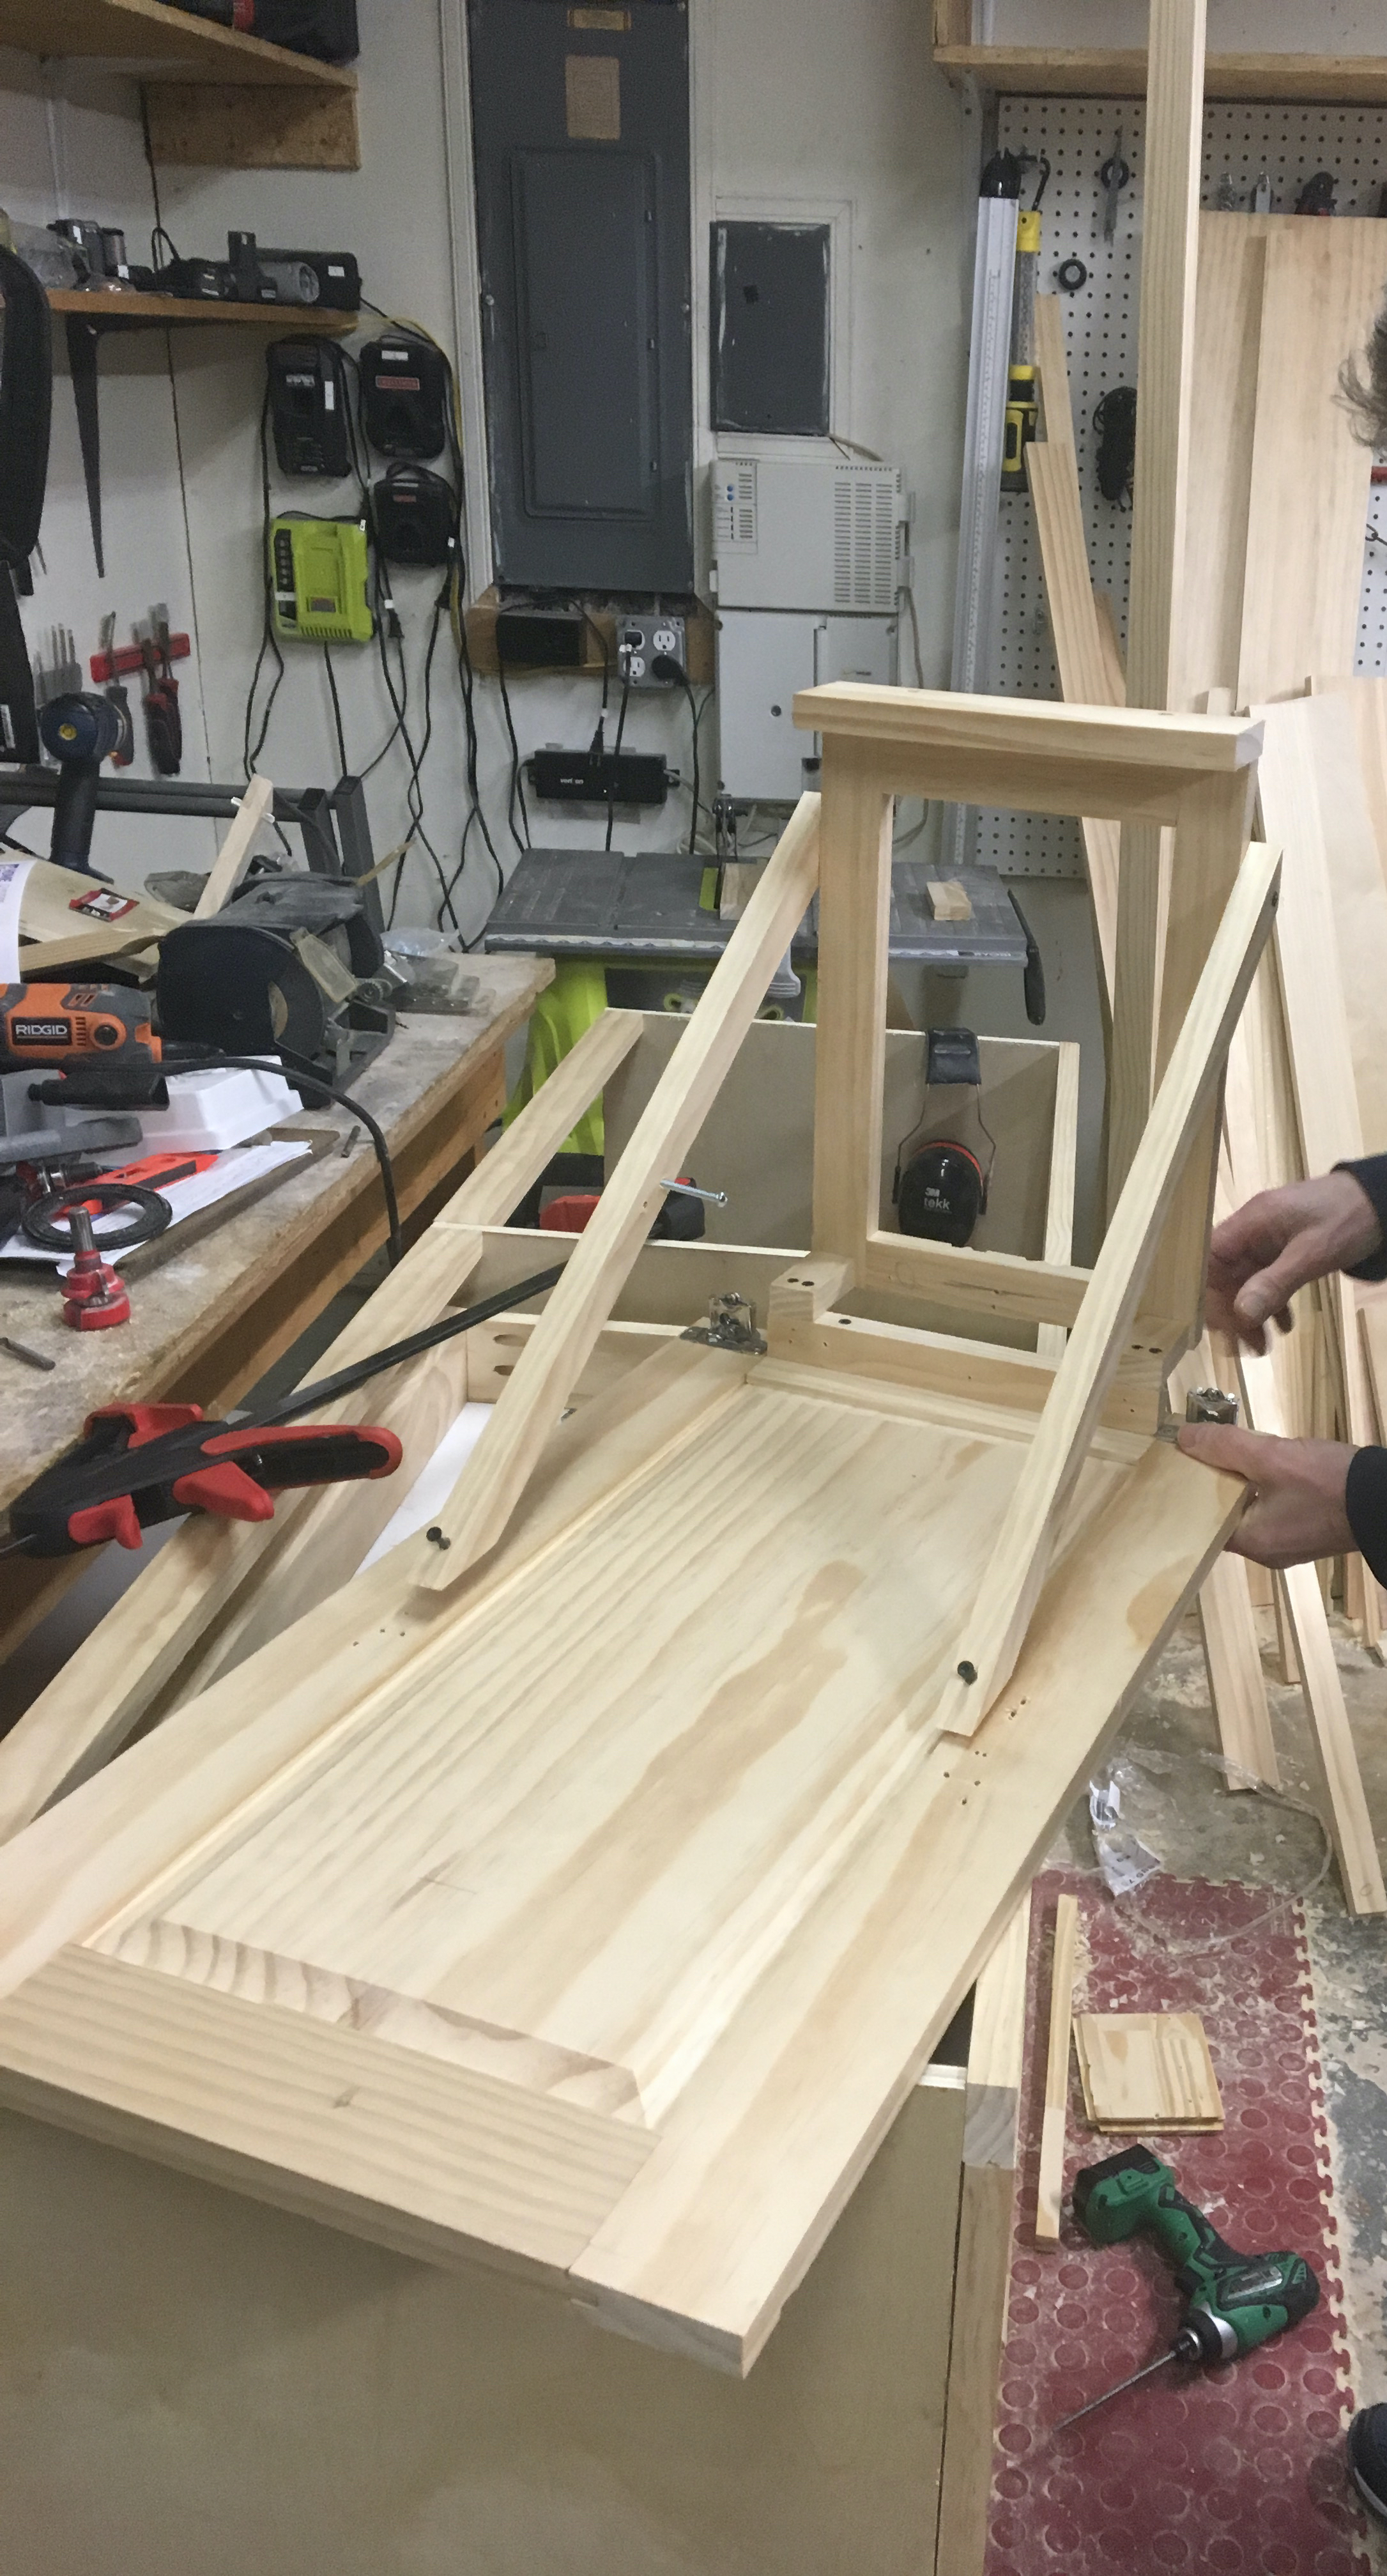
The bolt you see halfway up the supports is what I used to stop the door from opening too far. The new design actually worked better because the supports kept the canister from moving side to side.
Narrow Doors
The narrow doors allowed for me to create a very wide area but not take up a lot of room when the cabinet was open. Two narrow doors side by side also gave a nice contrast the larger trash doors. They are like French doors but on a cabinet, which looked classy.
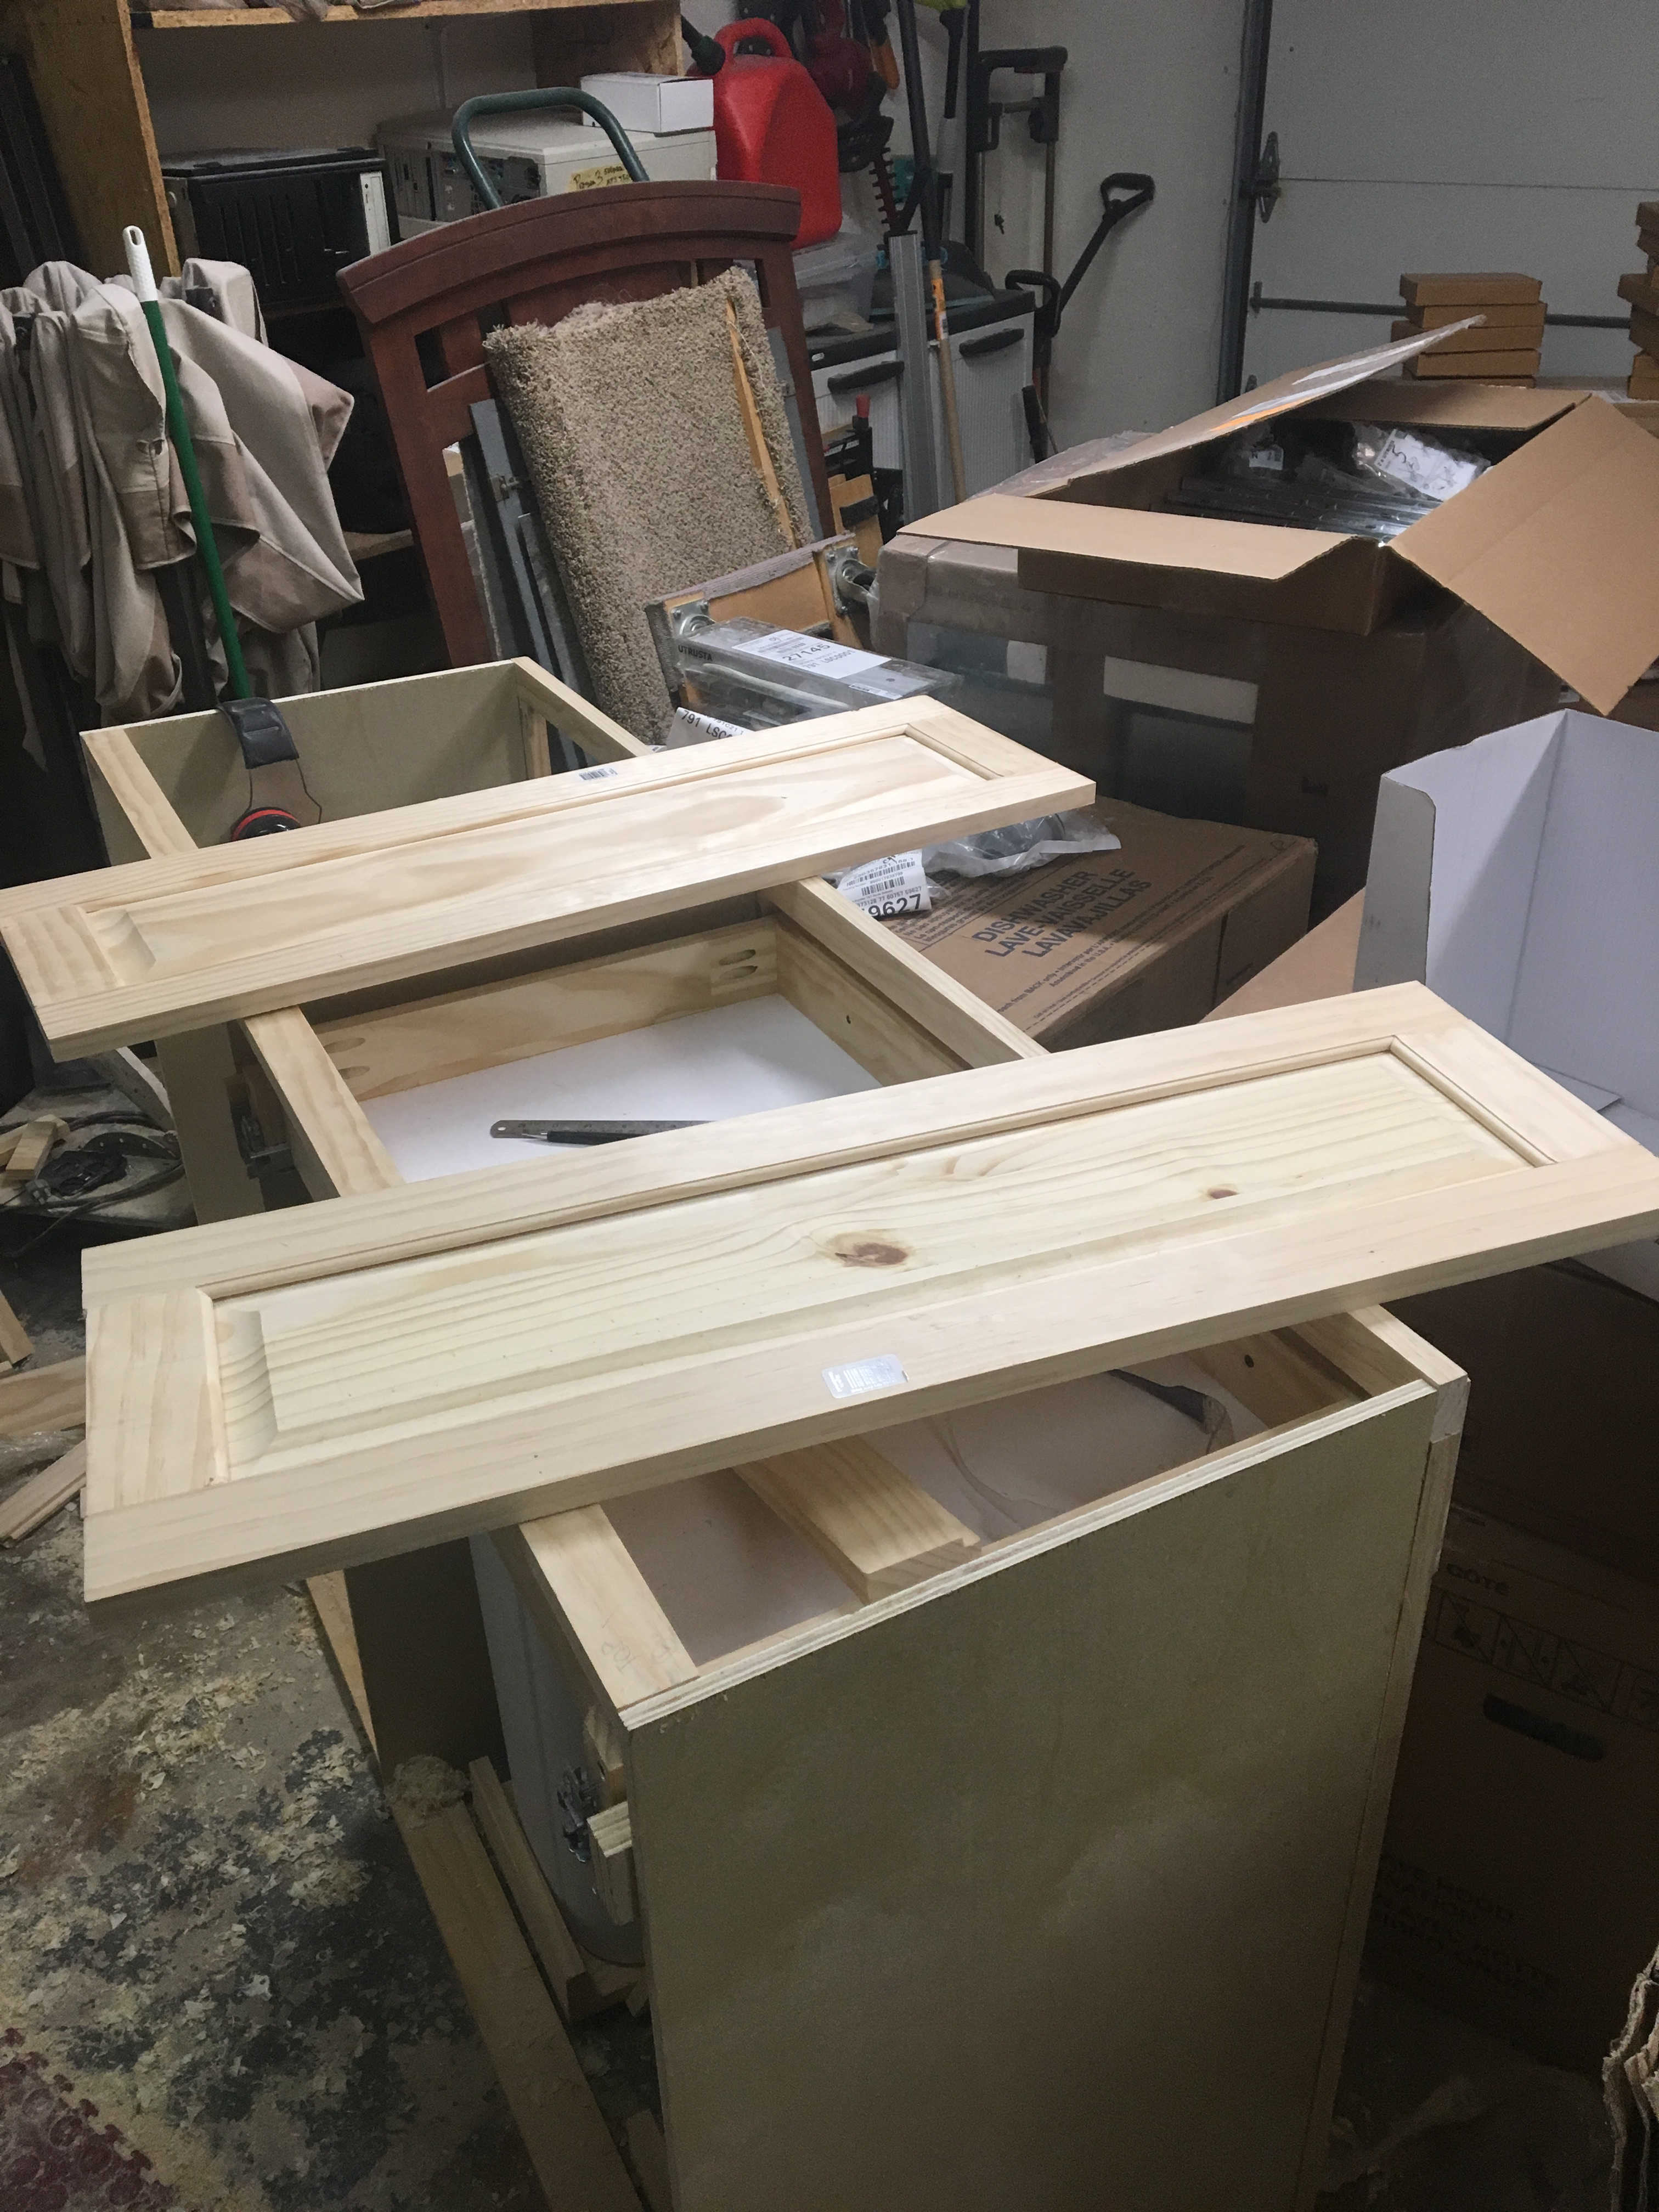
In the picture above, you'll notice that the back of the cabinet doesn't have any wood. Instead, I created cross beams to add dimensional stability to keep the cabinet square.
Drawer
You may also notice the drawer in the previous picture. I didn't take many pictures of that because there's not much to it. I ordered a soft-close drawer glide system from rockler.com. I think the name was Blue something. I wish I had written it down because they were easy to install and very smooth. Due to having a face frame, I needed to add some spacers on the inside to bring the drawer slides out so they would be flush with the edge of the frame.
The face of the drawer is a solid piece of wood. I screwed through the drawer frame & into the back of the face of the drawer to attach it. It was hard to get it positioned right at first, but clamps helped.
Shelving
Strong shelving is important when your appliances are between 5-20 pounds each. I considered plywood, but I didn't want to add veneer. So the shelves are also pine. The bottom shelf sits flush with the top of the face frame. The upper shelf is half way up the cabinet. I attached the shelves using pocket hole screws. They are really strong!
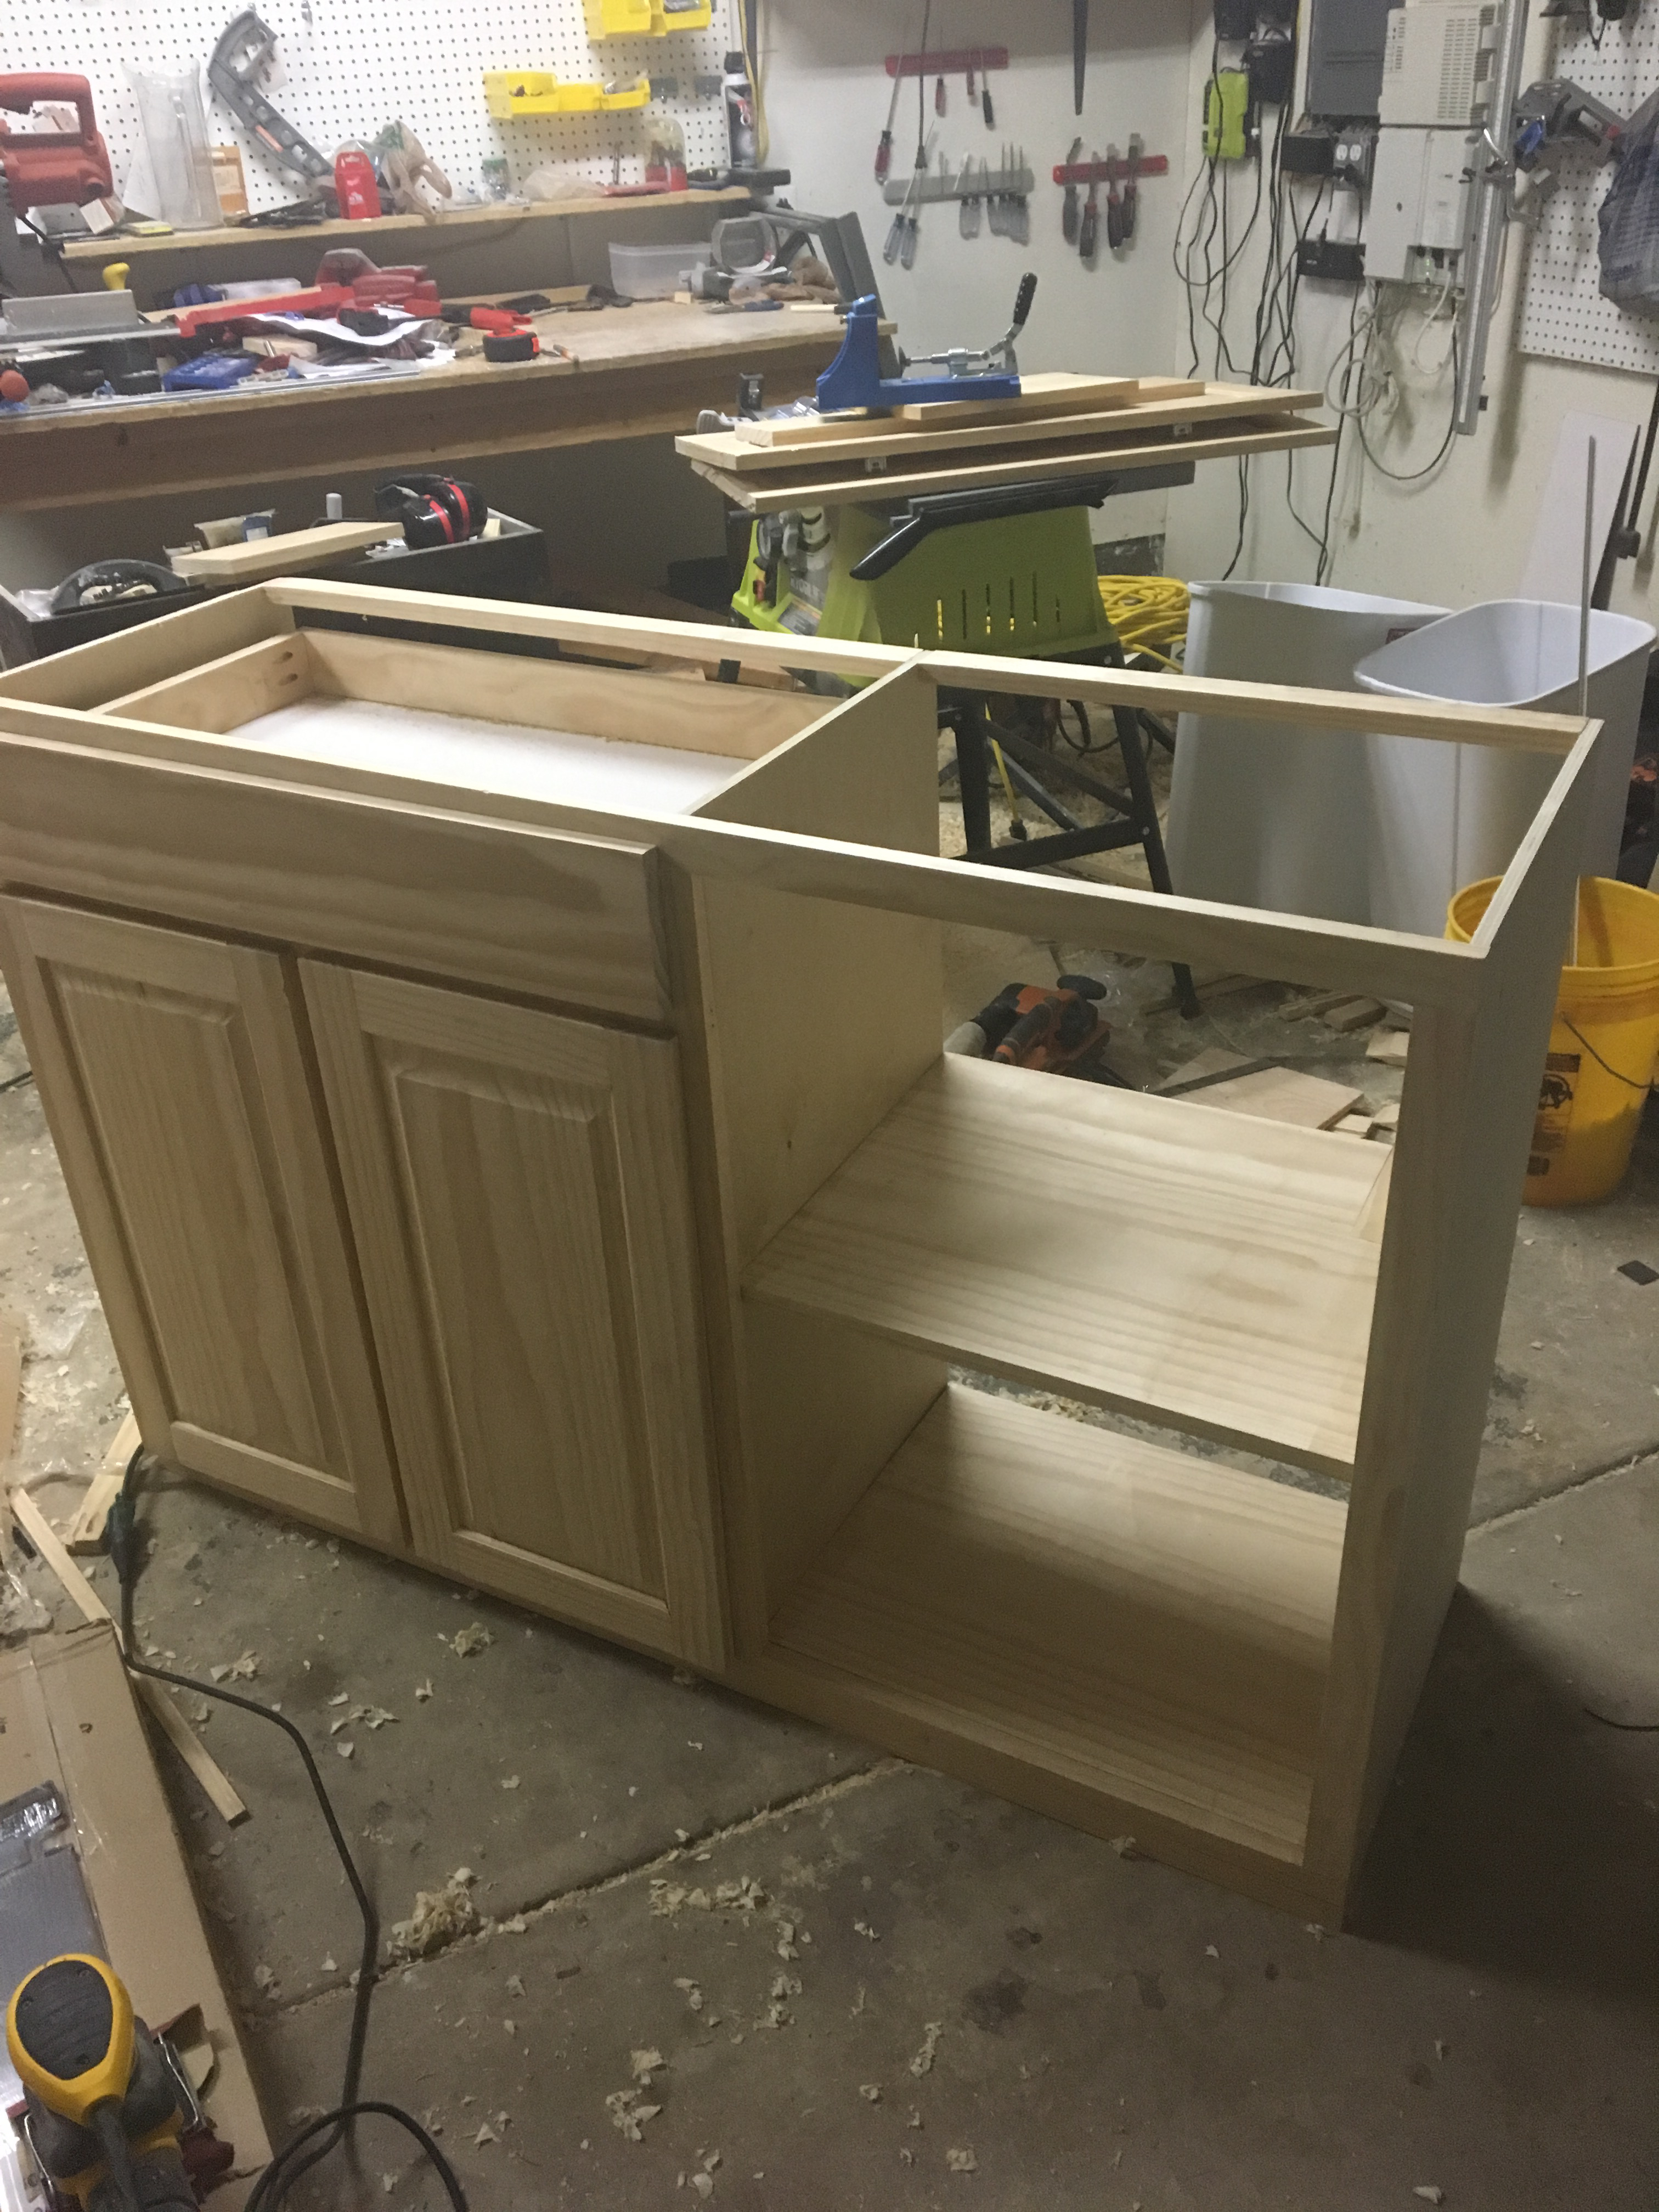
Stain & Polyurethane
I had my daughter help me stain the cabinet. She loved it. We used foam brushes because I didn't want her to get covered in stain.
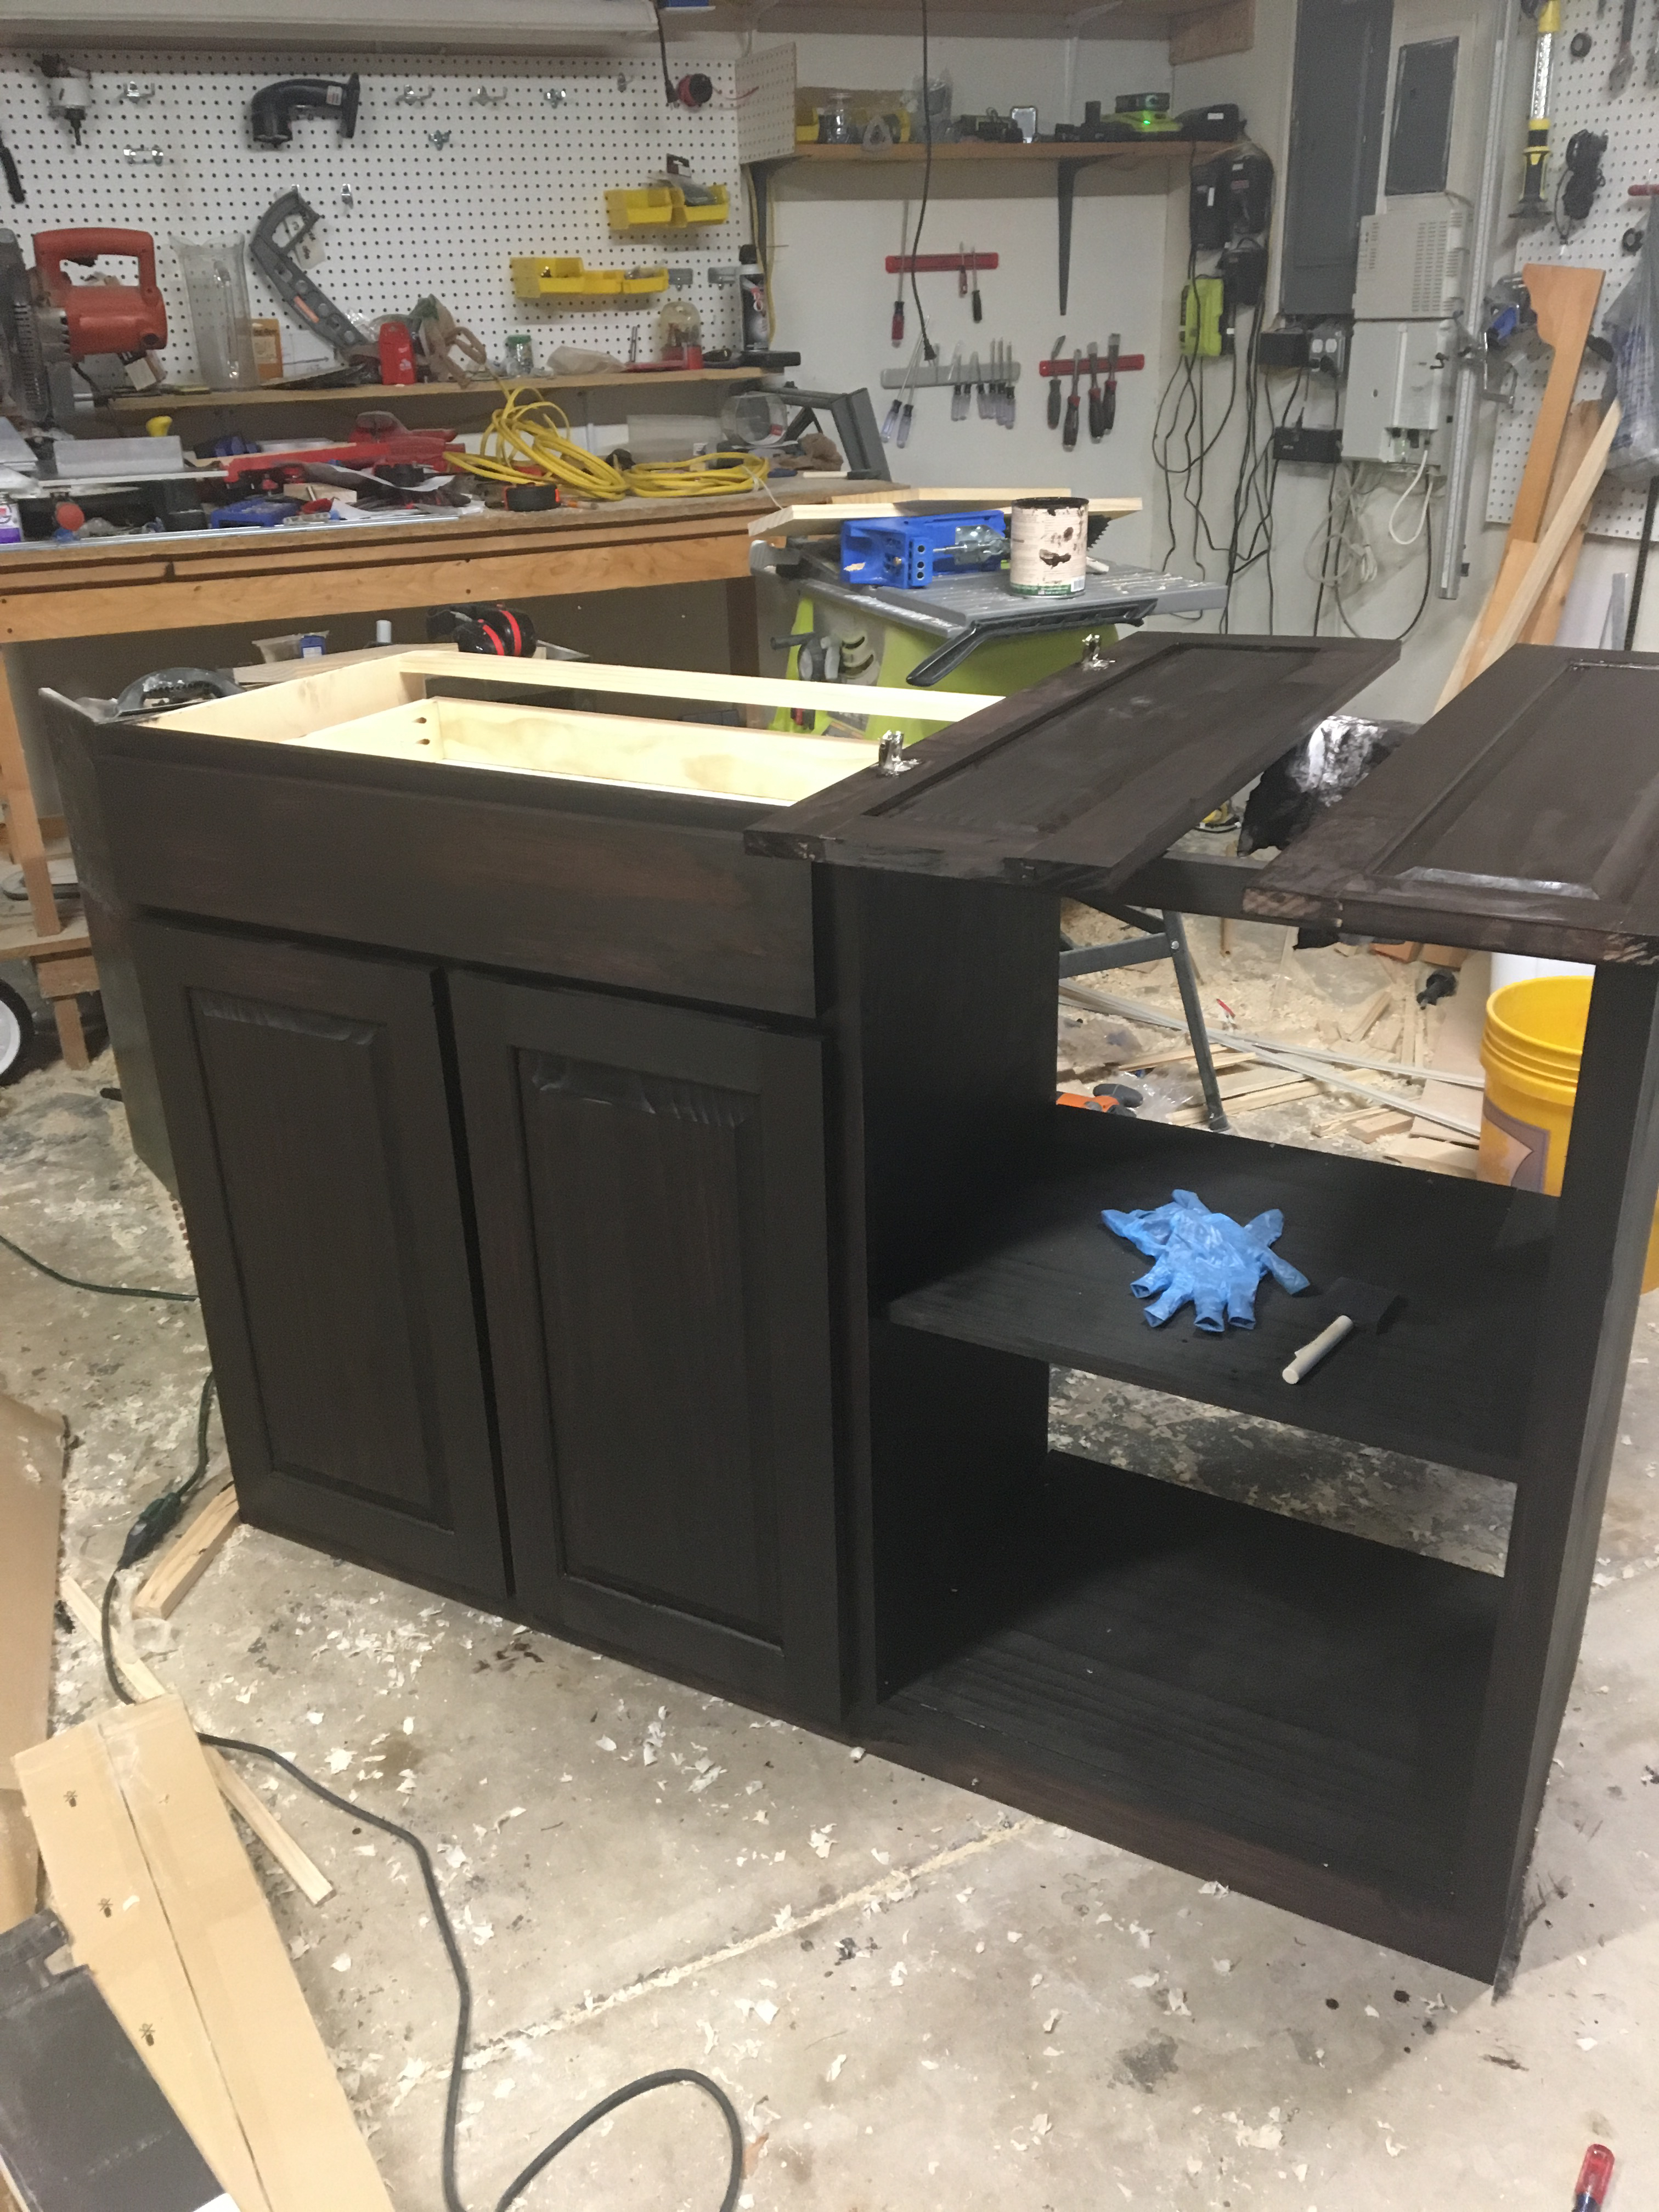
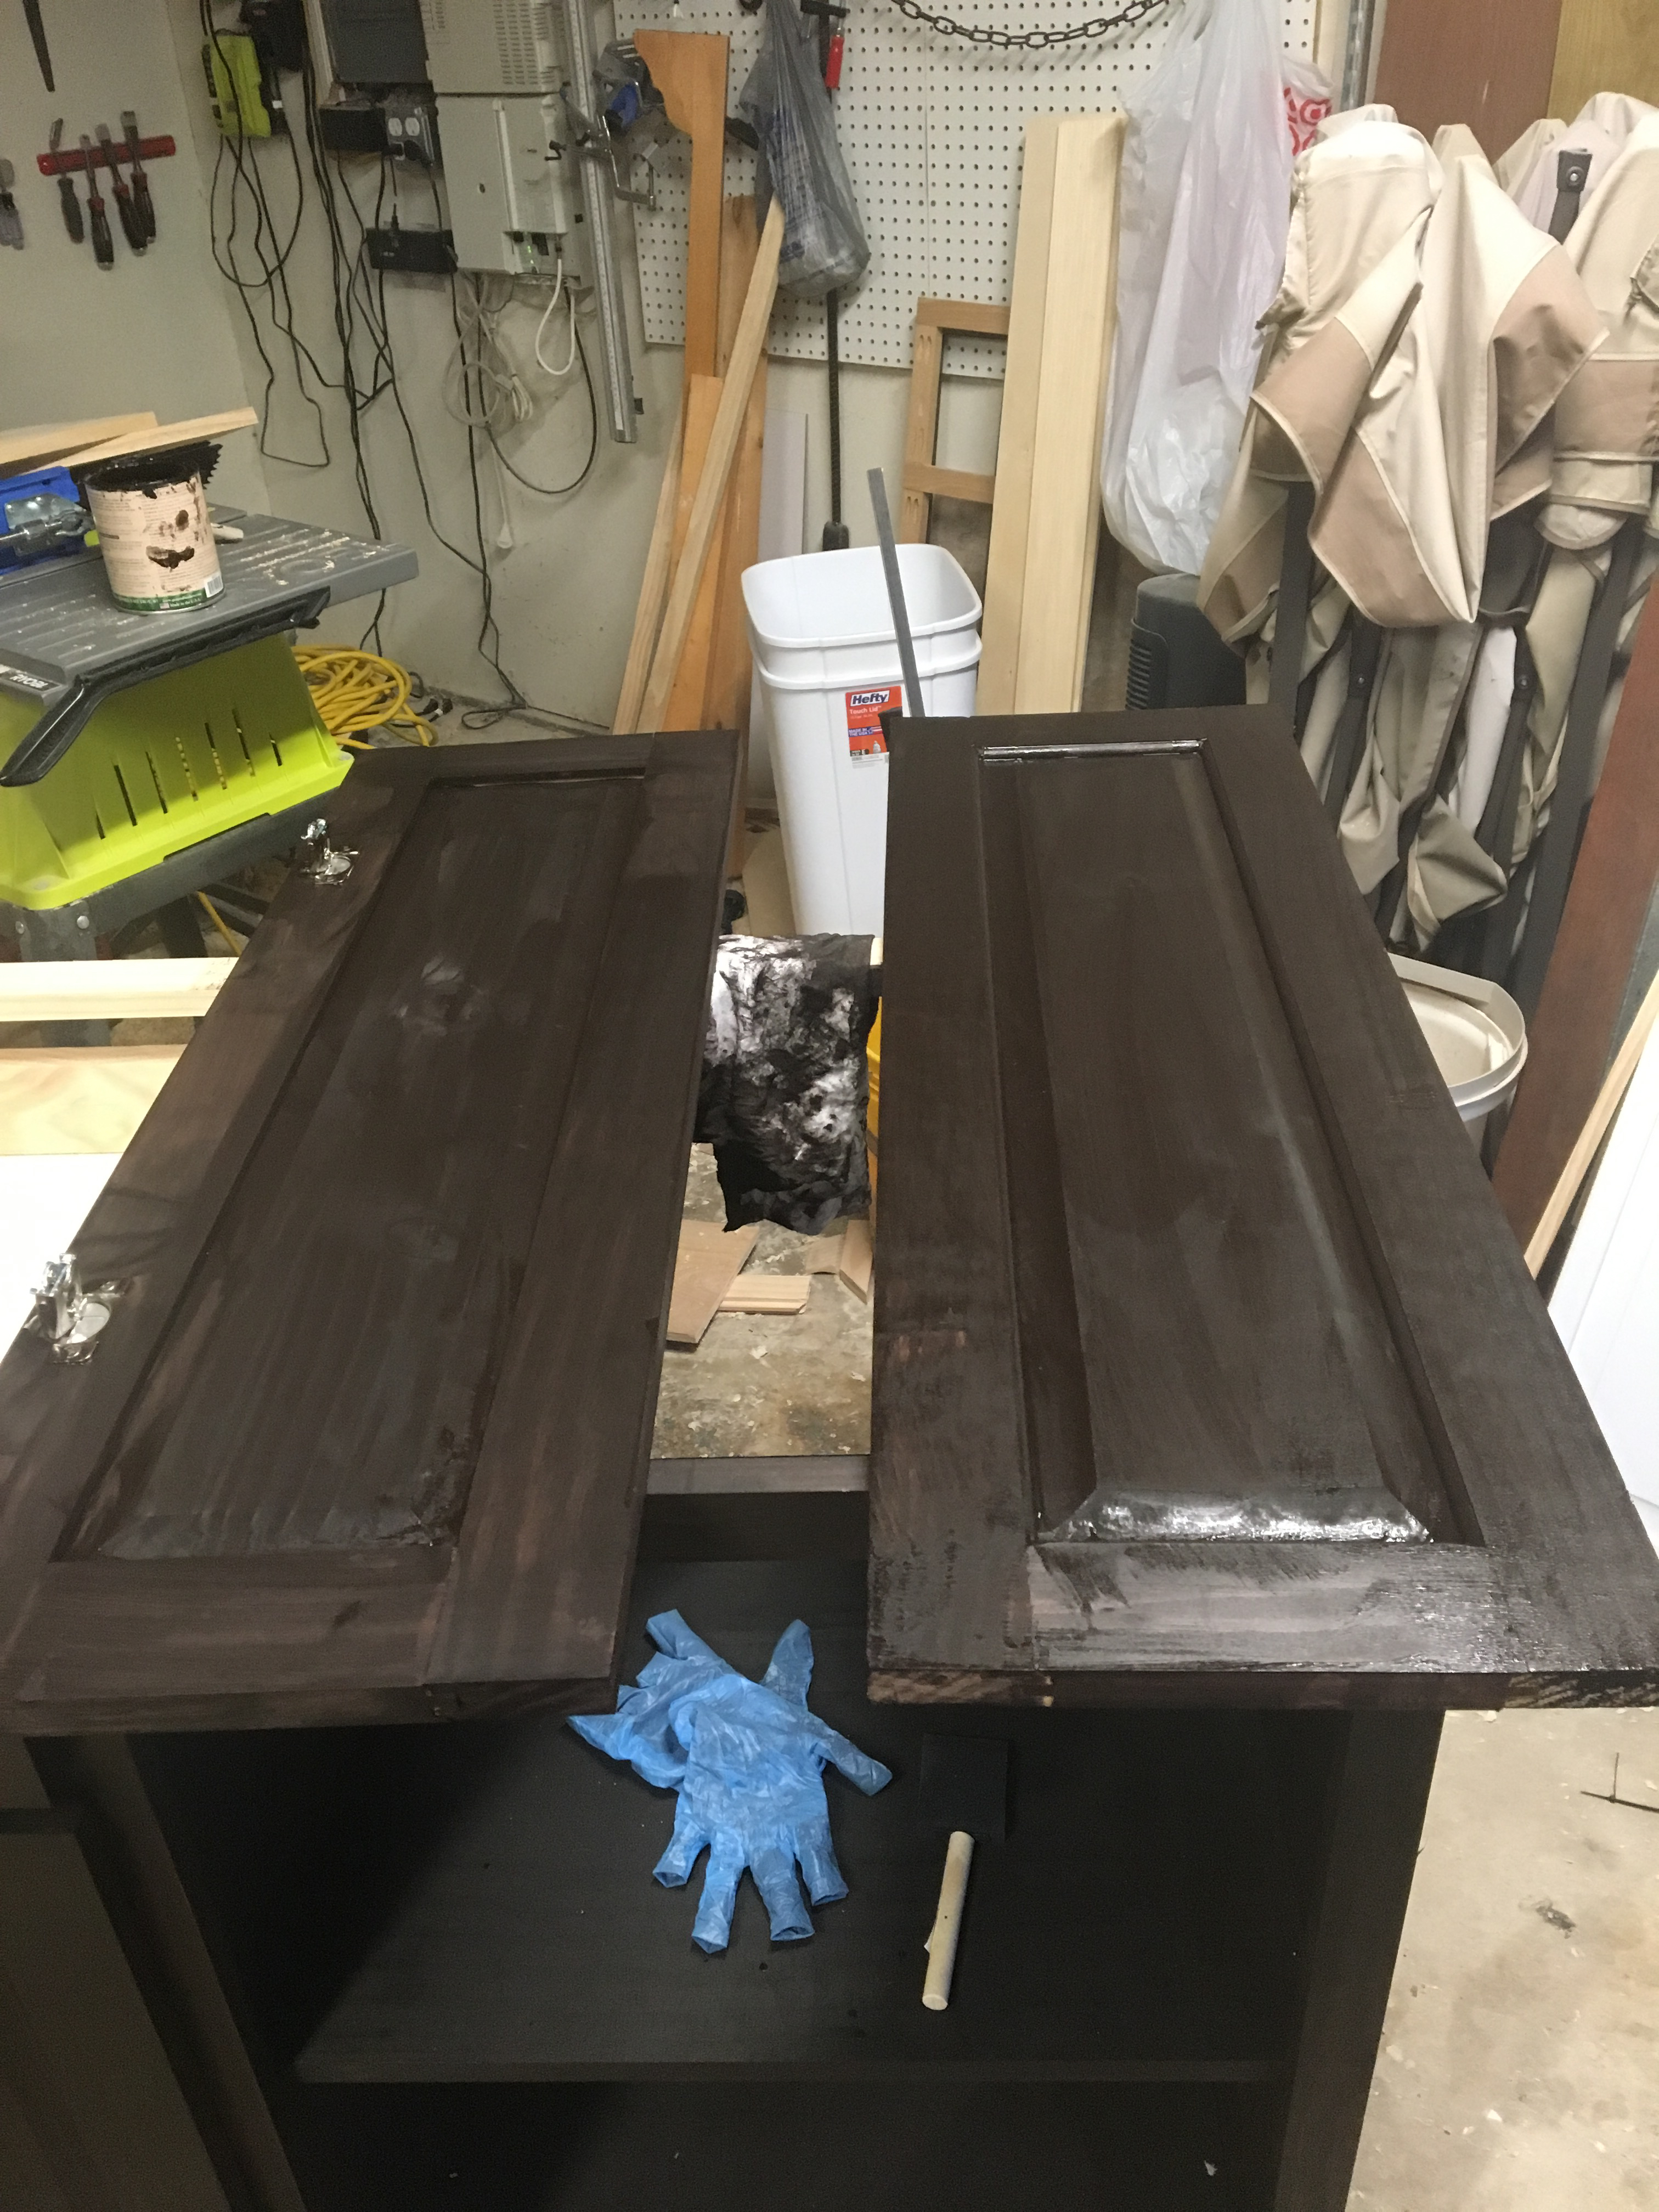
One coat of polyurethane wasn't enough to give me the shine I wanted. In fact, two coats wasn't enough either.
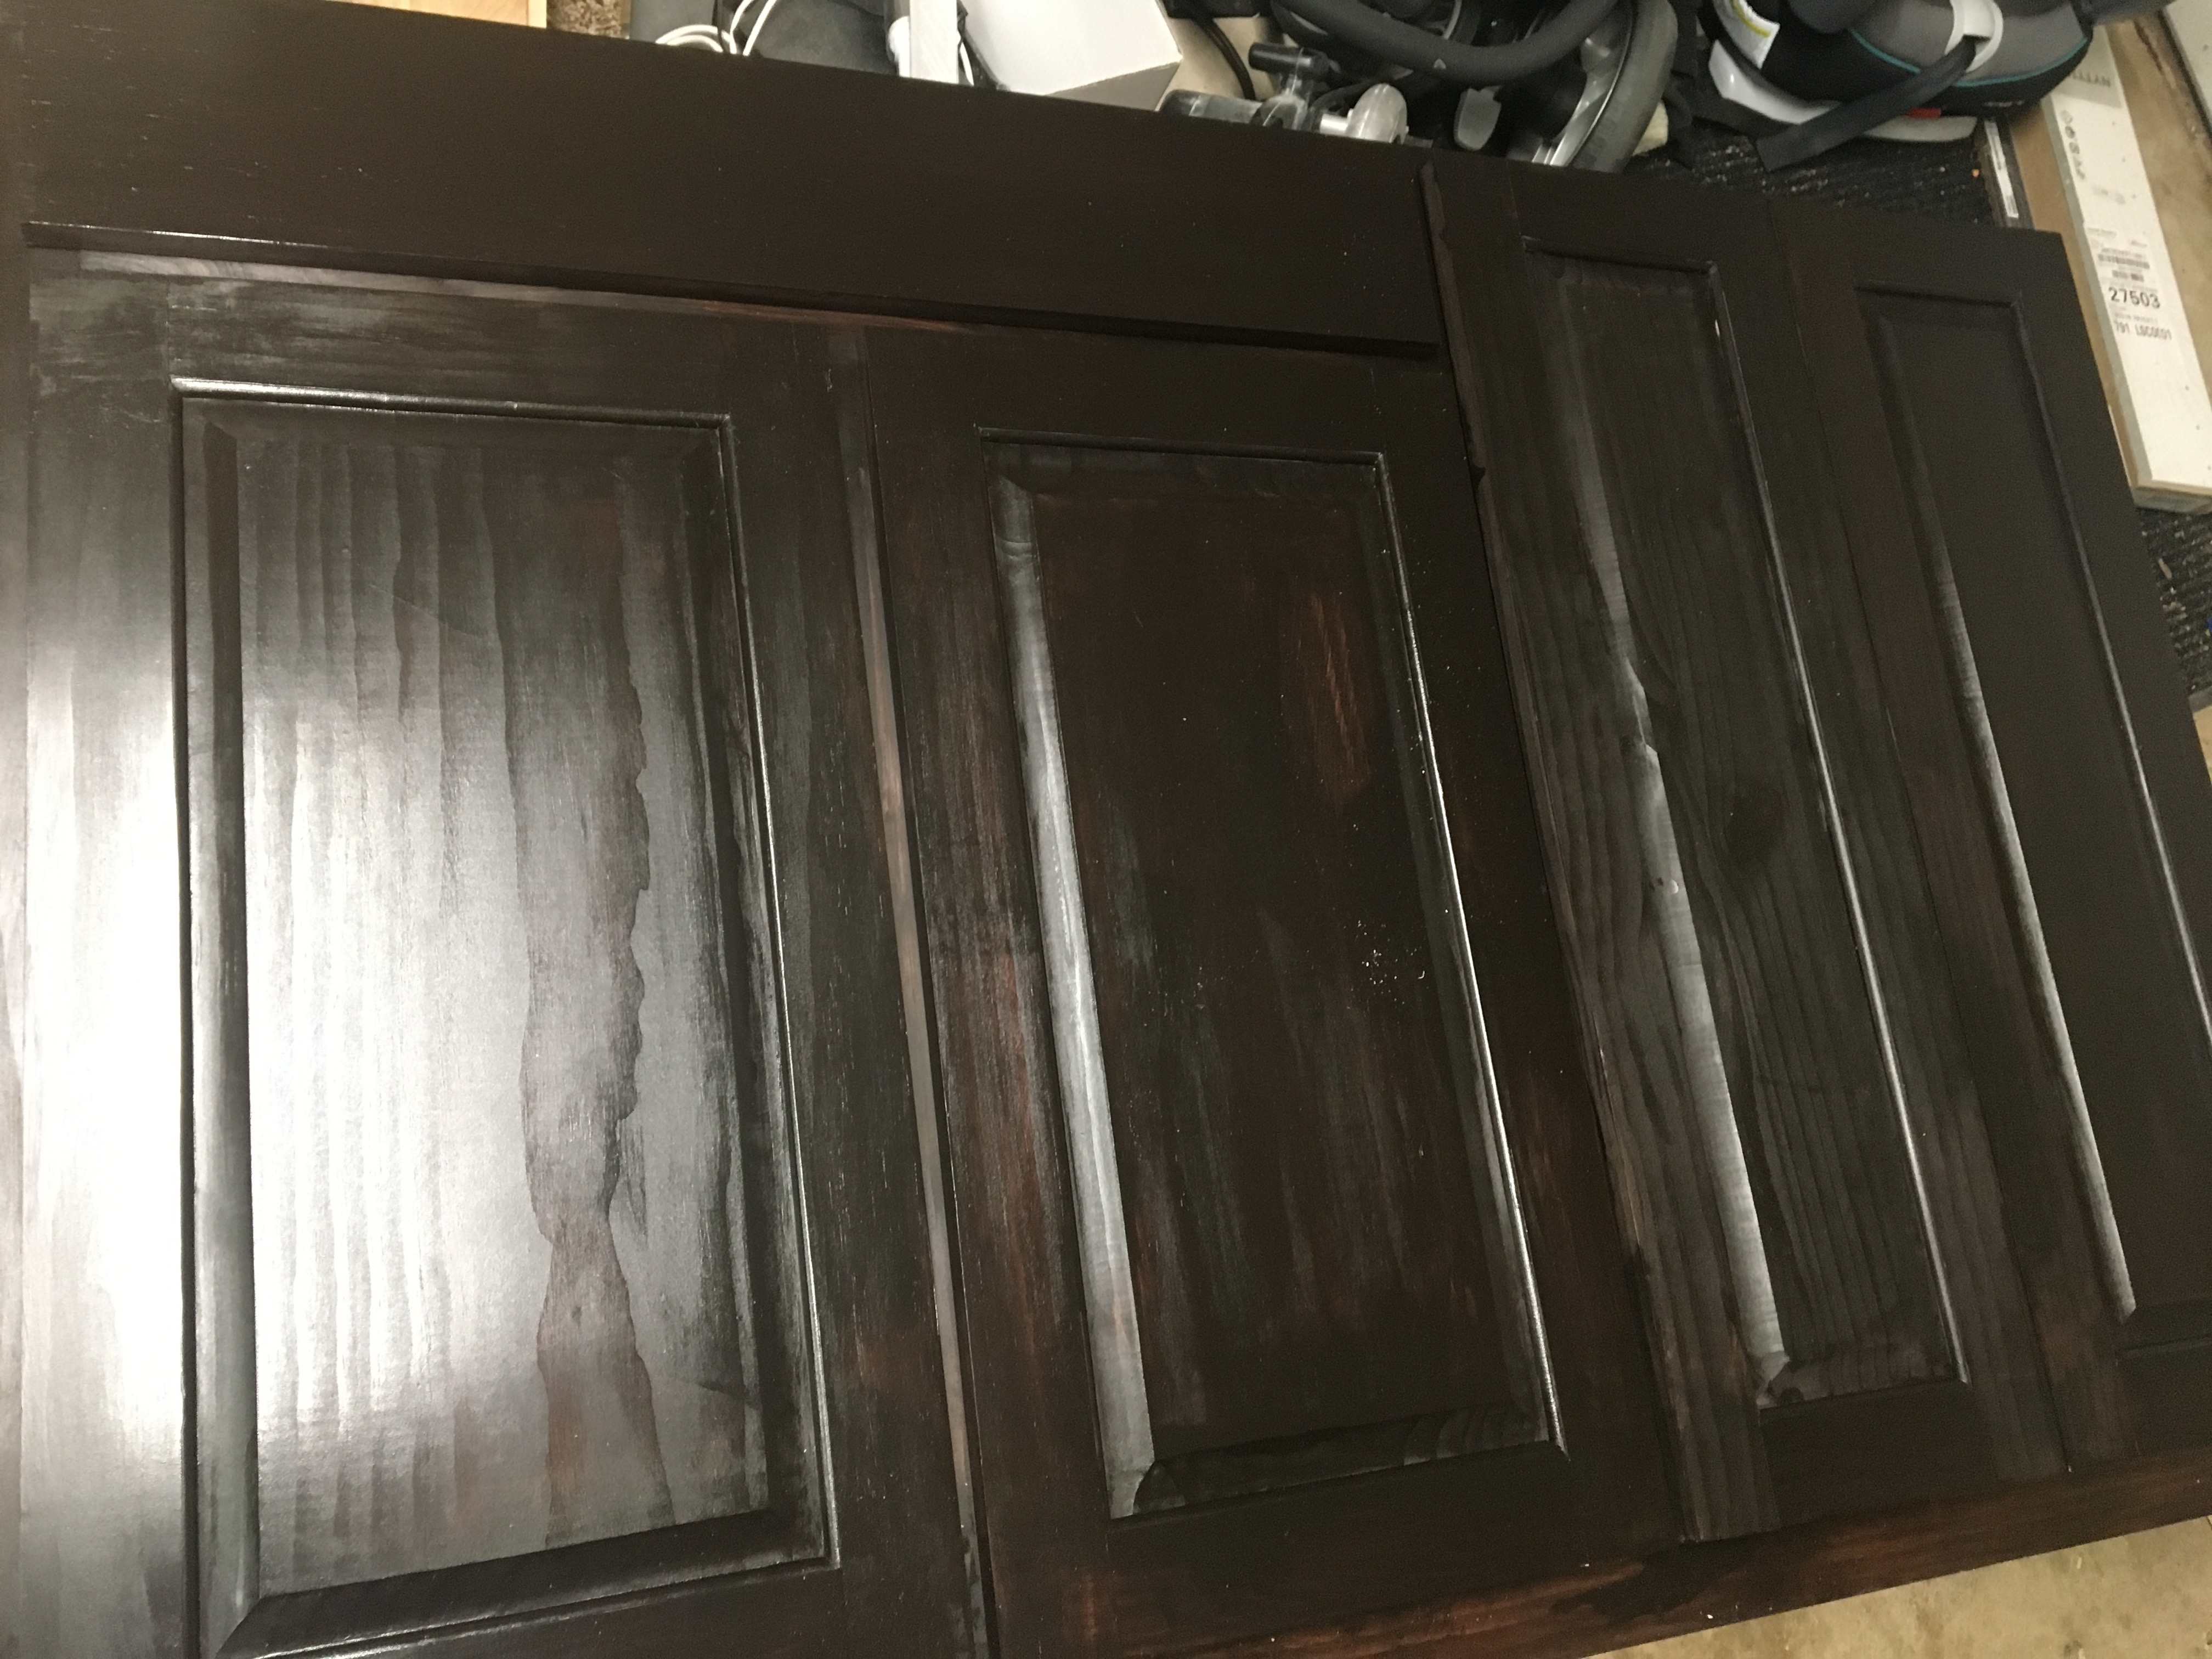
Three coats of polyurethane later, we had a nice shine..
Handles & Countertop Installed
We had our first successfully built cabinet!

