This is an Arduino project I created a few years ago. The idea was to build a stop light so my mom knew when to stop pulling into the garage. I made three versions of it. Version one was just a prototype, nothing fancy. All of the versions did have a switch as a master on/off.
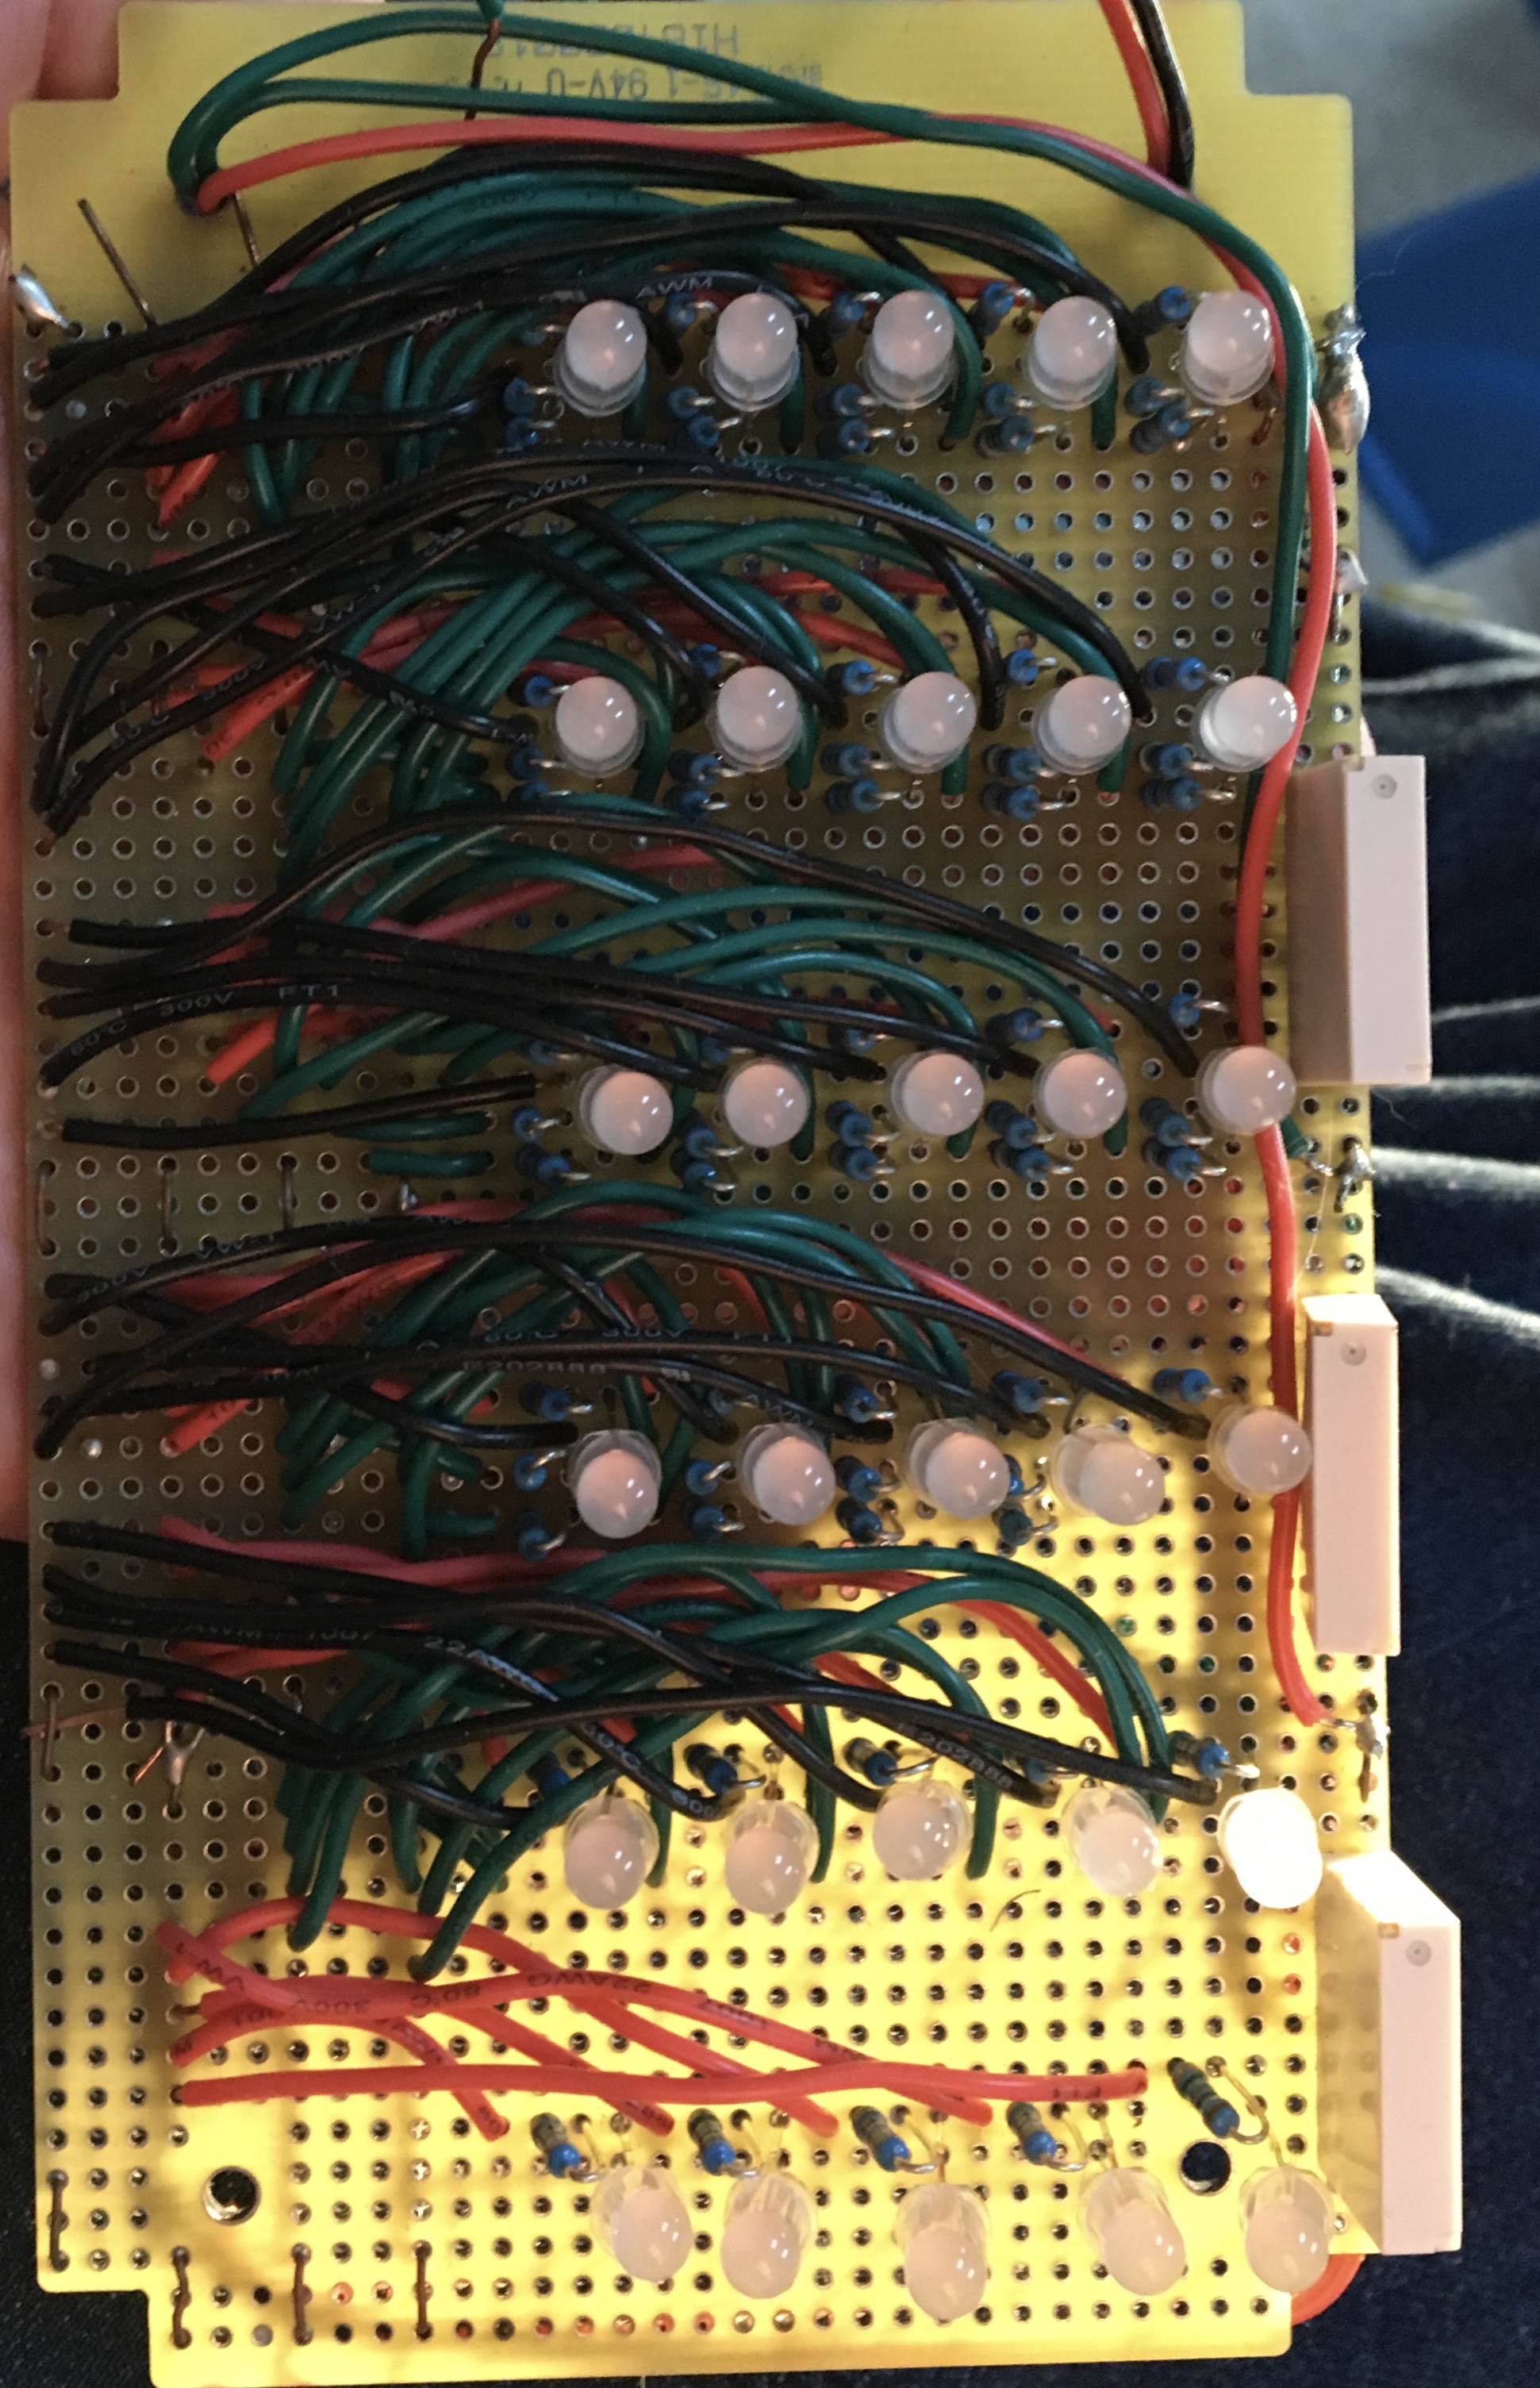
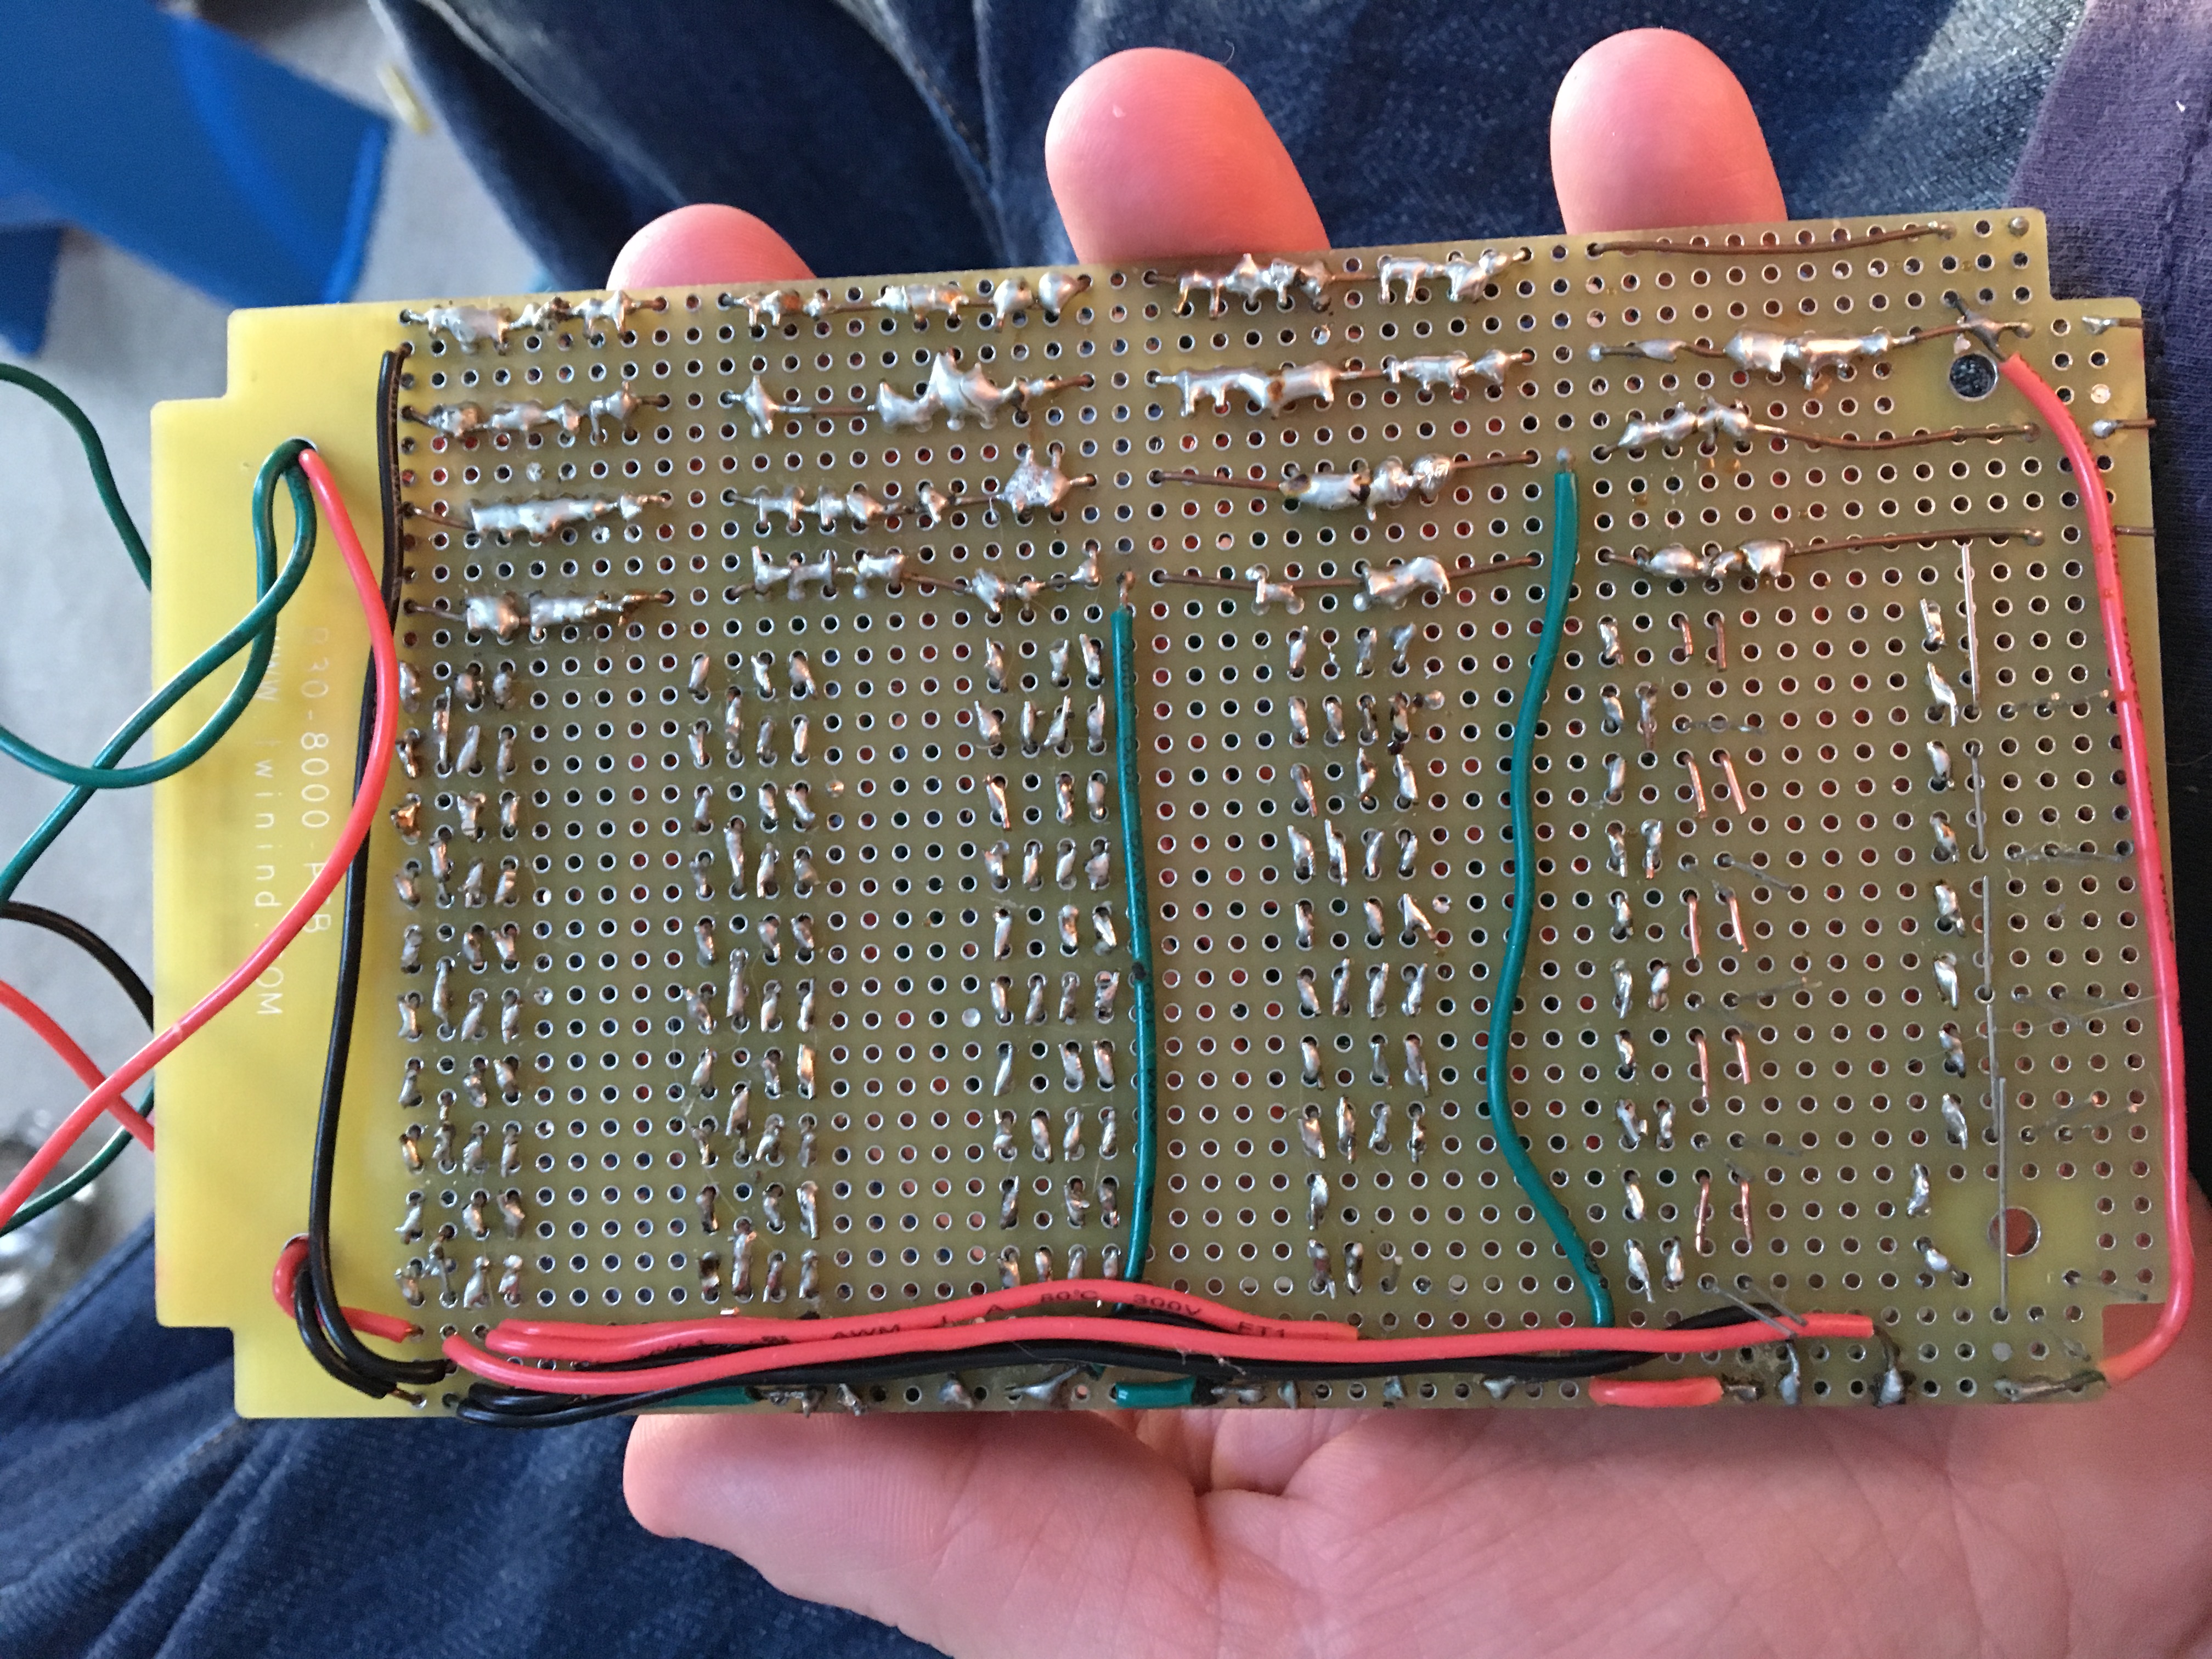
Version two had three relays (one for each color: red, green, blue). There were 6 rows of RGB LEDs, with 5 LEDs per row; totaling 30 LEDs. If I remember correctly, these were common cathode LEDs, but it's been a while. I wish I had cataloged what parts I used better so I wouldn't have to redo the math all over again.
Click the button below for pictures, videos & code:
Version 2 picture front:

Version 2 back:
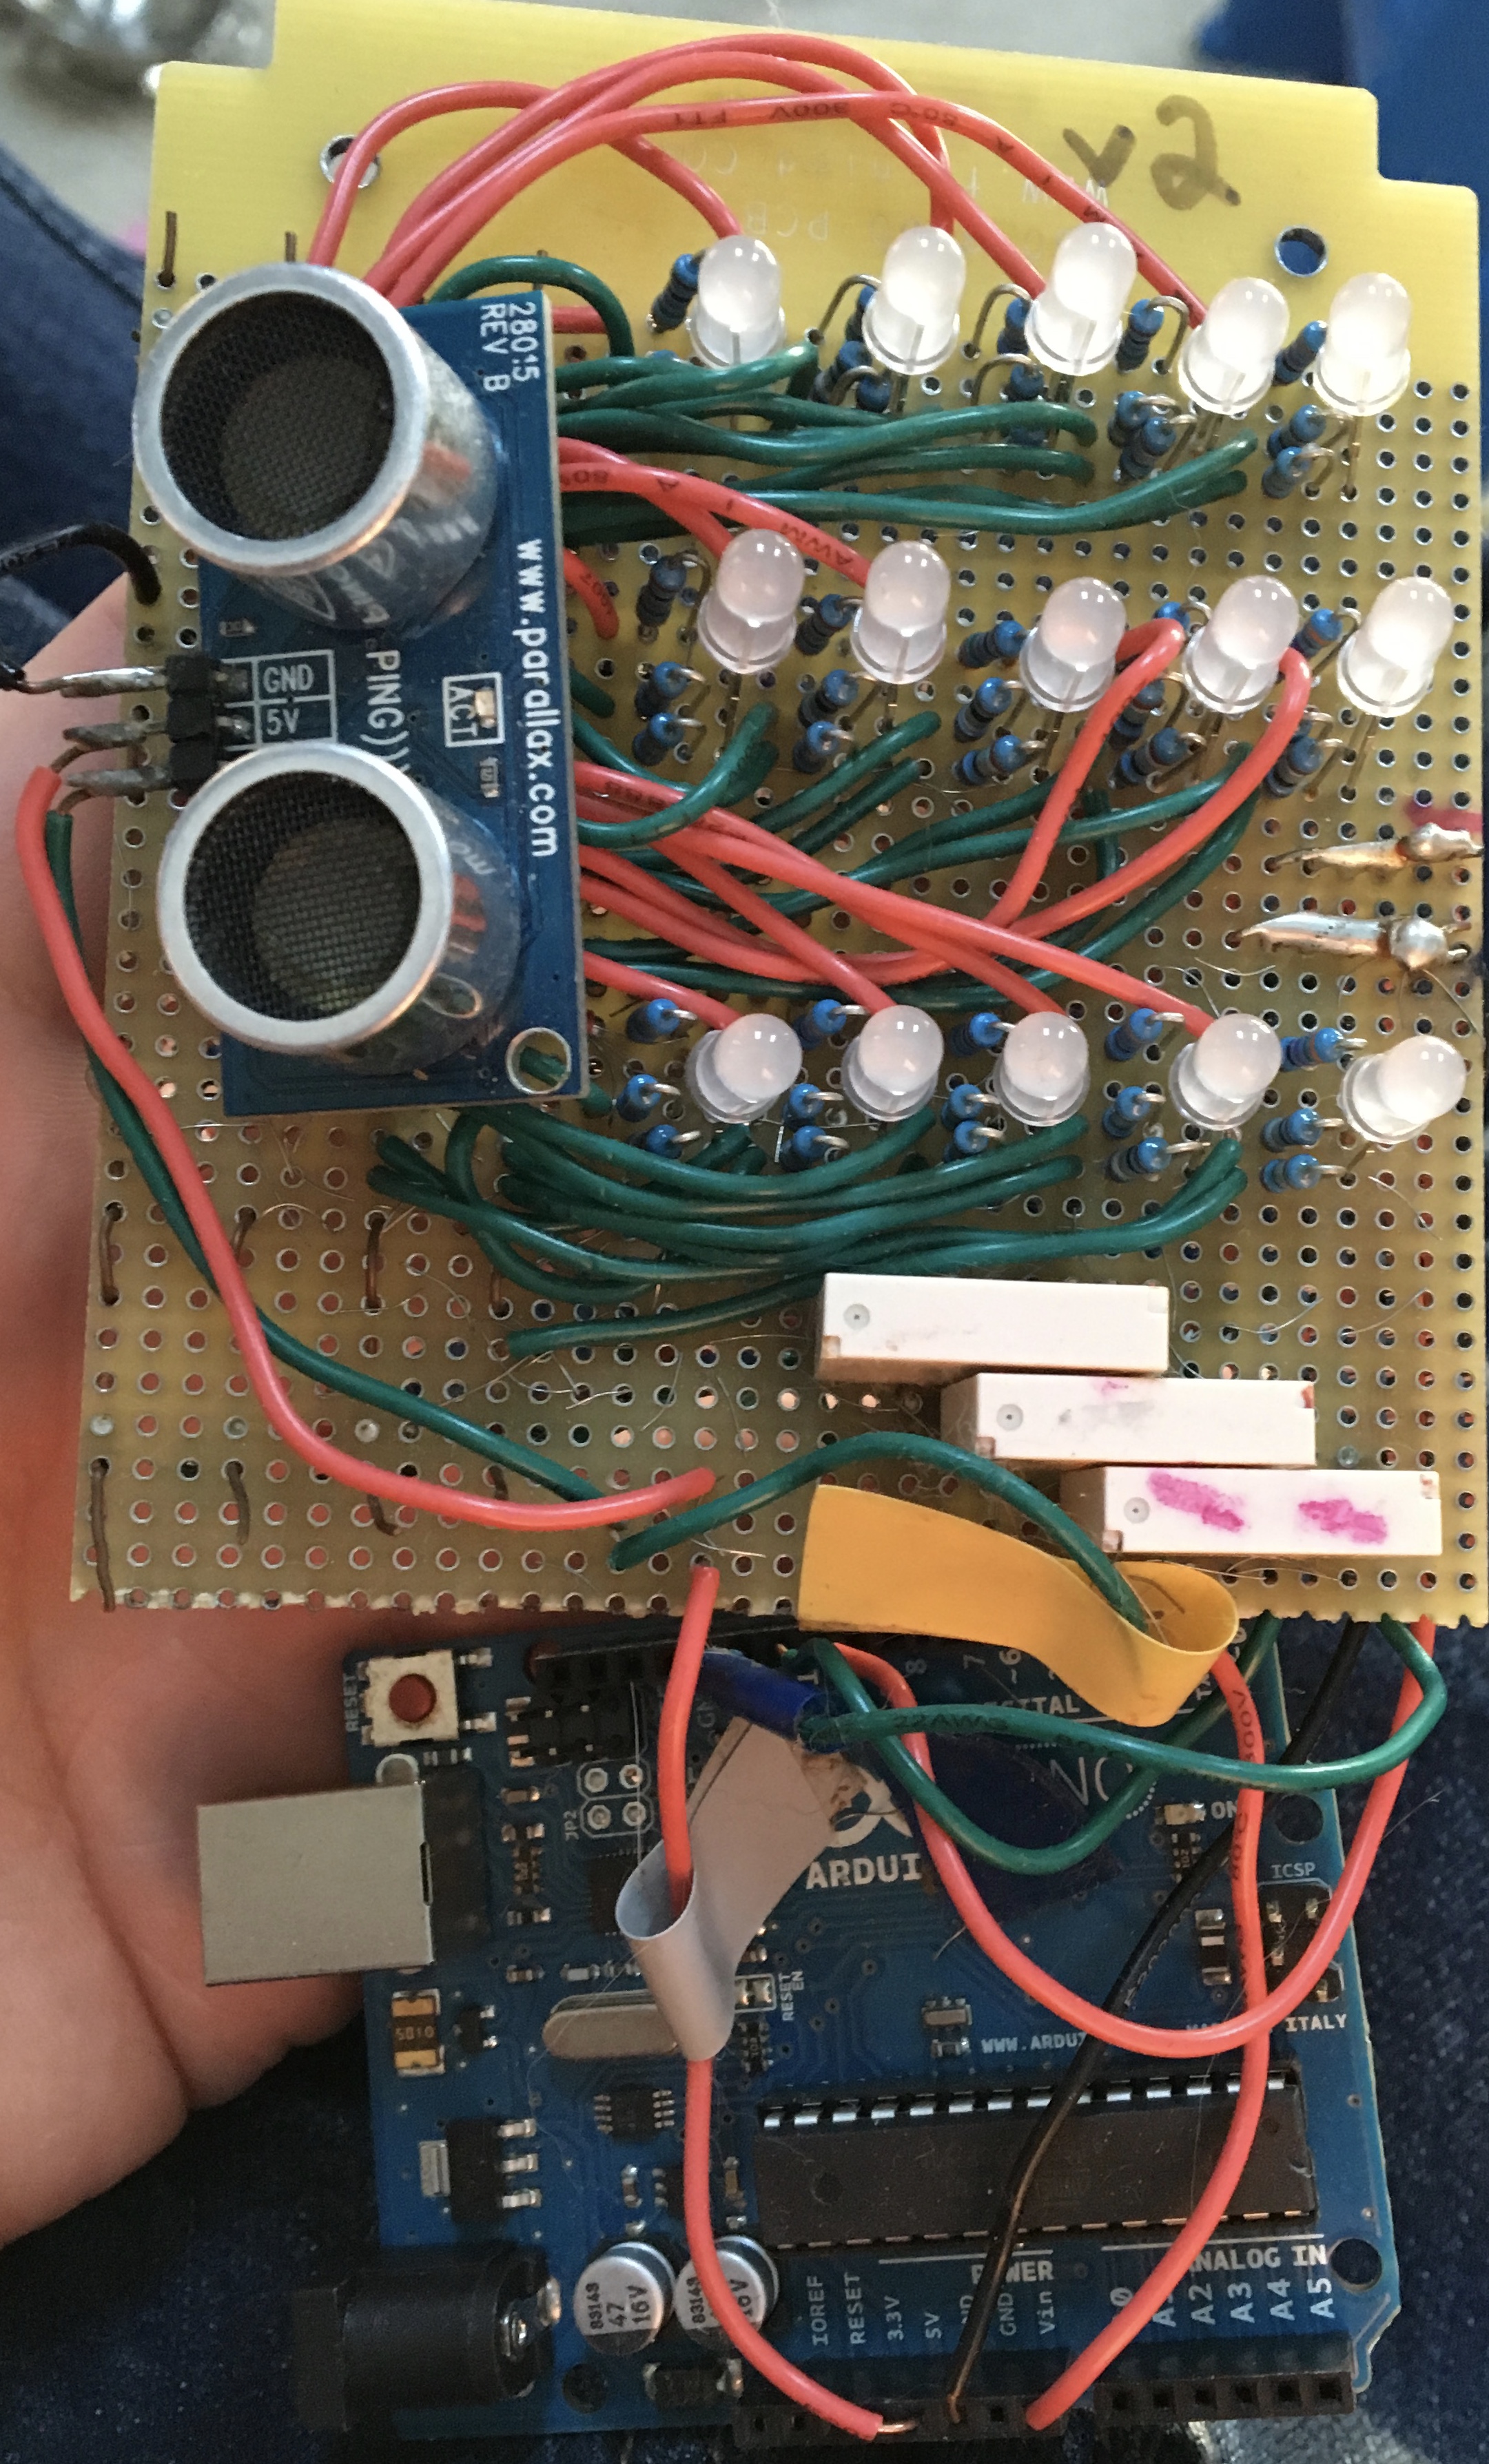
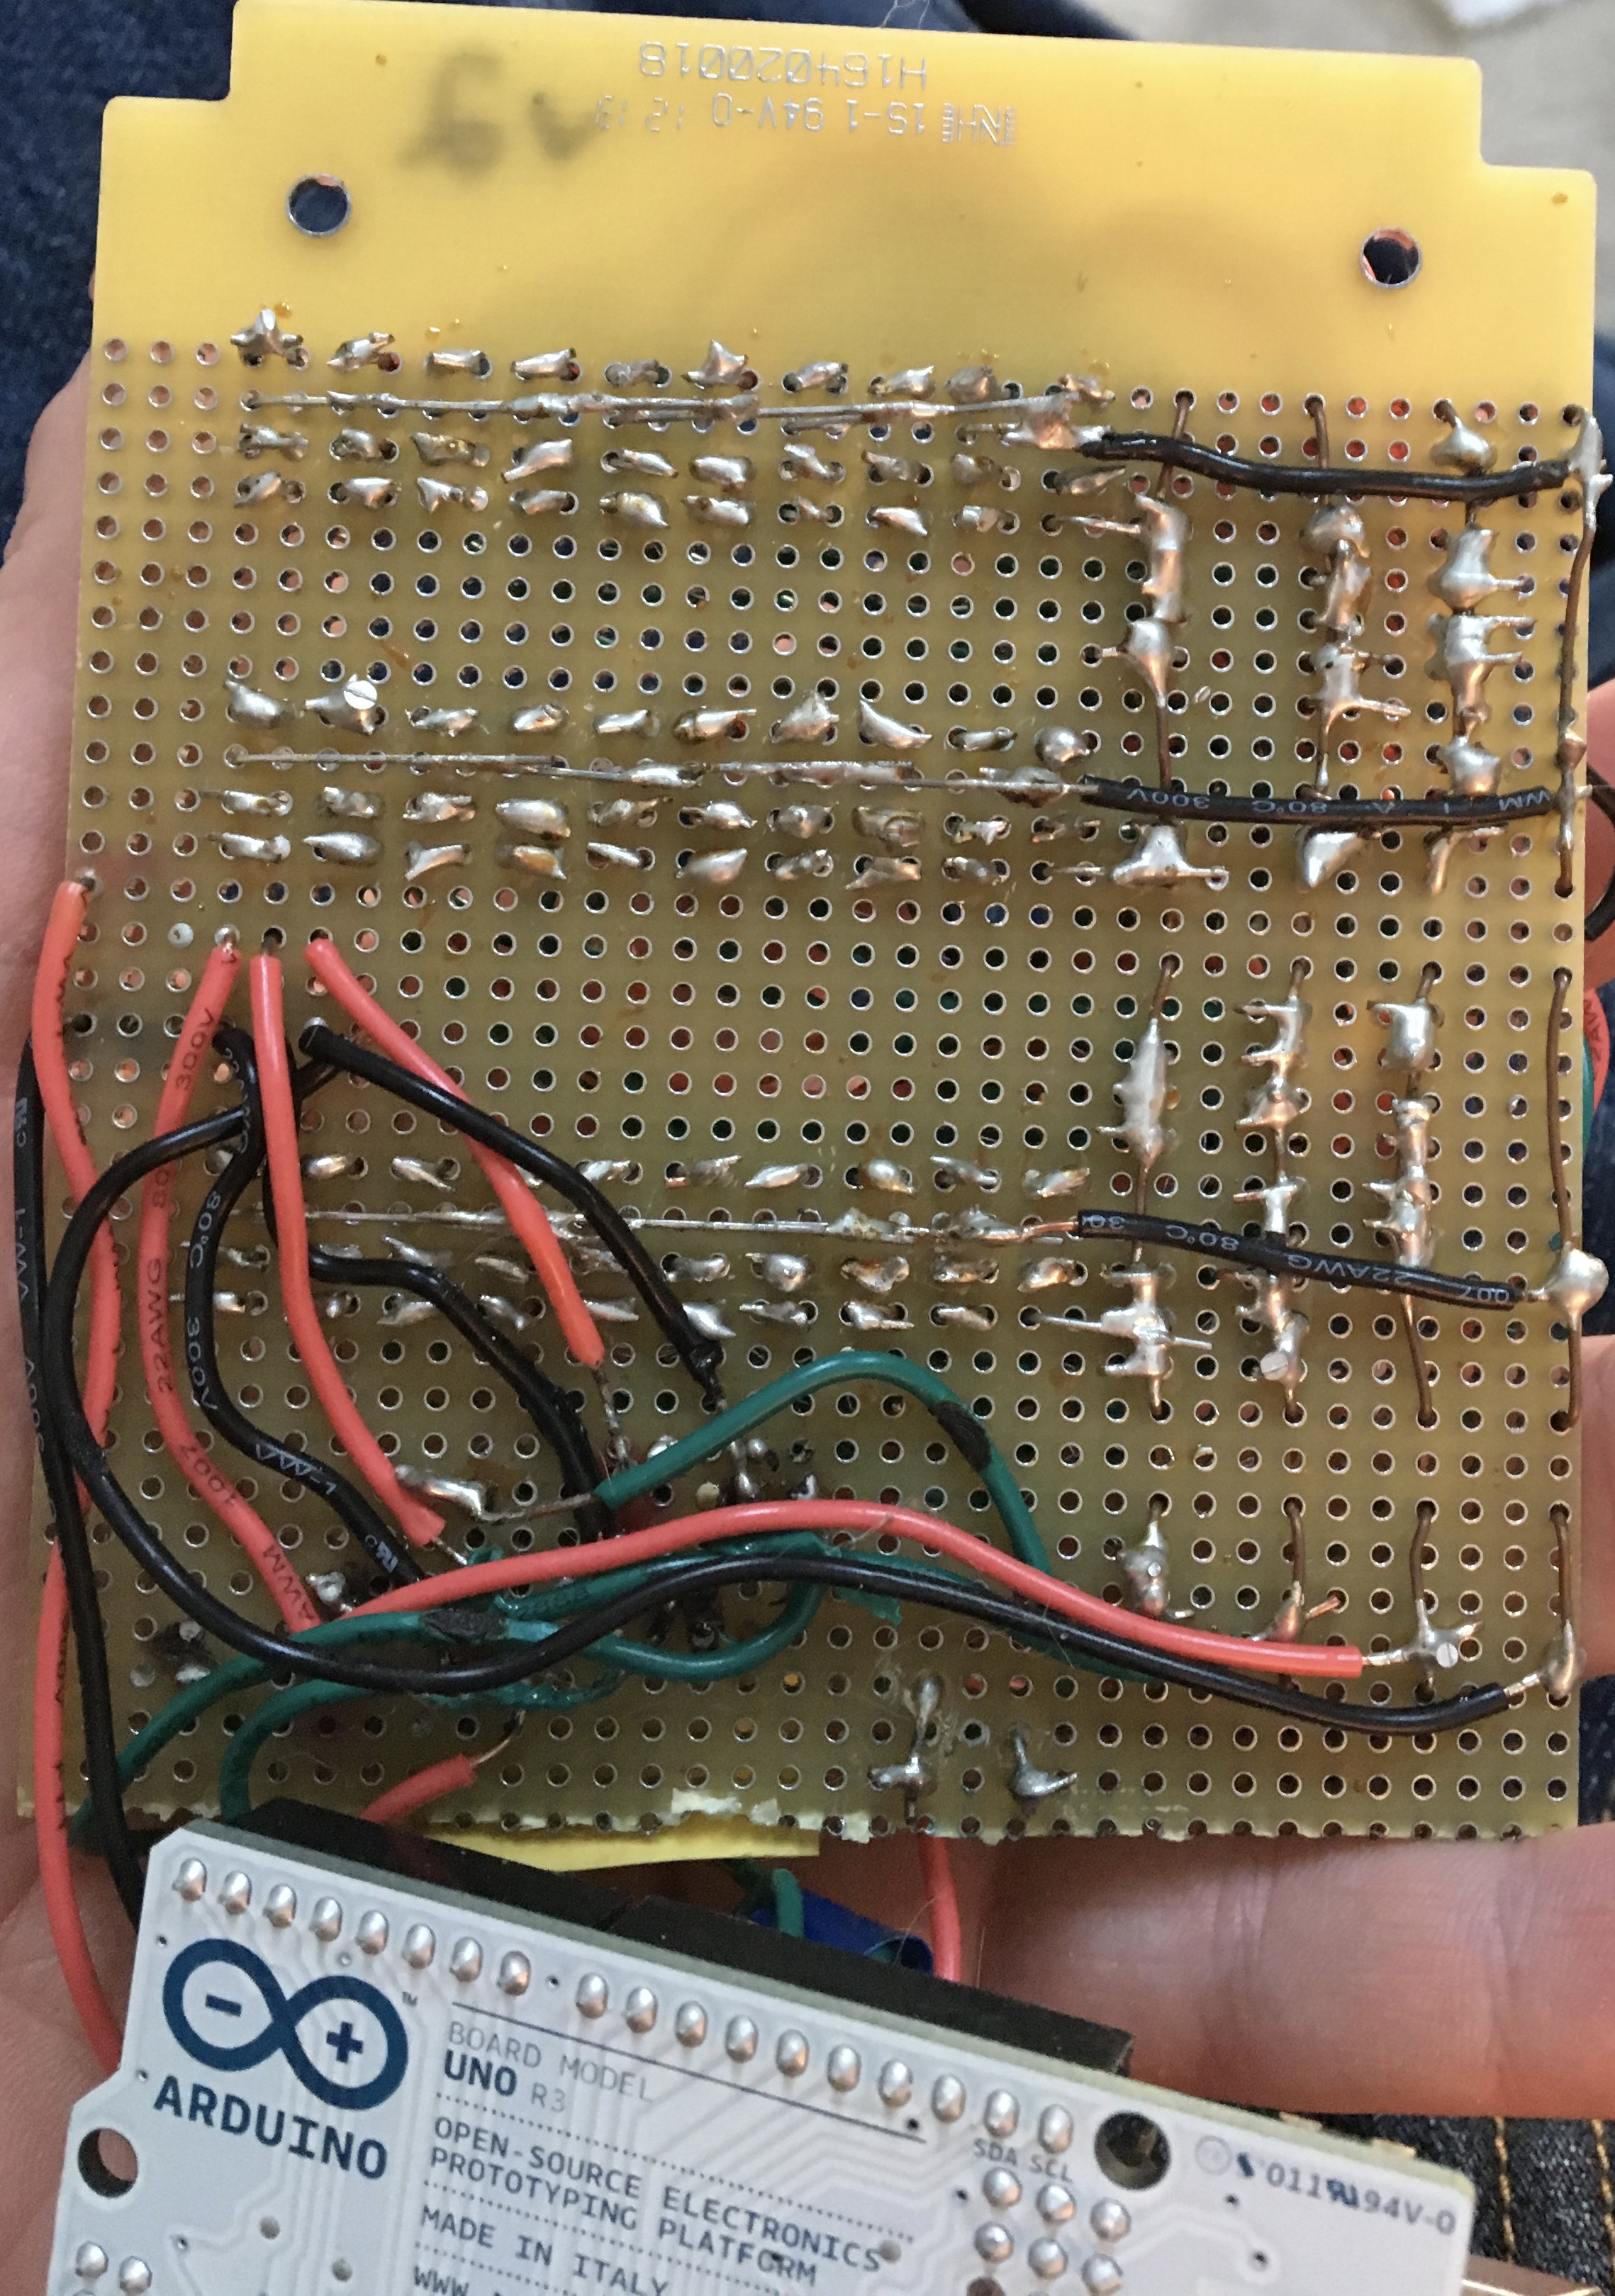
After finishing the soldering for more than ¾ of the LEDs in v2, I did some testing and realized how blindingly bright the LEDs were, and how there was absolutely no way so many were necessary to achieve a bright, saturated color. So, I made version three. It has exactly the same LEDs, relays, and resistors. The only difference is there's only three rows of RGB LEDs, with 5 LEDs per row; totaling 15 LEDs. The result was much more in line with what I wanted.
Version 3 front:

Version 3 back:

Then it came time to package it all together. I tried bending Lexan plastic to make a custom case. I read online about how to put it in an oven & it would be like putty. At the time, I was living in a condo & wasn't willing to risk burning the place down. I tried heating it with a butane torch, and I couldn't get it to the right consistency. It either burned or wasn't hot enough to bend. I tried finding pre-fabricated cases online, but none seemed to be the right size.
Since I've always been more interested in software than hardware, I moved onto other Arduino projects.
I've provided the Arduino code below. You're welcome to use it for your projects.
Arduino Code:
/*
  Button

 Turns on and off a light emitting diode(LED) connected to digital
 pin 13, when pressing a pushbutton attached to pin 2.


 The circuit:
 * LED attached from pin 13 to ground
 * pushbutton attached to pin 2 from +5V
 * 10K resistor attached to pin 2 from ground
 */

// constants won't change. They're used here to set pin numbers:
//const int buttonPin = 2;     // the number of the pushbutton pin
const int redPin =  10;      // the number of the LED pin
const int greenPin =  11;      // the number of the LED pin
const int bluePin =  12;      // the number of the LED pin
const int proxPin =  3;      // the number of the proximity pin
int timePulledIn = 0;         // the amount of time we've been pulled in

// variables will change:
//int buttonState = 0;         // variable for reading the pushbutton status

void setup() {
  Serial.begin(9600);
  // initialize the LED pin as an output:
  pinMode(redPin, OUTPUT);
  pinMode(greenPin, OUTPUT);
  pinMode(bluePin, OUTPUT);
  // initialize the pushbutton pin as an input:
//  pinMode(buttonPin, INPUT);
}

void loop(){
//  Serial.println("loop");
  // establish variables for duration of the ping,
  // and the distance result in inches and centimeters:
  long duration, inches, cm;


  // read the state of the pushbutton value:
//  buttonState = digitalRead(buttonPin);

  // check if the pushbutton is pressed.
  // if it is, the buttonState is HIGH:
//  if (buttonState == HIGH) {
      // The PING))) is triggered by a HIGH pulse of 2 or more microseconds.
      // Give a short LOW pulse beforehand to ensure a clean HIGH pulse:
      pinMode(proxPin, OUTPUT);
      digitalWrite(proxPin, LOW);
      delayMicroseconds(2);
      digitalWrite(proxPin, HIGH);
      delayMicroseconds(5);
      digitalWrite(proxPin, LOW);

      // The same pin is used to read the signal from the PING))): a HIGH
      // pulse whose duration is the time (in microseconds) from the sending
      // of the ping to the reception of its echo off of an object.
      pinMode(proxPin, INPUT);
      duration = pulseIn(proxPin, HIGH);

      // convert the time into a distance
      inches = microsecondsToInches(duration);
      cm = microsecondsToCentimeters(duration);

      Serial.print(inches);
      Serial.print("in, ");
      Serial.print(cm);
      Serial.print("cm");
      Serial.println();
      if ( (cm > 60) && (cm < 100) ) {
        digitalWrite(redPin, LOW);
        digitalWrite(greenPin, LOW);
        digitalWrite(bluePin, HIGH);
        delay(1000);
      } else if ( (cm > 40) && (cm < 60) ) {
        digitalWrite(redPin, LOW);
        digitalWrite(greenPin, HIGH);
        digitalWrite(bluePin, LOW);
        delay(1000);
      } else if (cm < 40) {
        Serial.println("proximity is less than 20");
        // turn red LED on:
        digitalWrite(redPin, HIGH);
        digitalWrite(greenPin, LOW);
        digitalWrite(bluePin, LOW);
//       delay(10000); //sleep 10 sec
        do {
          timePulledIn++;
          Serial.print("timePulledIn=");
          Serial.println(timePulledIn);

          if (timePulledIn > 20) { //if we've been pulled in for more than 60 seconds
            digitalWrite(redPin, LOW);
            digitalWrite(greenPin, LOW);
            digitalWrite(bluePin, LOW);
          }
          delay(1000);
          if (timePulledIn == 25) {
            timePulledIn=0;
            goto bailout;
          }
        } while ( cm < 20 );
      } else {
        digitalWrite(redPin, LOW);
        digitalWrite(greenPin, LOW);
        digitalWrite(bluePin, LOW);
      }
/*  } else {
        digitalWrite(redPin, LOW);
        digitalWrite(greenPin, LOW);
        digitalWrite(bluePin, LOW);
  } */
  bailout:;
}

long microsecondsToInches(long microseconds)
{
  // According to Parallax's datasheet for the PING))), there are
  // 73.746 microseconds per inch (i.e. sound travels at 1130 feet per
  // second).  This gives the distance travelled by the ping, outbound
  // and return, so we divide by 2 to get the distance of the obstacle.
  // See: http://www.parallax.com/dl/docs/prod/acc/28015-PING-v1.3.pdf
  return microseconds / 74 / 2;
}

long microsecondsToCentimeters(long microseconds)
{
  // The speed of sound is 340 m/s or 29 microseconds per centimeter.
  // The ping travels out and back, so to find the distance of the
  // object we take half of the distance travelled.
  return microseconds / 29 / 2;
}
Version 1 Video Link: https://youtu.be/cdBbpF71Wrg
Version 1 Video:

