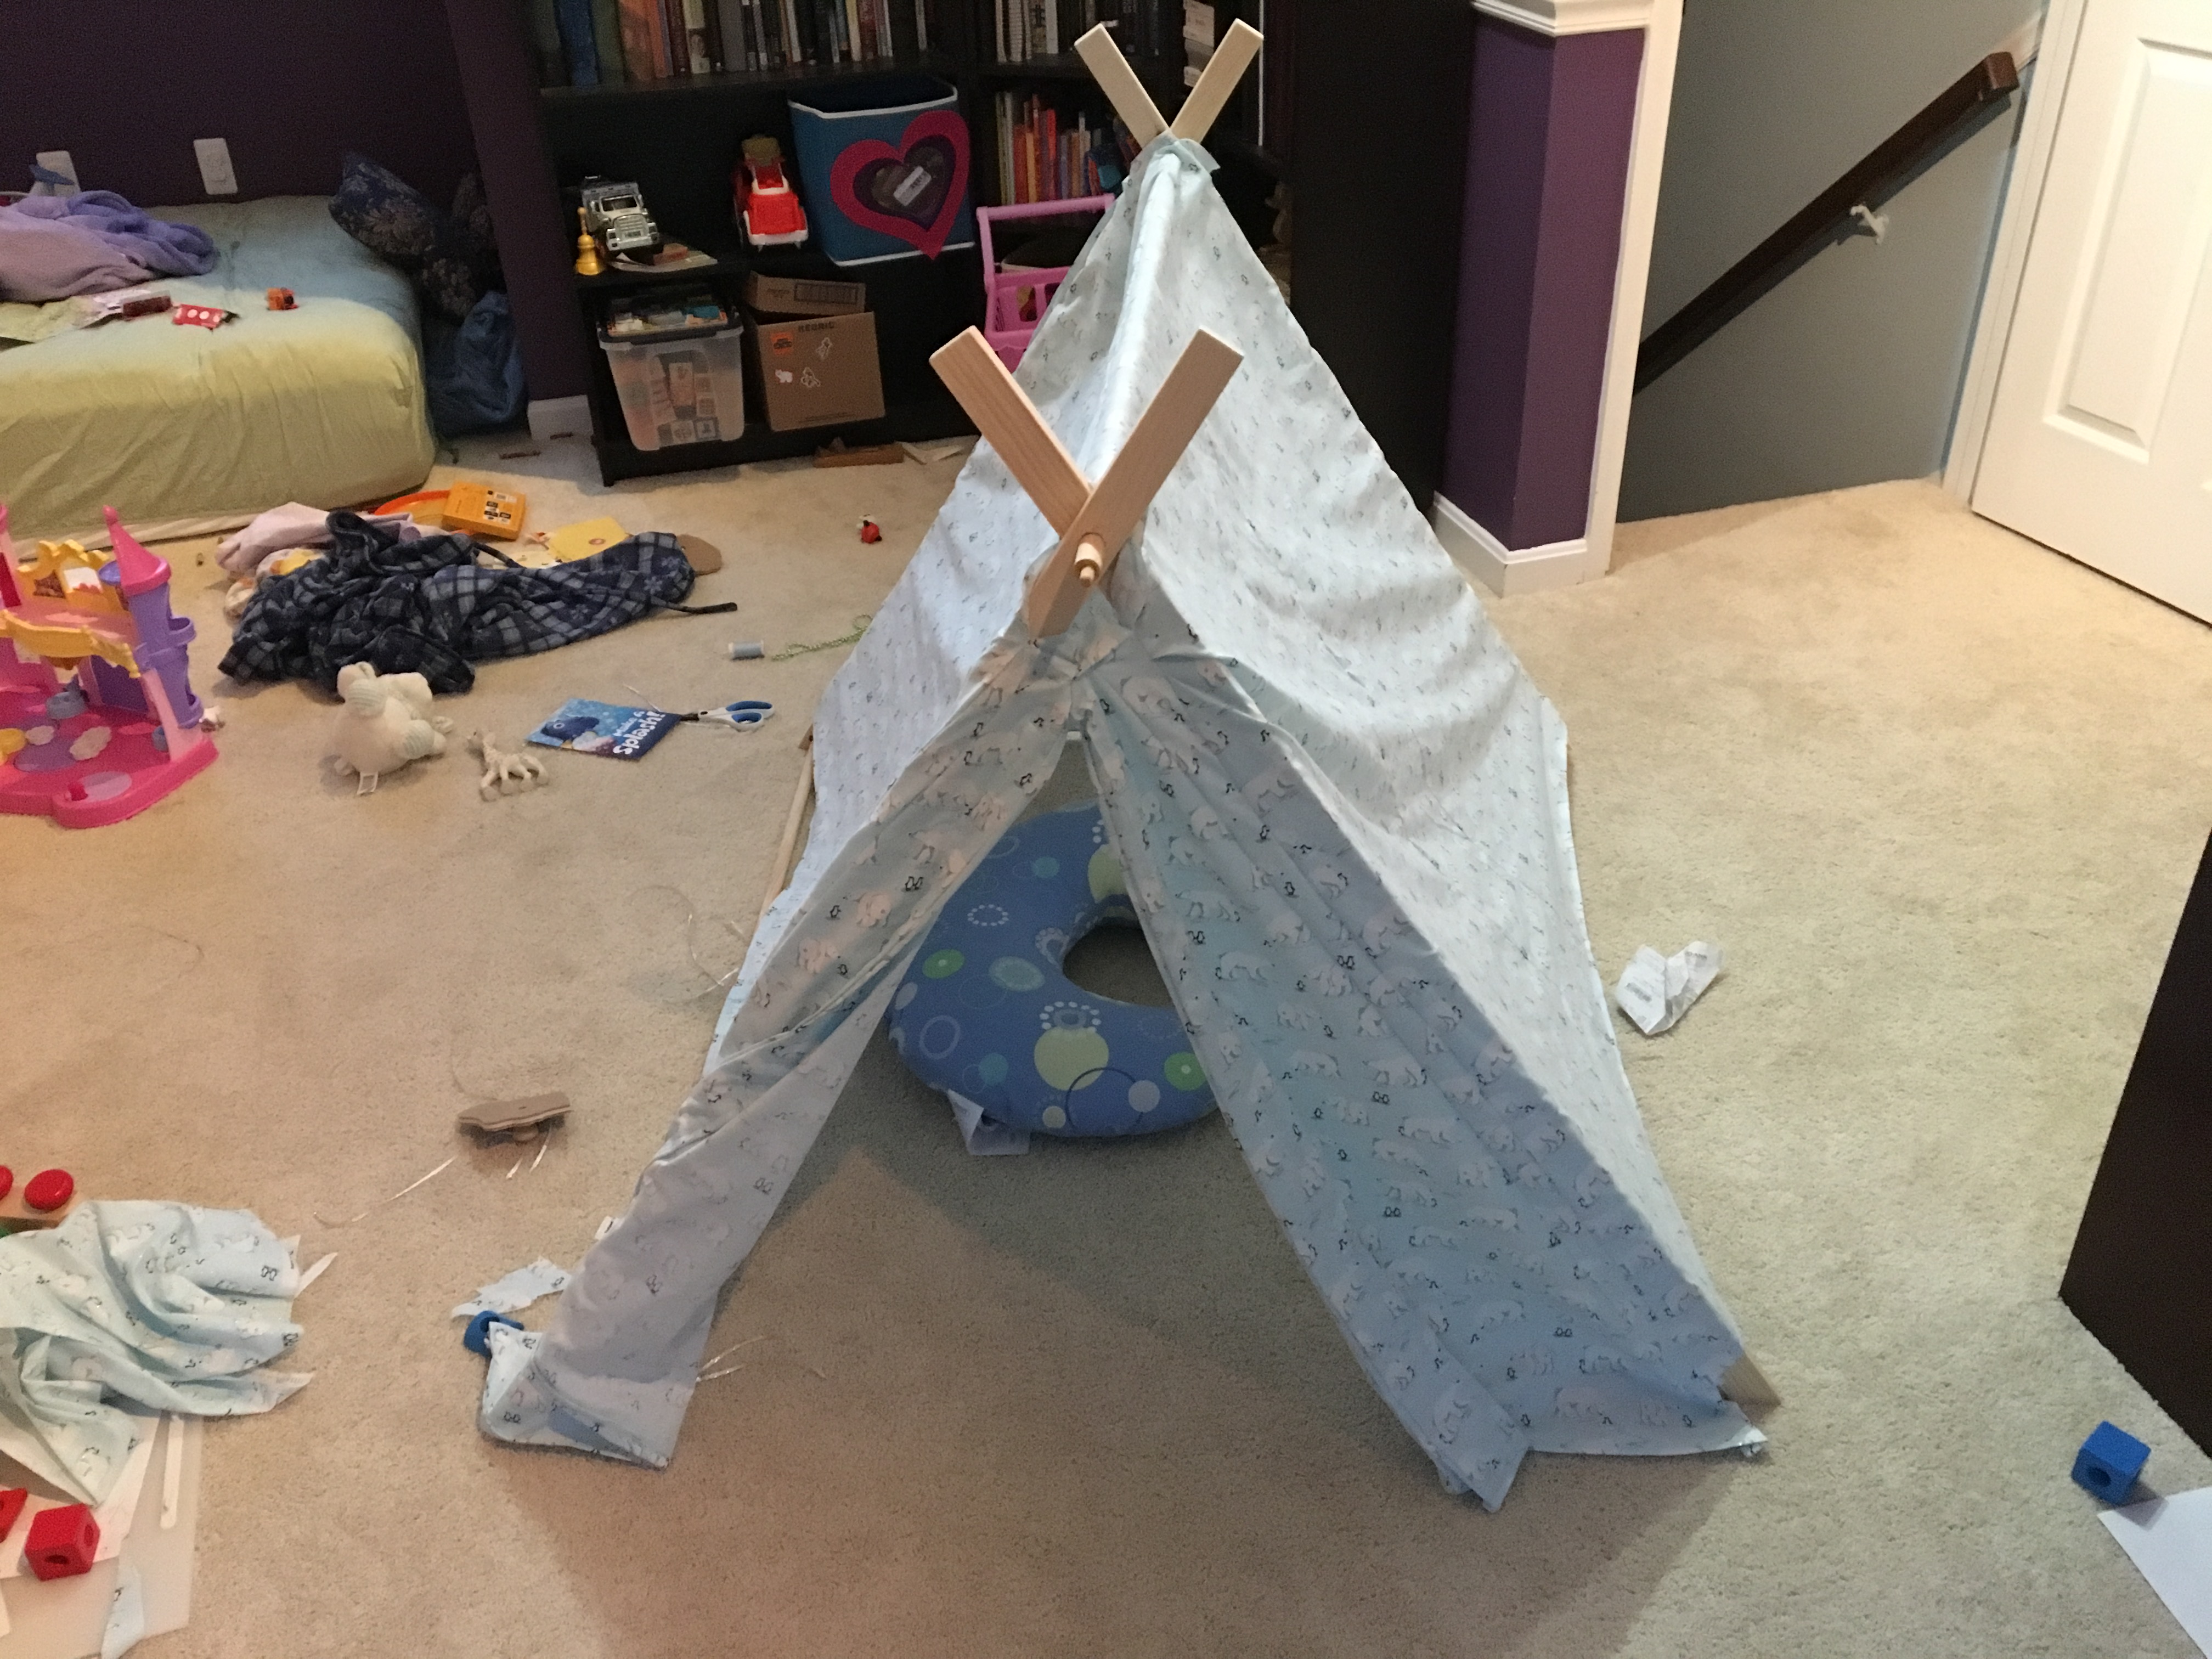
One day, we went to Target to get some essentials. I saw a tepee for $90. I turned to Cindi & said, "how much do you think this should cost?" We decided we could do it for less. $40 later, we had fabric picked out by our daughter, and a different design to make it possible for us to play in the tent with her. She loves it, and it was fun to make.
Materials:
- 3x ½ inch dowels, 4 feet long
- 3x ½ inch by 3 inch pine, 8 feet long
- Fabric of your choosing
- Thread to match/contrast fabric
- Ribbon to tie tent to the frame in strategic locations
Basic instructions:
- Cut the 1"x3" pieces of wood so each one is 48" long.
- Drill ½" holes toward the top of the each piece so the dowel can pass through. If you want the "scissor" look we have in the picture below, leave a few inches at the top.
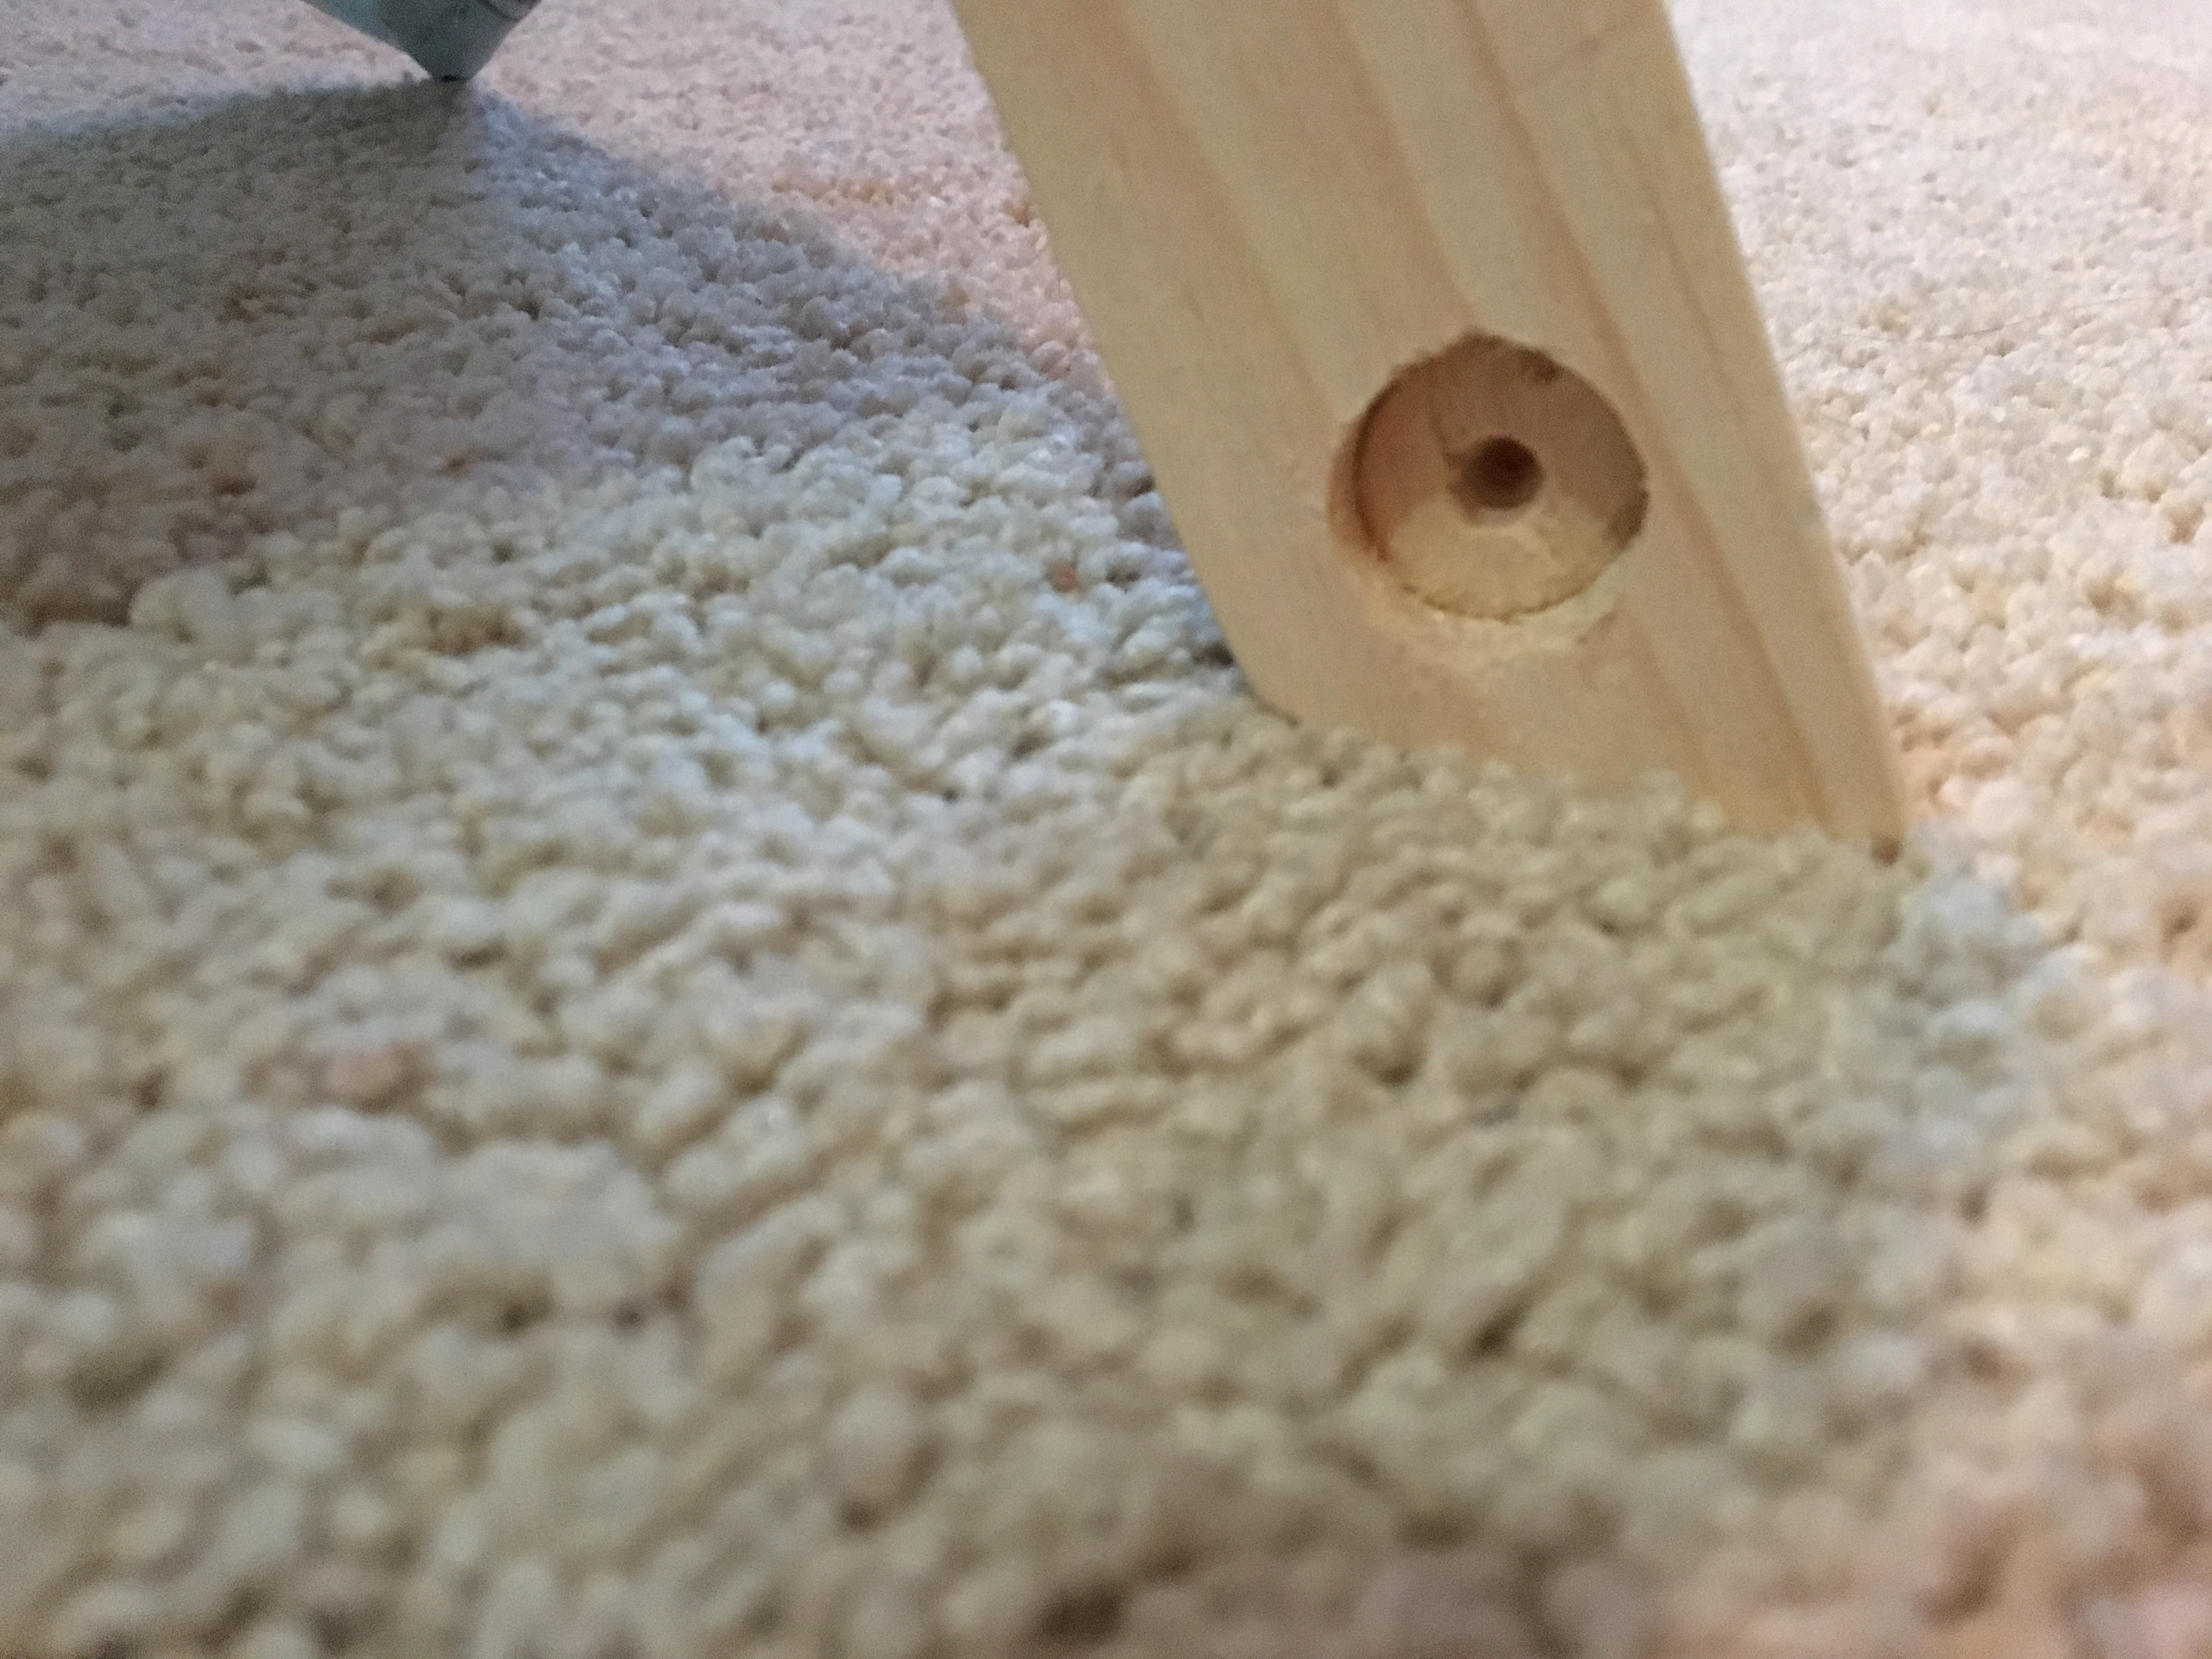
- Drill ½" holes toward the bottom of each piece so the other two dowels help stabilize the tent. You can either drill completely through these pieces like you did in step 2, or only part of the way through (like I did), and apply some wood glue to make it even more secure.
- If you want the legs of the tent to sit flush on the floor, set your circular saw to a 35 degree angle & trim the leg. Reverse the angle, and trim the opposing leg on the same side.
- Time to measure, cut & sew your fabric!
- Be sure to leave some extra fabric in all of the measurements below for hems & seams.
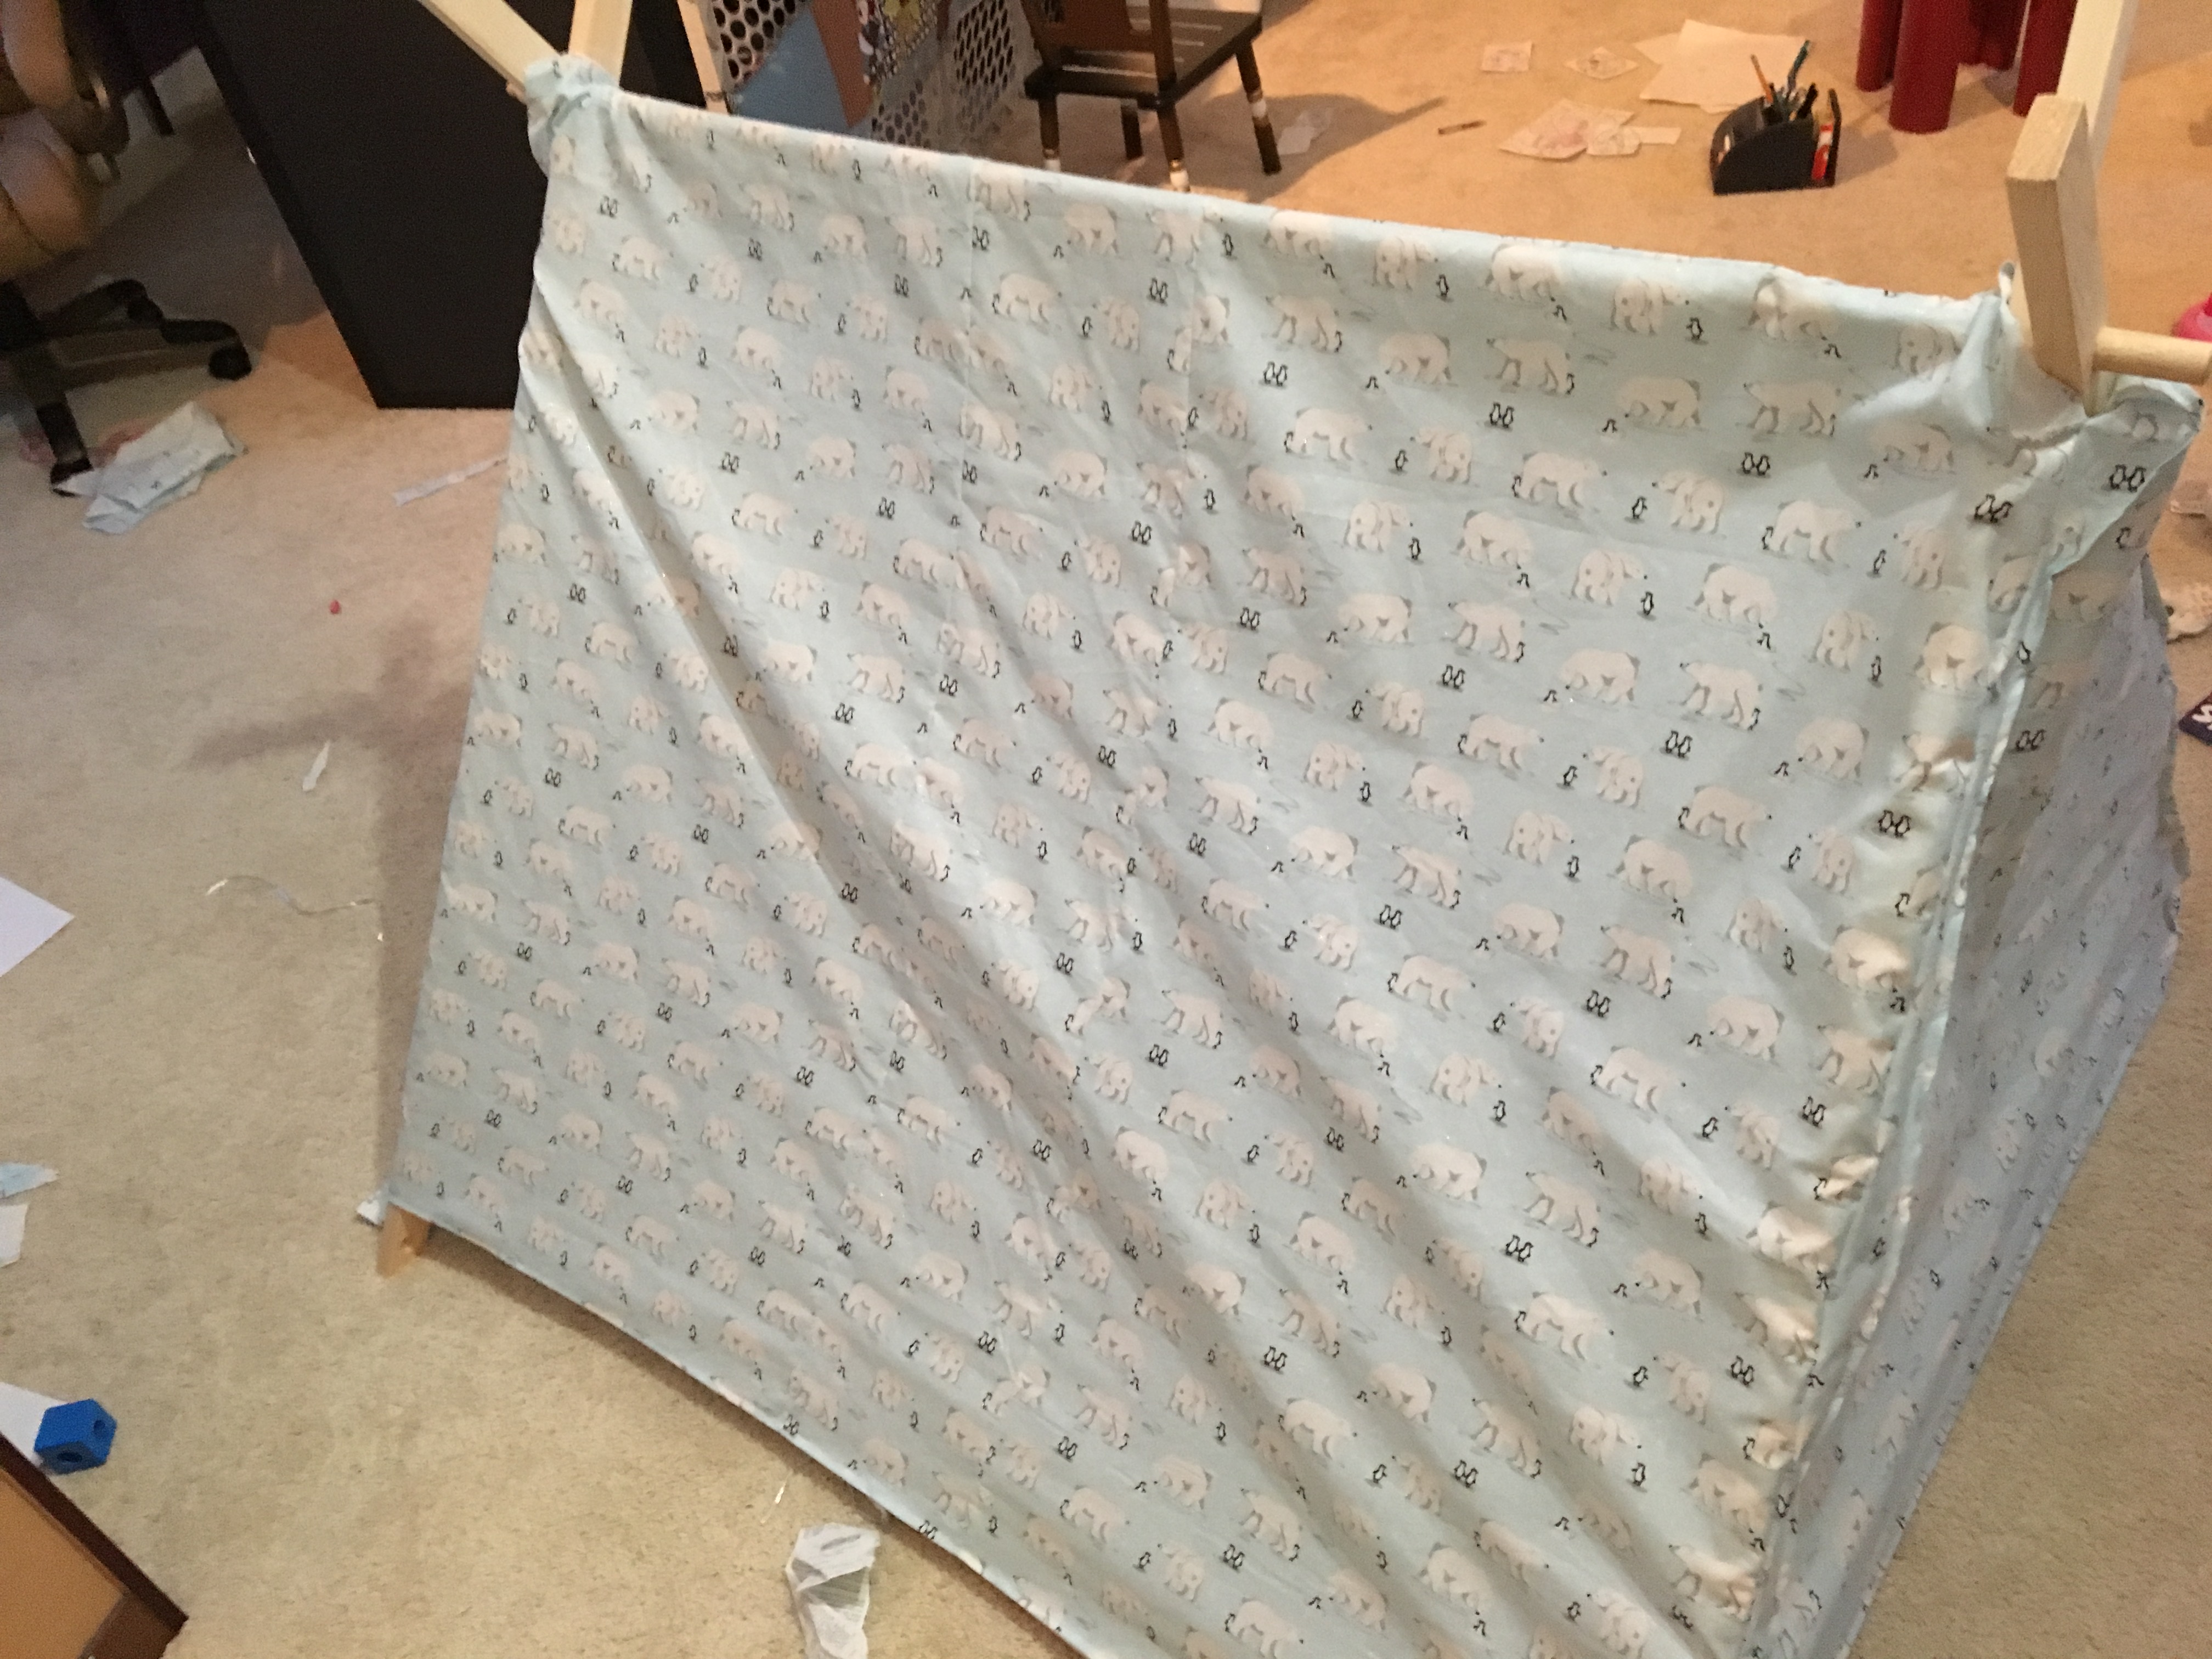
- I think most fabric has a maximum width that will be slightly smaller than 4' (the depth of your new tent frame). We got around this by cutting a strip of fabric, and using it so it didn't look like we just sewed two pieces together. It created a symmetrical look so it appeared more intentional. Cut two strips of fabric (one for each side) to ~8" wide x ~40" tall. Make sure the fabric pattern is oriented in the way you want. In our case, our daughter chose polar bears, so it was important to have them facing up.
- Cut four more pieces of fabric (two per side of the tent) so each panel is ~18" wide x ~40" tall. Sew the strips in #2 above to these pieces so the strips are in the middle.
- Measure the back of the tent. It's probably easiest to do this by making a triangle on the floor with the fabric. Fold it until it looks right. I never thought I'd need geometry again real life, but good ol' Pythagorus came in handy. Use his theorem to calculate the right measurements. The base of the triangle should be 42" wide. Cut that in half (21"), 35" tall. A2+B2=C2. So, 212+352=1666. The square root of 1666==40.8". Thus, the hypotenuse of the triangle should be ~41". Use that to build the triangles.
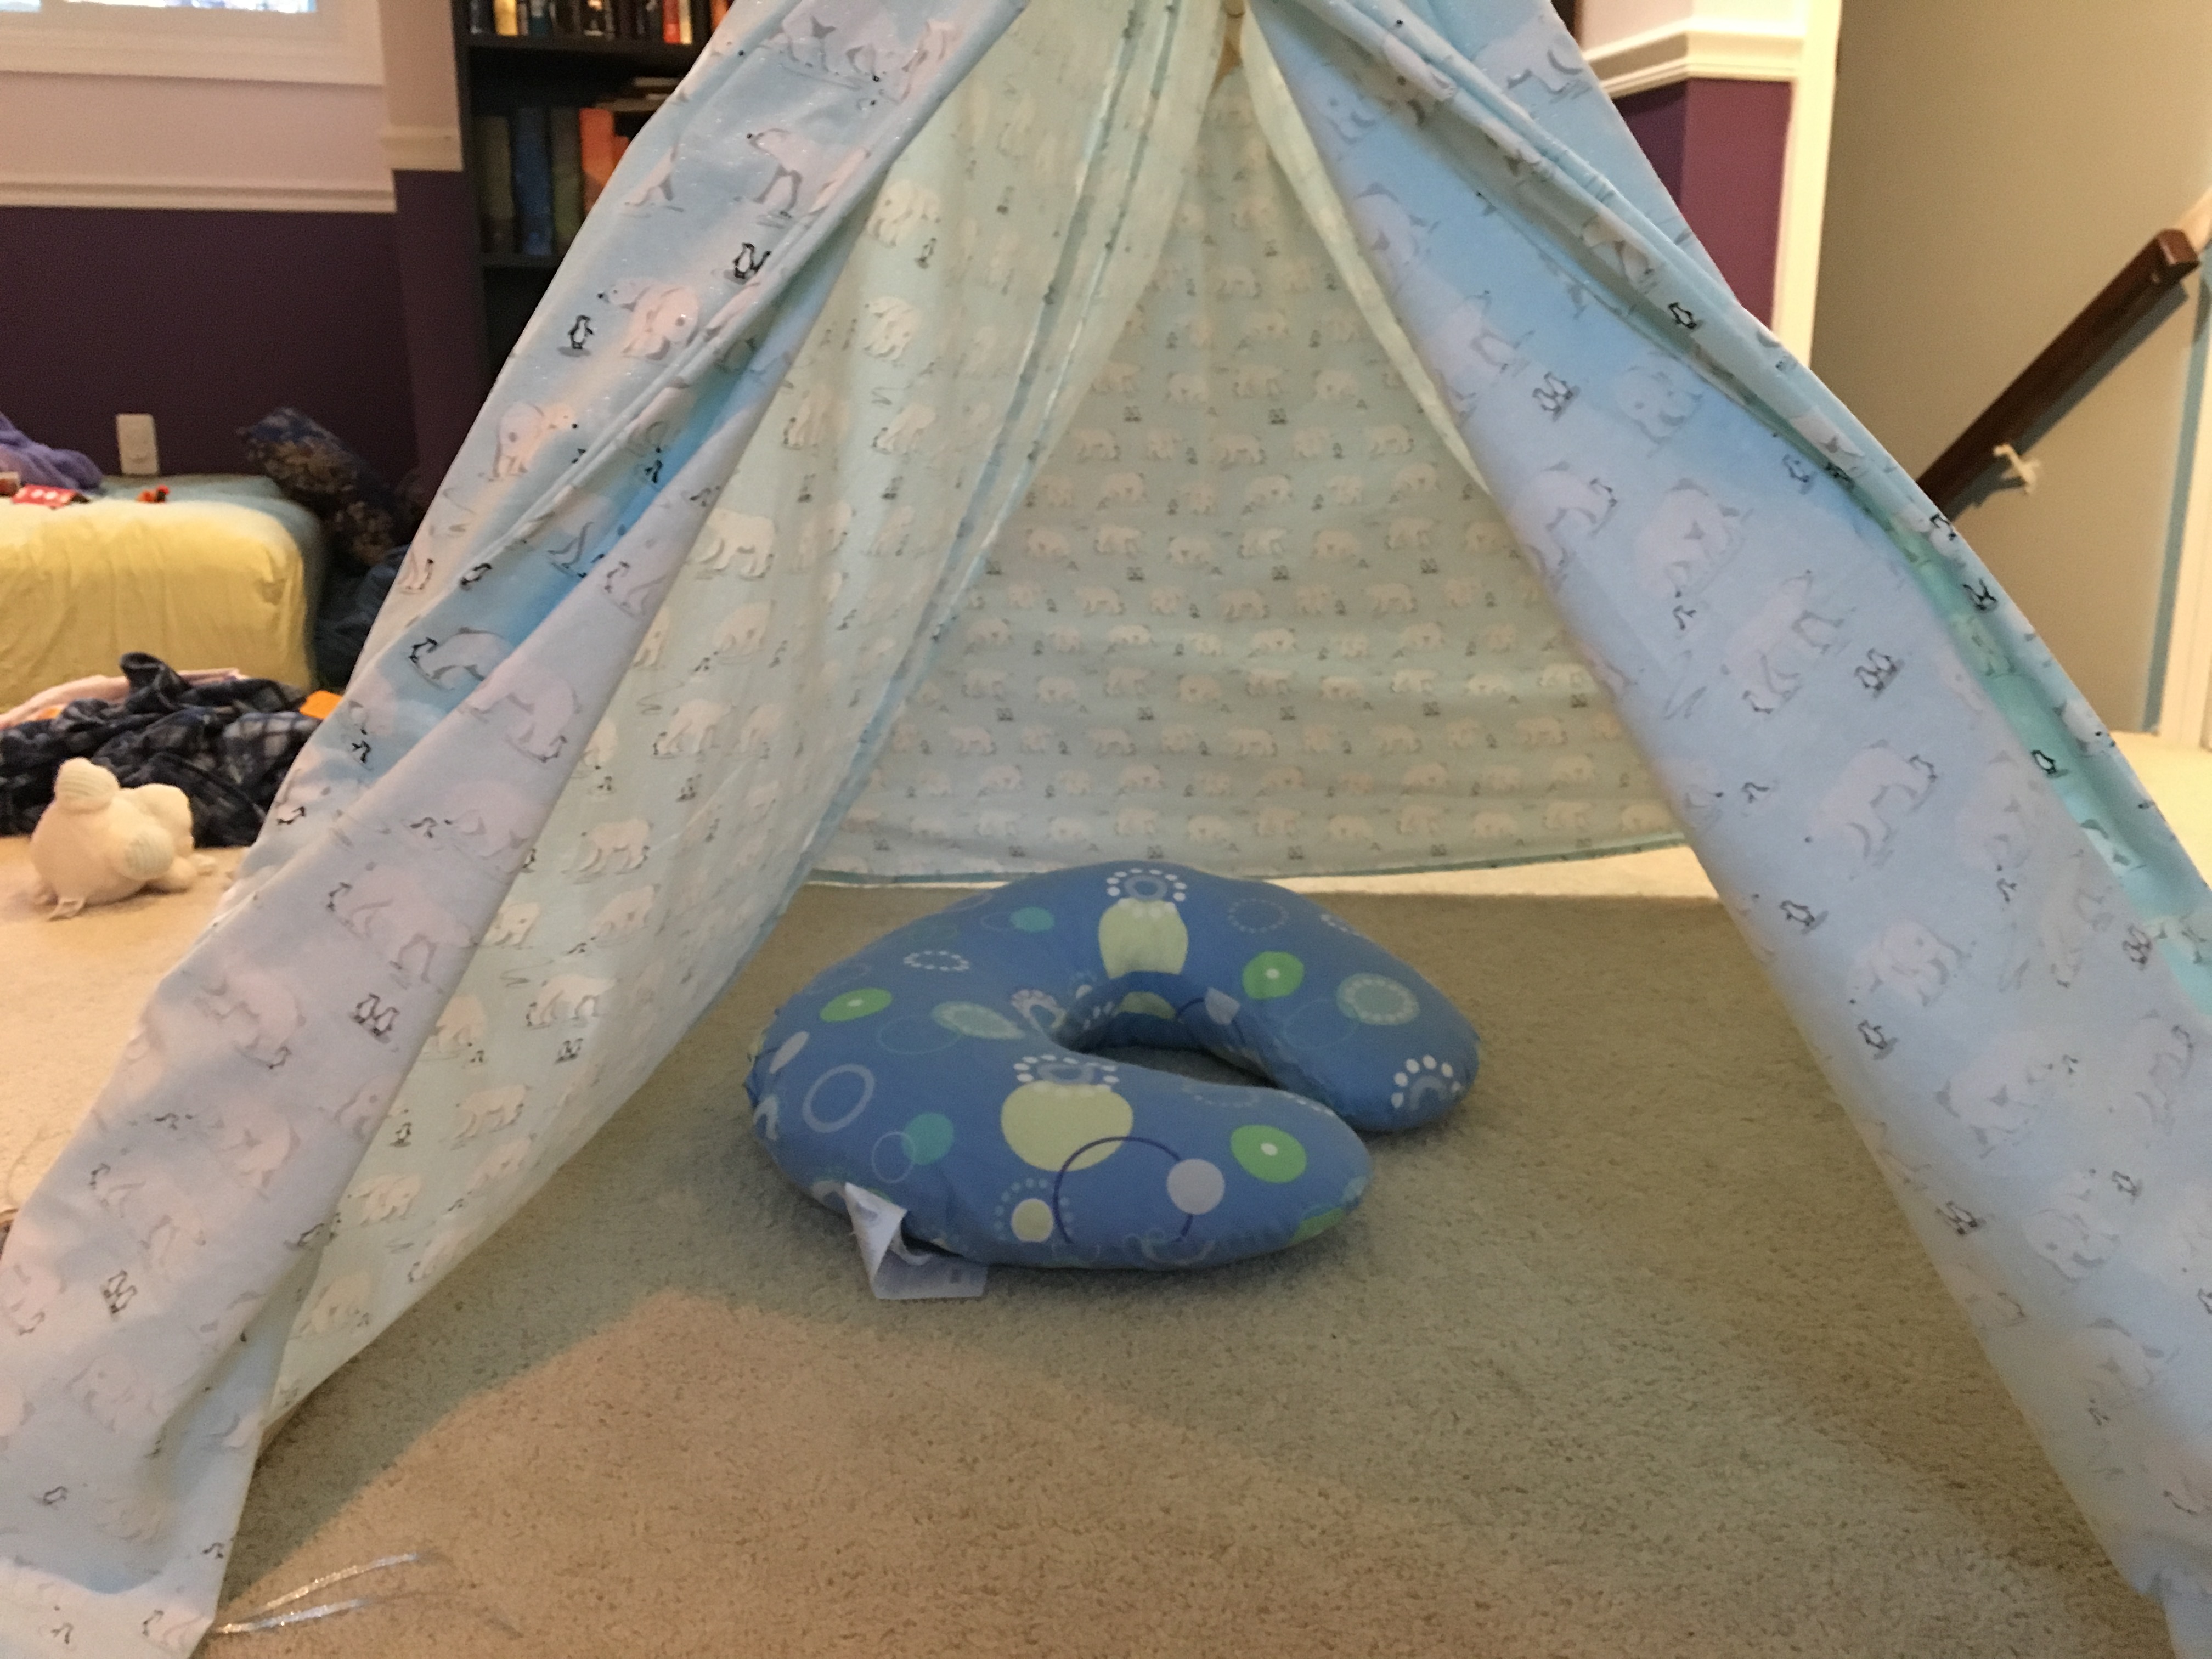
- Do the same thing you did in #4 to build the door to the tent, but leave extra fabric so you can cut the fabric down the middle for a door, and still have enough fabric to have the pieces overlap. See the pictures for a visual.
- Attach the triangles to your panels, leaving the top/tip of the triangle open so the cover an slip on & off the frame for easy washing.
- Sew your hems so everything looks nice.
- You'll notice I overlapped the polar bears on the side of the door so they were visible while kiddos were playing inside.
- Attach the ribbon in strategic locations so it keeps the fabric taught to the frame.
- To stow the tent, just fold it up! That's the beauty of the scissor design.
I hope this inspires you or gives you some ideas for a tent for your kiddos. Have fun!
Click the button below for images.
Images:
Inside panel:
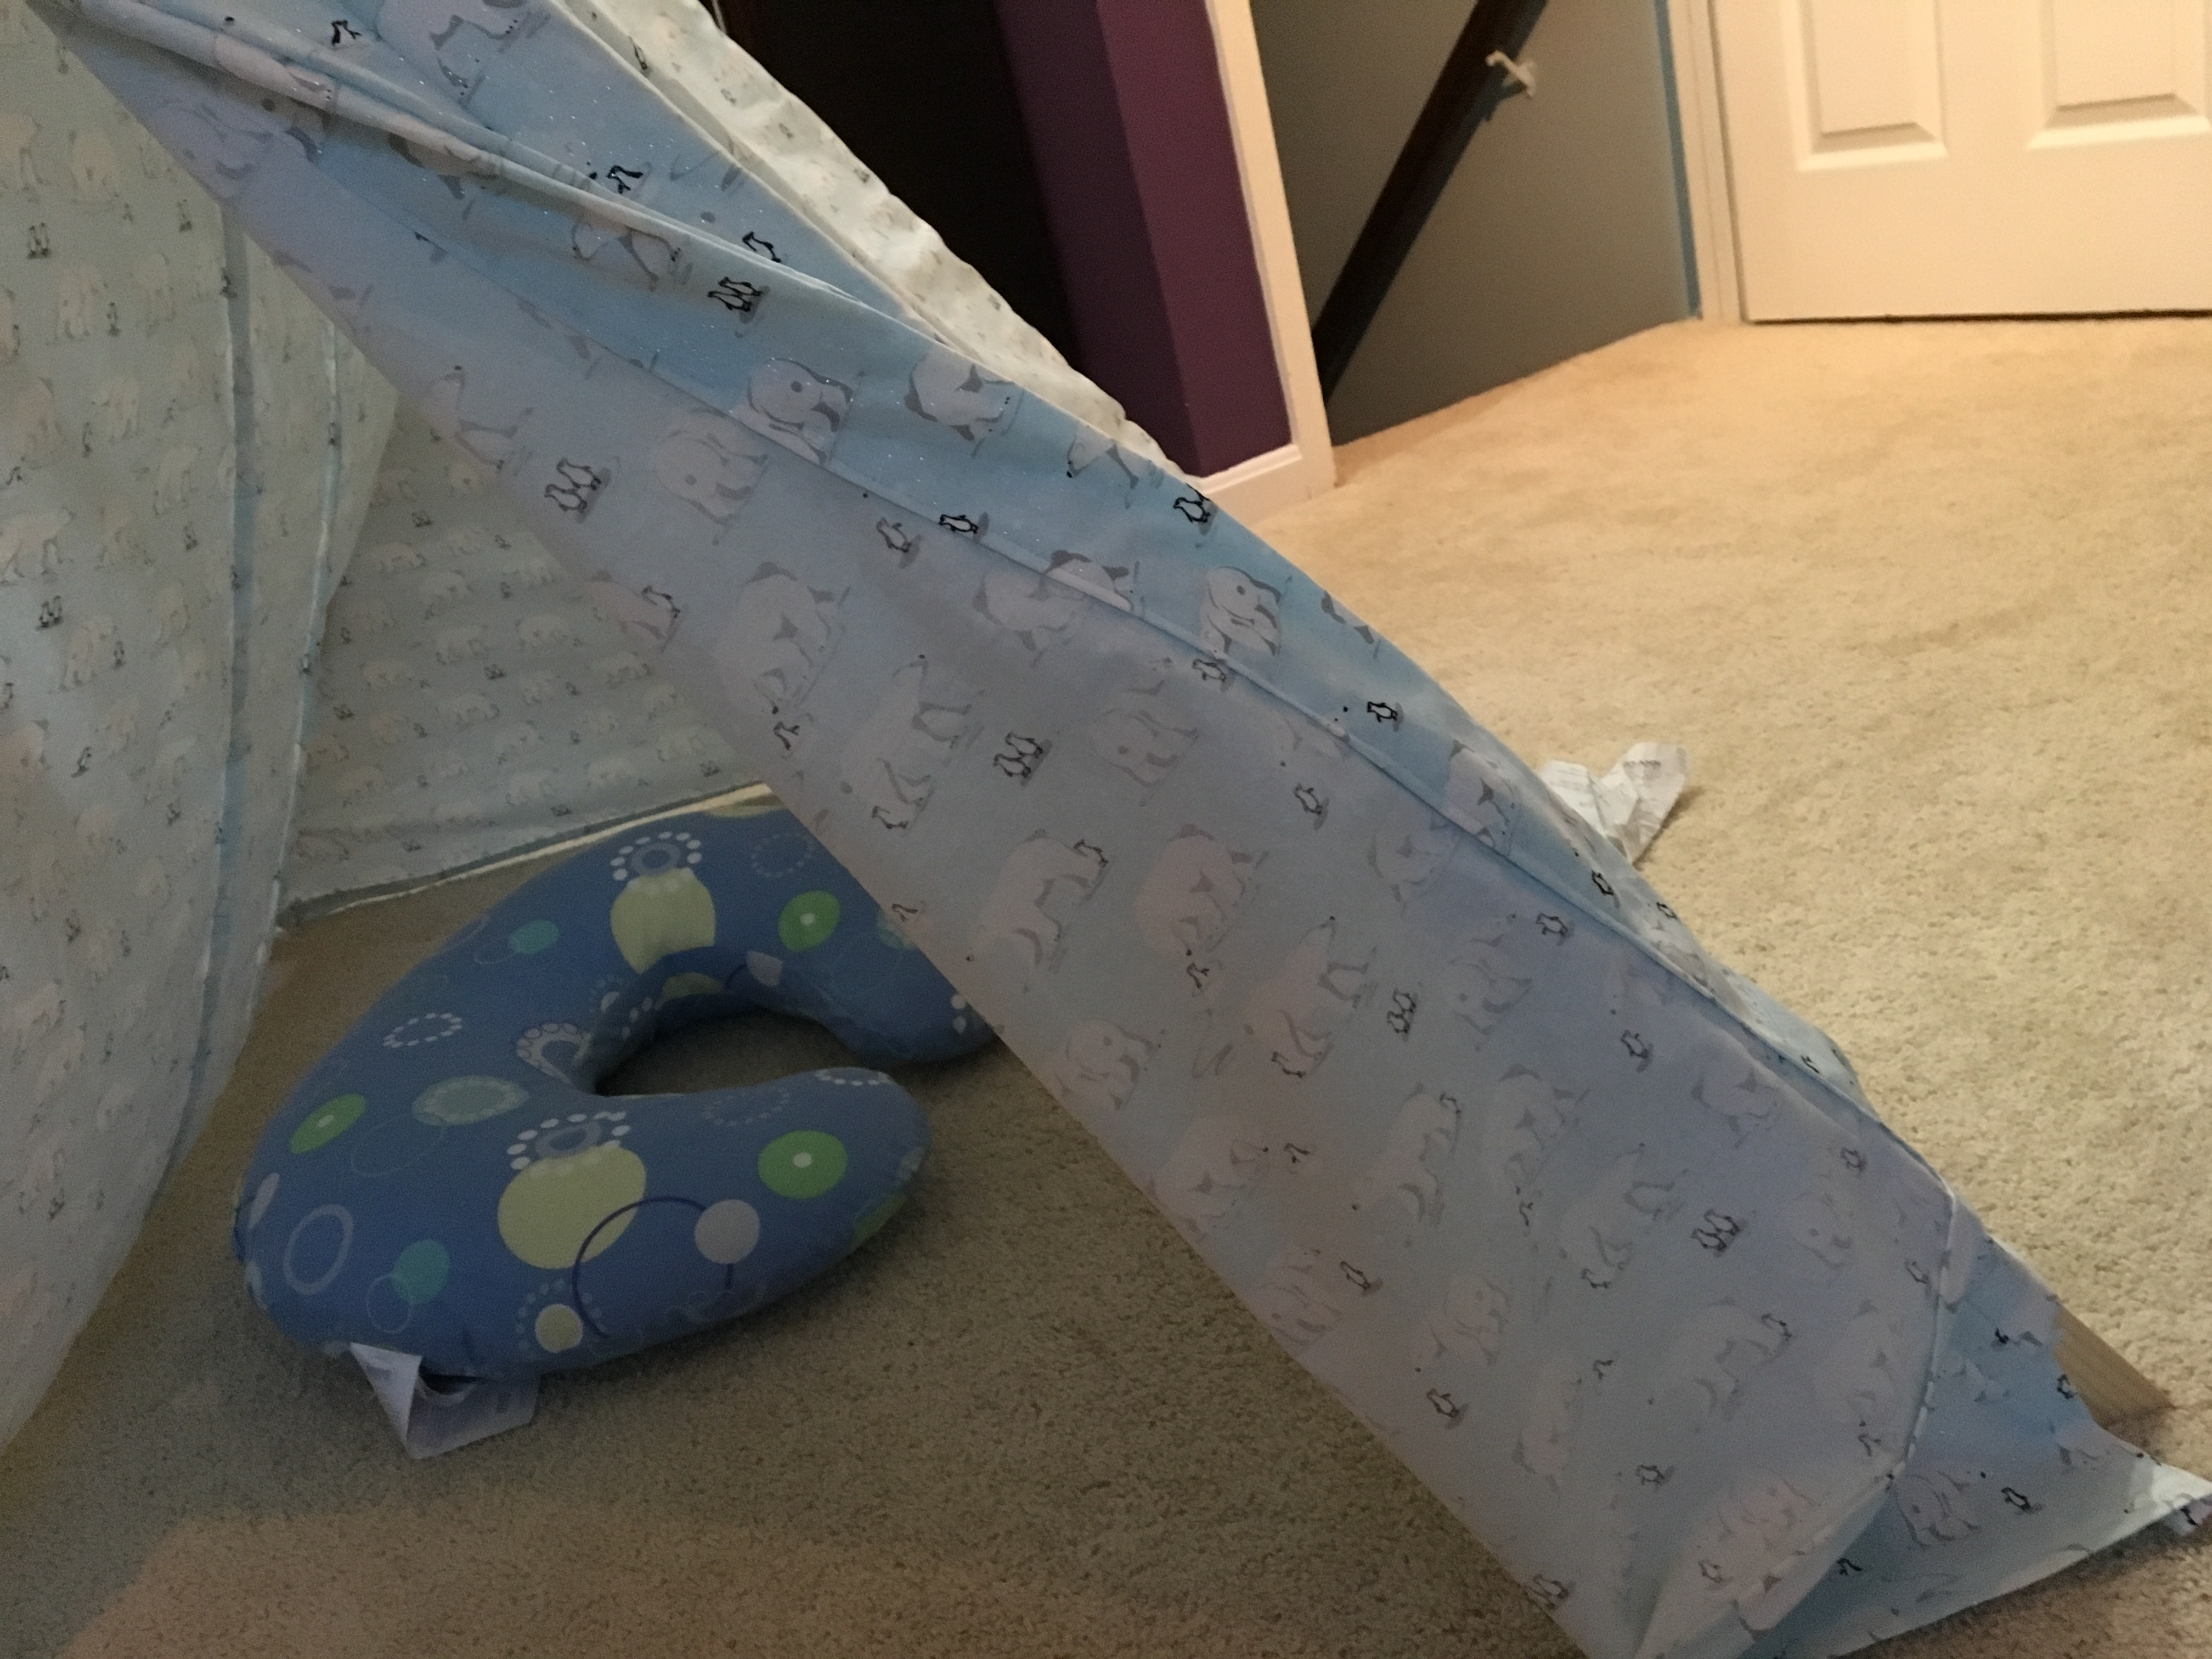
Side:
Foot of the tent where the dowel goes:

