I bought a cyclone from Home Depot about 6 months ago to collect saw dust & other debris before it gets to the shop vac filter — filters are expensive. The cyclone itself was very effective, but moving the shop vac & bucket with cyclone was really cumbersome because they weren’t attached. Some internet sleuthing turned up a design similar to what you see below. I put my own spin on it.
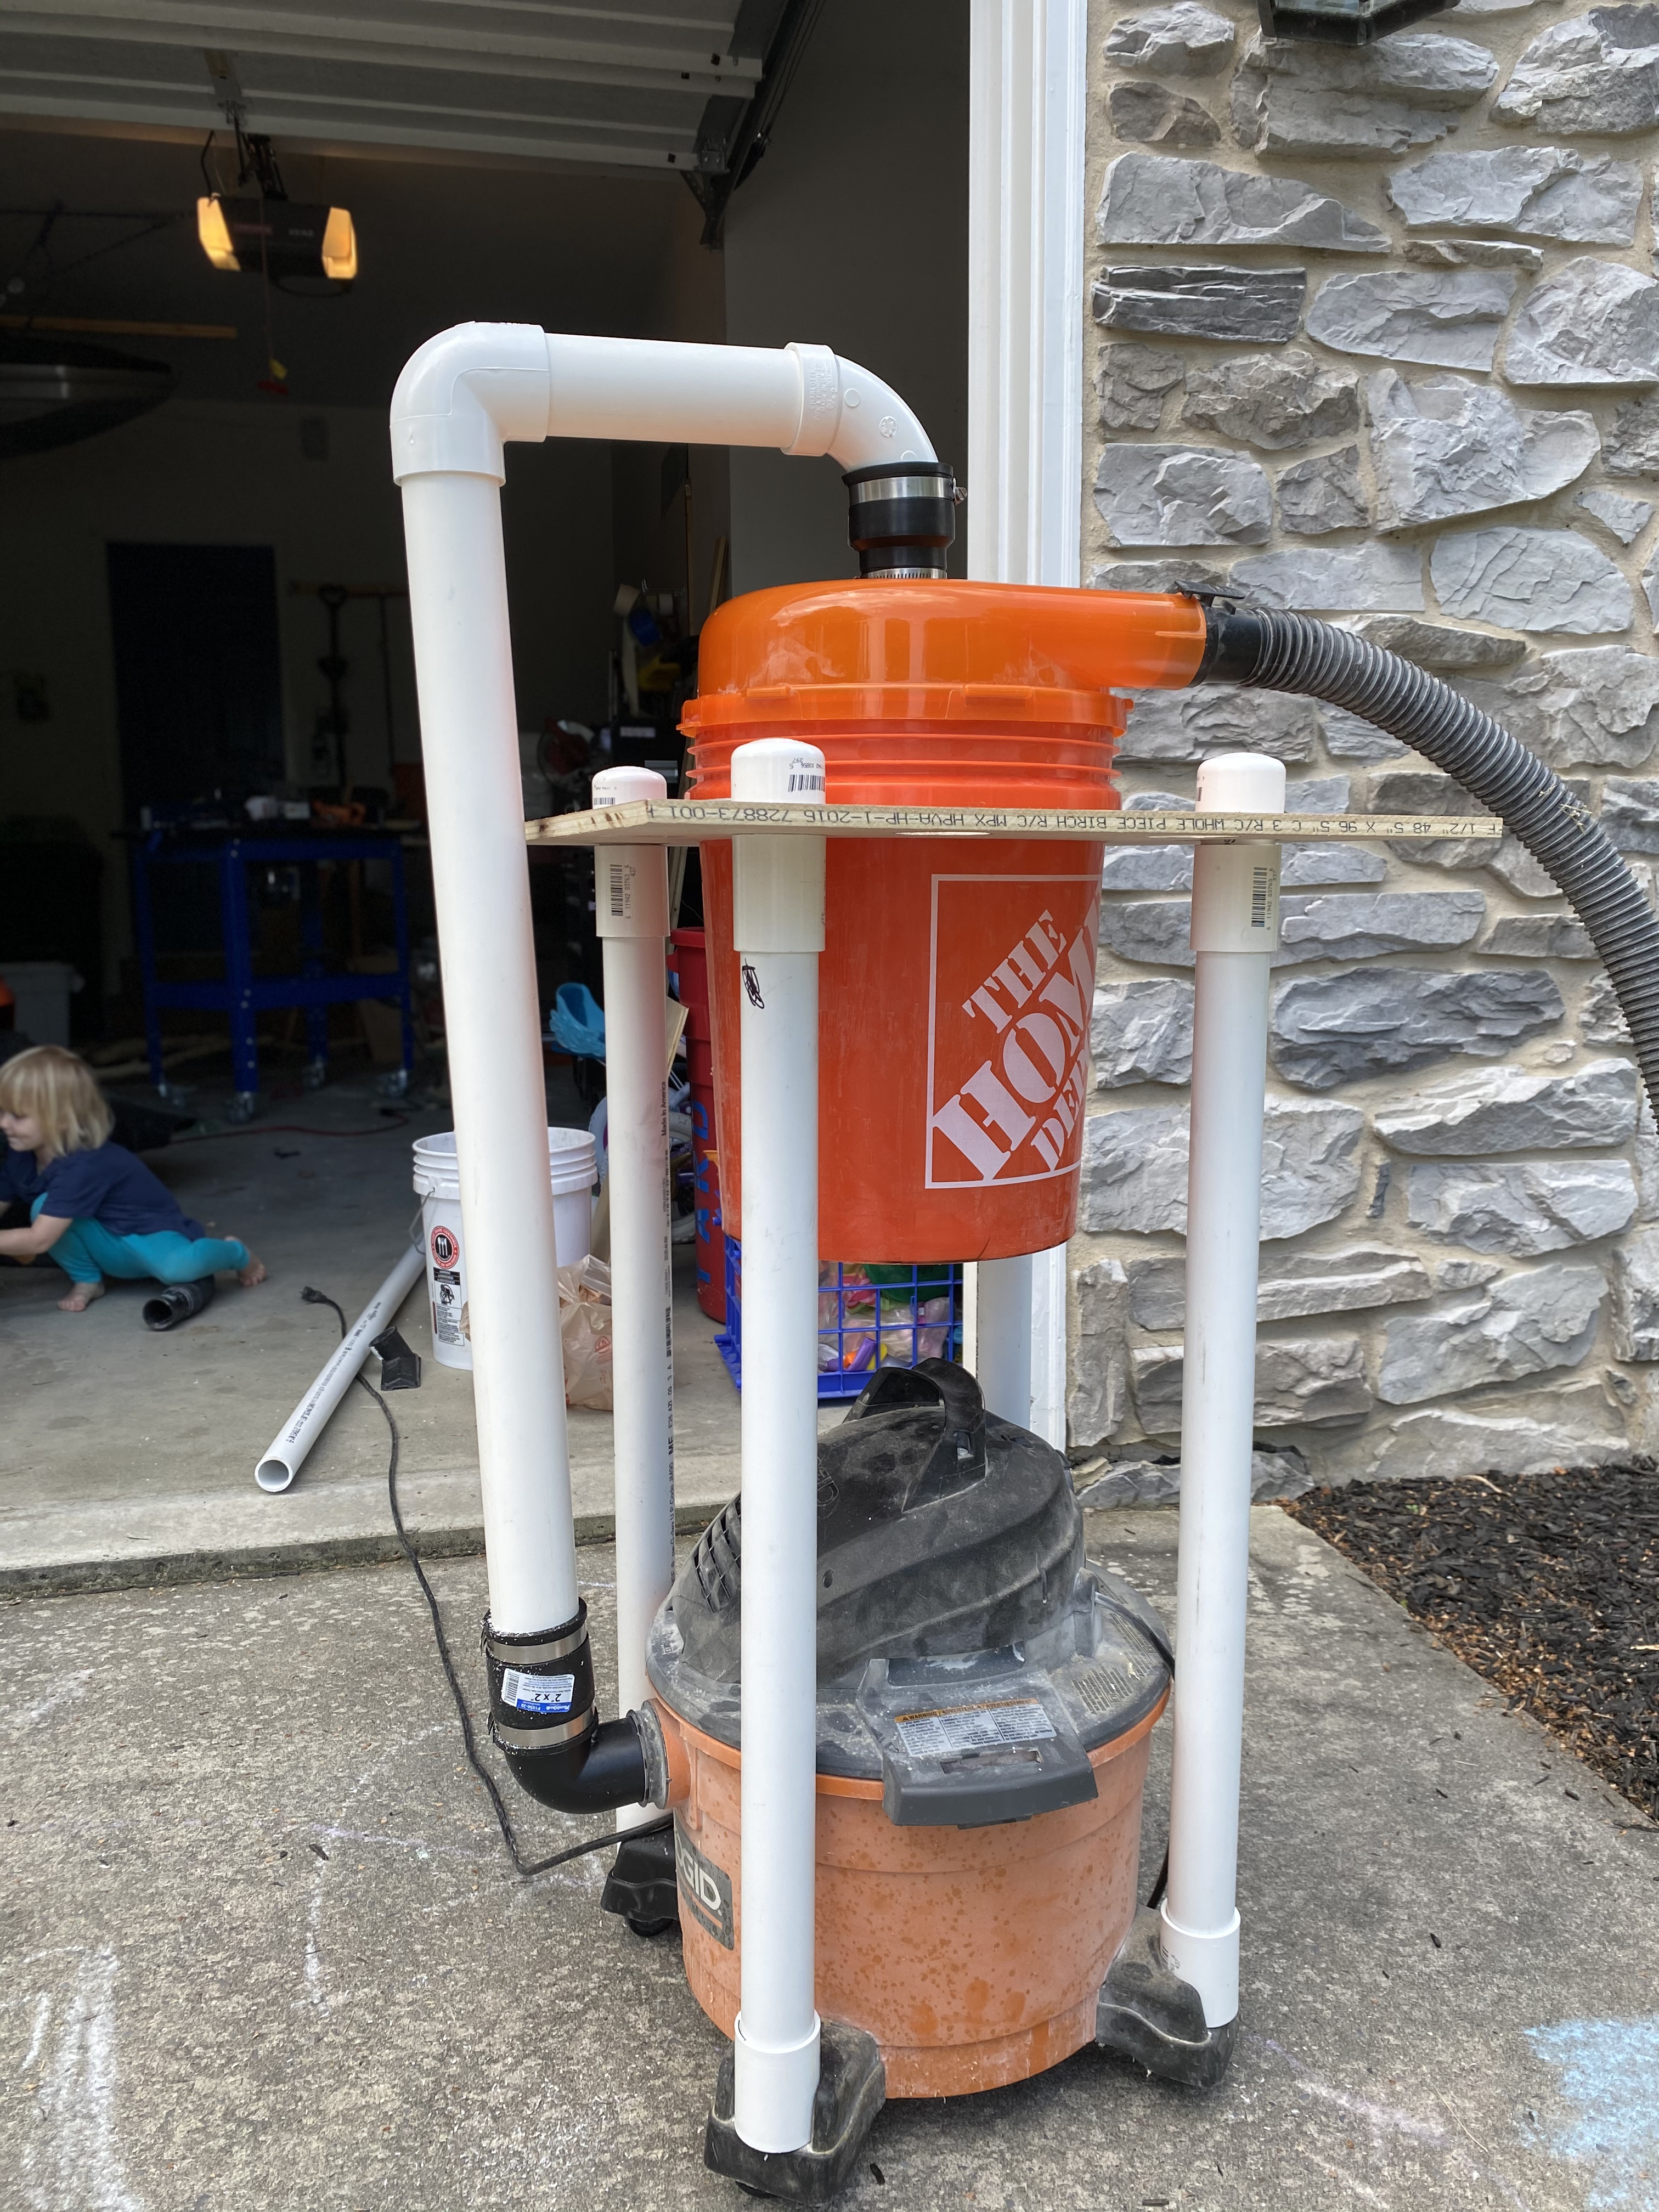
Read on for parts list, cost & instructions
Parts list:
- Dust cyclone - $40
- 5 gallon bucket - $5
- ½” plywood (4’x2’) - $25
- 8 ½” PVC couplers - $1 each
- 4 ½” PVC end caps - $1 each
- 10’ long ½” wide PVC pipe - $6
- 10’ long 2” wide PVC pipe - $10
- 2 2” right angle PVC couplers - $2 each
- 2” rubber coupler - $2
- 2” x 1.5” rubber reducing coupler - $2
- Shop vac
Total cost: $105
Assembly
Four ½” couplers attach to the wheels on the shop vac. Cut the ½” PVC pipe to your desired length (I cut mine to about 36”).
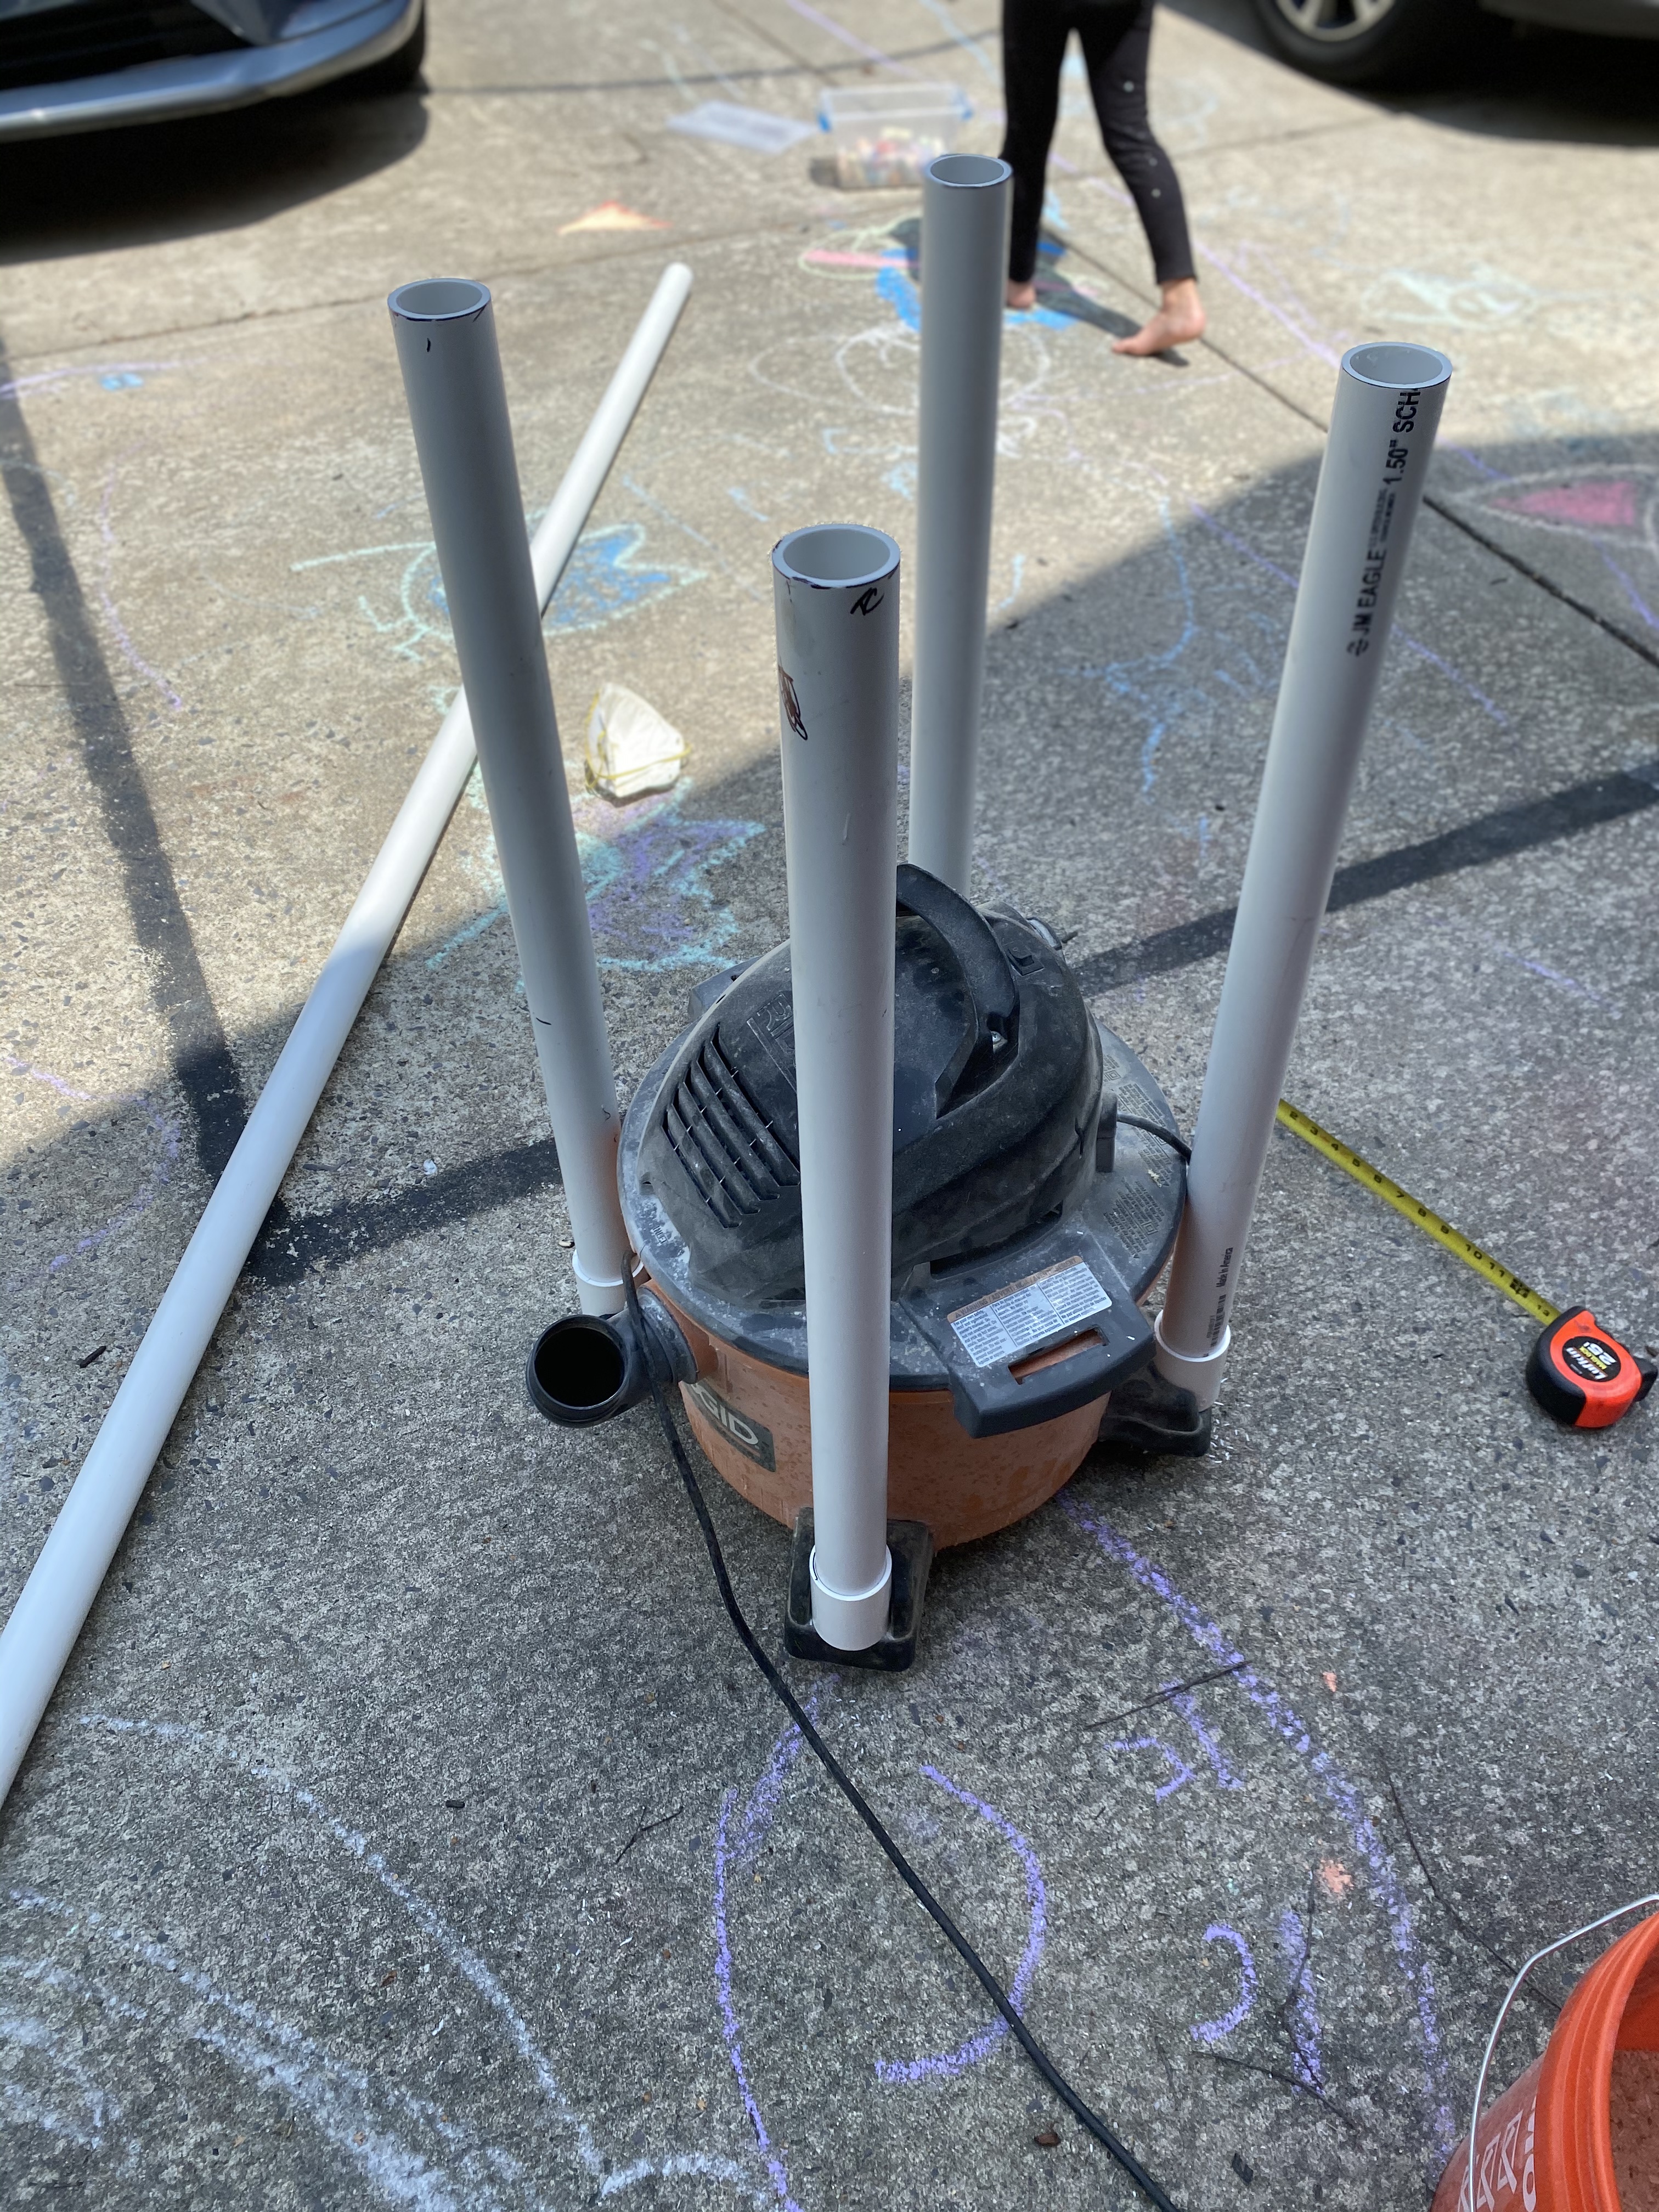
Attach the other four ½” couplers on top of those four vertical pipes. The piece of plywood will rest on top of these couplers.
Next, measure your shop vac so the plywood is about 2” wider on all sides. Cut the plywood. Then cut the ½” PVC pipe so you have four 3” long pieces. Place those pieces into the couplers. Center the plywood on top of the vertical PVC pieces & mark the wood where the PVC rests.
Take the plywood off & center the bucket inside the circles you just made & trace the base of the bucket.
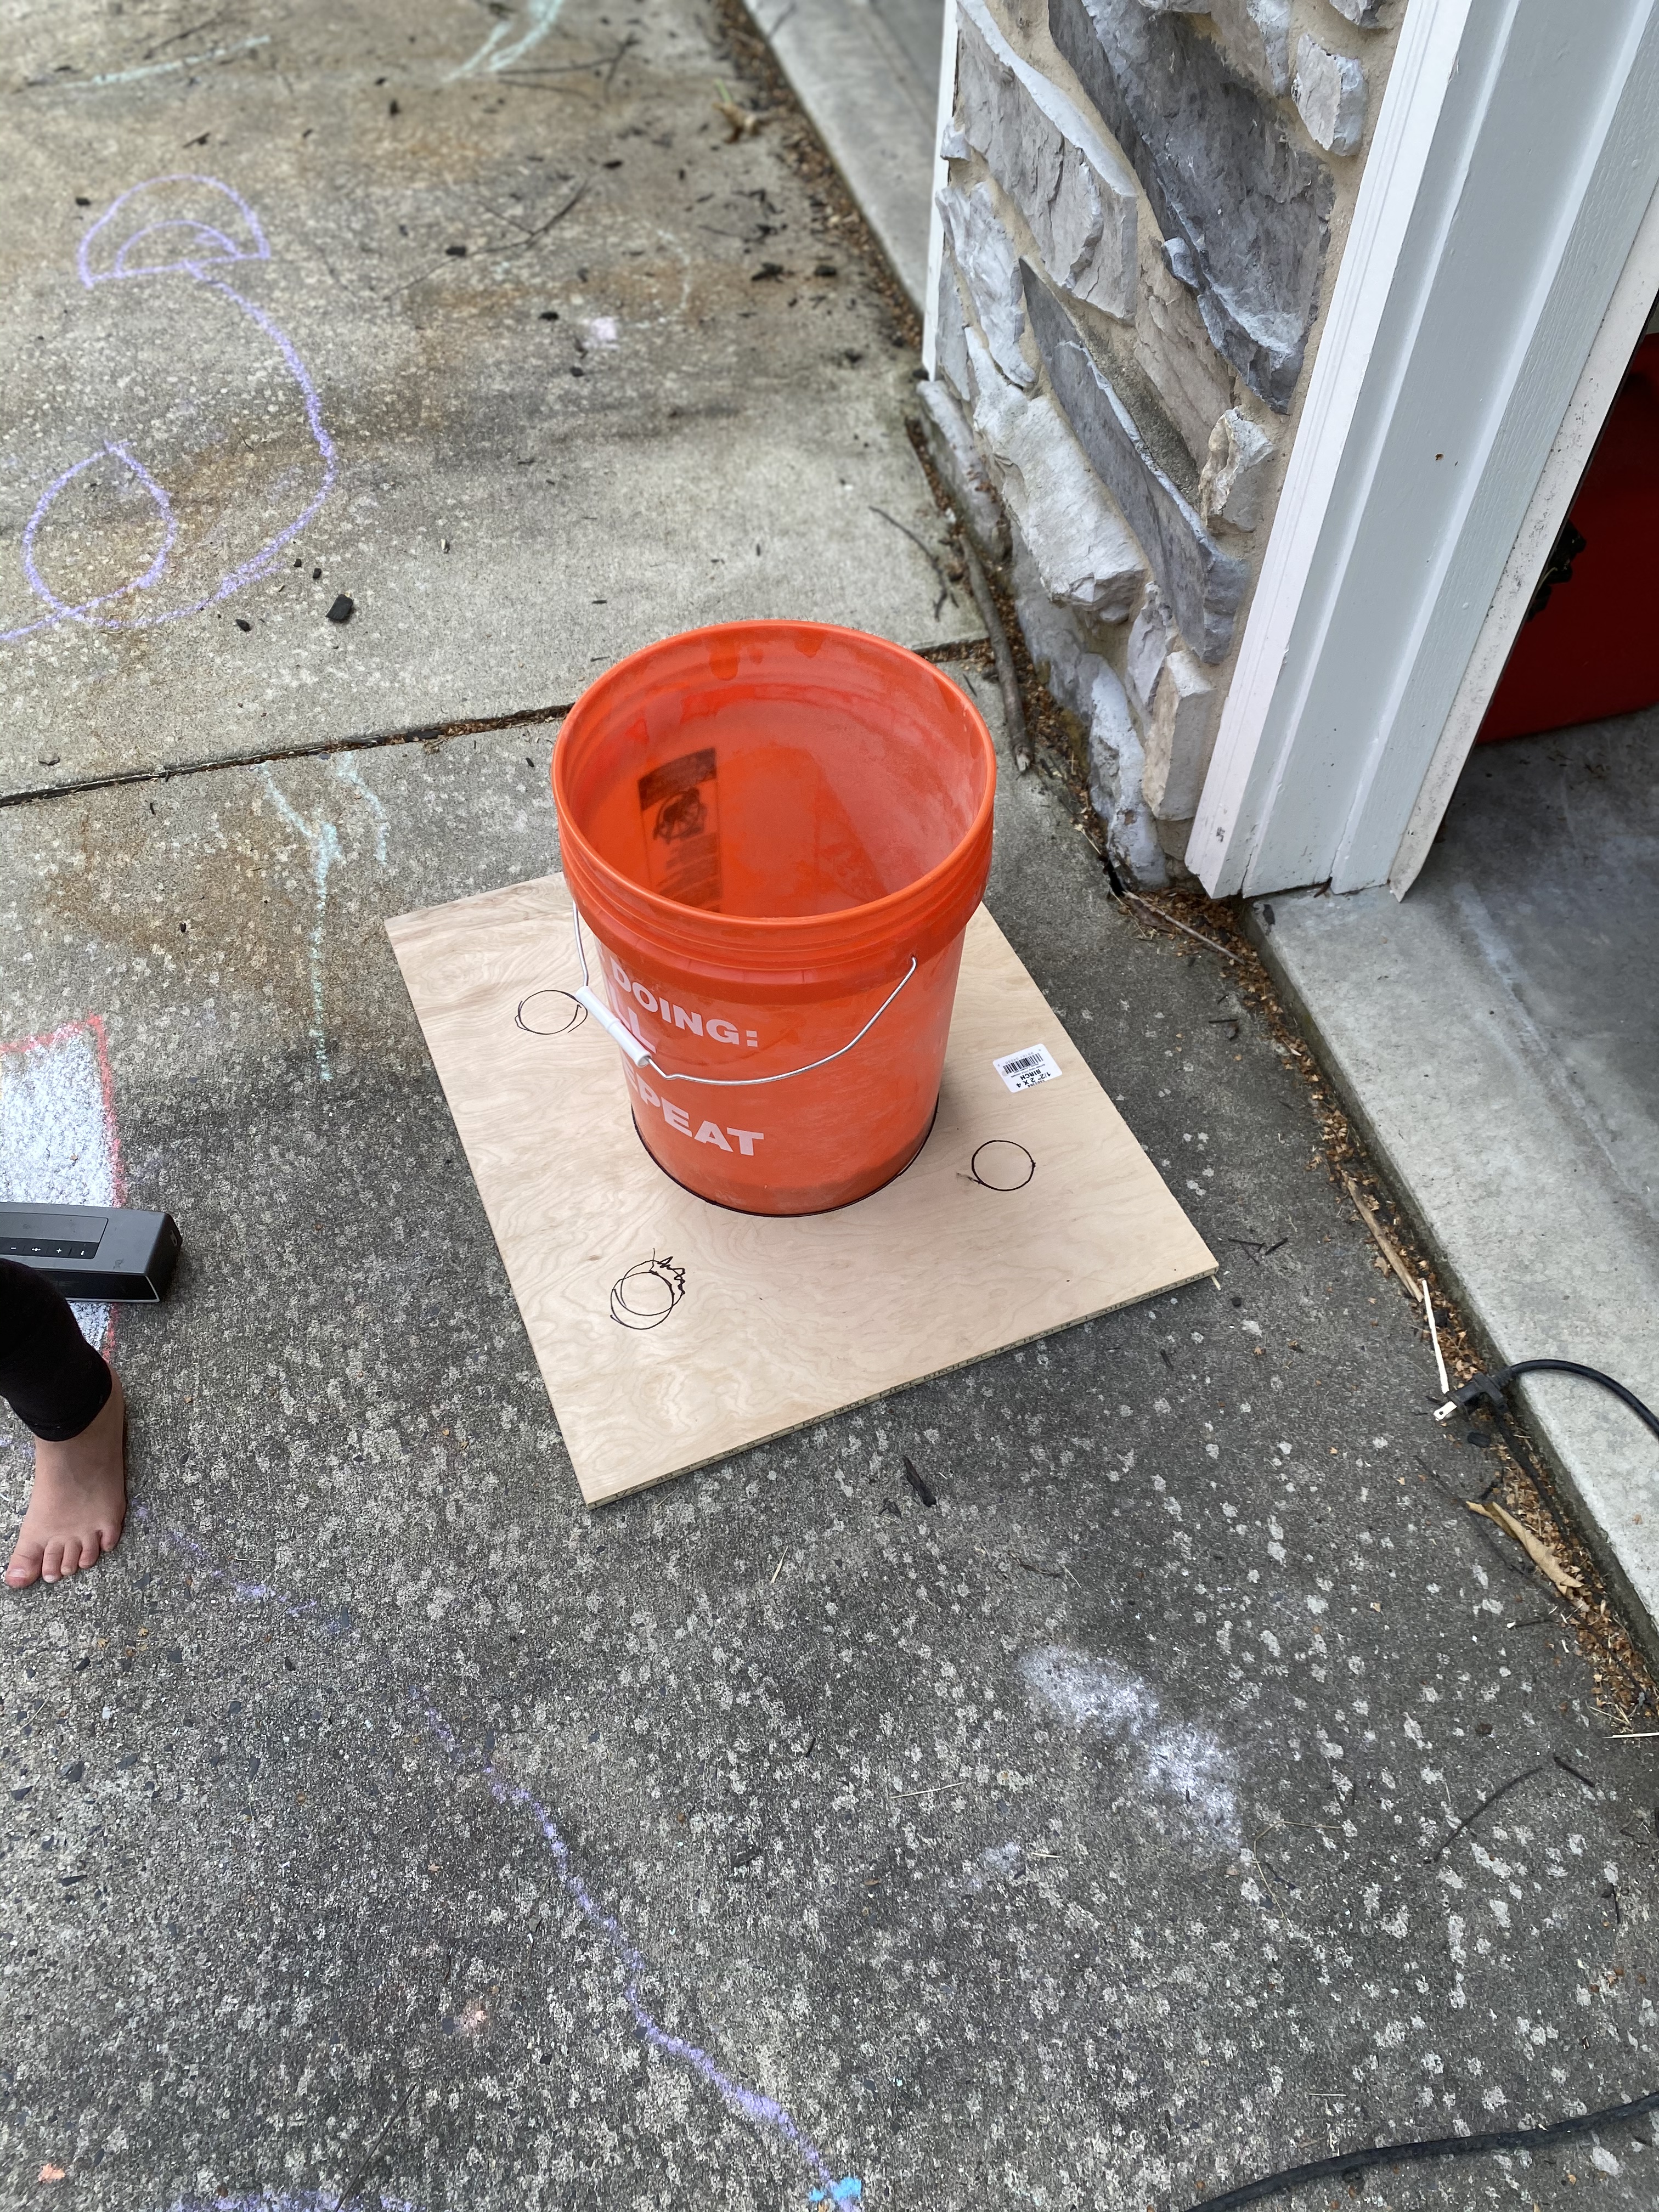
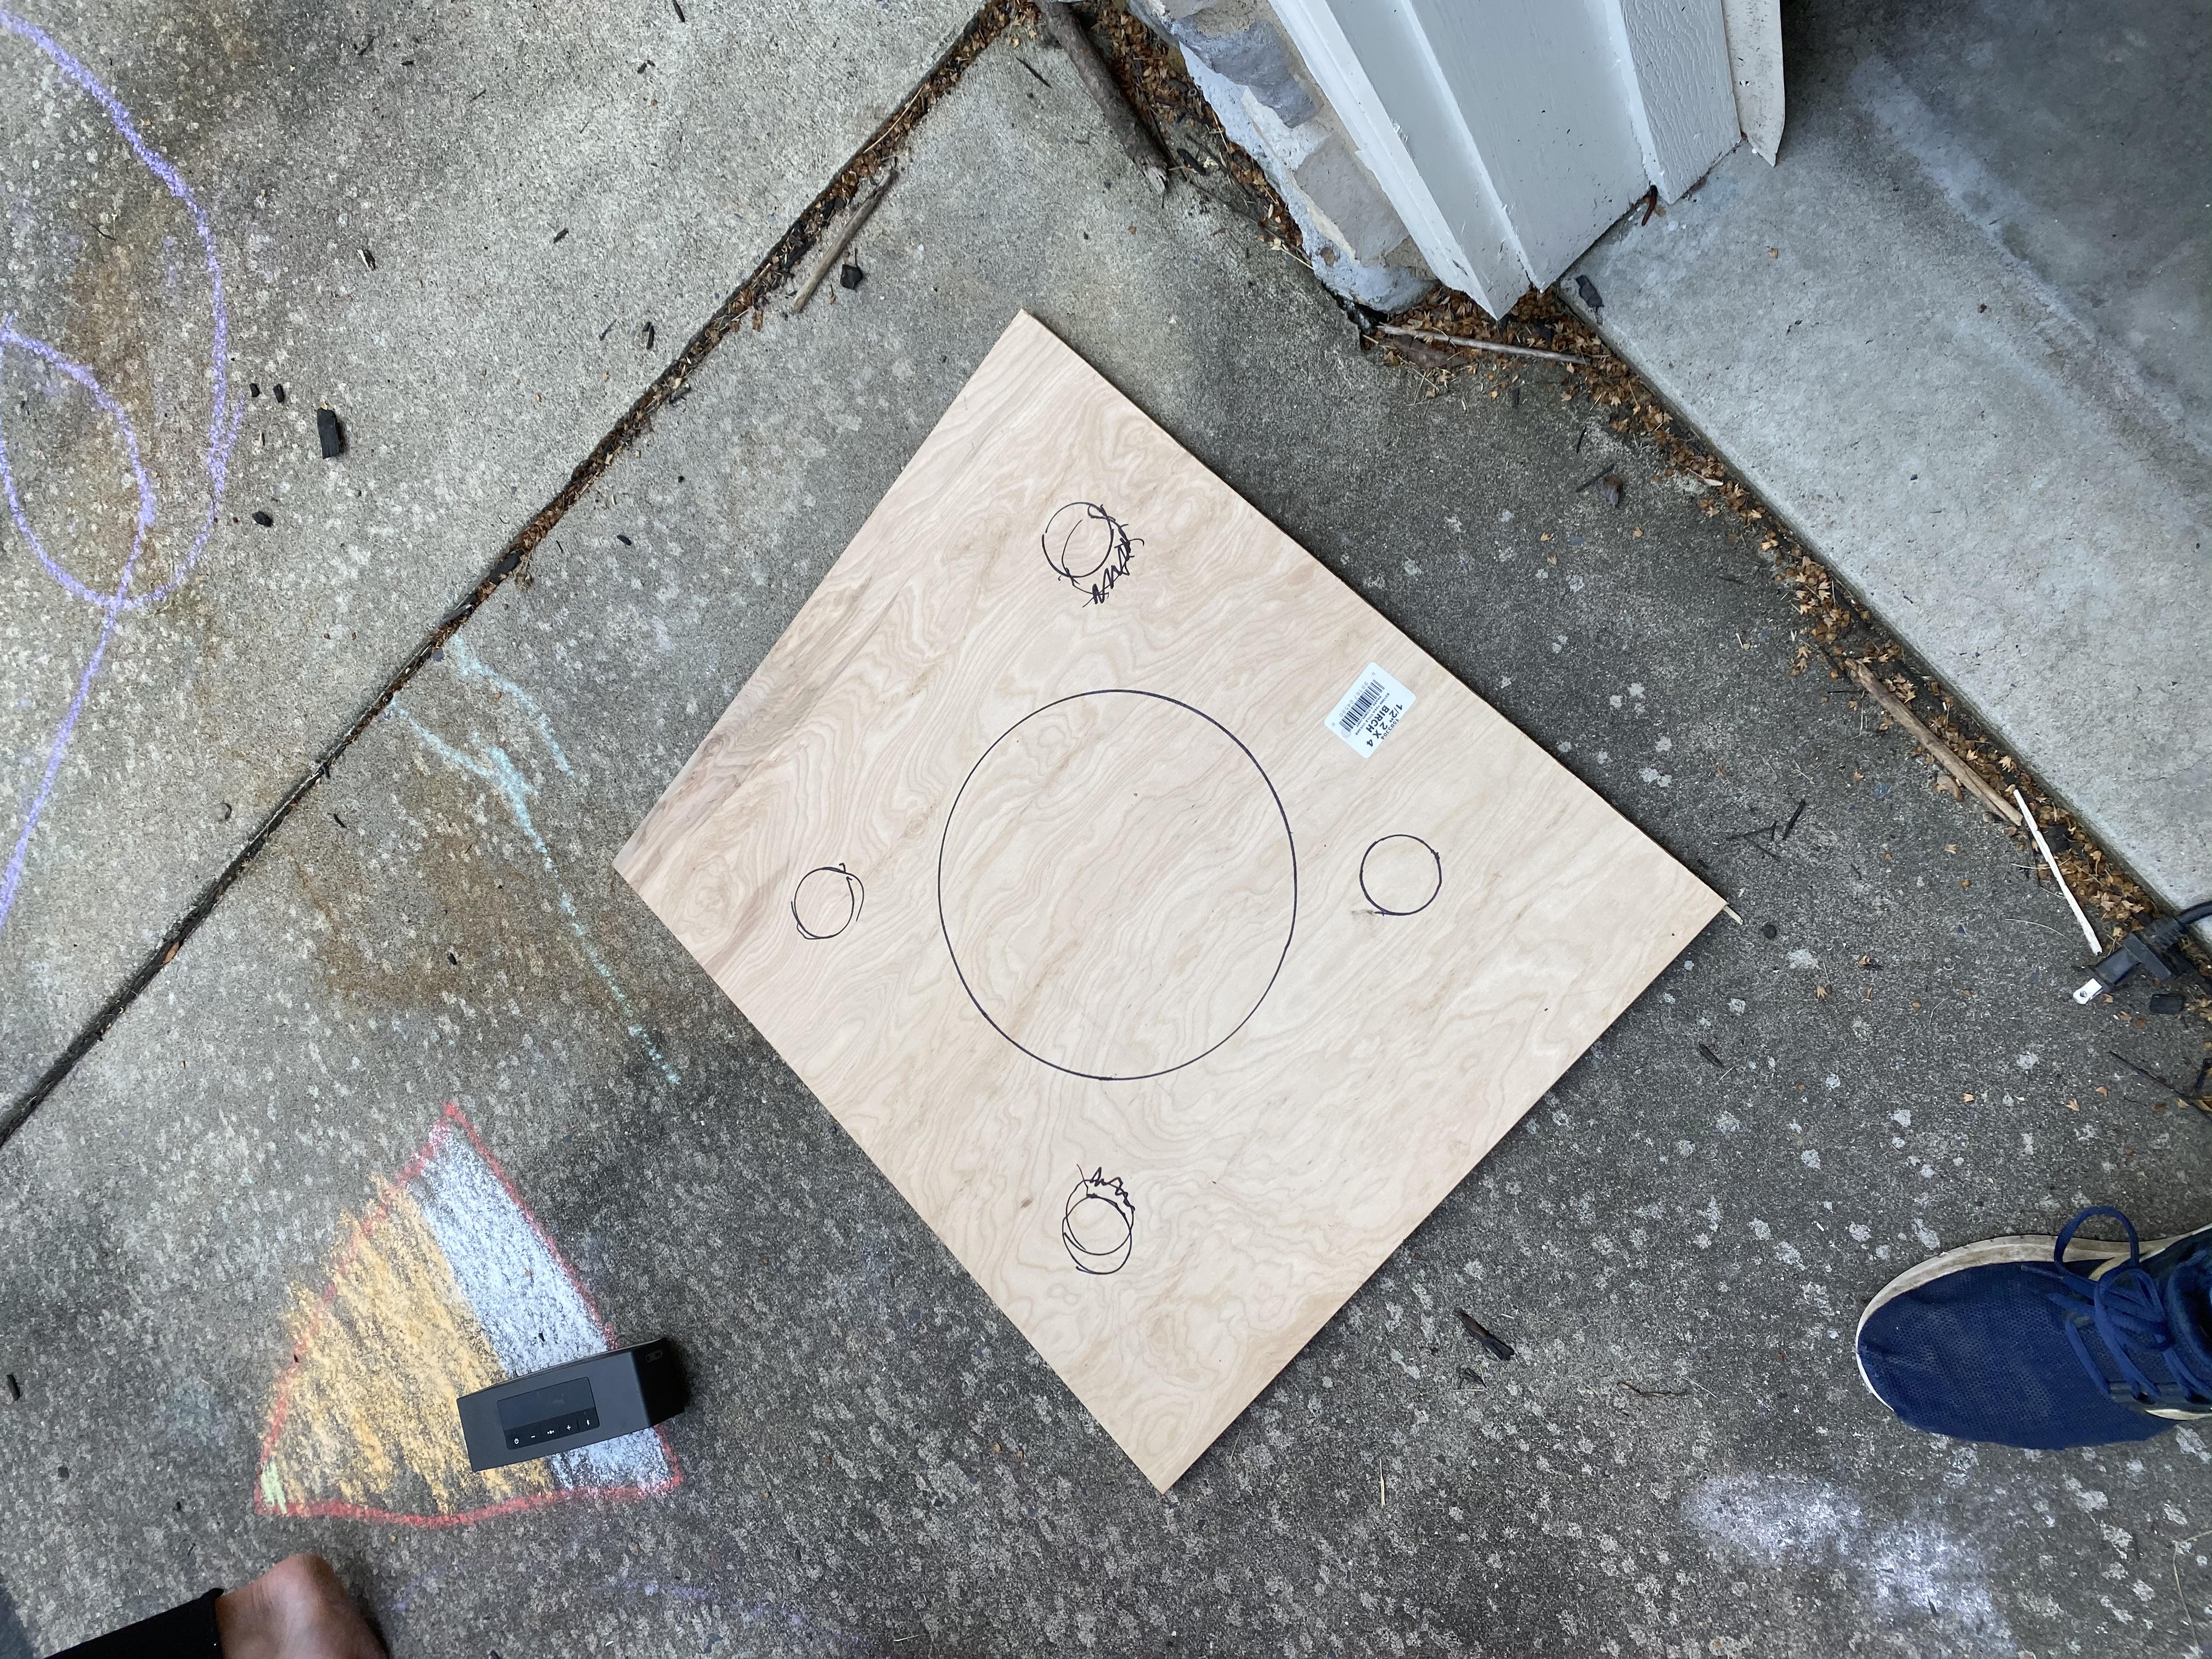
Nice circles you’ve got there!
Cut out the circles with a jigsaw. Add a few more circles if you want spaces for additional attachments.
Tip: the Home Depot bucket flanges so that the top of the bucket is slightly larger than the bottom. Adjust accordingly, but make sure the hole stays smaller than the rim on the bucket so that the bucket is still held up by the plywood.
Put the cut plywood back on top of the PVC & add the end caps. Voila! You have a floating bucket.
Vacuum tubing
Attach the 2” rubber coupling to the right angle inlet on the vac (the right angle should come with the cyclone). Attach the 2” wide PVC to the coupler. Then attach the reducing rubber coupler to the top of the cyclone so the 2” wide part is facing up. Put one 2” right angle PVC coupler into the reducer, then attach a piece of 2” wide PVC. Do some measuring magic & attach the horizontal & vertical pieces with the 2” wide PVC right angle coupler. Tighten up the rubber couplers so you have good suction.
Additional Stabilization
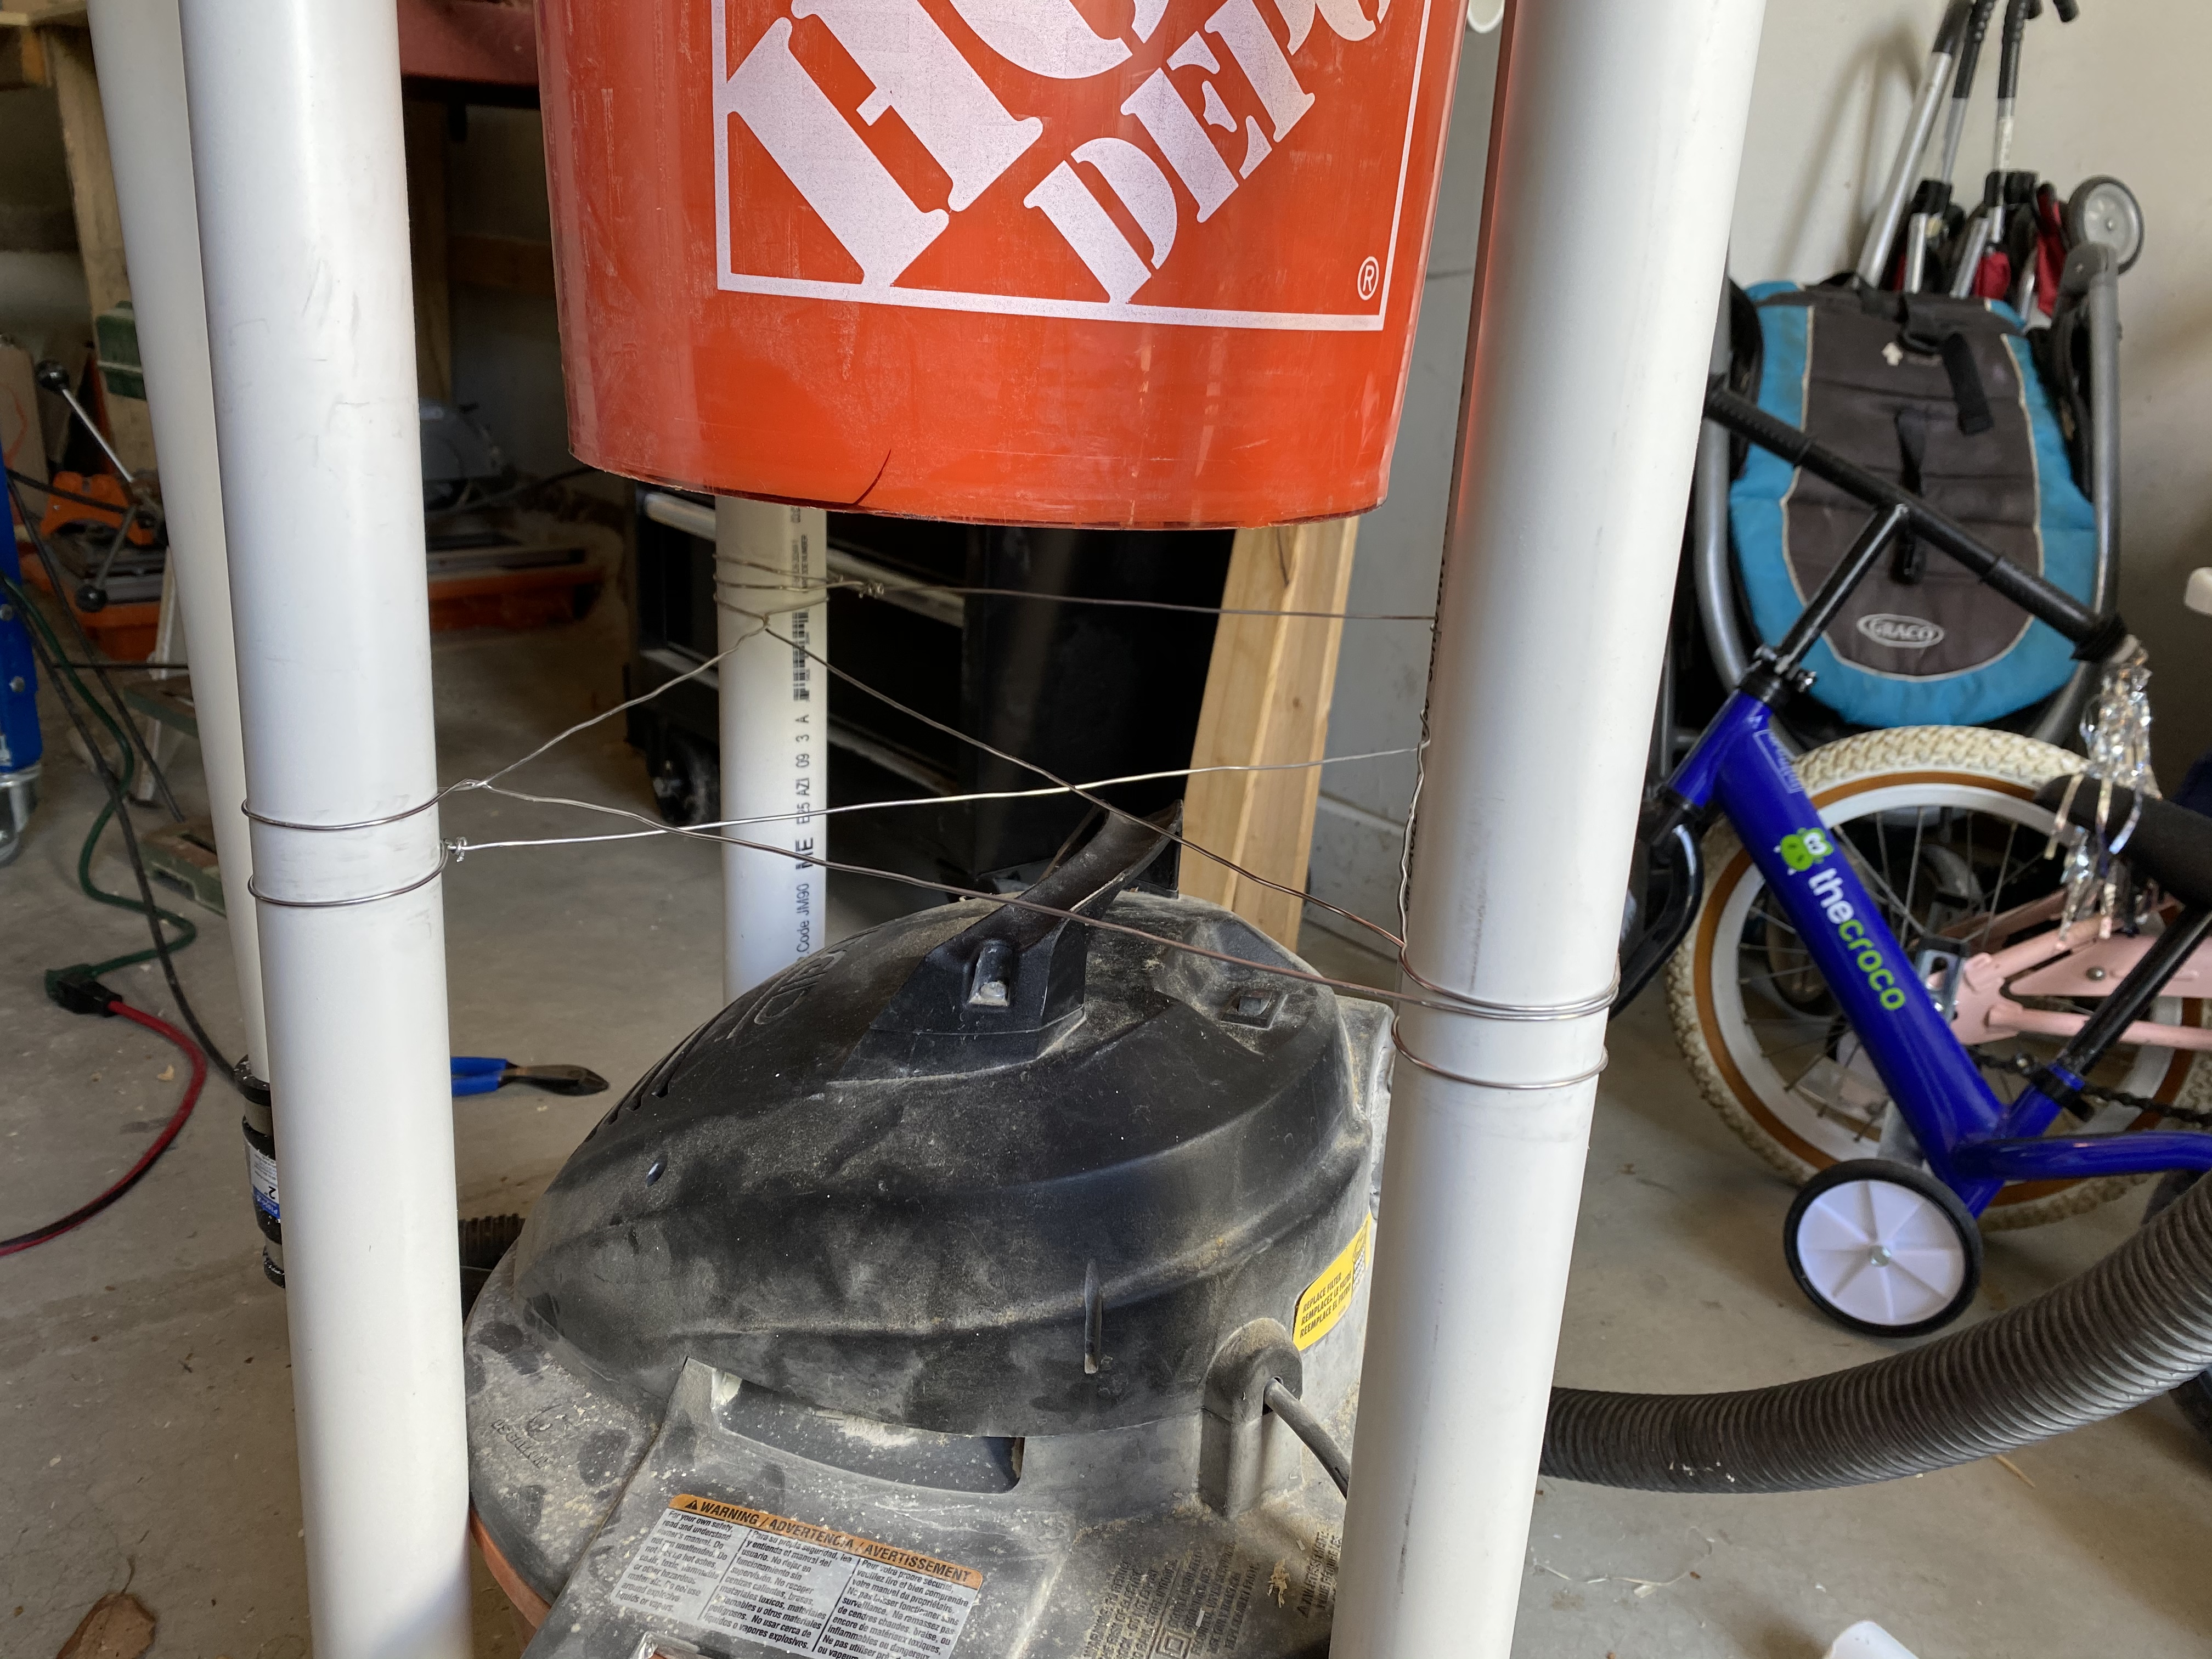
You may notice the vertical pieces are not especially stable. My wife came up with the solution of using old wire to bind all of the vertical pipes together. This significantly improved the rigidity of the unit as a whole.
Here you have it:

I hope this helps you design a system that works for you!
